> ## Documentation Index
> Fetch the complete documentation index at: https://razorpay-881012b3.mintlify.site/llms.txt
> Use this file to discover all available pages before exploring further.
# Process Payments
> Process payments on behalf of your customers using multiple Payment Methods.
Available in🇮🇳 India
As a Technology Partner, you can allow sub-merchants on your platform to accept payments through various Payment Methods and channels.
You can process payments on behalf of your sub-merchants using [Razorpay APIs](/docs/api). Use the tokens generated during [OAuth integration](/docs/partners/technology-partners/onboard-businesses/integrate-oauth/integration-steps).
Use the `access_token` generated in the [build integration](/docs/partners/technology-partners/onboard-businesses/integrate-oauth/integration-steps#2-2-get-access-token) step to authenticate using `Bearer Auth`.
Below is a sample code to create an Order and process payments.
`POST /orders`
```bash Request theme={null}
curl -H "Authorization: Bearer " \
-X POST https://api.razorpay.com/v1/orders \
-H "content-type: application/json" \
-d '{
"amount": 50000,
"currency": "INR",
"receipt": "receipt#1",
"notes": {
"key1": "value3",
"key2": "value2"
}
}'
```
```json Success Response theme={null}
{
"id": "order_EKwxwAgItmmXdp",
"entity": "order",
"amount": 50000,
"amount_paid": 0,
"amount_due": 50000,
"currency": "INR",
"receipt": "receipt#1",
"offer_id": null,
"status": "created",
"attempts": 0,
"notes": [],
"created_at": 1582628071
}
```
```javascript Failure Response theme={null}
{
"error": {
"code": "BAD_REQUEST_ERROR",
"description": "The amount must be at least INR 1.00",
"source": "business",
"step": "payment_initiation",
"reason": "input_validation_failed",
"metadata": {},
"field": "amount"
}
}
```
The parameter descriptions and errors are present in the [Create an Order API](/docs/api/orders/create) documentation.
Using the `public_token` for authorisation can secure a public-facing implementation such as Razorpay Checkout. In such cases, the `public_token` can replace the `key_id` field as shown below:
```javascript Checkout theme={null}
```
Know more about [Web Standard Integration](/docs/payments/payment-gateway/web-integration/standard).
This is a mandatory step to confirm the authenticity of the details returned to the Checkout form for successful payments.
To verify the `razorpay_signature` returned to you by the Checkout form:
1. Create a signature in your server using the following attributes:
* `order_id`: Retrieve the `order_id` from your server. Do not use the `razorpay_order_id` returned by Checkout.
* `razorpay_payment_id`: Returned by Checkout.
* `client_secret`: Available in your server. The `client_secret` that was generated from the [RazorpayDashboard](/docs/api/authentication#generate-api-keys).
2. Use the SHA256 algorithm, the `razorpay_payment_id` and the `order_id` to construct a HMAC hex digest as shown below:
```html HMAC Hex Digest theme={null}
generated_signature = hmac_sha256(order_id + "|" + razorpay_payment_id, client_secret);
if (generated_signature == razorpay_signature) {
payment is successful
}
```
3. If the signature you generate on your server matches the `razorpay_signature` returned to you by the Checkout form, the payment received is from an authentic source.
#### Generate Signature on Your Server
Given below is the sample code for payment signature verification:
```java Java theme={null}
RazorpayClient razorpay = new RazorpayClient("[CLIENT_KEY_ID]", "[CLIENT_KEY_SECRET]");
String secret = "EnLs21M47BllR3X8PSFtjtbd";
JSONObject options = new JSONObject();
options.put("razorpay_order_id", "order_IEIaMR65cu6nz3");
options.put("razorpay_payment_id", "pay_IH4NVgf4Dreq1l");
options.put("razorpay_signature", "0d4e745a1838664ad6c9c9902212a32d627d68e917290b0ad5f08ff4561bc50f");
boolean status = Utils.verifyPaymentSignature(options, secret);
```
```ruby Ruby theme={null}
require "razorpay"
Razorpay.setup('YOUR_KEY_ID', 'YOUR_SECRET')
payment_response = {
razorpay_order_id: 'order_IEIaMR65cu6nz3',
razorpay_payment_id: 'pay_IH4NVgf4Dreq1l',
razorpay_signature: '0d4e745a1838664ad6c9c9902212a32d627d68e917290b0ad5f08ff4561bc50f'
}
Razorpay::Utility.verify_payment_signature(payment_response)
```
```csharp .NET theme={null}
RazorpayClient client = new RazorpayClient("[CLIENT_KEY_ID]", "[CLIENT_KEY_SECRET]");
Dictionary options = new Dictionary();
options.Add("razorpay_order_id", "order_IEIaMR65");
options.Add("razorpay_payment_id", "pay_IH4NVgf4Dreq1l");
options.Add("razorpay_signature", "0d4e745a1838664ad6c9c9902212a32d627d68e917290b0ad5f08ff4561bc50");
Utils.verifyPaymentSignature(options);
```
#### Post Signature Verification
With this, your integration is complete. Test the integration before going live. Replace the test key with the live key and integrate with other [APIs](/docs/api).
## List of Available Payment Products
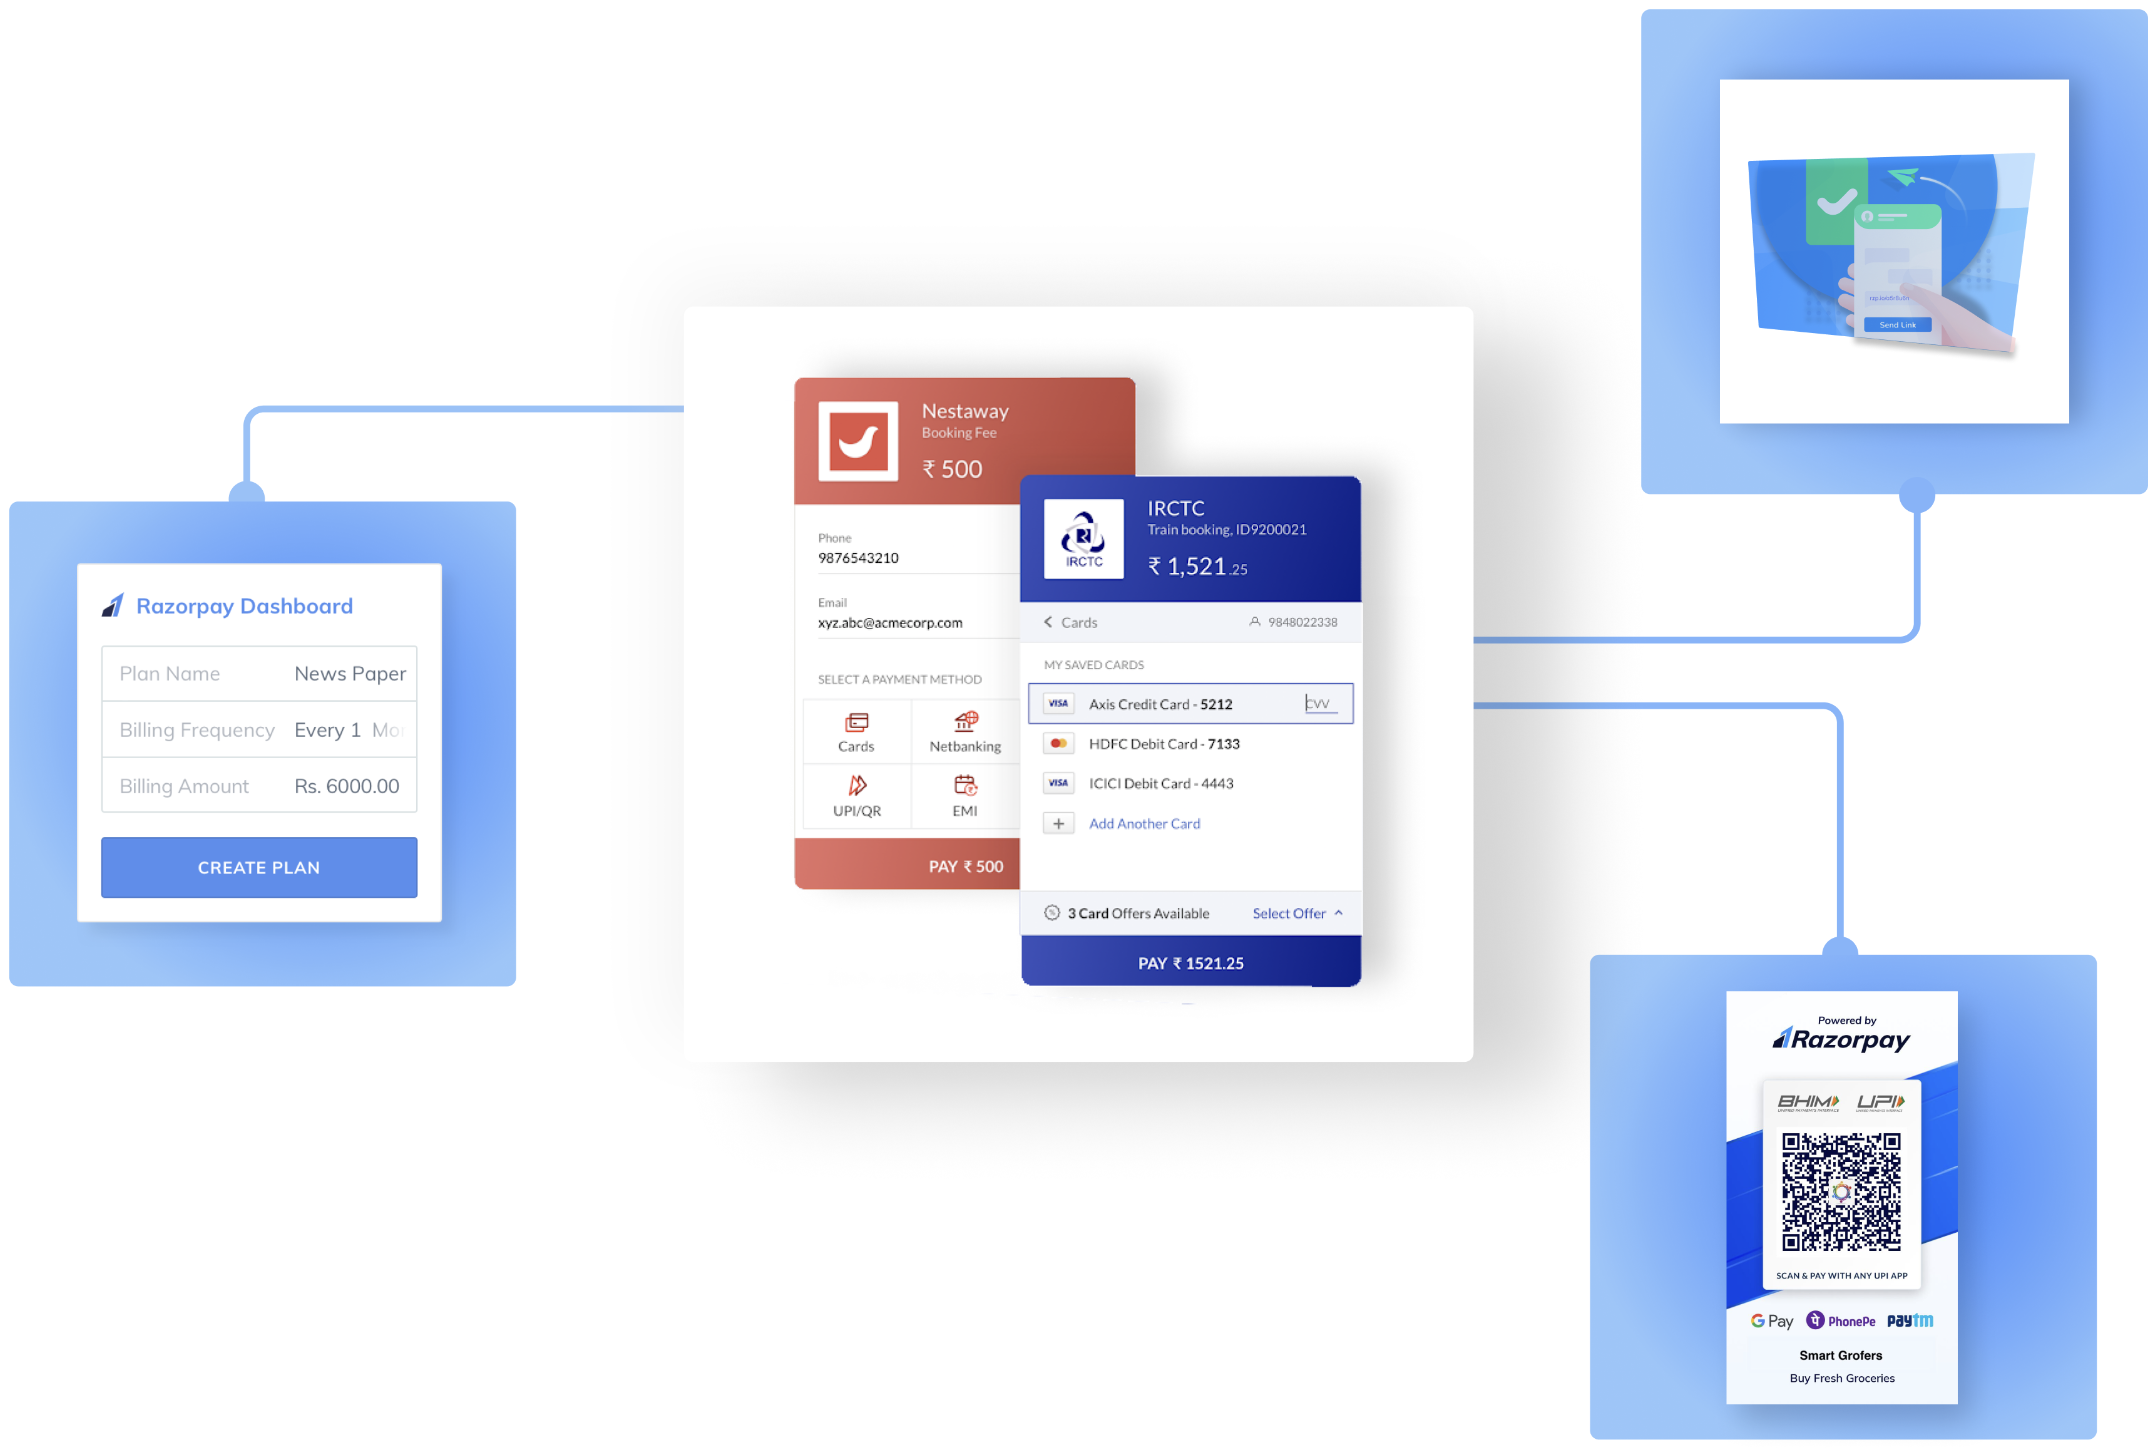
Below is a list of Razorpay products available to you to accept payments.
| Product and Use |
| ----------------------------------------------------------------------------------------------------------------------------------------------------------------------------------------------------------------------------------------------- |
| [Payment Gateway](/docs/payments/payment-gateway): Integrate our Payment Gateway with your website or app to accept payments from customers. |
| [Magic Checkout](/docs/payments/magic-checkout): Integrate Razorpay Magic Checkout to help customers complete prepaid and cash-on-delivery (COD) transactions on your website/app and reduce your COD RTOs. |
| [Payment Links](/docs/payments/payment-links): Share payment link via an email, SMS, messenger or chatbot and get paid immediately. |
| [Invoices](/docs/payments/invoices): Create and send GST-compliant invoices that your customers can pay online instantly. Get paid faster and improve your cash flow. |
| [Subscriptions](/docs/payments/subscriptions): Offer your customers subscription plans with automated recurring transactions on various payment modes. |
| [Smart Collect](/docs/payments/smart-collect): Generate virtual bank accounts and UPI IDs on demand and accept payments using NEFT, RTGS, IMPS and UPI. Get notified for each incoming payment and automate the tedious reconciliation process. |