> ## Documentation Index
> Fetch the complete documentation index at: https://razorpay-881012b3.mintlify.site/llms.txt
> Use this file to discover all available pages before exploring further.
# Customer Support Details
> Steps to add or update your business' customer support details on the Razorpay Dashboard.
Available in
🇮🇳 India
🇸🇬 Singapore
You can add your support details to the transaction emails sent to your customers. This will help your customers know how to reach you for any queries.
## Add Support Details
To add support details:
1. Log in to the Dashboard.
2. Click **Account & Settings** and navigate to **Customer support details** under **Business settings** section.
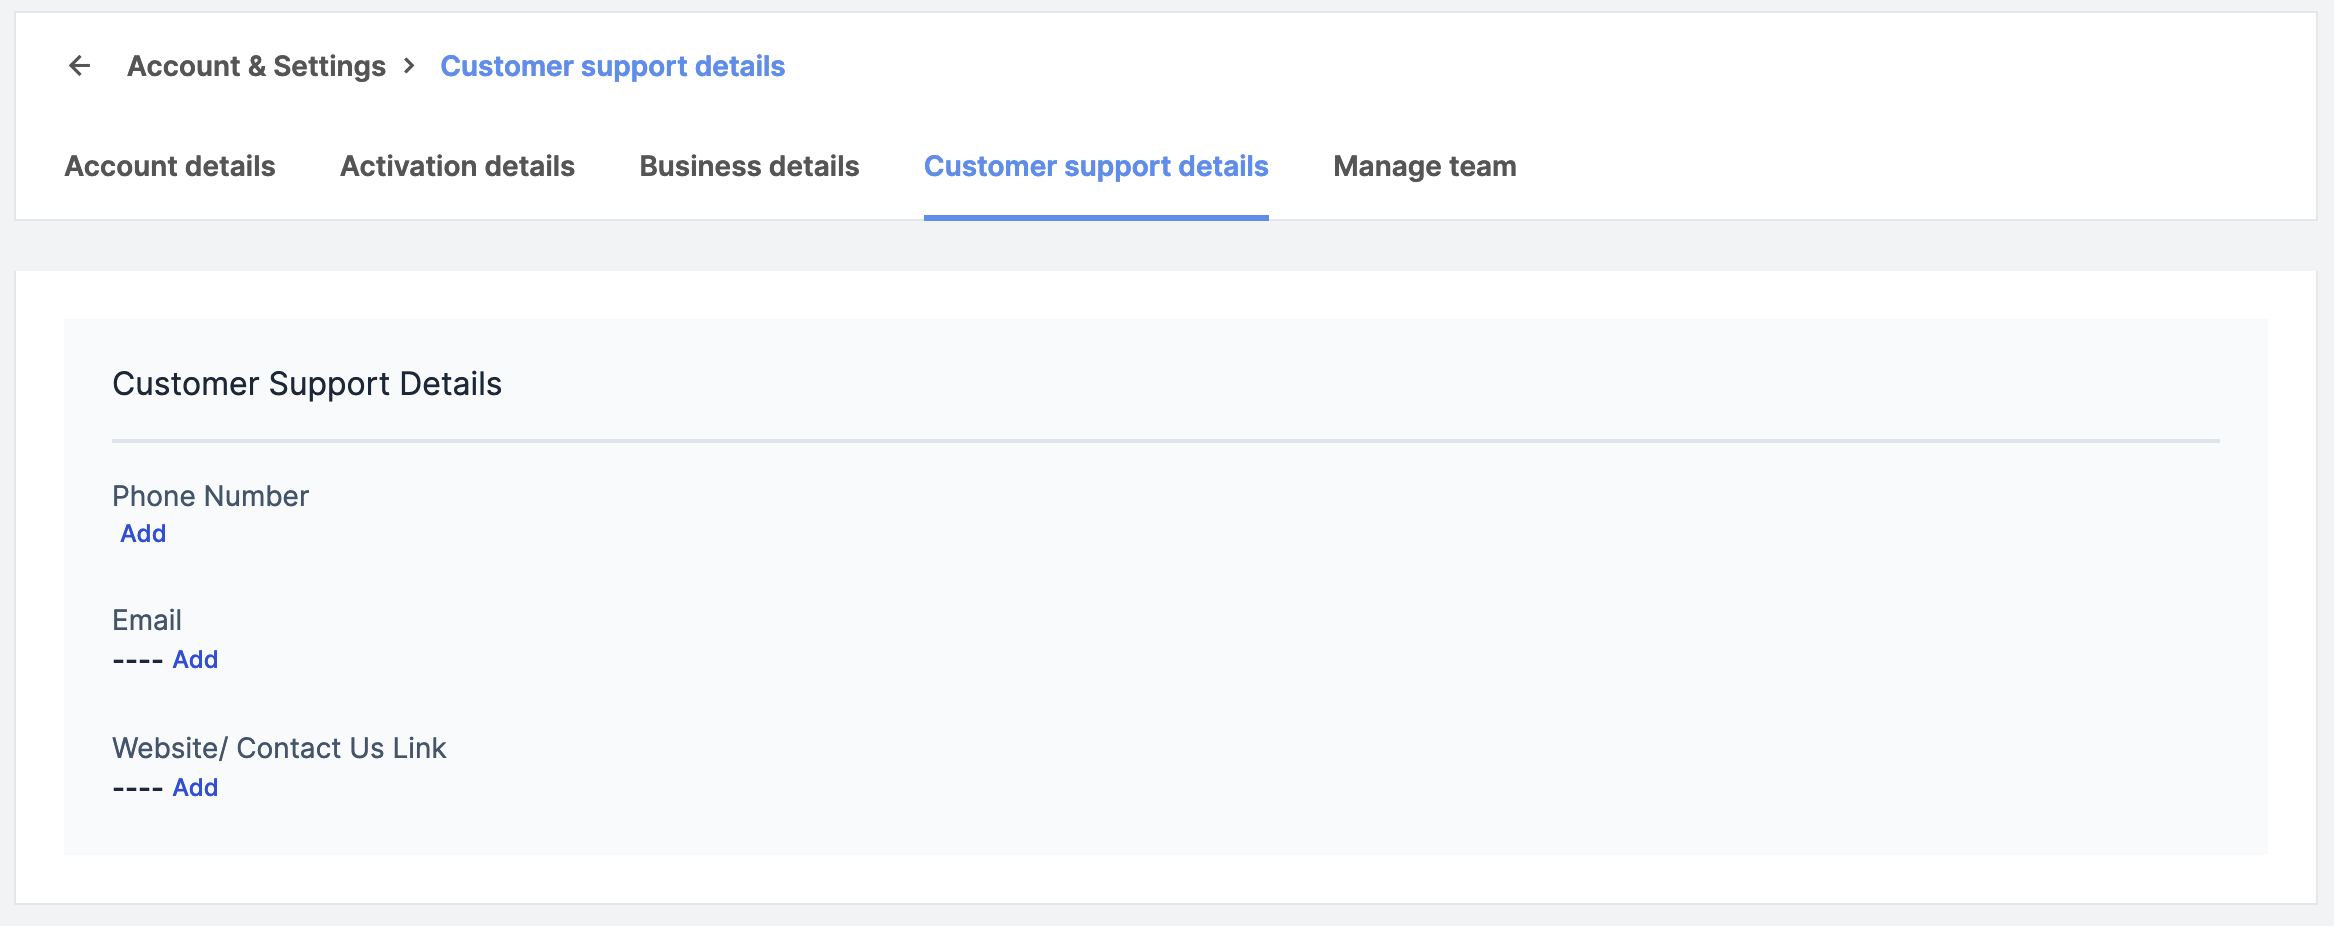 3. Click **Add** and enter:
* Phone Number
* Email
* Website/ Contact Us Link
4. Click **Submit**.
## Edit Support Details
To edit support details:
1. Log in to the Dashboard.
2. Click **Account & Settings** and navigate to **Customer support details** under **Business settings** section.
3. Navigate to the phone number, email or website/contact us link field and click **Edit**.
3. Click **Add** and enter:
* Phone Number
* Email
* Website/ Contact Us Link
4. Click **Submit**.
## Edit Support Details
To edit support details:
1. Log in to the Dashboard.
2. Click **Account & Settings** and navigate to **Customer support details** under **Business settings** section.
3. Navigate to the phone number, email or website/contact us link field and click **Edit**.
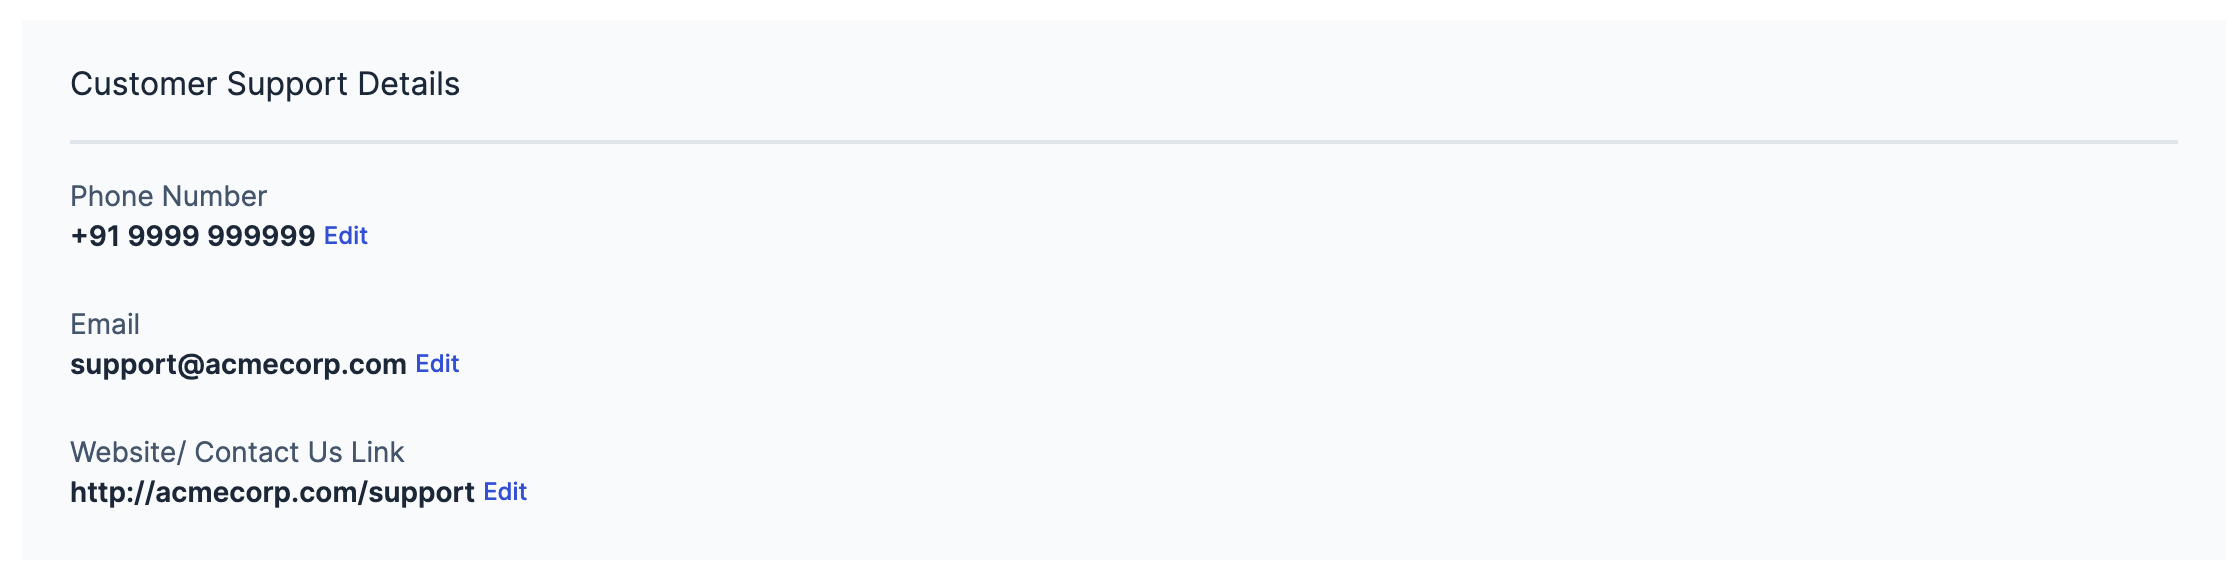 4. Click **Submit**.