> ## Documentation Index
> Fetch the complete documentation index at: https://razorpay-881012b3.mintlify.site/llms.txt
> Use this file to discover all available pages before exploring further.
# Get Started
> Create a Razorpay account and generate API keys using Razorpay Payments Mobile App.
Available in
🇮🇳 India
If you are new to Razorpay, you can create an account right from the mobile app. If you are an existing Razorpay user, log in to the Razorpay Payments Mobile app using your Dashboard credentials.
Know how to:
* [Create a New Account](#create-a-new-account).
* [Sign in with an existing Razorpay account](#sign-in).
## Create a New Account
Follow these steps to create a Razorpay account:
1. Install the Razorpay Payments Mobile App from Google Play Store.
2. Open the app and tap **Create Account**.
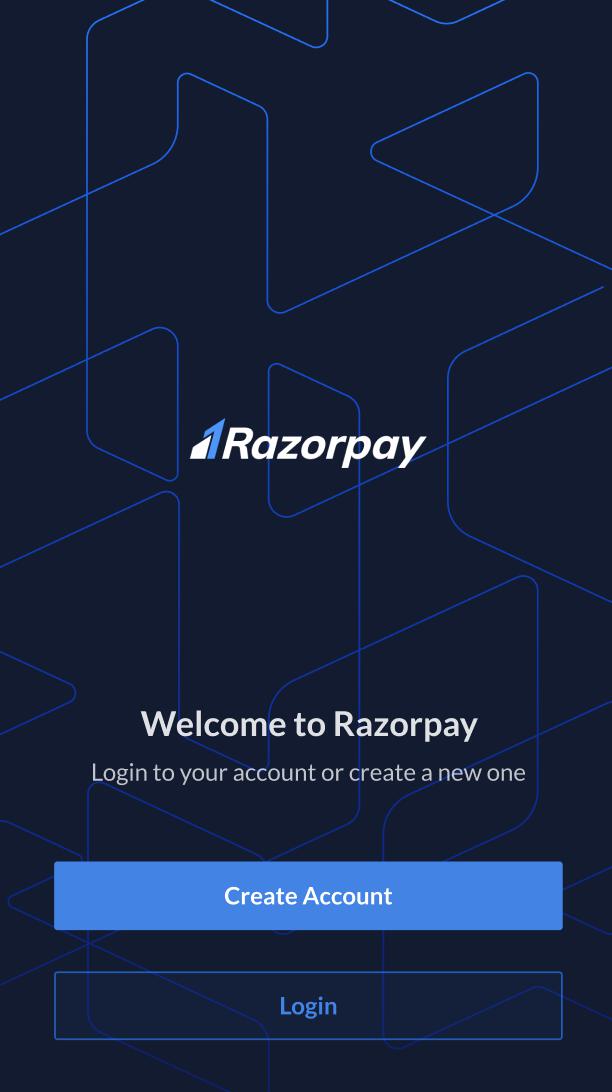 3. Enter your mobile number or email address. Tap **Next**.
4. Create a password and tap **Create Account**.
5. A verification code is sent to your **mobile number** or **email id**. Enter the code to verify the mobile number or email id.
6. **Business Overview**: Enter your business details, billing label and provide your website/app URL. If you do not have one, select the relevant option. Tap **Save & Next**.
7. **Business Details**: Enter details such as business PAN and name, authorised signatory's PAN and name and the business address. Tap **Save & Next**.
8. **Contact Details**: Enter your name and contact details. Enable the **Get account updates on WhatsApp** option to receive WhatsApp notifications. You can [disable WhatsApp notifications](/docs/payments/dashboard/account-settings/email-sms-whatsapp) from the Dashboard. Tap **Submit**.
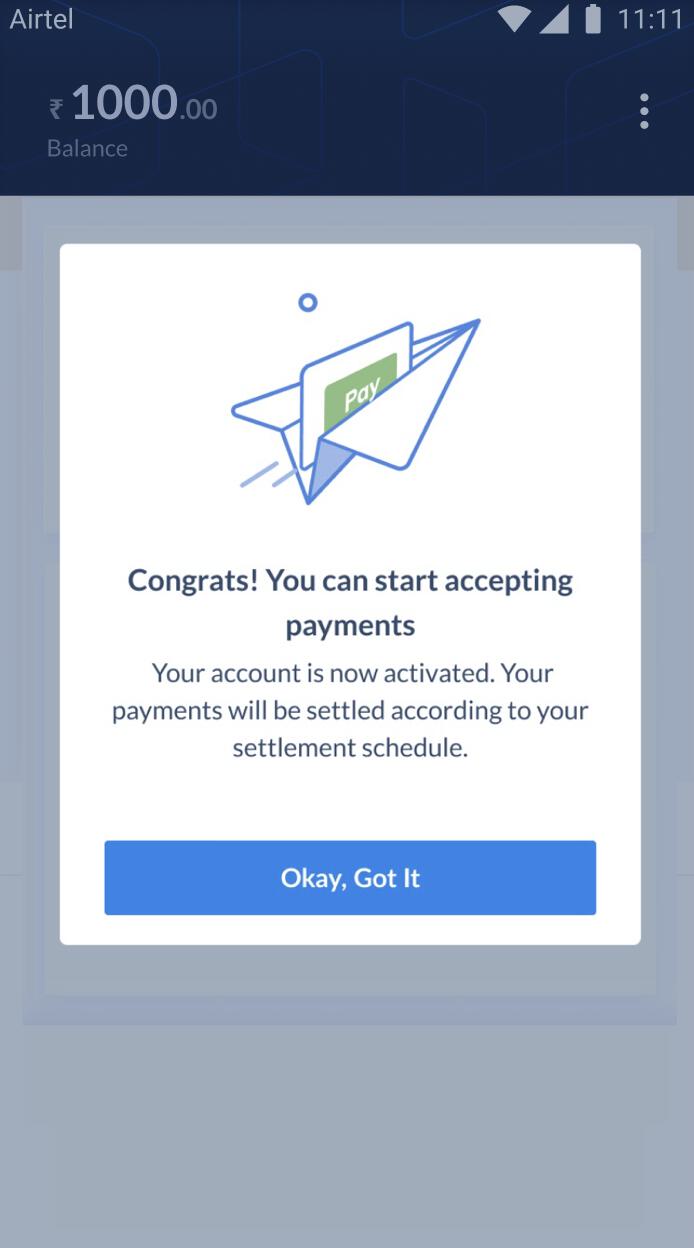
9. Your account is activated. We create the Razorpay.me URL for you instantly after account activation. You can accept payments from your customers using [Razorpay.me URL](/docs/payments/mobile-app/accept-payments/razorpay-me).
3. Enter your mobile number or email address. Tap **Next**.
4. Create a password and tap **Create Account**.
5. A verification code is sent to your **mobile number** or **email id**. Enter the code to verify the mobile number or email id.
6. **Business Overview**: Enter your business details, billing label and provide your website/app URL. If you do not have one, select the relevant option. Tap **Save & Next**.
7. **Business Details**: Enter details such as business PAN and name, authorised signatory's PAN and name and the business address. Tap **Save & Next**.
8. **Contact Details**: Enter your name and contact details. Enable the **Get account updates on WhatsApp** option to receive WhatsApp notifications. You can [disable WhatsApp notifications](/docs/payments/dashboard/account-settings/email-sms-whatsapp) from the Dashboard. Tap **Submit**.
9. Your account is activated. We create the Razorpay.me URL for you instantly after account activation. You can accept payments from your customers using [Razorpay.me URL](/docs/payments/mobile-app/accept-payments/razorpay-me).
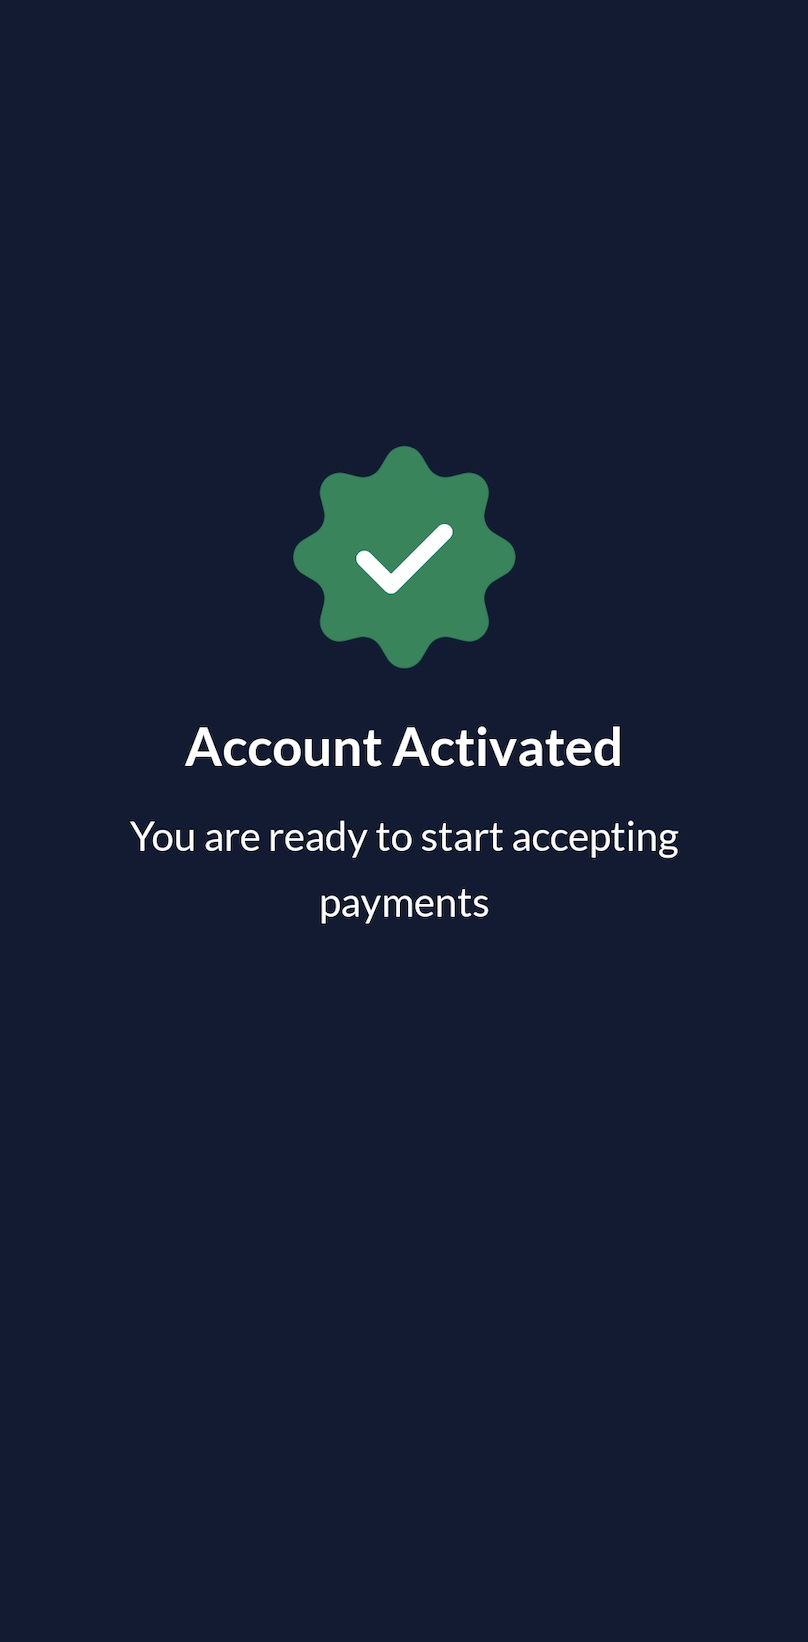 Live mode is enabled once you complete the activation process.
Submit KYC details for a Razorpay account on the mobile app. Tap **Complete KYC** to initiate the account activation process.
Live mode is enabled once you complete the activation process.
Submit KYC details for a Razorpay account on the mobile app. Tap **Complete KYC** to initiate the account activation process.
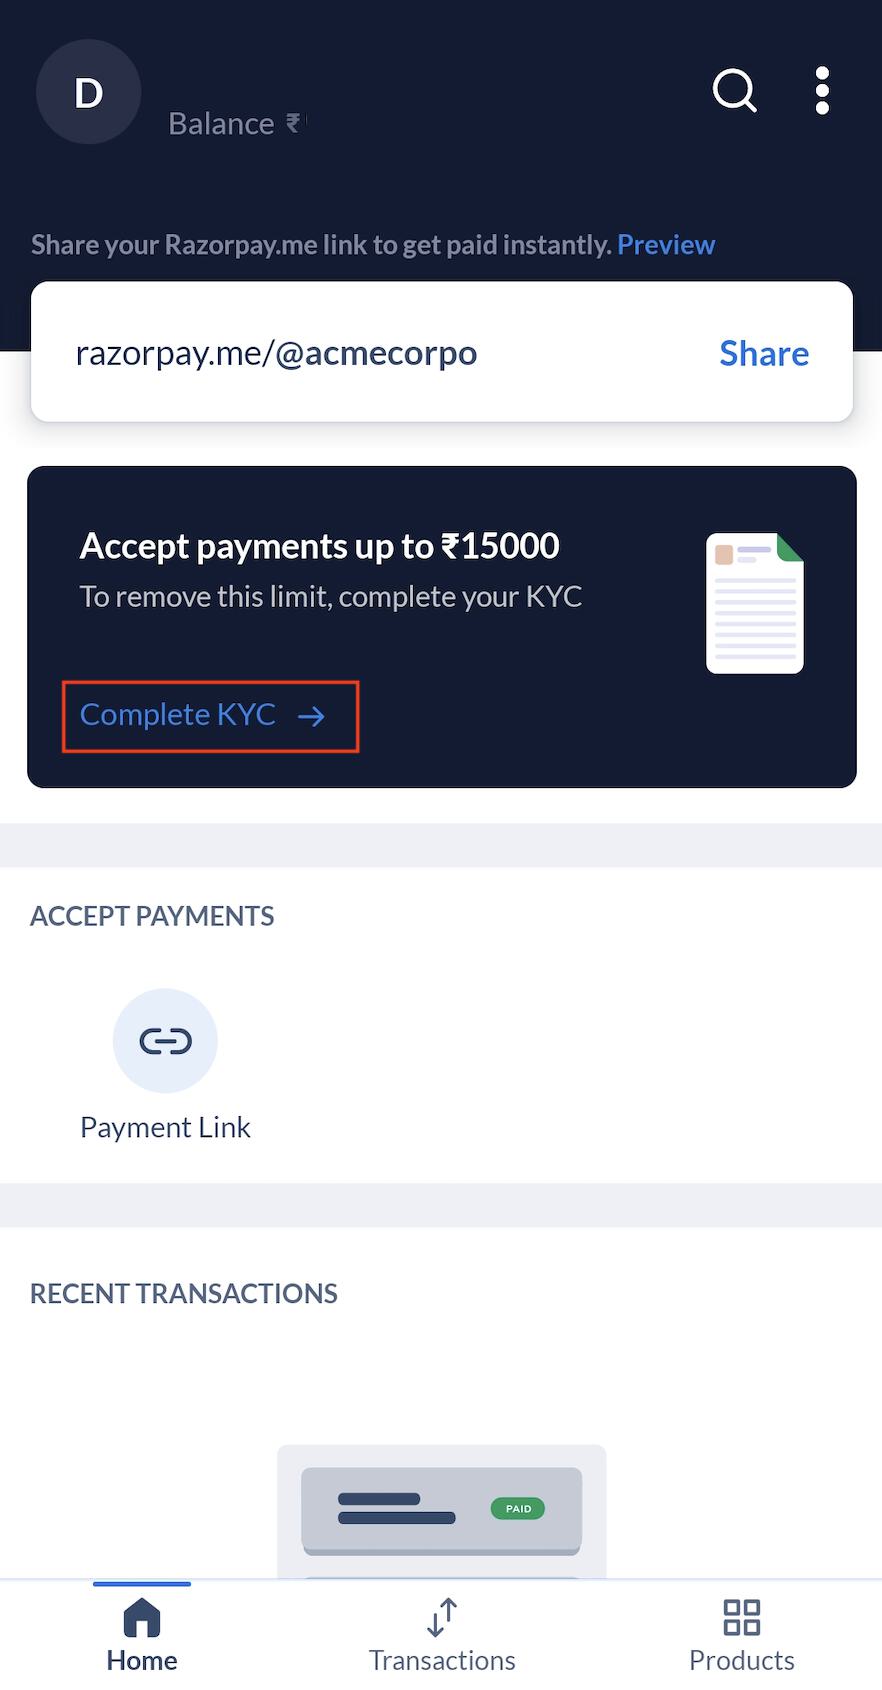 Enter the following details:
1. **Bank and Company Details**: Enter the bank account details to which Razorpay should transfer the amount collected from customers (minus fees and tax).
If you are a registered business, enter company information such as CIN and GSTIN. If you do not have a GSTIN, select **I don't have a GSTIN**.
2. **Documents Upload**: The process varies based on your business type:
1. **Business Type: Individual and Registered (Proprietorship and Partnership only)**
Enter the following details:
1. **Bank and Company Details**: Enter the bank account details to which Razorpay should transfer the amount collected from customers (minus fees and tax).
If you are a registered business, enter company information such as CIN and GSTIN. If you do not have a GSTIN, select **I don't have a GSTIN**.
2. **Documents Upload**: The process varies based on your business type:
1. **Business Type: Individual and Registered (Proprietorship and Partnership only)**
If you fall under the above-mentioned business types, you **must** complete the Aadhar eKYC process by entering the following information:
1. **Aadhar Verification (Via OTP)**: Enter your 12-digit Aadhar number.
2. **Captcha**: Enter the captcha shown on the screen.
3. Tap **Submit & Get OTP**. The OTP is sent to the mobile number linked with you Aadhar card.
4. Enter the OTP and tap **Save and Verify**.
5. Once the verification is complete, Razorpay automatically receives the Aadhar details.
2. **All Other Registered Business Types**
[Upload documents as per your business type](/docs/payments/set-up#2-submit-kyc-details/). You can capture images using the app or upload existing files. Given below are upload guidelines:
* Supported file types: JPG, PNG or PDF files.
* Supported file size: Maximum size supported is 2 MB.
3. Tap **Save and Verify**.
Our team will review the information submitted by you. It takes approximately 3 working days to complete the review process.
### Onboarding Videos for Various Business Types
Watch these videos to check the business verification and document verification details required for your business type:
#### Business Verification Process
* [Individuals](https://razorpay.com/docs/build/browser/assets/images/mobileapp-l1-unregistered.mp4)
* [Registered Business](https://razorpay.com/docs/build/browser/assets/images/L1-reg.mp4)
#### Document Verification Process
* [Individuals](https://razorpay.com/docs/build/browser/assets/images/mobileapp-l2-unregistered.mp4)
* [Public Ltd and Private Ltd](https://razorpay.com/docs/build/browser/assets/images/L2-reg.mp4)
* [Proprietorship](https://razorpay.com/docs/build/browser/assets/images/L2-prope.mp4)
* [Partnership](https://razorpay.com/docs/build/browser/assets/images/mobileapp-l2-partnerships.mp4)
* [NGOs, Trusts and Societies](https://razorpay.com/docs/build/browser/assets/images/mobileapp-l2-ngo-trust-society.mp4)
### Provide Clarification
During the review process, we may reach out to you for clarifications. You can address these queries on the web version of the Dashboard.
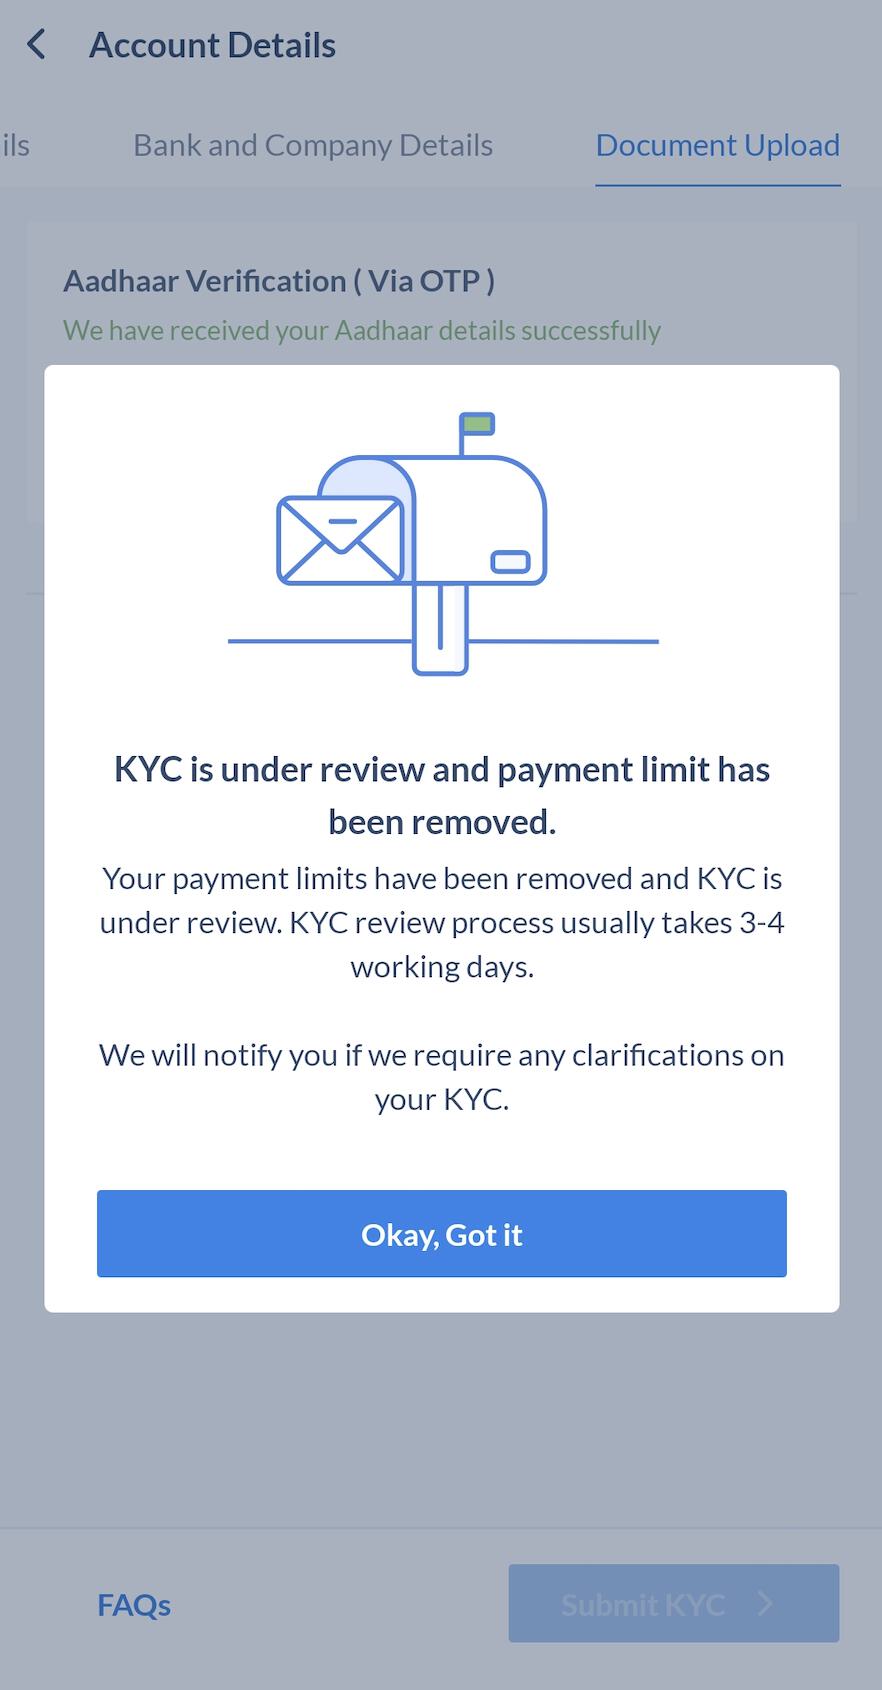 Your Razorpay account is activated upon successful review of all the information provided above.
 ## Sign In
Follow these steps to sign in with your existing Dashboard credentials.
1. Install the Razorpay Payments Mobile App from Google Play Store.
2. Open the app and tap **Login**.
3. Enter your Dashboard credentials and tap **Login**.
### Related Information
* RazorpayPayments Mobile App
* [Accept payments using Payment Links](/docs/payments/mobile-app/accept-payments/payment-links)
* [Track payments](/docs/payments/mobile-app/track-manage)
* [Issue refunds](/docs/payments/mobile-app/track-manage/issue-refunds)
## Sign In
Follow these steps to sign in with your existing Dashboard credentials.
1. Install the Razorpay Payments Mobile App from Google Play Store.
2. Open the app and tap **Login**.
3. Enter your Dashboard credentials and tap **Login**.
### Related Information
* RazorpayPayments Mobile App
* [Accept payments using Payment Links](/docs/payments/mobile-app/accept-payments/payment-links)
* [Track payments](/docs/payments/mobile-app/track-manage)
* [Issue refunds](/docs/payments/mobile-app/track-manage/issue-refunds)