> ## Documentation Index
> Fetch the complete documentation index at: https://razorpay-881012b3.mintlify.site/llms.txt
> Use this file to discover all available pages before exploring further.

# Create a WordPress Website

> Create a WordPress website and embed a Razorpay Payment Button to accept payments from customers.

<div style={{display:"flex",flexWrap:"wrap",alignItems:"center",gap:"0.35rem 0.9rem",border:"1px solid rgba(128,128,128,0.28)",borderRadius:"0.5rem",padding:"0.45rem 0.75rem",margin:"0 0 1.25rem",fontSize:"0.875rem"}}>
  <span style={{fontWeight:600}}>Available in</span>
  <span>🇮🇳 India</span>
</div>

WordPress is one of the most popular Content Management Systems out there. You can quickly build a website using WordPress and embed the our Payment Button to accept payments from customers.

Given below are the steps to create a Wordpress website.

## Install Wordpress

<Tabs>
  <Tab title="For Windows Users">
    See: [Installation steps for Windows](https://documentation.mamp.info/en/MAMP-Windows/Installation/)
  </Tab>

  <Tab title="For Mac Users">
    To install WordPress on your Mac system:

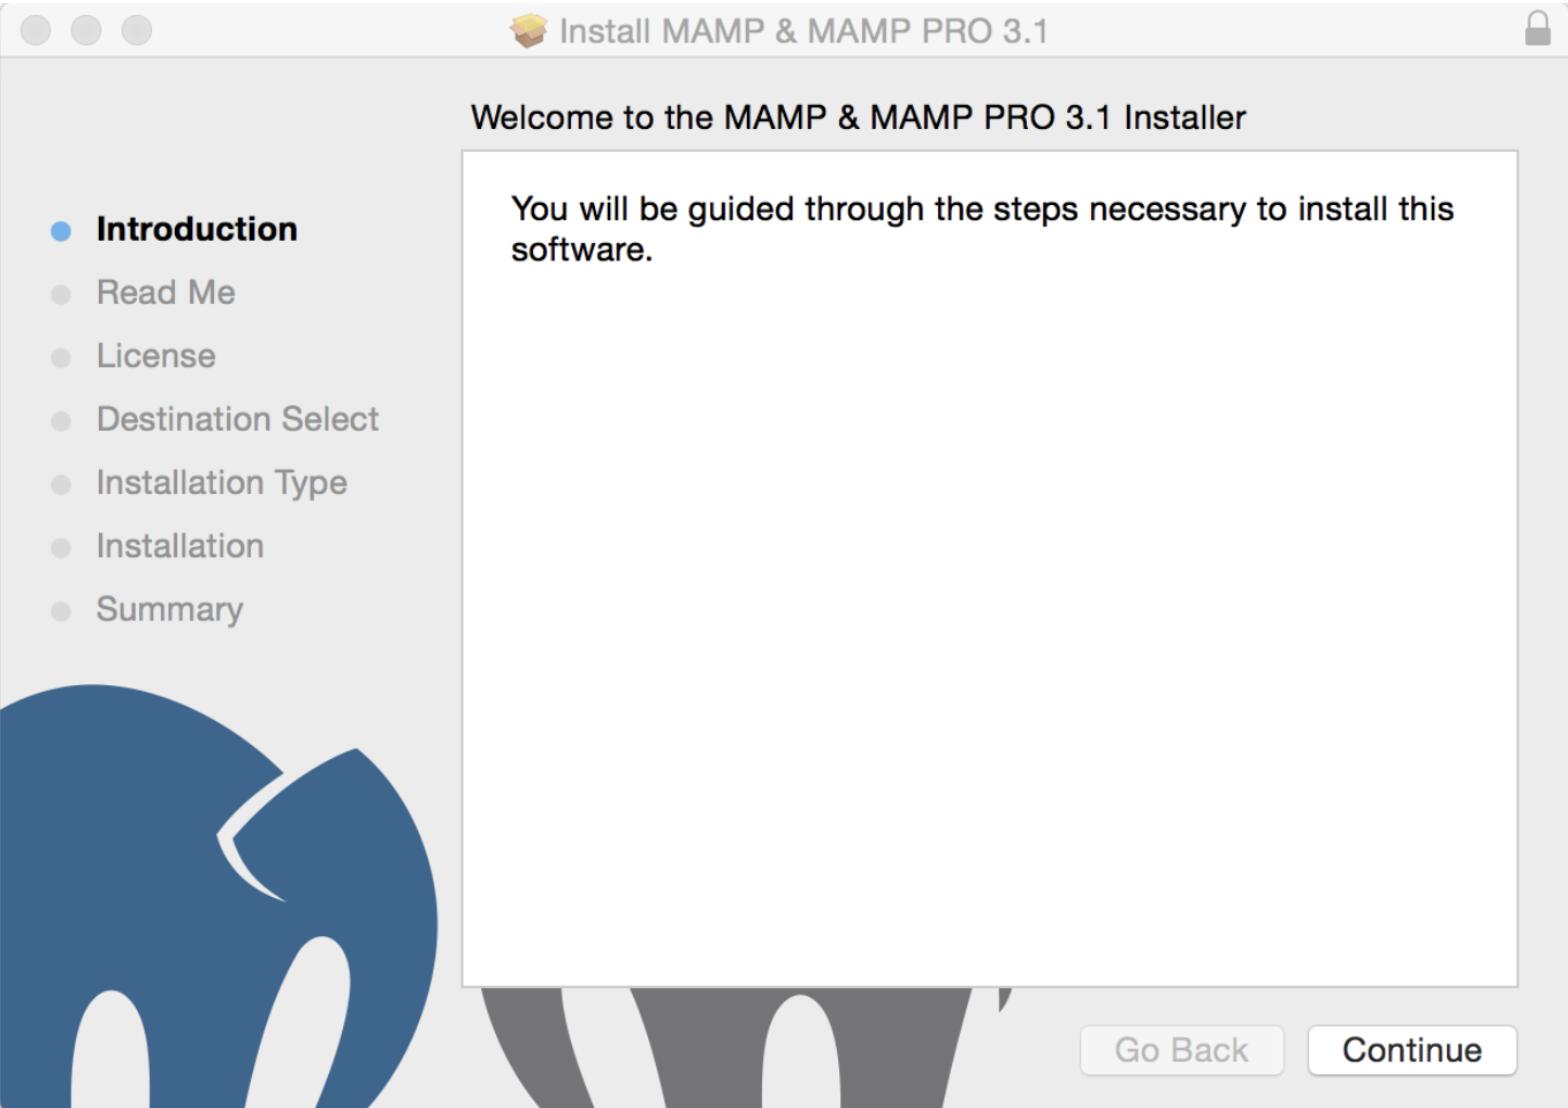
    1. [Download the latest version of MAMP](https://www.mamp.info/en/downloads/) and install it on your Mac system. This software enables you to manage your websites locally.
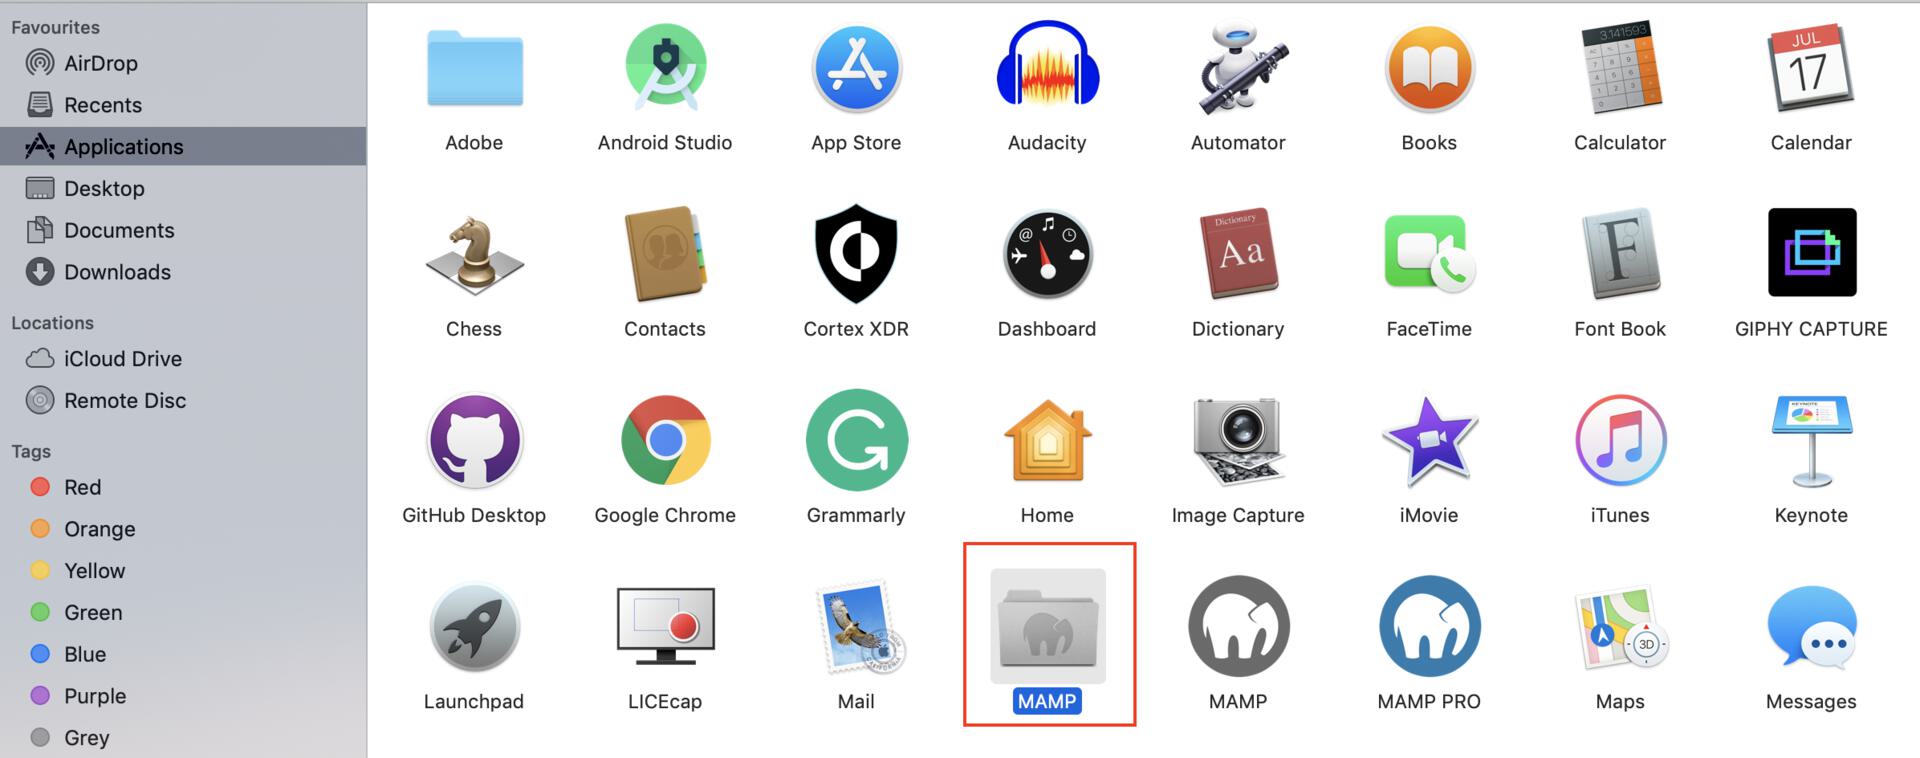
    2. Install the downloaded file using the wizard and save MAMP in your **Applications** folder.
           <img src="https://razorpay.com/docs/build/browser/assets/images/payment-button-wordpress-install-mamp.jpg" alt="Install MAMP" width="600" />
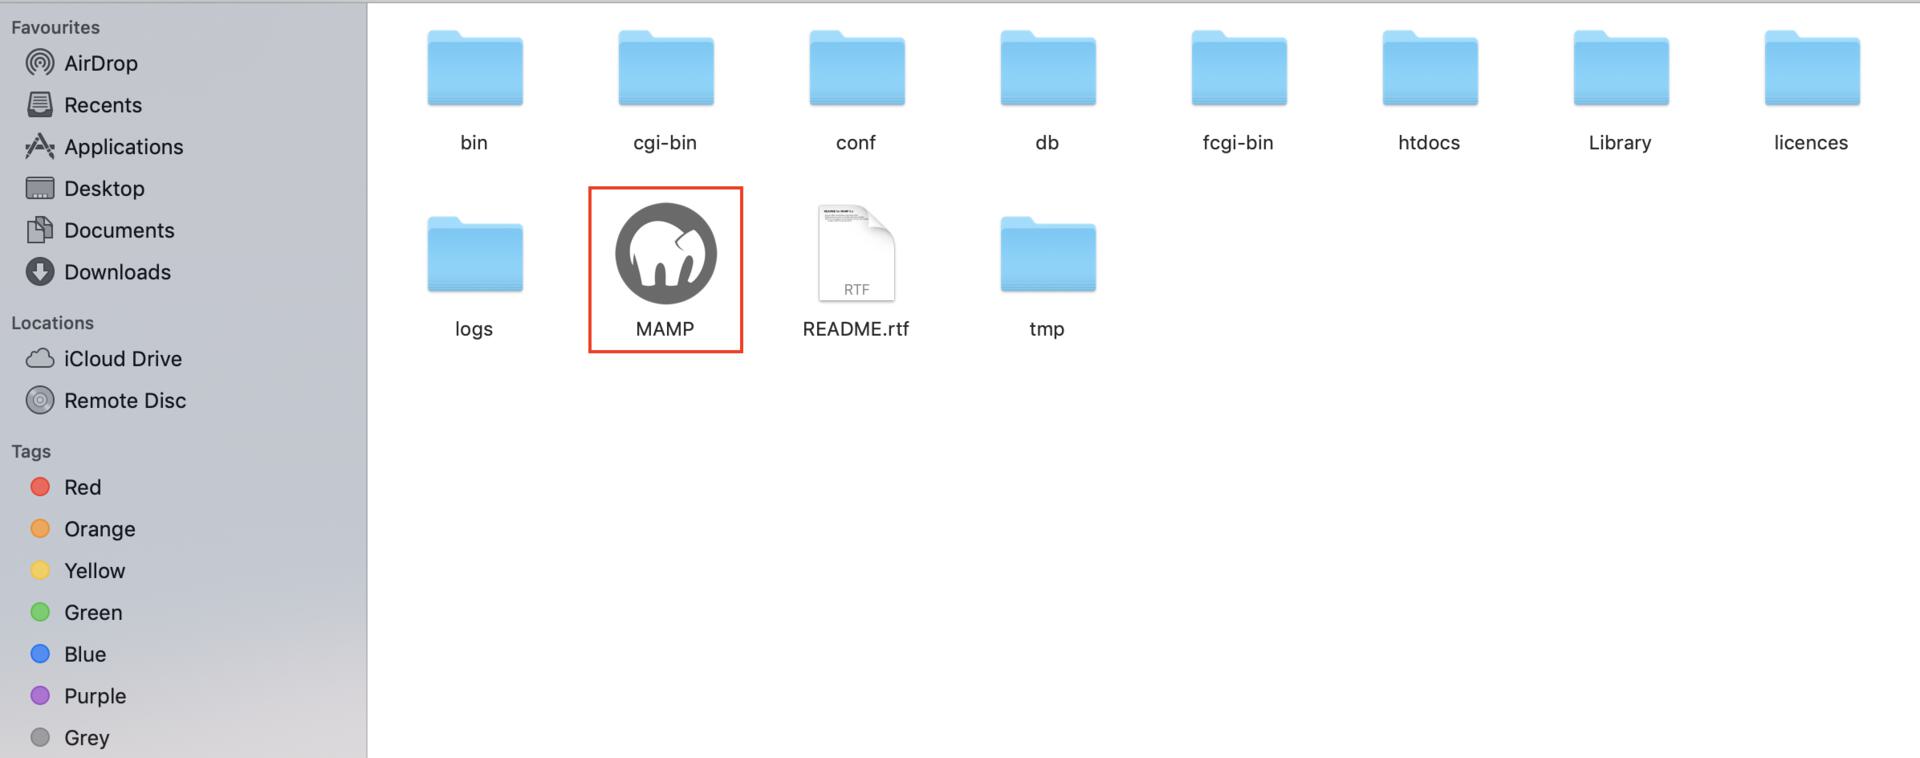
    3. Navigate to the **MAMP** folder.
           <img src="https://razorpay.com/docs/build/browser/assets/images/payment-button-wordpress-mamp-folder.jpg" alt="Navigate to MAMP" width="800" />
           <br />
       In the folder, click the **MAMP** icon:
           <img src="https://razorpay.com/docs/build/browser/assets/images/payment-button-wordpress-mamp-icon.jpg" alt="Click MAMP" width="800" />
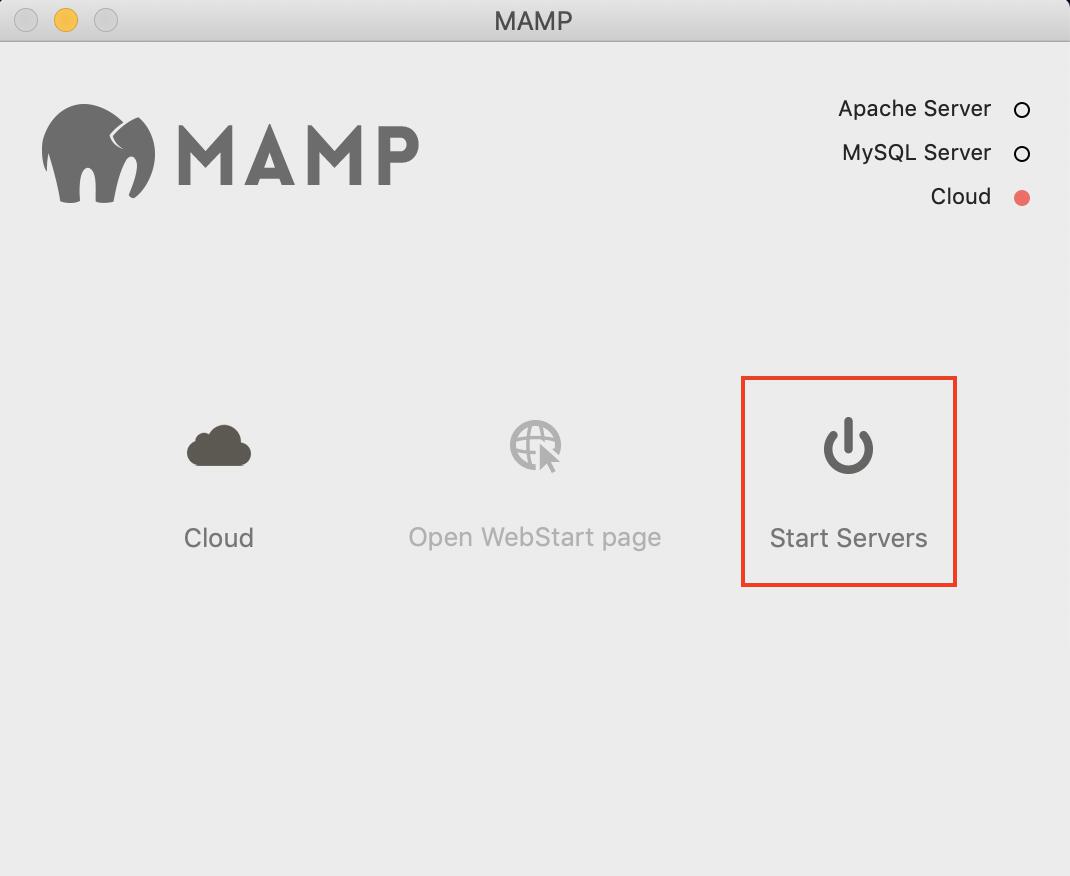
    4. Click **Start Server** to run the server on your system.
           <img src="https://razorpay.com/docs/build/browser/assets/images/payment-button-wordpress-start-server.jpg" alt="Start Server" width="600" />
           <br />
       The server status appears green once they are ready.
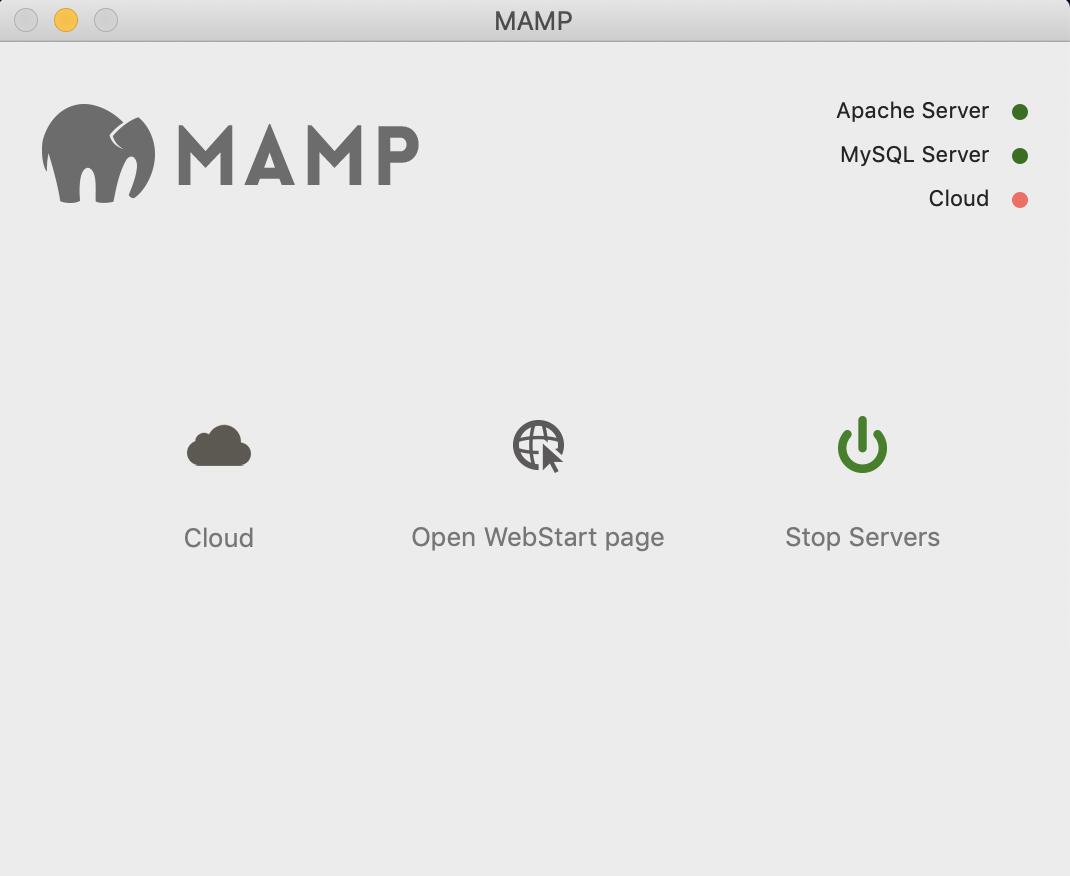
           <img src="https://razorpay.com/docs/build/browser/assets/images/payment-button-wordpress-server-running.jpg" alt="Server in Ready State" width="600" />
           <br />
    5. Click **Open WebStart Page**. The server starts running on your browser as shown:
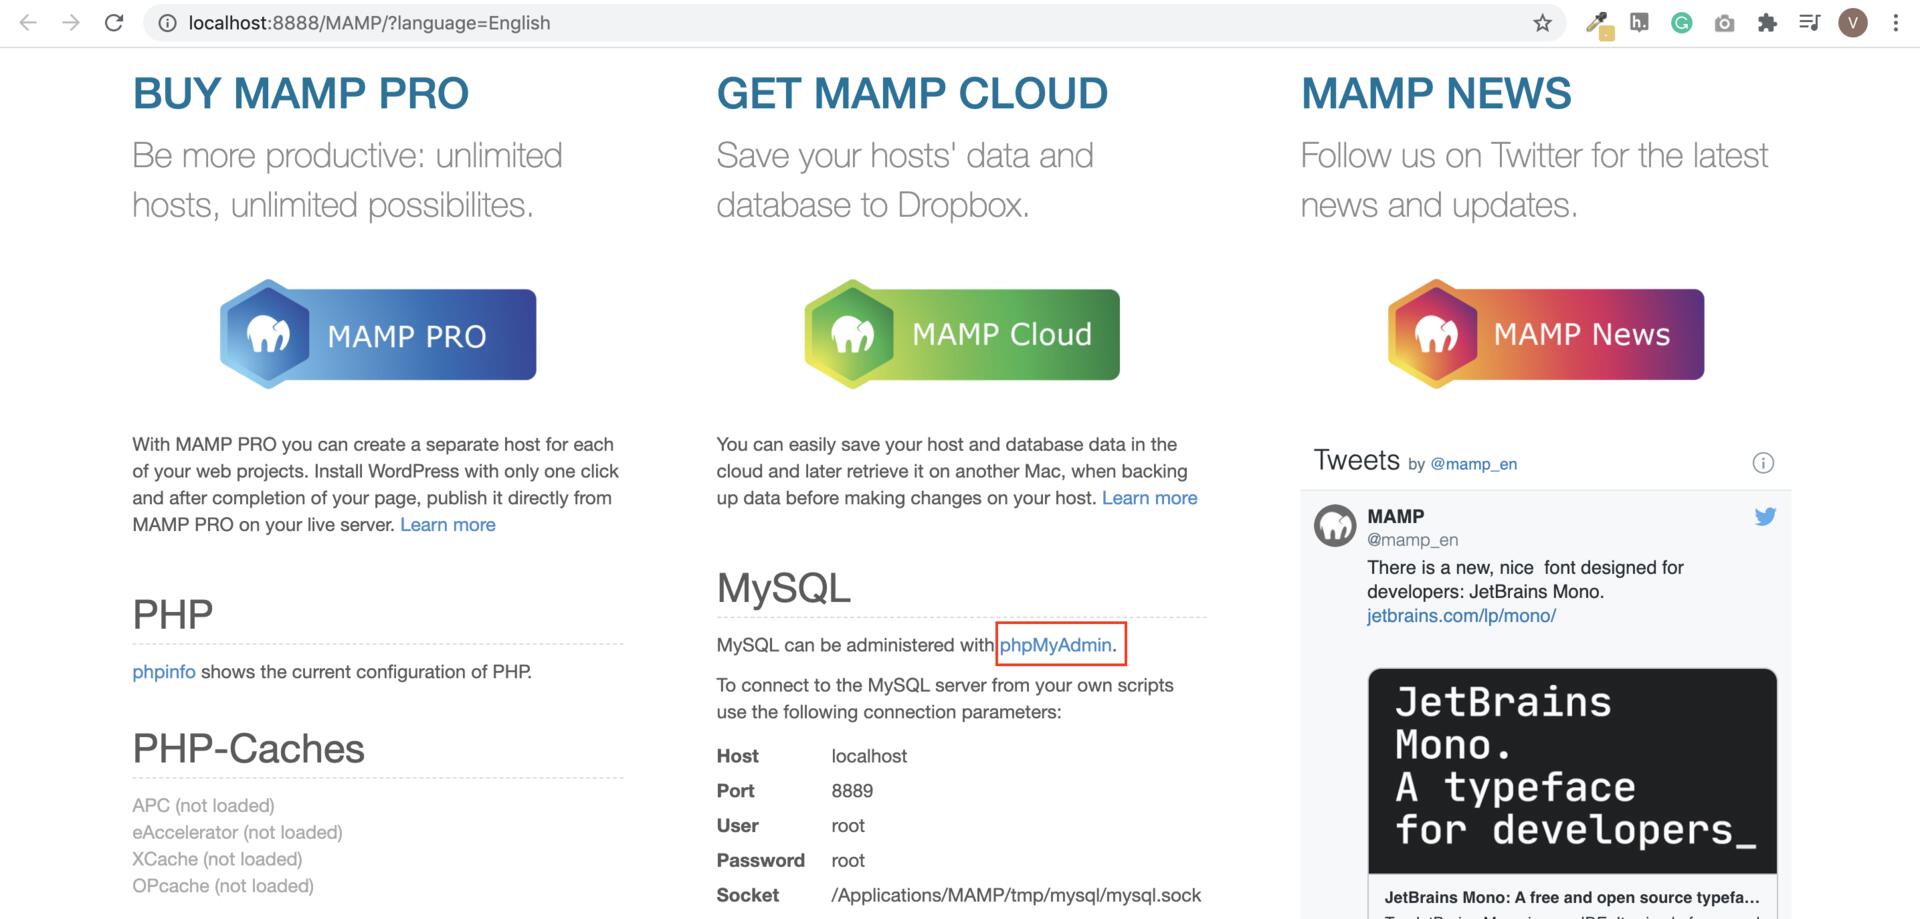
           <img src="https://razorpay.com/docs/build/browser/assets/images/payment-button-wordpress-phpmyadmin.jpg" alt="Open WebStart Page" width="800" />
           <br />
    6. We must set up a MySQL database for the WordPress website. This is done using **phpMyAdmin**.
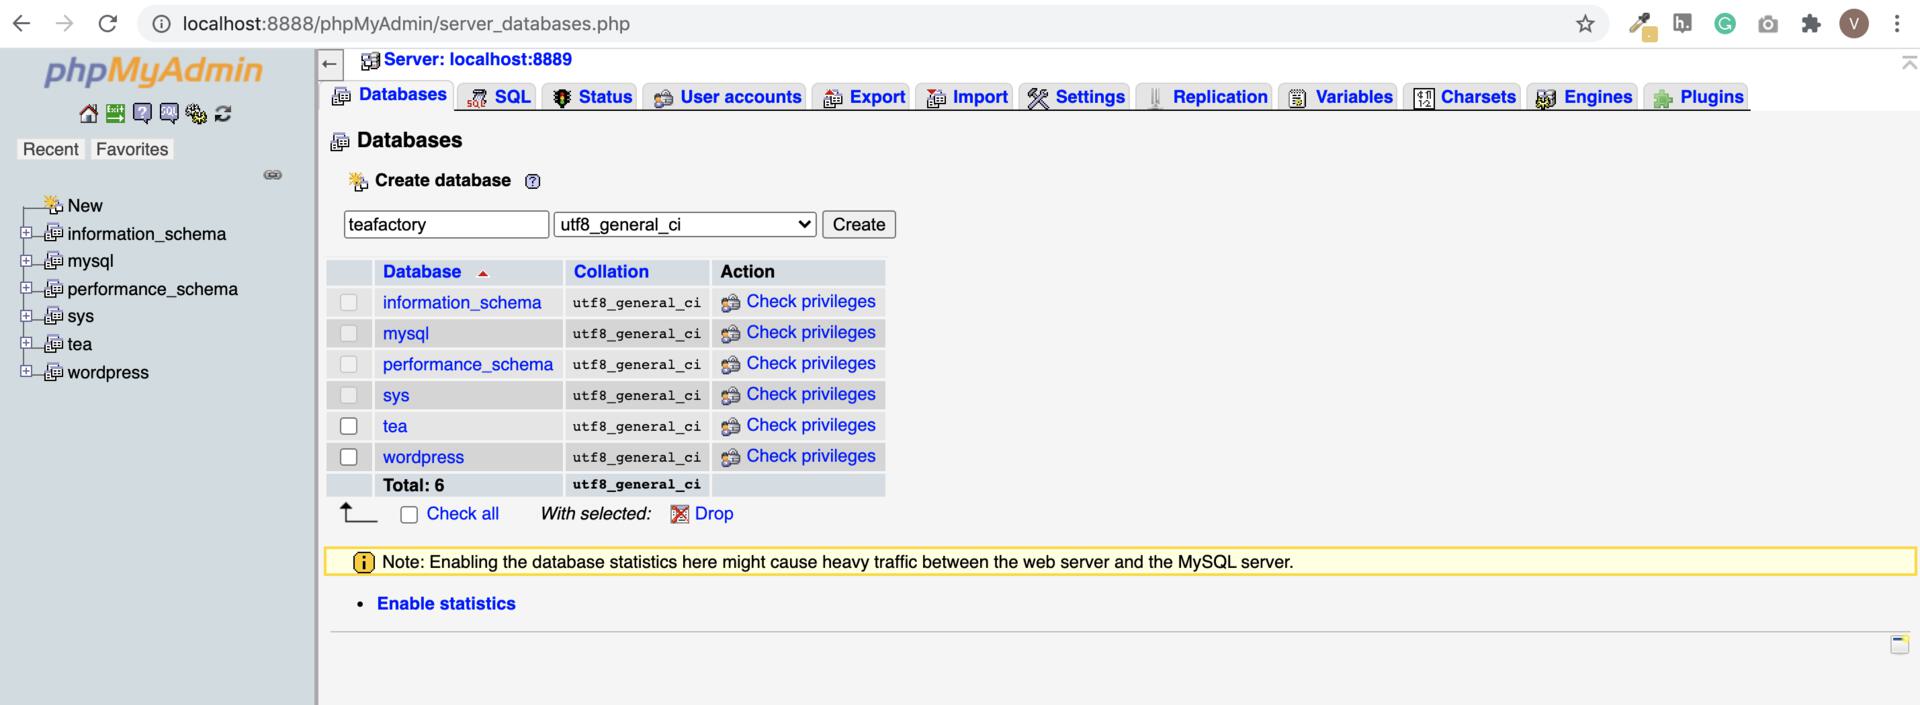
           <img src="https://razorpay.com/docs/build/browser/assets/images/payment-button-wordpress-setup-database.jpg" alt="Setup phpMyAdmin" width="800" />
           <br />
    7. Navigate to the WordPress application you had downloaded.
    8. Rename the `WordPress` folder. Provide a name relevant to the site you will be building/testing locally. For example, `teafactory`. Add the `teafactory` folder in `htdocs` of your MAMP directory.
           <img src="https://razorpay.com/docs/build/browser/assets/images/payment-button-wordpress-htdocs.jpg" alt="Rename WordPress folder" width="800" />
           <br />
    9. Open the browser and type in the URL pointing to your site folder. For example, `localhost:8888/teafactory`. Select the language of your choice and click **Continue** → **Let's Go**.
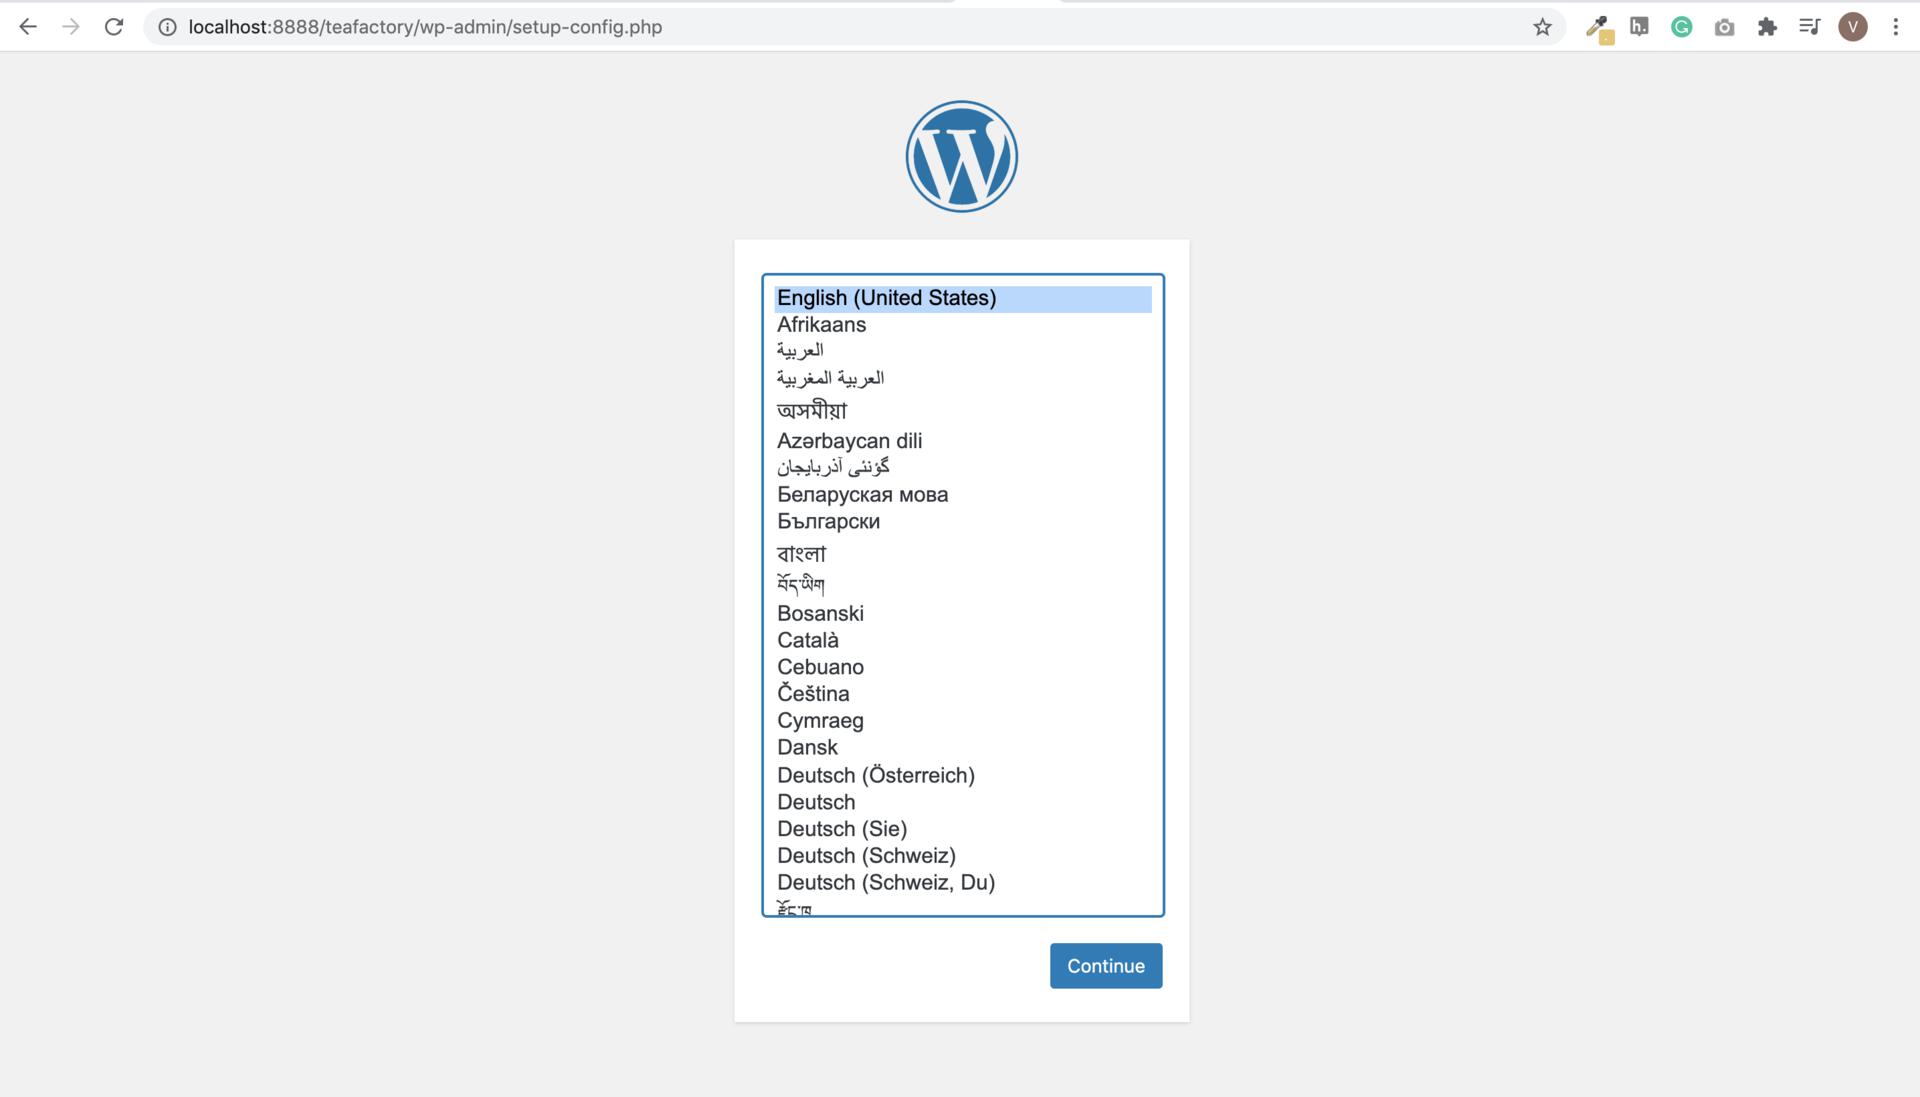
           <img src="https://razorpay.com/docs/build/browser/assets/images/payment-button-wordpress-select-language.jpg" alt="Select Language" width="800" />
           <br />
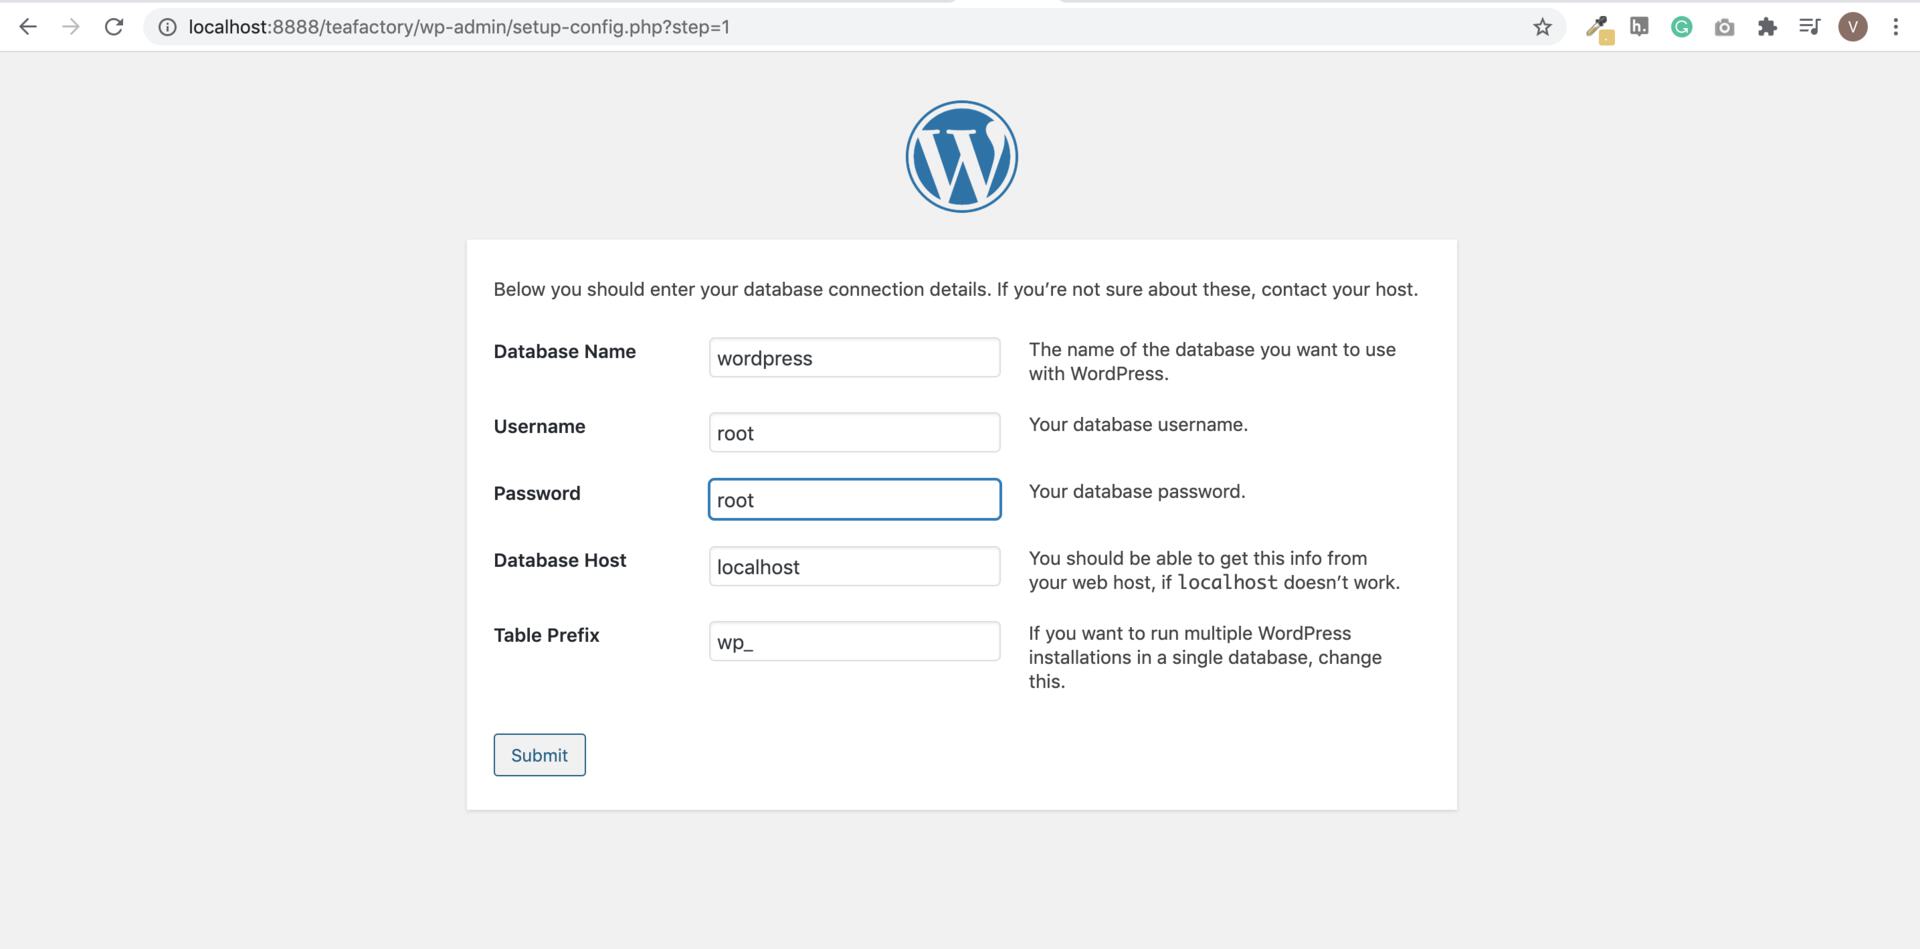
    10. Enter your database details. Provide a name for the database and enter `root` for both the database username and password. Click **Submit**.
            <img src="https://razorpay.com/docs/build/browser/assets/images/payment-button-wordpress-wp-login.jpg" alt="Log in" width="800" />
            <br />
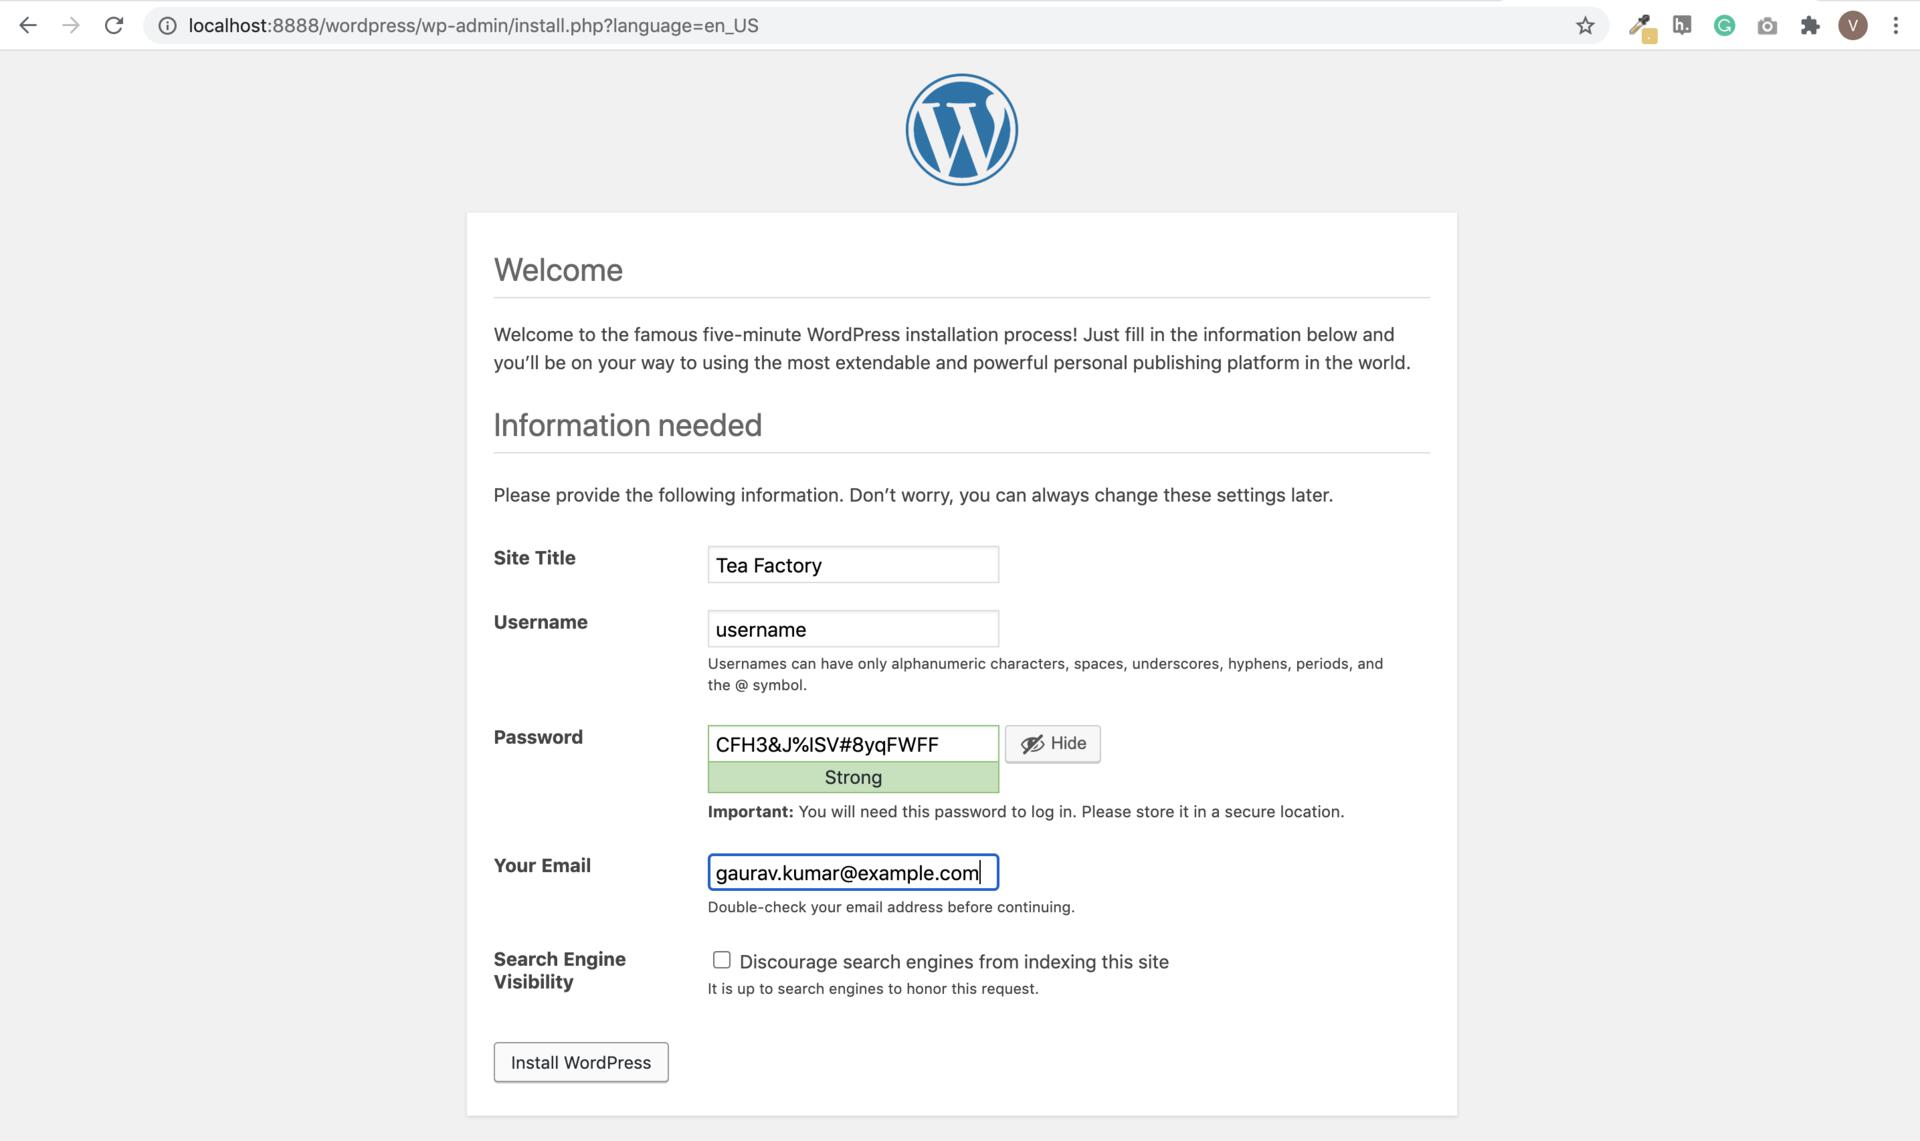
    11. Provide the required general site information (which you can change later), as well as your login information in WordPress.
            <img src="https://razorpay.com/docs/build/browser/assets/images/payment-button-wordpress-setup-login.jpg" alt="Setup Login Information" width="800" />
            <br />
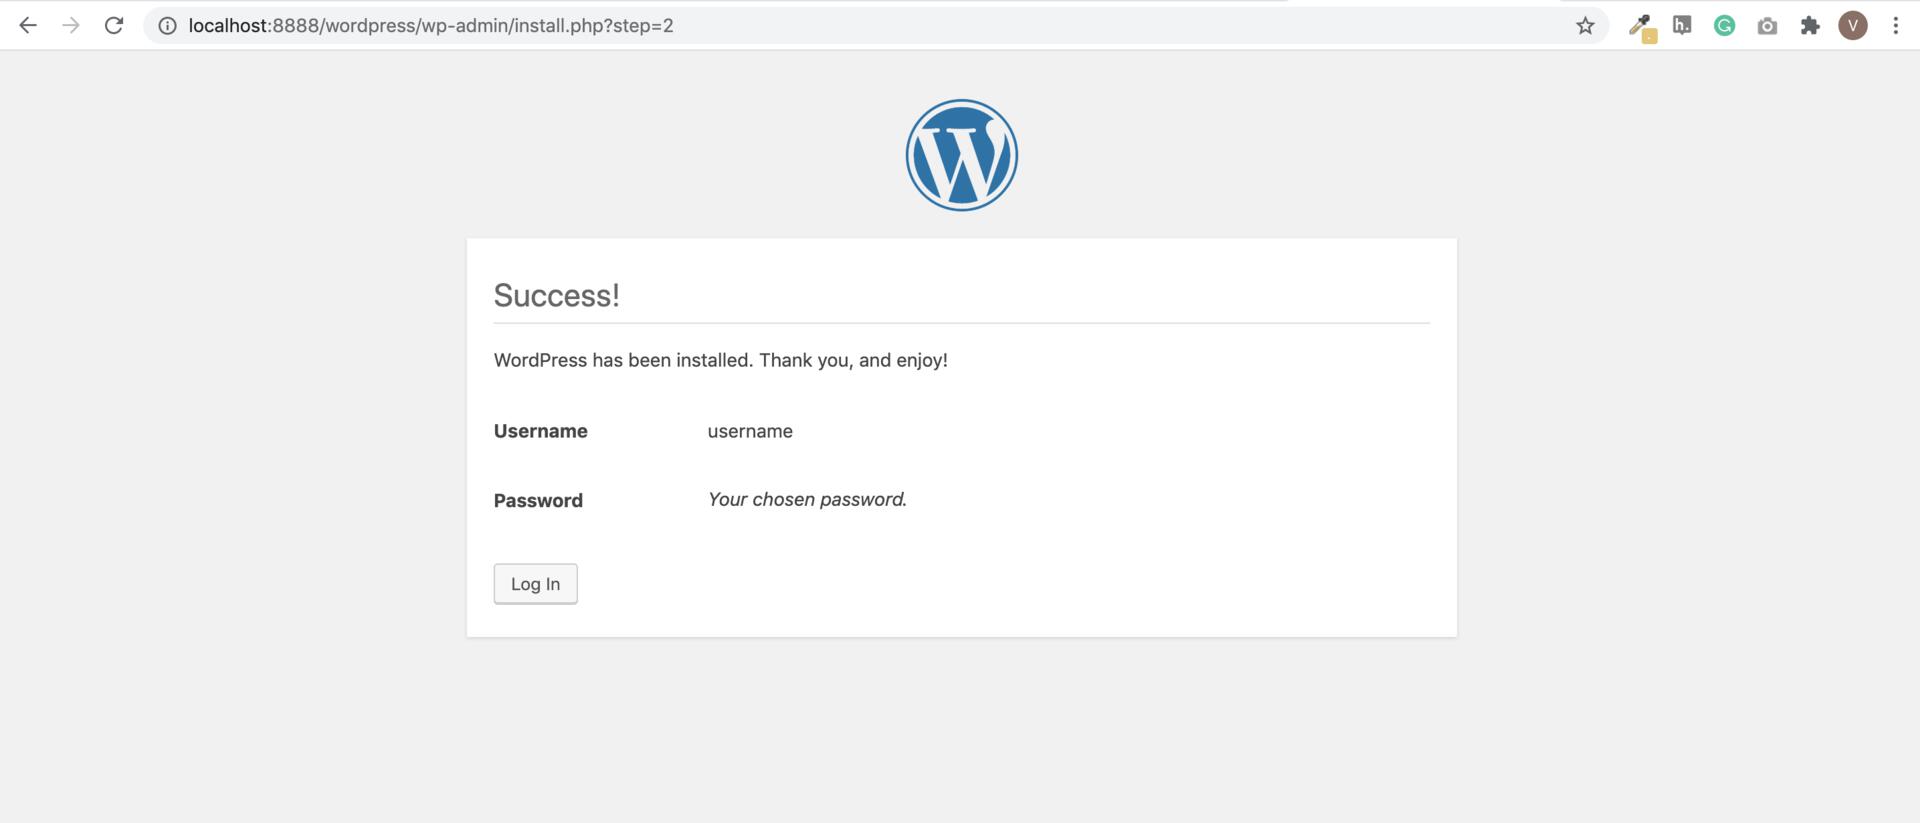
    12. Click the **Install WordPress** button. With this, your website is ready.
            <img src="https://razorpay.com/docs/build/browser/assets/images/payment-button-wordpress-login.jpg" alt="Install WordPress" width="800" />
            <br />
  </Tab>
</Tabs>

### Related Information

* [Payment Button](/docs/payments/payment-button)
* [Embed Payment Button on WordPress Website](/docs/payments/payment-button/supported-platforms/wordpress)
* [Payment Button Elementor Plugin for WordPress](/docs/payments/payment-button/supported-platforms/wordpress/elementor)
* [Payment Button SiteOrigin Plugin for WordPress](/docs/payments/payment-button/supported-platforms/wordpress/site-origin)
* [Payment Button Visual Composer Plugin for WordPress](/docs/payments/payment-button/supported-platforms/wordpress/visual-composer)