 ## Prerequisites
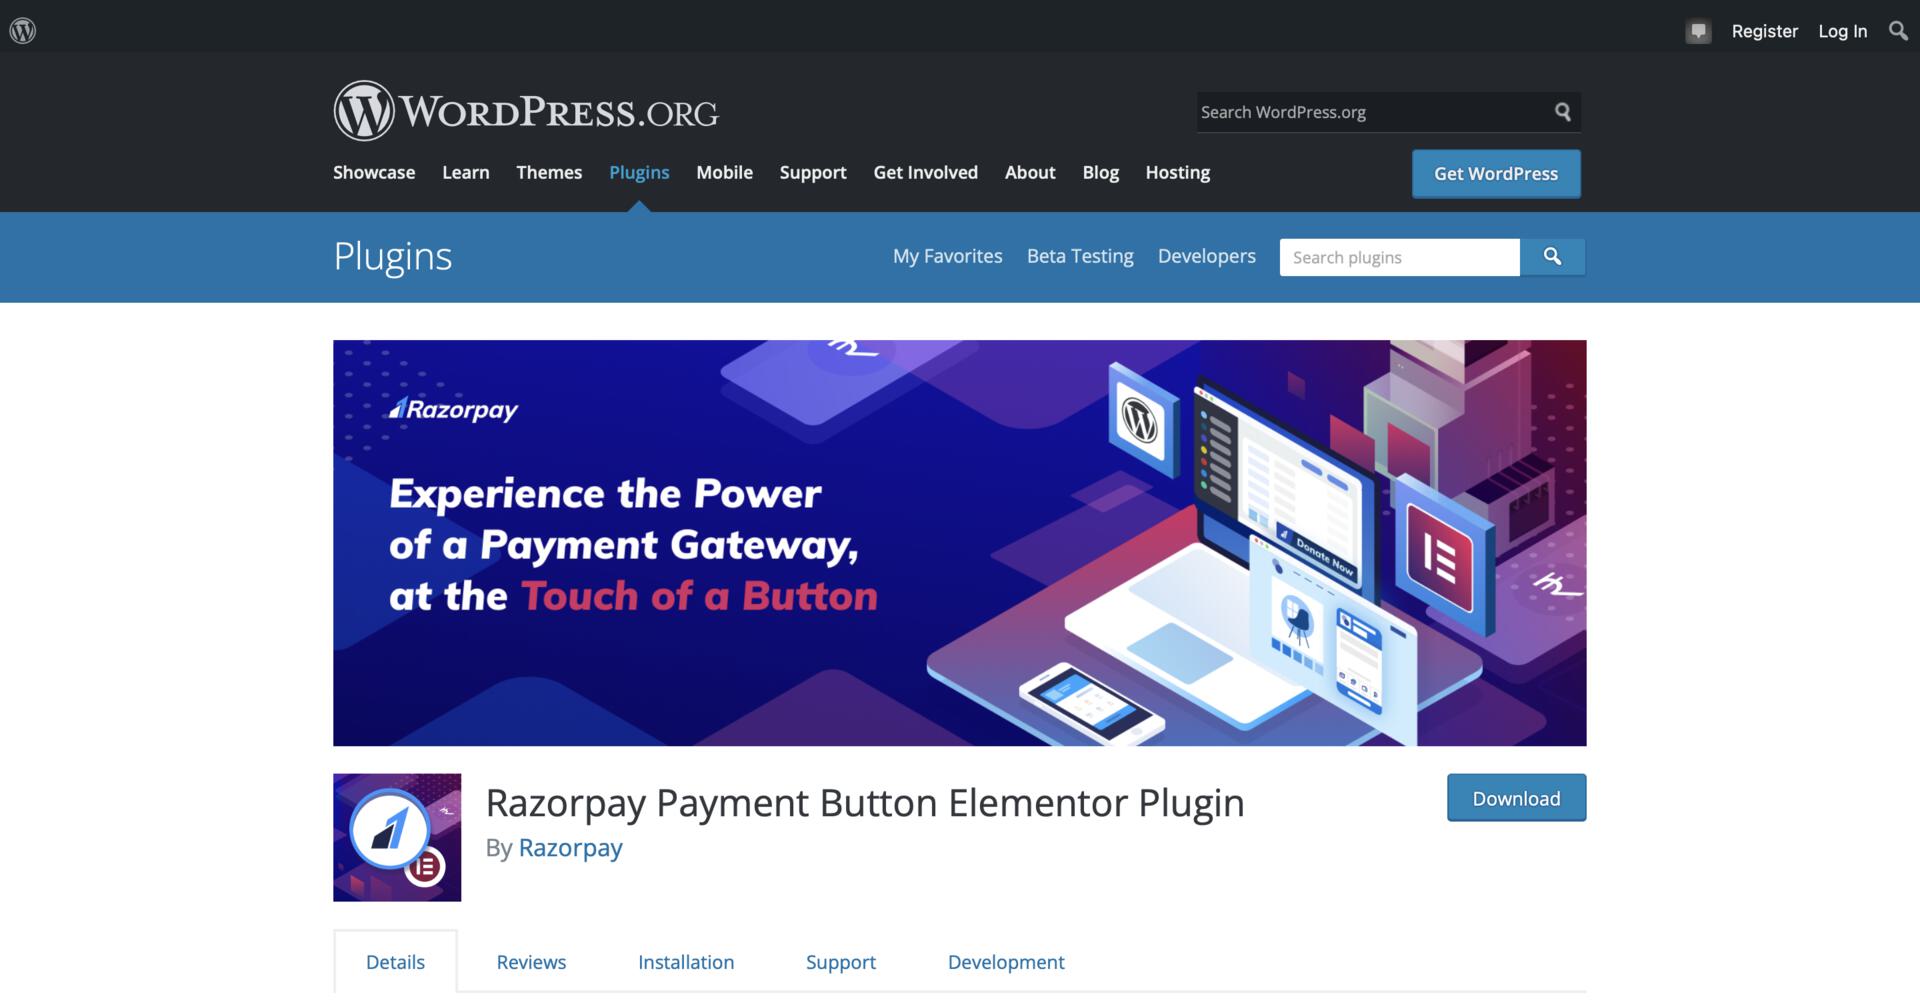
1. Install the [Elementor Website Builder plugin](https://wordpress.org/plugins/elementor/) on your WordPress site.
2. [Create a Razorpay account](https://dashboard.razorpay.com/signup).
3. Navigate to **Settings** → **API Keys** and generate the API keys in the test mode.
## Prerequisites
1. Install the [Elementor Website Builder plugin](https://wordpress.org/plugins/elementor/) on your WordPress site.
2. [Create a Razorpay account](https://dashboard.razorpay.com/signup).
3. Navigate to **Settings** → **API Keys** and generate the API keys in the test mode.
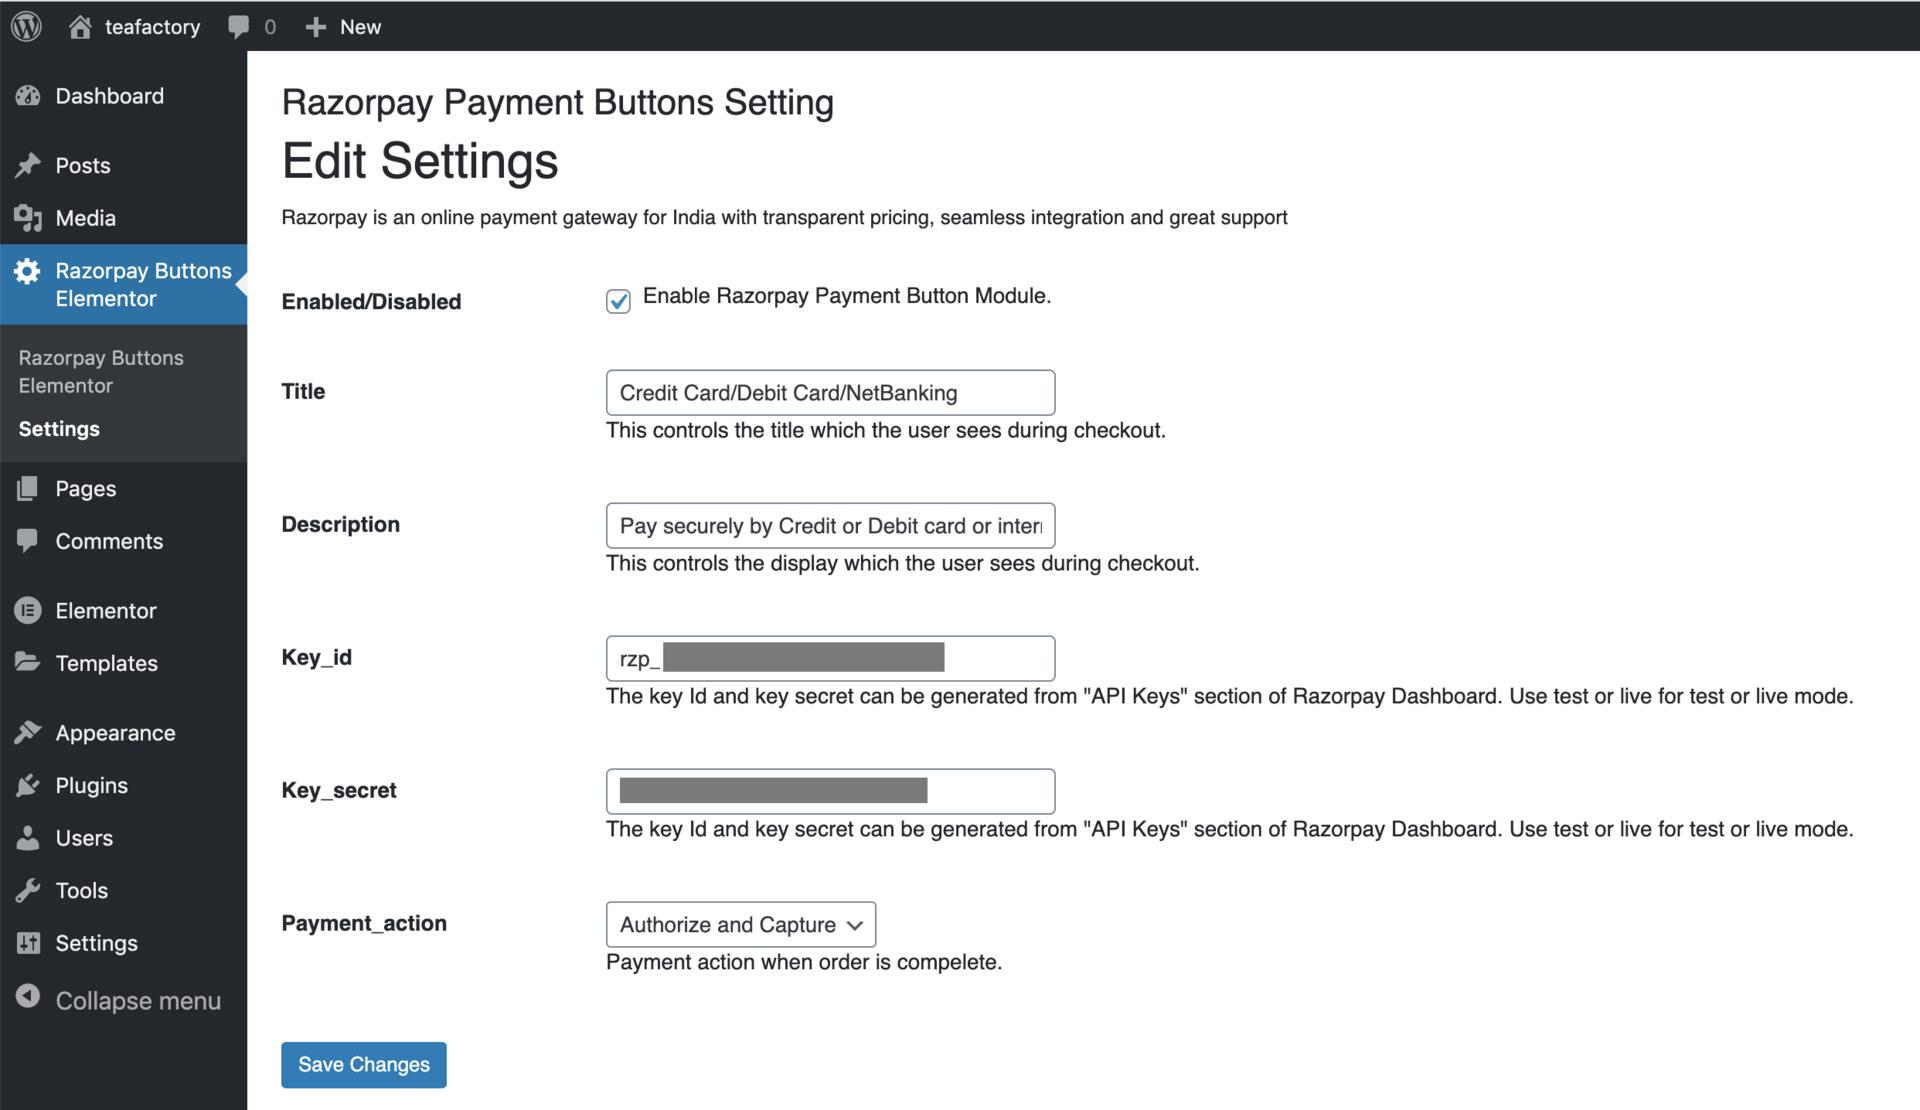
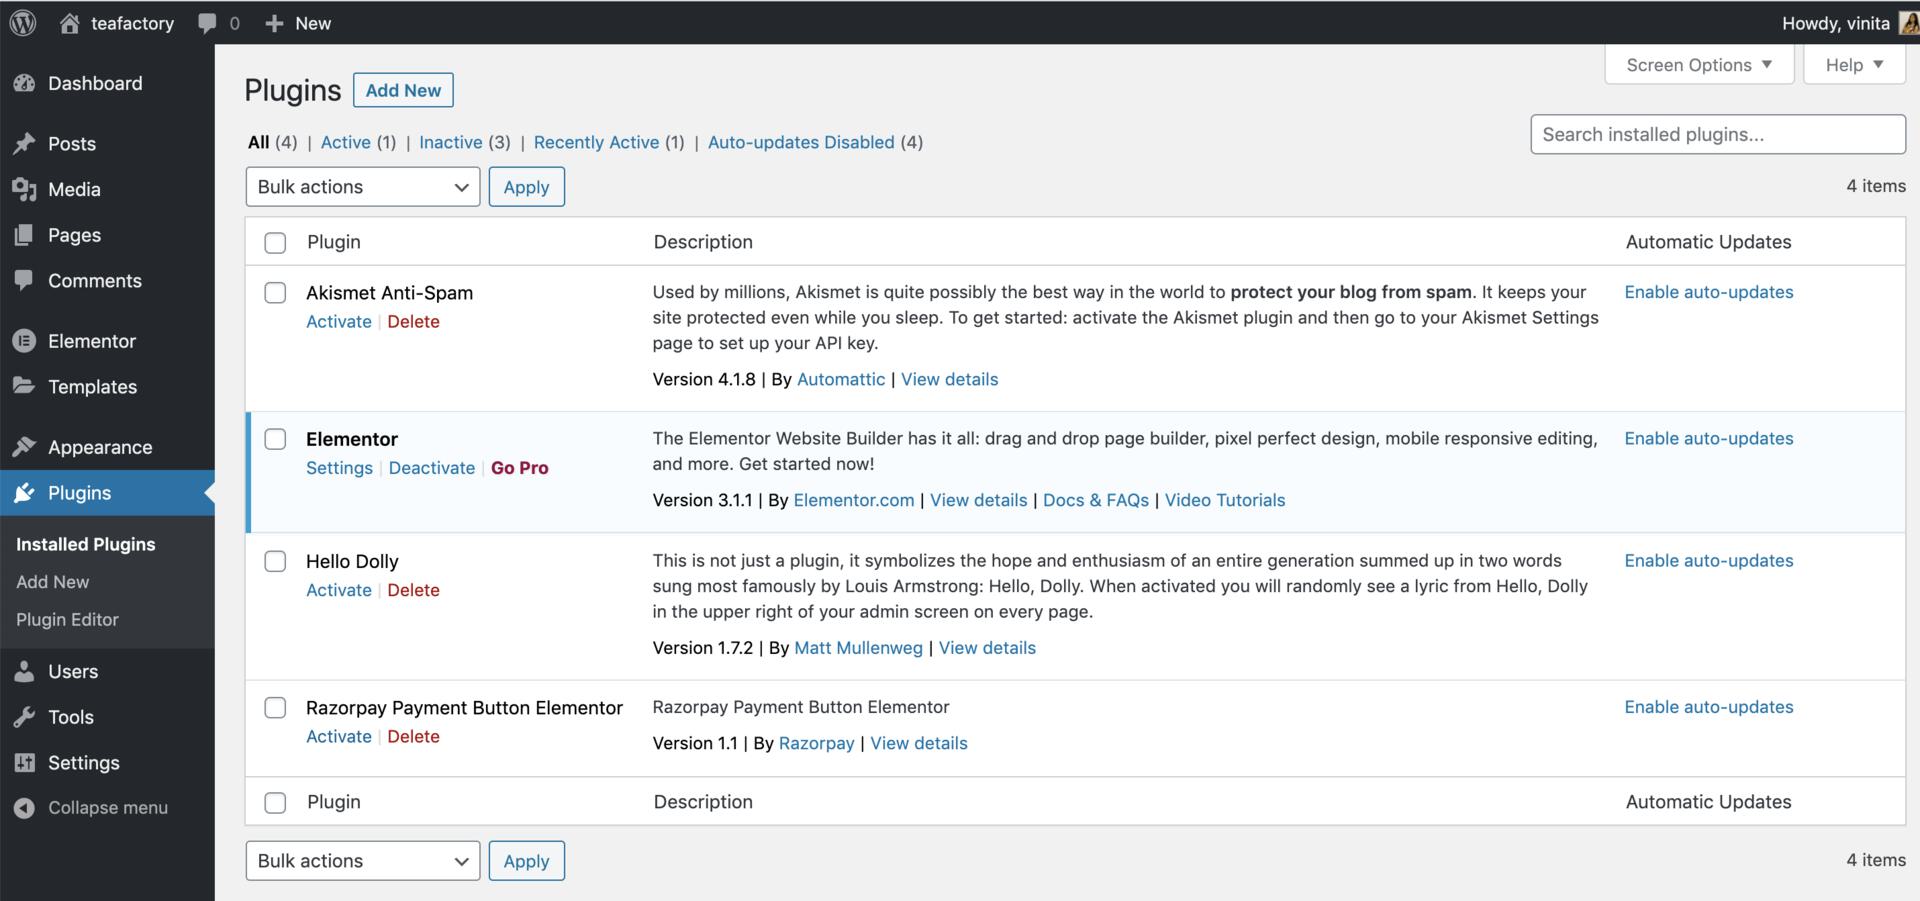 2.3 Navigate to **Razorpay Buttons Elementor** → **Settings** to add your API key details and connect your Razorpay account to the plugin.
 ### Step 3: Embed the Payment Button on WordPress Site
To add Payment Button on WordPress site:
3.1 Click **Pages** and navigate to the page where you want to embed the Payment button.
### Step 3: Embed the Payment Button on WordPress Site
To add Payment Button on WordPress site:
3.1 Click **Pages** and navigate to the page where you want to embed the Payment button.
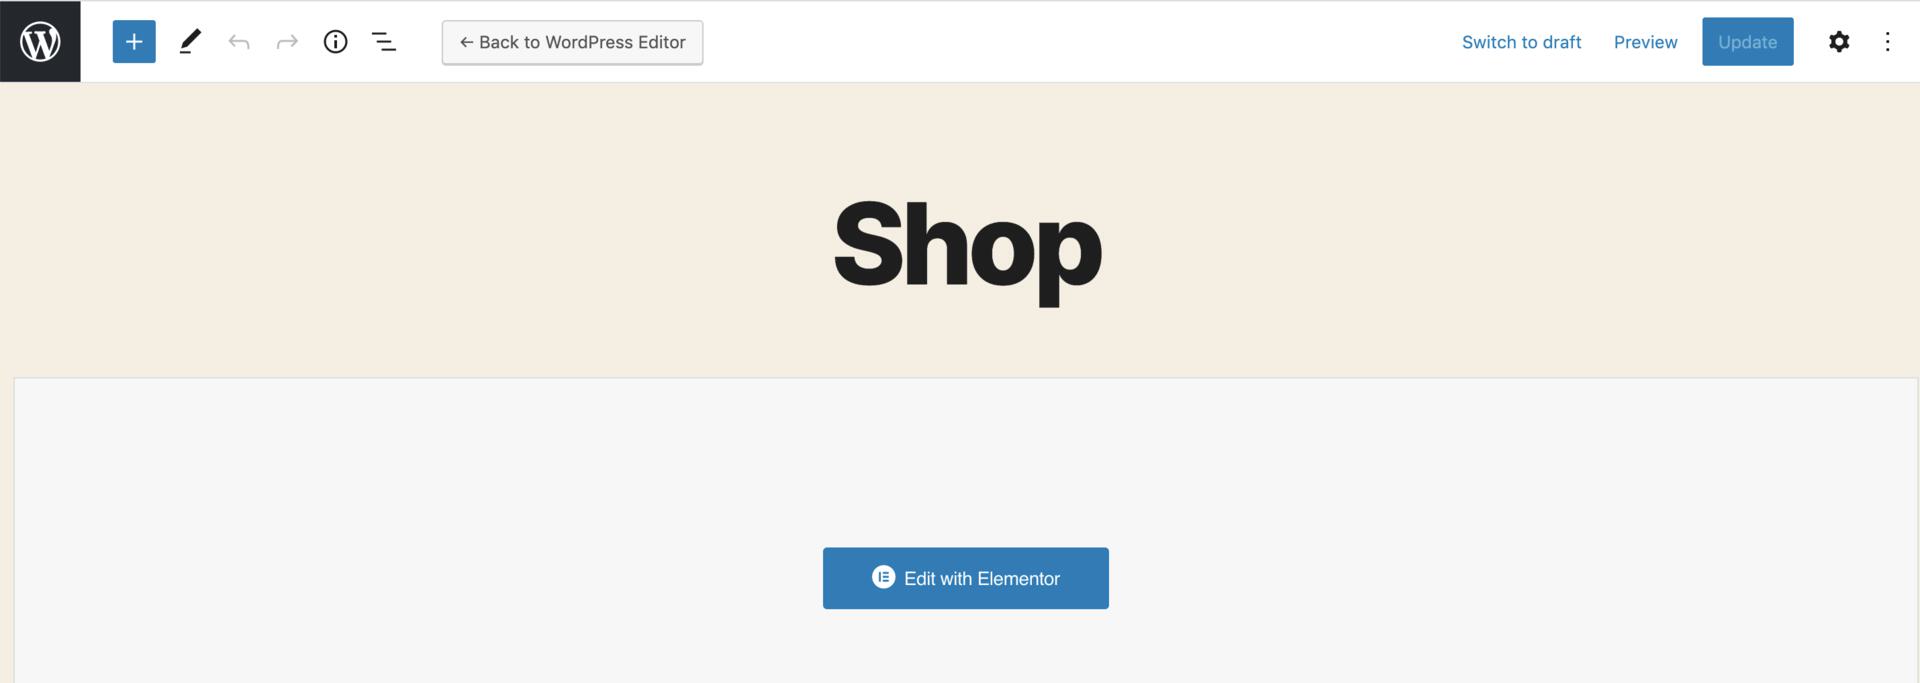 3.2 Click **Edit with Elementor** to open the Elementor website builder mode.
3.3 Drag and drop **Razorpay Button** from the list of widgets onto the page.
3.2 Click **Edit with Elementor** to open the Elementor website builder mode.
3.3 Drag and drop **Razorpay Button** from the list of widgets onto the page.
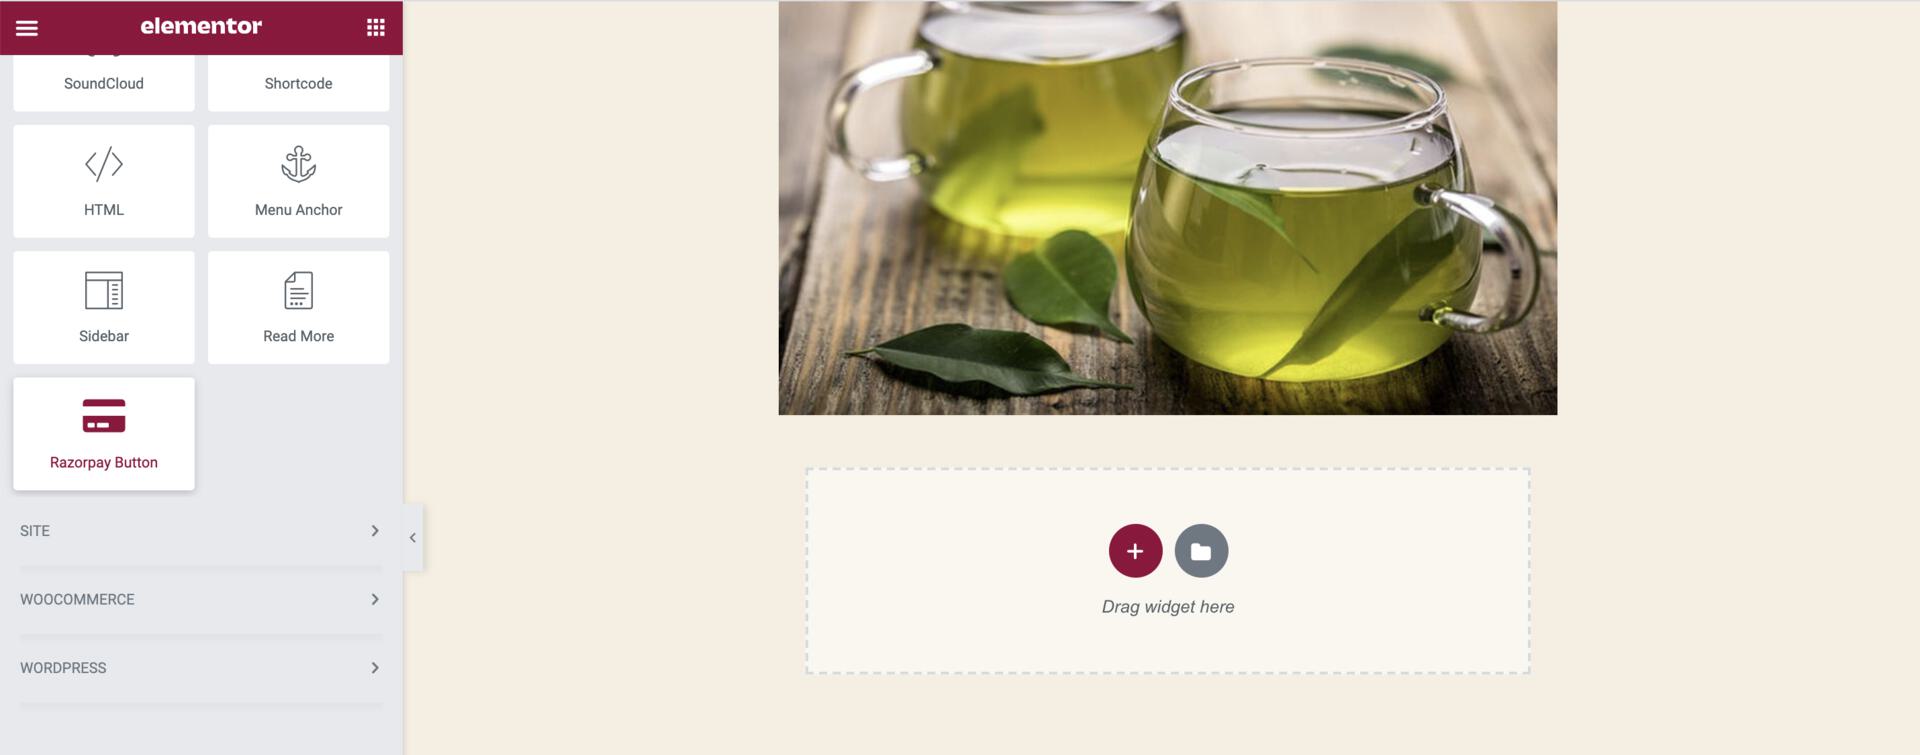 3.4 From the list, select the Payment Button that should be displayed on the page.
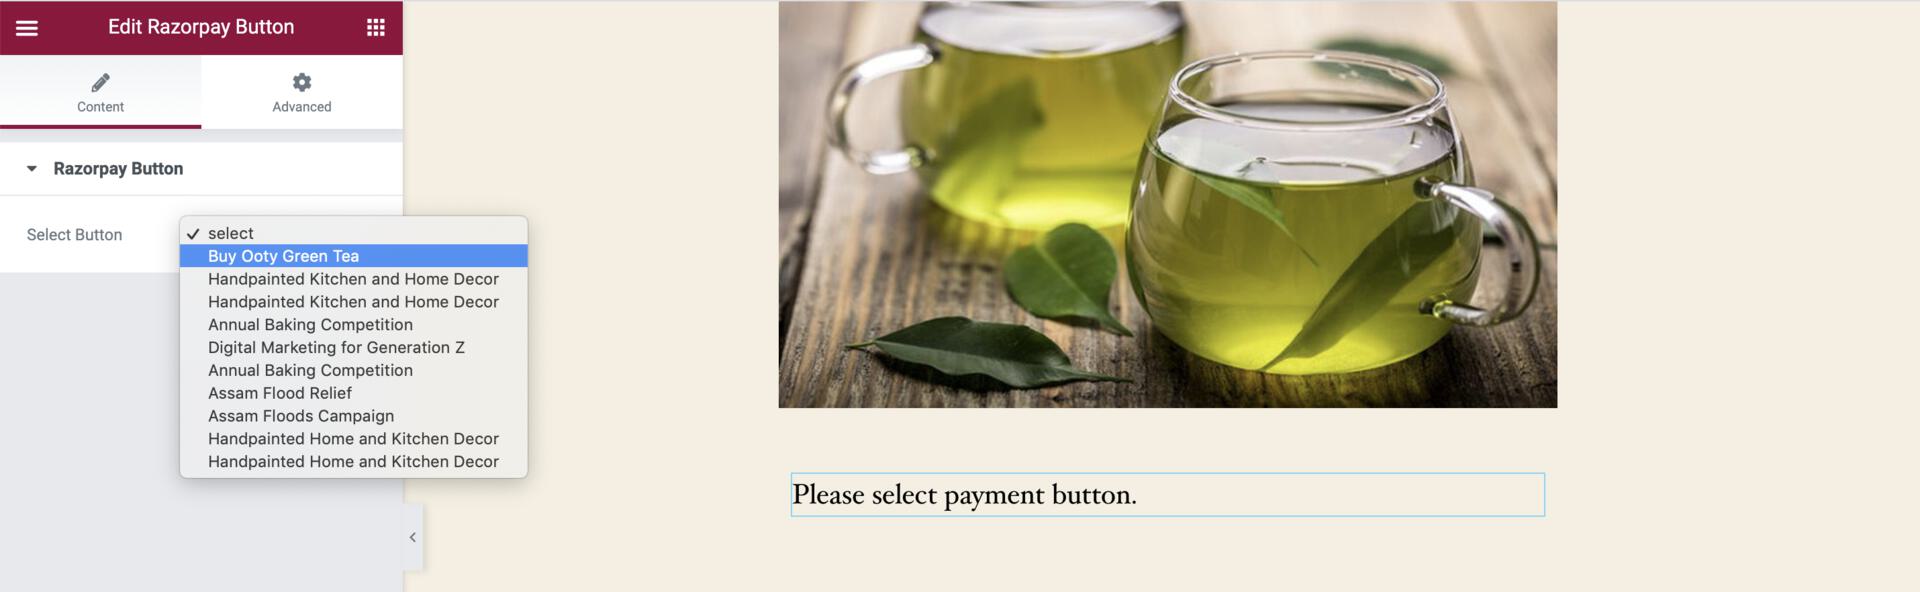 The button is added to the page.
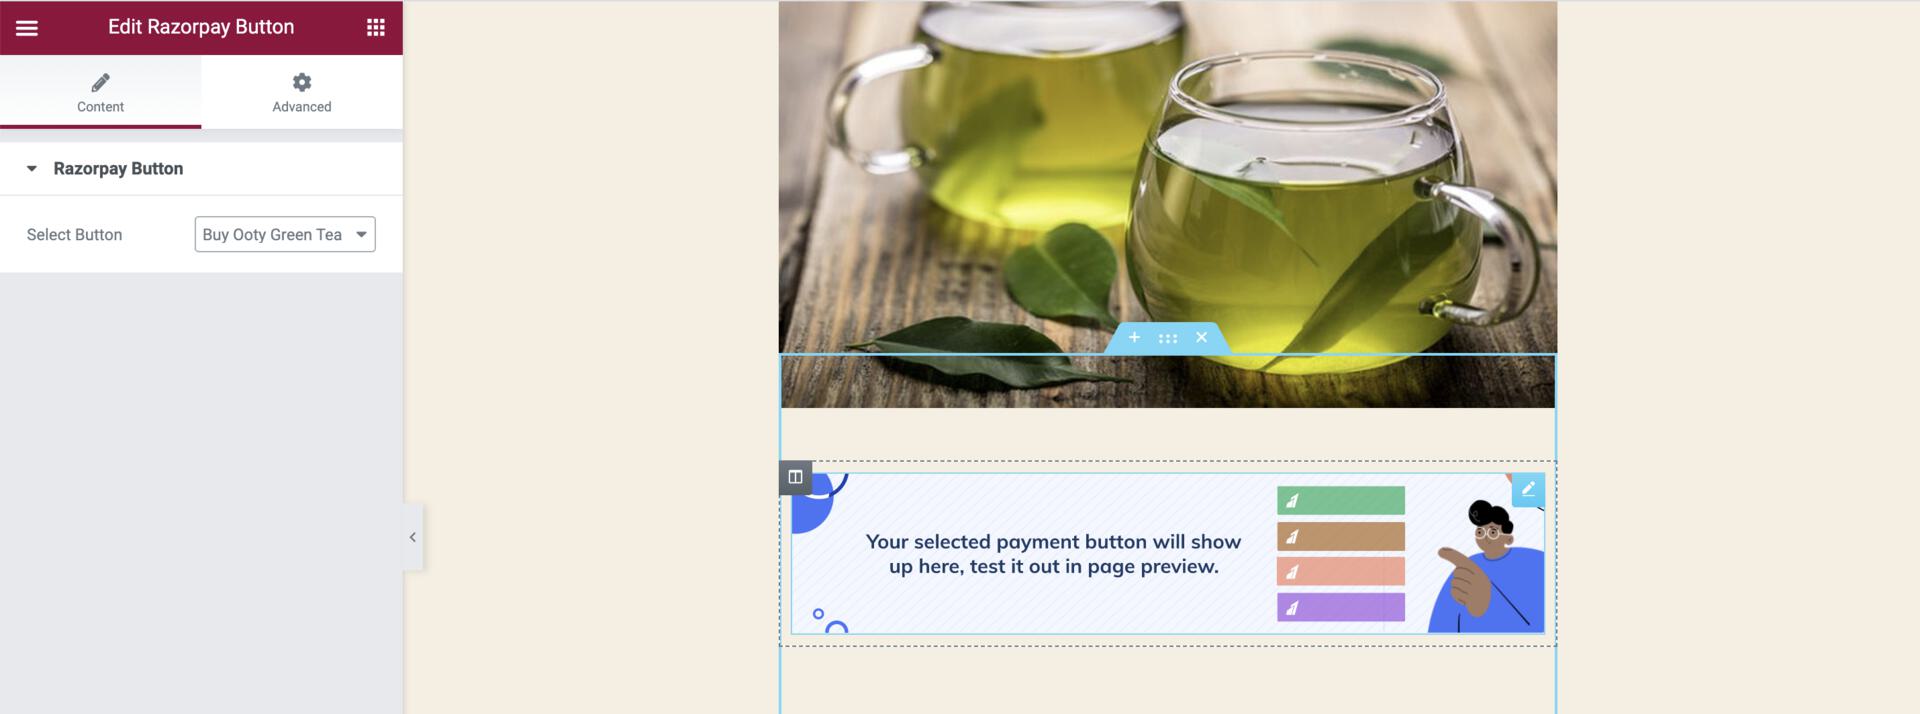 3.5 Save the changes and preview the page. The Payment Button appears on the page.
 You can now start accepting payments on your WordPress website using the Payment Button.
### Step 4: View Details on Dashboard
To view the payments on the WordPress Dashboard:
4.1 Click **Razorpay Buttons Elementor** to view the list of Payment Buttons.
You can now start accepting payments on your WordPress website using the Payment Button.
### Step 4: View Details on Dashboard
To view the payments on the WordPress Dashboard:
4.1 Click **Razorpay Buttons Elementor** to view the list of Payment Buttons.
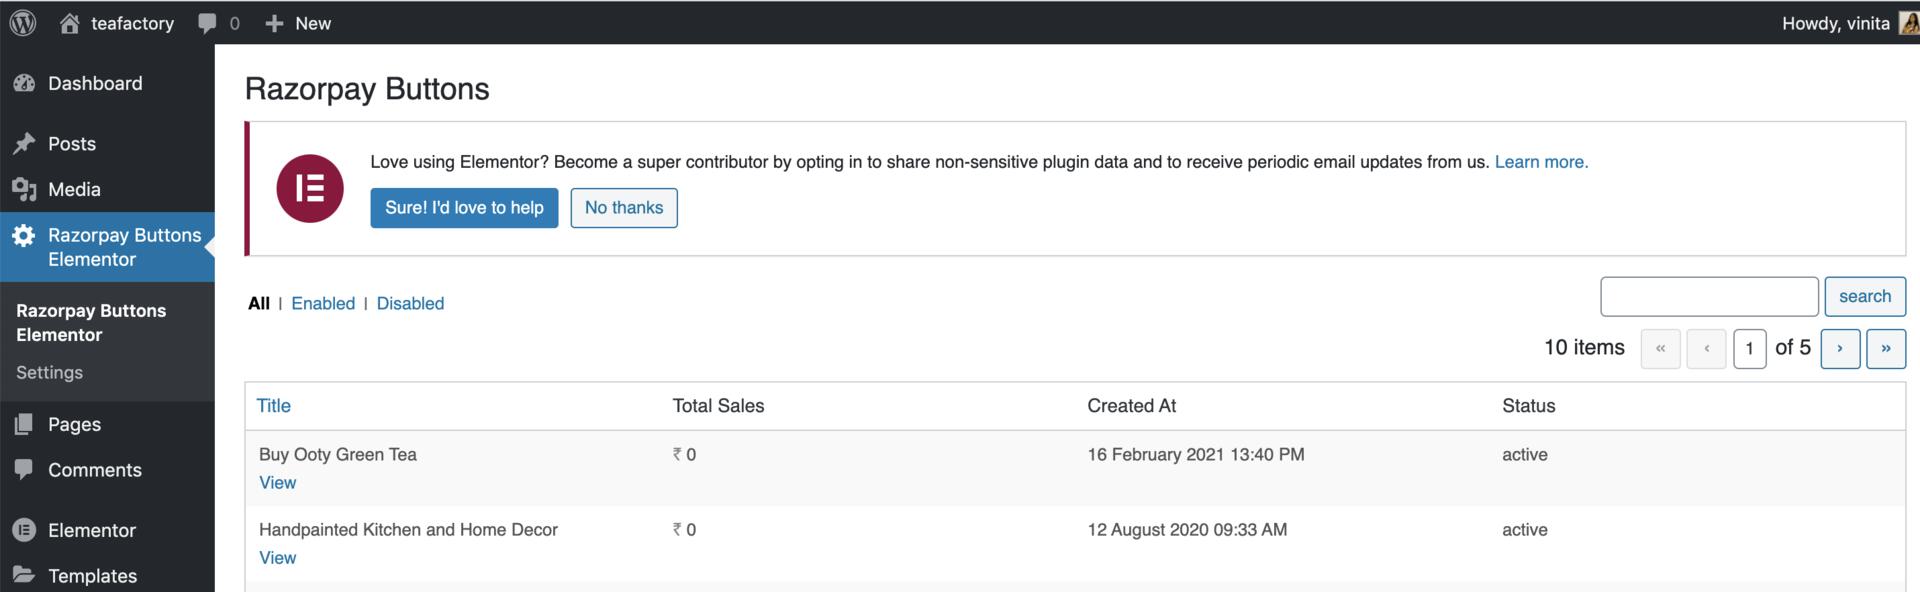 4.2 Click **View** to open the button details.
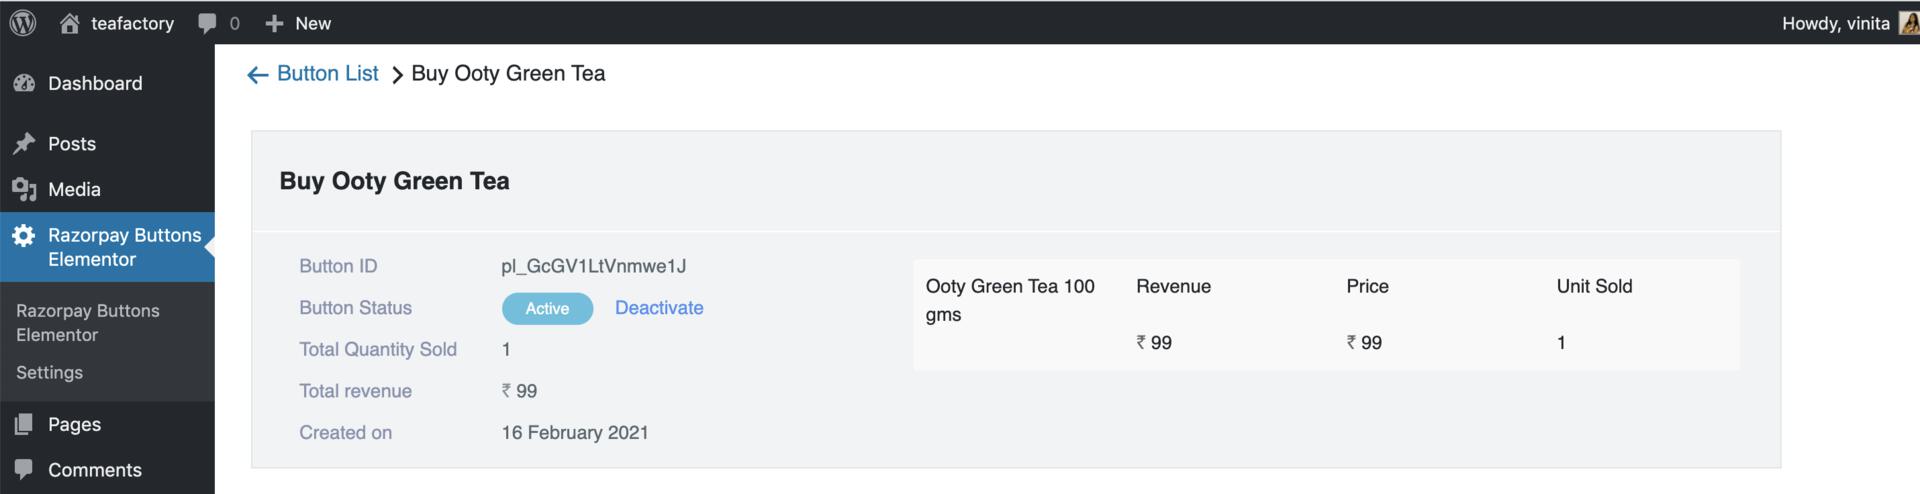 The following information regarding the payment button is displayed:
* Button ID
* Button Status
* Total Quantity Sold
* Total Revenue
* Created On
* Item Name
### Related Information
* [Payment Button](/docs/payments/payment-button)
* [Create a WordPress Website](/docs/payments/payment-button/supported-platforms/wordpress/create-website)
* [Embed Payment Button on WordPress Website](/docs/payments/payment-button/supported-platforms/wordpress)
* [Payment Button SiteOrigin Plugin for WordPress](/docs/payments/payment-button/supported-platforms/wordpress/site-origin)
* [Payment Button Visual Composer Plugin for WordPress](/docs/payments/payment-button/supported-platforms/wordpress/visual-composer)
The following information regarding the payment button is displayed:
* Button ID
* Button Status
* Total Quantity Sold
* Total Revenue
* Created On
* Item Name
### Related Information
* [Payment Button](/docs/payments/payment-button)
* [Create a WordPress Website](/docs/payments/payment-button/supported-platforms/wordpress/create-website)
* [Embed Payment Button on WordPress Website](/docs/payments/payment-button/supported-platforms/wordpress)
* [Payment Button SiteOrigin Plugin for WordPress](/docs/payments/payment-button/supported-platforms/wordpress/site-origin)
* [Payment Button Visual Composer Plugin for WordPress](/docs/payments/payment-button/supported-platforms/wordpress/visual-composer)