> ## Documentation Index
> Fetch the complete documentation index at: https://razorpay-881012b3.mintlify.site/llms.txt
> Use this file to discover all available pages before exploring further.
# Google Pay Omnichannel Checkout
> Let your customers make payments using Google Pay on their mobile devices without entering VPA.
Available in
🇮🇳 India
Use Google Pay Omnichannel to initiate a payment using the customer's phone number.
* The customers receive a Google Pay request on their registered mobile devices, and complete the payment using the Google Pay app installed on their devices.
* This reduces the overhead of entering the VPA, leading to better success rates for your UPI transactions.
## Workflow
Request and accept payments from your customers using Omnichannel with the following steps:
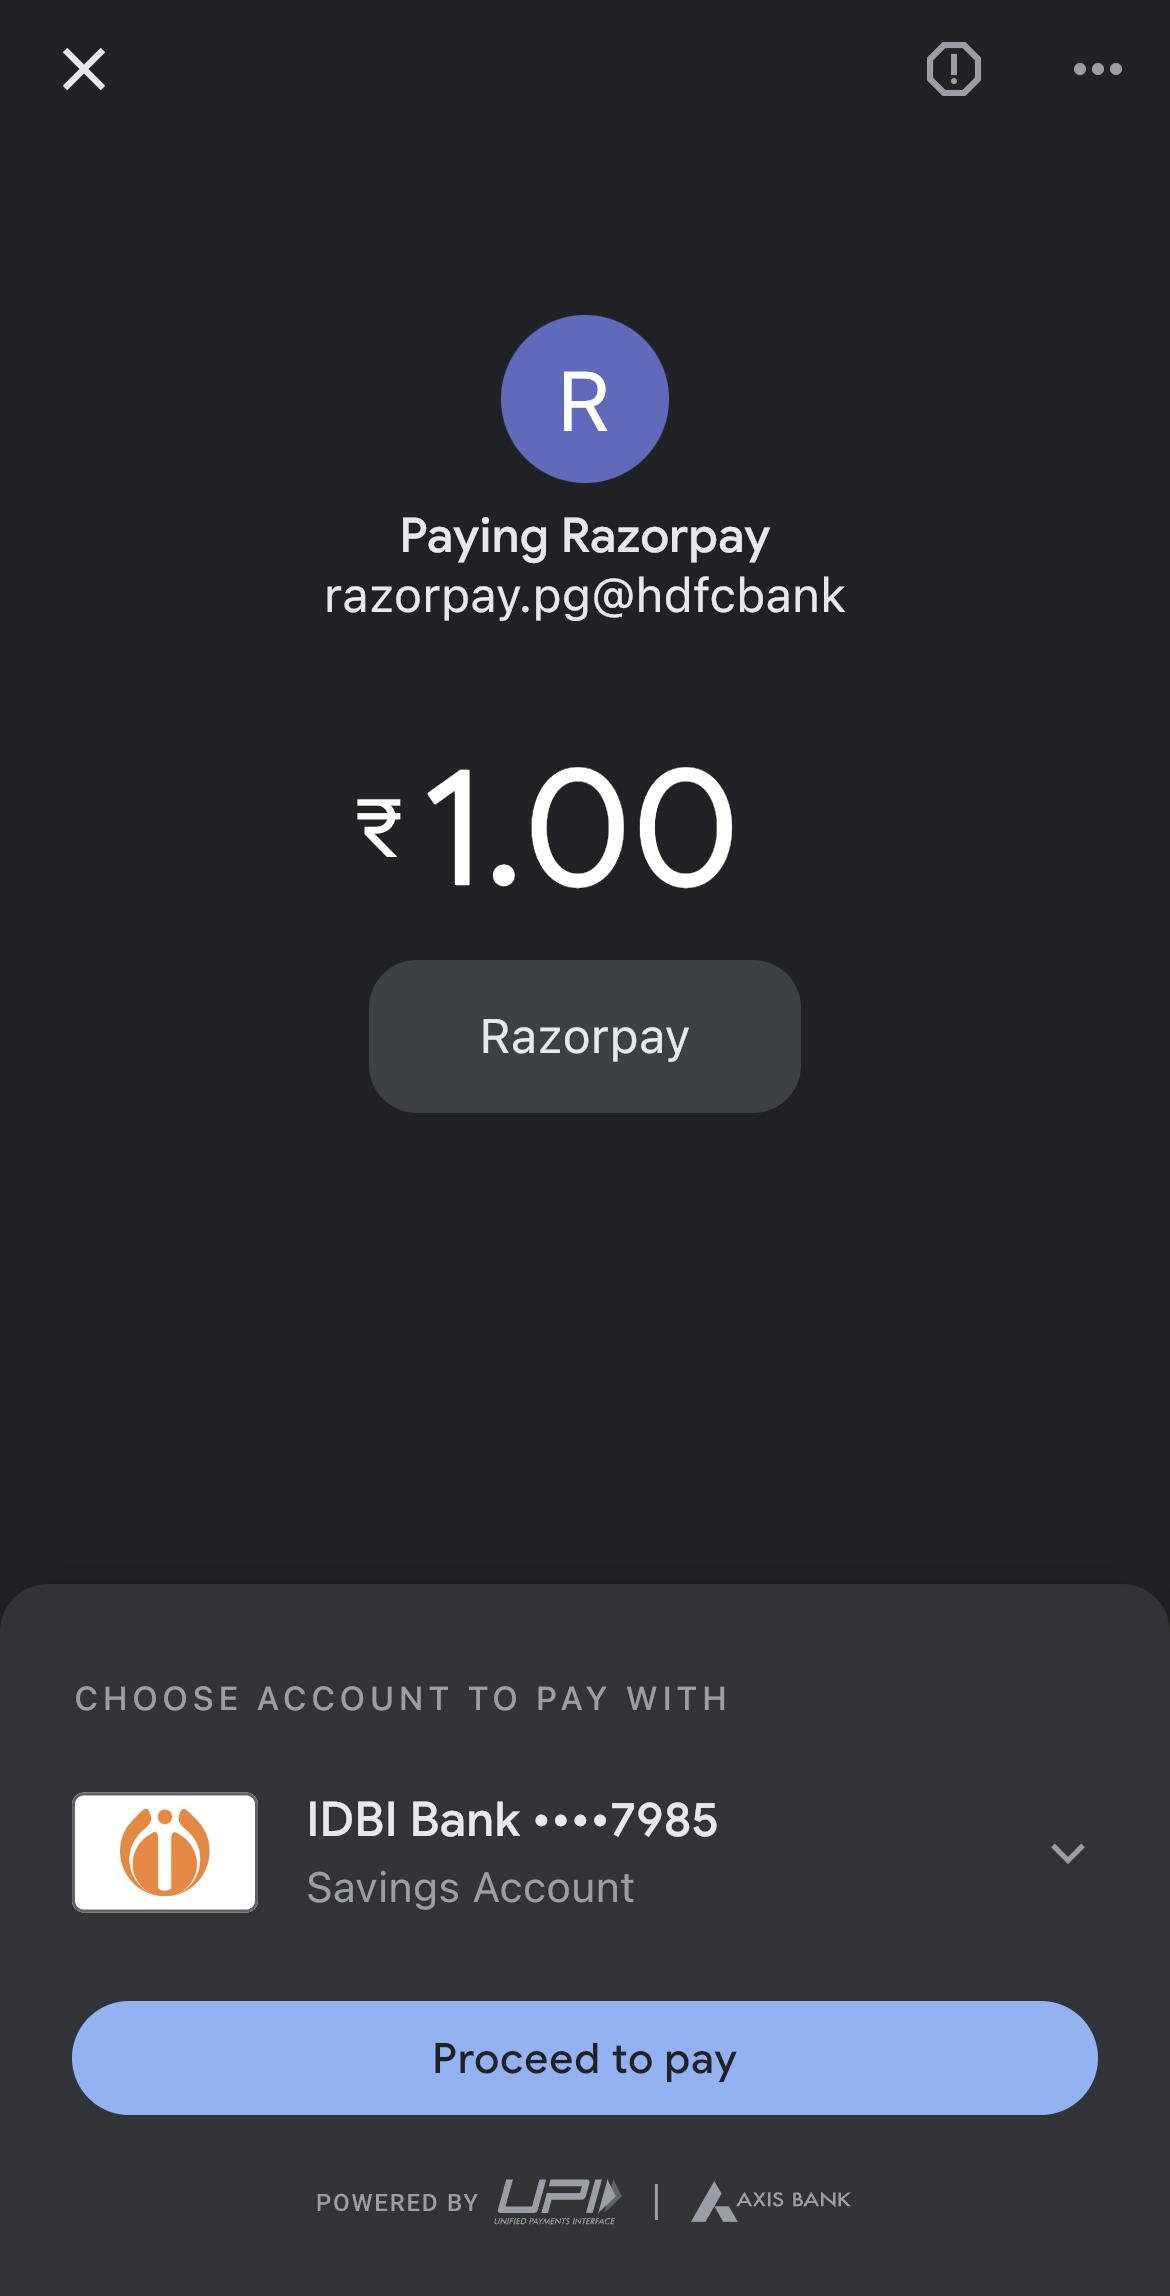
1. The customer selects **Google Pay** as the payment method to make the payment for the transaction.
2. The GooglePay app opens on the mobile device. The customer can complete the payment.
 ## Integration on Standard Checkout
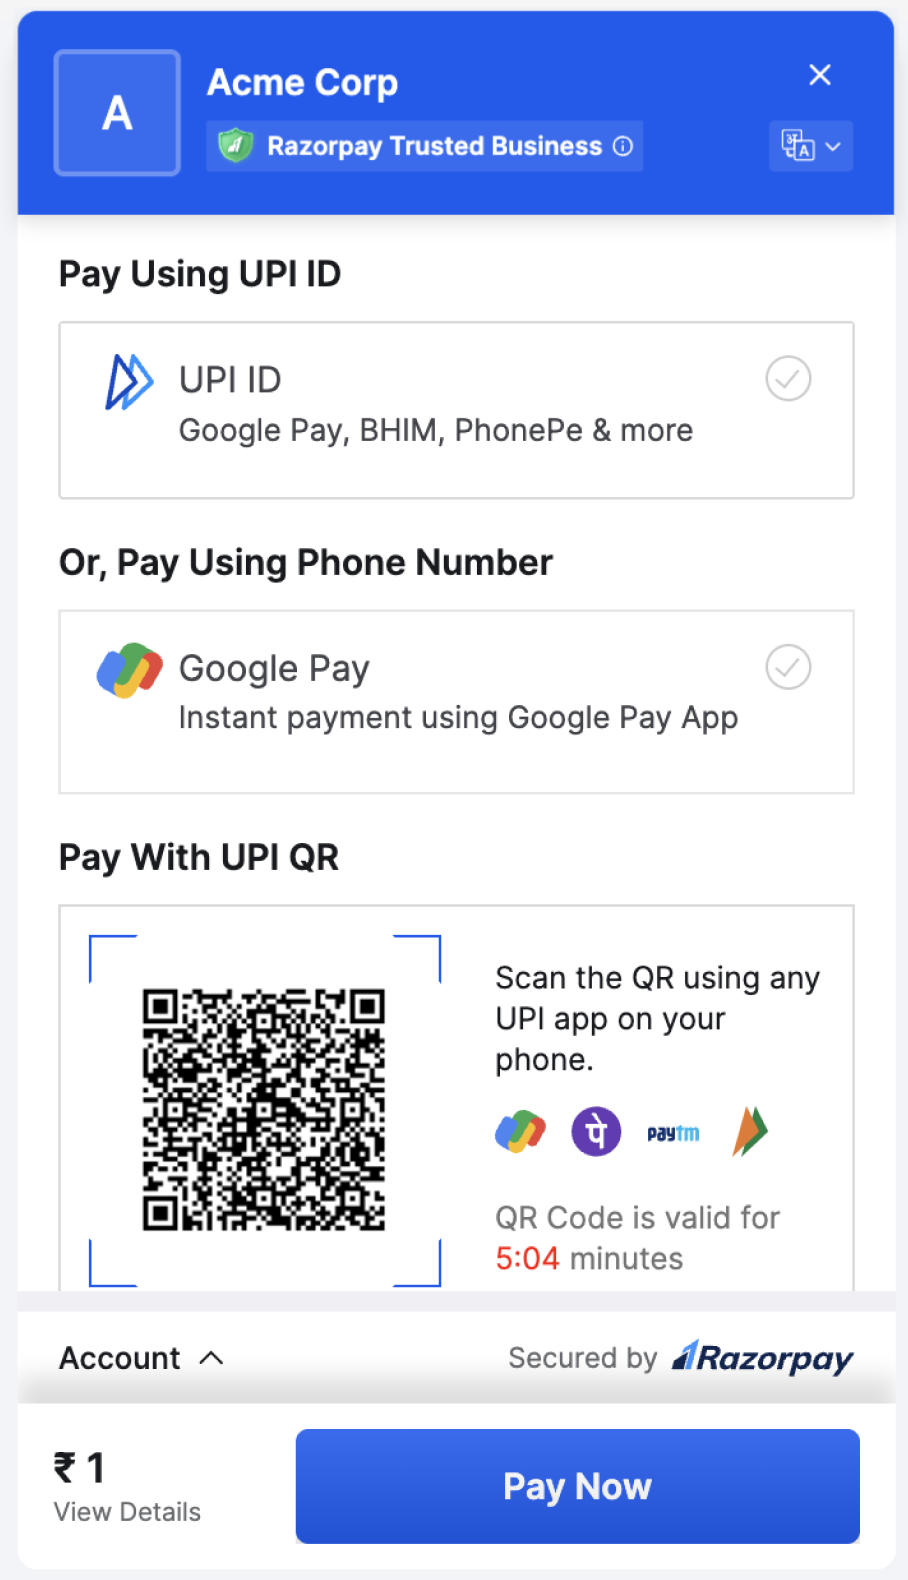
Use Google Omnichannel at your Checkout to send a payment request to the customers directly on the Google Pay app.
## Integration on Standard Checkout
Use Google Omnichannel at your Checkout to send a payment request to the customers directly on the Google Pay app.
 **Feature Request**
This is an on-demand feature. Please raise a request with our [Support team](https://razorpay.com/support/#request) to get this feature activated on your Razorpay account.
### Prerequisites
1. [Sign up](https://support.google.com/pay/business/answer/7684271?hl=en\&ref_topic=7684388) for a business account with Google Pay.
2. [Contact our Support Team](https://razorpay.com/support/#request) and have them whitelist your UPI ID/VPA.
3. Verify your UPI ID/VPA details on the[Google Merchant Console](https://support.google.com/pay/business/answer/7684398?hl=en\&ref_topic=7684388). Google deposits a small amount into the bank account linked to your VPA (UPI ID).
4. You should have already integrated [Razorpay Standard Checkout](/docs/payments/payment-gateway/web-integration/standard).
5. [Generate API Keys](/docs/payments/dashboard/account-settings/api-keys#generate-api-keys) from the Dashboard.
### Integration Steps
If you are using Razorpay Standard Checkout Integration for your web applications or Android apps, you do not require any additional integration to display **Google Pay** in the list of payment options. Get in touch with our [Support team](https://razorpay.com/support/#request) to help you to accept payments using Omnichannel at your application Checkout.
## Integration on Custom Checkout
[Integrate with Custom Checkout](/docs/payments/payment-methods/upi/google-pay/omnichannel/custom-integration)
### Related Information
* [UPI Error Codes](/docs/errors)
* [UPI Transaction Limits](/docs/payments/payment-methods/transaction-limits/upi)
**Feature Request**
This is an on-demand feature. Please raise a request with our [Support team](https://razorpay.com/support/#request) to get this feature activated on your Razorpay account.
### Prerequisites
1. [Sign up](https://support.google.com/pay/business/answer/7684271?hl=en\&ref_topic=7684388) for a business account with Google Pay.
2. [Contact our Support Team](https://razorpay.com/support/#request) and have them whitelist your UPI ID/VPA.
3. Verify your UPI ID/VPA details on the[Google Merchant Console](https://support.google.com/pay/business/answer/7684398?hl=en\&ref_topic=7684388). Google deposits a small amount into the bank account linked to your VPA (UPI ID).
4. You should have already integrated [Razorpay Standard Checkout](/docs/payments/payment-gateway/web-integration/standard).
5. [Generate API Keys](/docs/payments/dashboard/account-settings/api-keys#generate-api-keys) from the Dashboard.
### Integration Steps
If you are using Razorpay Standard Checkout Integration for your web applications or Android apps, you do not require any additional integration to display **Google Pay** in the list of payment options. Get in touch with our [Support team](https://razorpay.com/support/#request) to help you to accept payments using Omnichannel at your application Checkout.
## Integration on Custom Checkout
[Integrate with Custom Checkout](/docs/payments/payment-methods/upi/google-pay/omnichannel/custom-integration)
### Related Information
* [UPI Error Codes](/docs/errors)
* [UPI Transaction Limits](/docs/payments/payment-methods/transaction-limits/upi)