> ## Documentation Index
> Fetch the complete documentation index at: https://razorpay-881012b3.mintlify.site/llms.txt
> Use this file to discover all available pages before exploring further.
# Linked Accounts
> Use Linked Accounts to split payments between multiple third-parties, bank accounts and vendors. Add Linked Accounts and provide them access to issue refunds, view reversals and settlements and manage their profile.
Available in🇮🇳 India
Businesses need to distribute payments across multiple recipients - marketplaces paying sellers, platforms sharing revenue with partners or companies managing vendor payments. Manual fund transfers and reconciliation create operational complexity.
Razorpay Route automates this through **Linked Accounts**, splitting payments between multiple recipients while giving you central control and each recipient self-service capabilities.
## What are Linked Accounts
Linked Accounts are dedicated entities within your Route setup that receive a portion of incoming funds. Each Linked Account:
* Receives funds based on your split payment configuration.
* Has a unique `account_id` for API integration and tracking.
* Can access a dedicated dashboard for self-service operations.
* Processes refunds using available balance or Refund Credits.
### Features
* **Split Payments**: Automatically divide incoming funds between multiple recipients.
* **Central Management**: Handle settlements, refunds and reconciliations for all Linked Accounts.
* **Access Control**: Grant or revoke dashboard permissions for each Linked Account.
* **Complete Visibility**: Track all fund movements, transfers and operations.
* [Process individual and bulk refunds](/docs/payments/route/linked-account/initiate-refund).
* [View reversals and settlements](/docs/payments/route/linked-account/reversals-settlements).
* [Manage profile and team members](/docs/payments/route/linked-account/manage-profile).
## Add Linked Accounts
Watch this video to see how to add Linked Accounts:
To create a Linked Account:
1. Log in to the Dashboard and navigate to **Route** under **PAYMENT PRODUCTS**
2. Click the **Accounts** tab, then **+ Add Account**
3. In the **Add Account** popup:
* Enter **Account Name** and **Account Email**
* Toggle **Dashboard Access** if you want to enable immediate access
* Click **Add**
4. Complete the **KYC Form** with:
* **Business Details**: Company information and contact details
* **Bank Account Details**: Account number, IFSC, beneficiary name
* Click **Submit Form**
The Linked Account is created and activated immediately.
**Important Notes**
* **MFDs (Mutual Fund Distributors)**: Linked Accounts are automatically created with AMC details after Route access. Contact [support](https://razorpay.com/support/) for assistance.
* **Settlement Timing**: Linked Account settlements take 2 working days, regardless of your primary settlement schedule.
Create Linked Accounts programmatically using the [Route APIs](/docs/api/payments/route) for automated onboarding and bulk operations.
### Required Information
Provide these details when creating a Linked Account:
* Linked Account name
* Contact number
* Email address (required for dashboard access)
Account number
Account type
IFSC code
Beneficiary name
### Account Verification via Penny Testing
To avoid settlement failure, we will penny test Linked Accounts when added. Razorpay will transfer a nominal amount to the bank account details submitted to verify them. Transfers are allowed only on successful validation. This will be performed on the newly created Linked Accounts and the existing accounts when the bank account details are updated via the Dashboard.
Know more about [penny testing](/docs/payments/route/faqs#penny-testing).
## Manage Linked Account Access
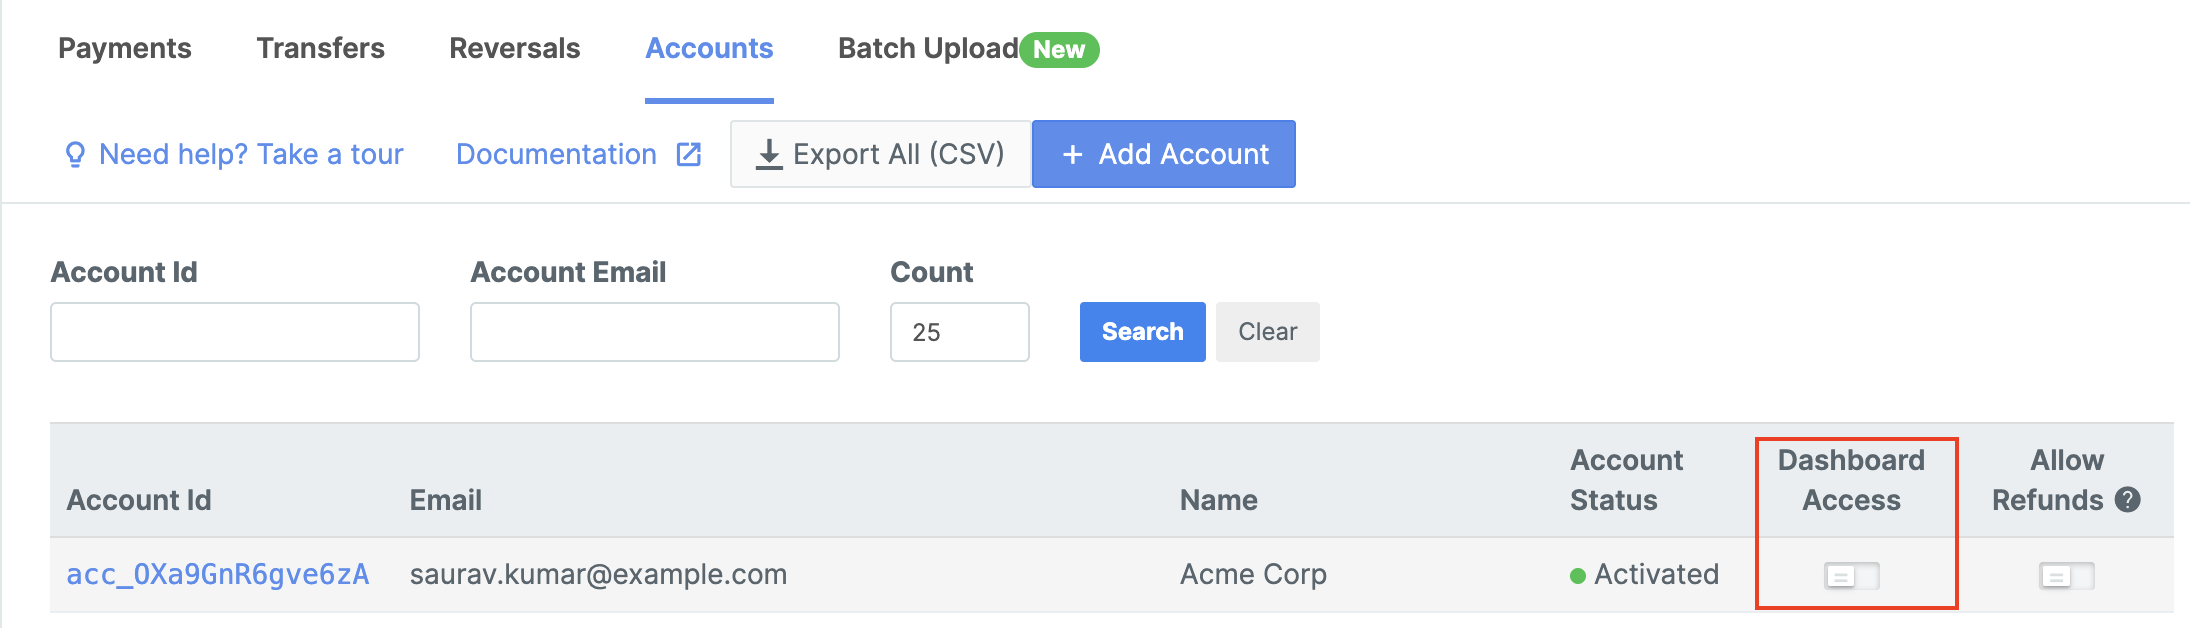
Grant dashboard access to allow Linked Account users to manage their own operations:
1. Log in to the Dashboard.
2. Select **Route** and navigate to the **Accounts**.
3. Find the relevant Linked Account and enable **Dashboard Access**.
The Linked Account user receives login credentials via email and can access their dedicated dashboard.
**Access Requirements**
* While you can create a Linked Account without adding their email, you cannot grant them Dashboard access. The access can be granted or provided only after you add the email address of the Linked Account.
* As a Linked Account user, you cannot access the Linked Account Dashboard unless the primary account owner adds you as a team member from their Linked Account Dashboard.
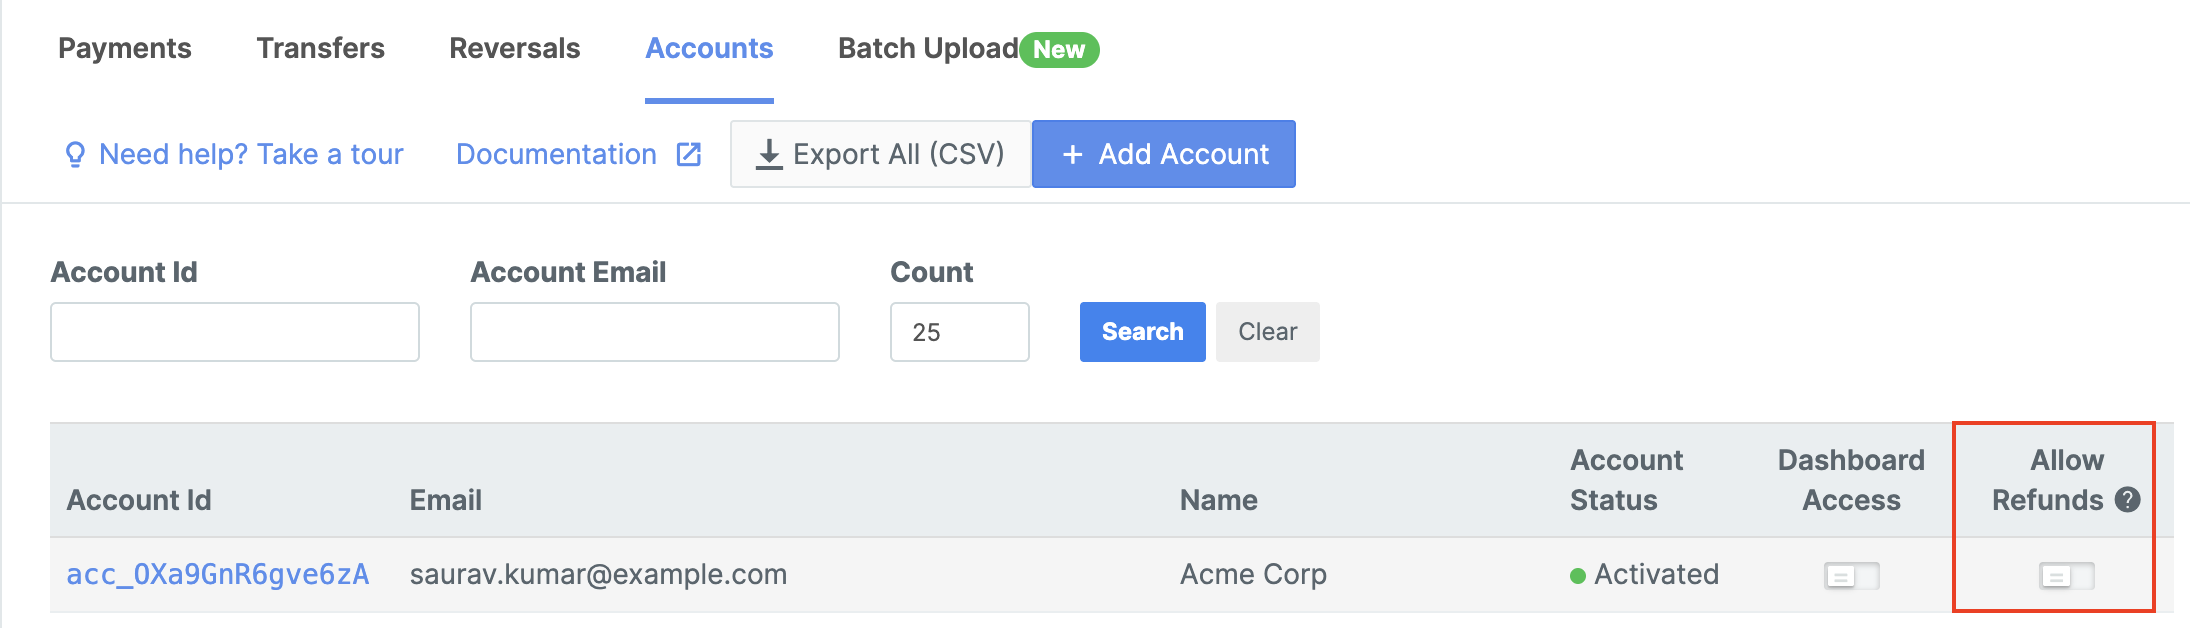
Due to government regulations, in certain cases, the Linked Accounts need to directly process refunds to customers. You can enable refunds capability while adding a new account.
To enable refunds capability for an existing account:
1. Navigate to the **Accounts** tab.
2. Turn on the **Allow Refunds** toggle against the relevant account.
Refund Credits help the Linked Account to process customer refunds from a dedicated fund than using the unsettled balance. You can enable Refund Credits for a Linked Account by sending an email to your Razorpay account manager with these details:
* Linked account name
* Email ID
* Balance type (Refund Credit).
## Export Account Data
Download complete account information in CSV format:
* Click **Export All (CSV)** from the Accounts tab
* Includes all account details, settlement history, and configuration
## Related Information
* [Route Overview](/docs/payments/route)
* [Processing Refunds](/docs/payments/route/linked-account/initiate-refund)
* [Settlements and Reversals](/docs/payments/route/linked-account/reversals-settlements)
* [Profile Management](/docs/payments/route/linked-account/manage-profile)
* [Route APIs](/docs/api/payments/route)
 The Linked Account user receives login credentials via email and can access their dedicated dashboard.
 * As a Linked Account user, you cannot access the Linked Account Dashboard unless the primary account owner adds you as a team member from their Linked Account Dashboard.