> ## Documentation Index
> Fetch the complete documentation index at: https://razorpay-881012b3.mintlify.site/llms.txt
> Use this file to discover all available pages before exploring further.
# Add Survey Button
> Add survey buttons to digital bills for instant customer feedback collection with satisfaction ratings and real-time response tracking.
Available in
🇮🇳 India
Add a one-click survey button to your digital bills to collect customer feedback right after they view their transaction. Gather NPS scores, satisfaction ratings or product reviews when customers are most engaged. Track responses in real-time and customise button placement and text to match your brand.
## Create New Add Survey Button Campaign
To create a new Add Survey Button Campaign:
1. Click **Add Survey Button** under **Digital Bills**.
2. Click **+ New Add Survey Button Campaign**. The **Add Survey Button - New Campaign** page appears.
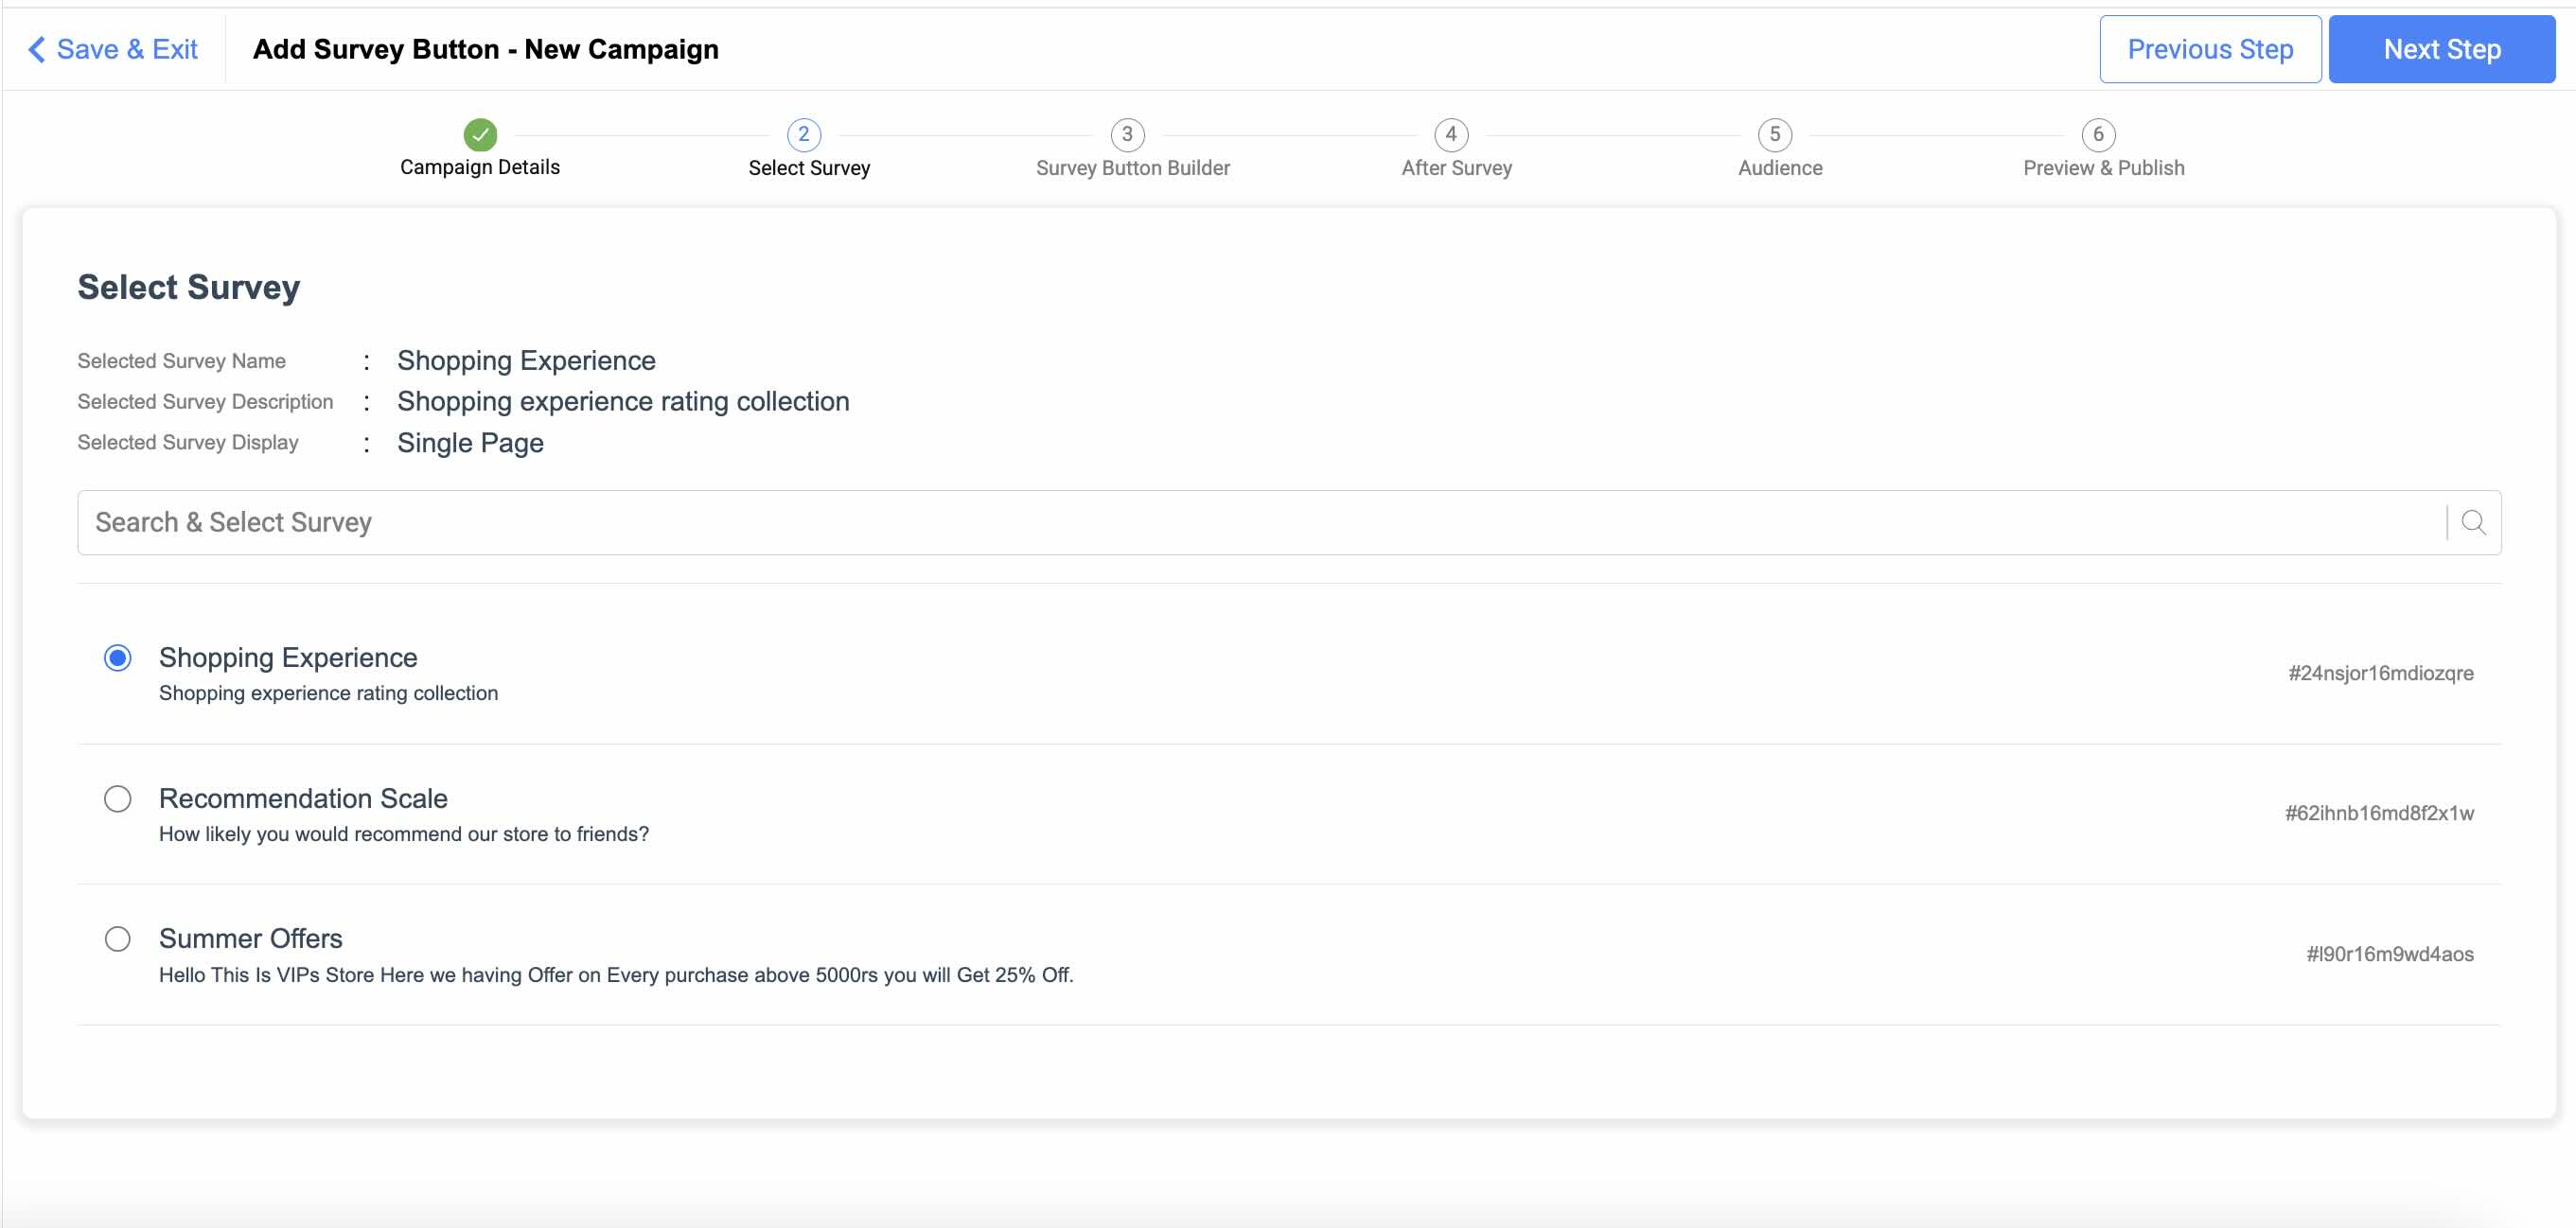
3. Enter the **Campaign Details**, select company and click **Next Step**. The **Select Survey** page appears.
* You can search and select a previously created survey.
* You can create a survey from the **Survey** feature under **Create** section.
 4. On the **Survey Button Builder** page, choose an image for your survey button. You can also click **Create From Scratch** to upload a new button image. Click **Next Step**.
5. On the **After Survey** page, select an image or gif which appears right after survey completion. You can upload a new image. You can also add a **Coupon**. Click **Next Step**.
6. On the **Campaign Settings** page, select your **Brand** and **Stores**. You can also choose to publish the campaign immediately or schedule it. Click **Next Step**.
7. On the **Preview & Publish** page you can check all campaign details. Click **Export Report** and enter your email to opt for exporting campaign reports. Click **Publish**.
Your **Add Survey Button** Campaign is published and appears in the list of campaigns.
4. On the **Survey Button Builder** page, choose an image for your survey button. You can also click **Create From Scratch** to upload a new button image. Click **Next Step**.
5. On the **After Survey** page, select an image or gif which appears right after survey completion. You can upload a new image. You can also add a **Coupon**. Click **Next Step**.
6. On the **Campaign Settings** page, select your **Brand** and **Stores**. You can also choose to publish the campaign immediately or schedule it. Click **Next Step**.
7. On the **Preview & Publish** page you can check all campaign details. Click **Export Report** and enter your email to opt for exporting campaign reports. Click **Publish**.
Your **Add Survey Button** Campaign is published and appears in the list of campaigns.