> ## Documentation Index
> Fetch the complete documentation index at: https://razorpay-881012b3.mintlify.site/llms.txt
> Use this file to discover all available pages before exploring further.
# Email Campaigns
> Send automated, targeted email campaigns based on billing events, feedback and customer behaviour.
Available in
🇮🇳 India
Create and manage effective post-purchase email campaigns using Razorpay Billme. Use customer purchase history, billing triggers and feedback responses to automate personalised email workflows.
## Overview
The Email Campaigns section allows you to set up targeted campaigns based on billing events such as successful purchases, feedback submissions and delayed payments. Segment your customers using smart filters and send personalised updates, offers and service notifications automatically.
To access Email campaigns page:
1. Select **E-mail** under **Communication Channel** in the left navigation menu.
2. Alternatively, you can also select **E-mail** in the **Select Campaign Listing** dropdown on the **All Campaigns** page.
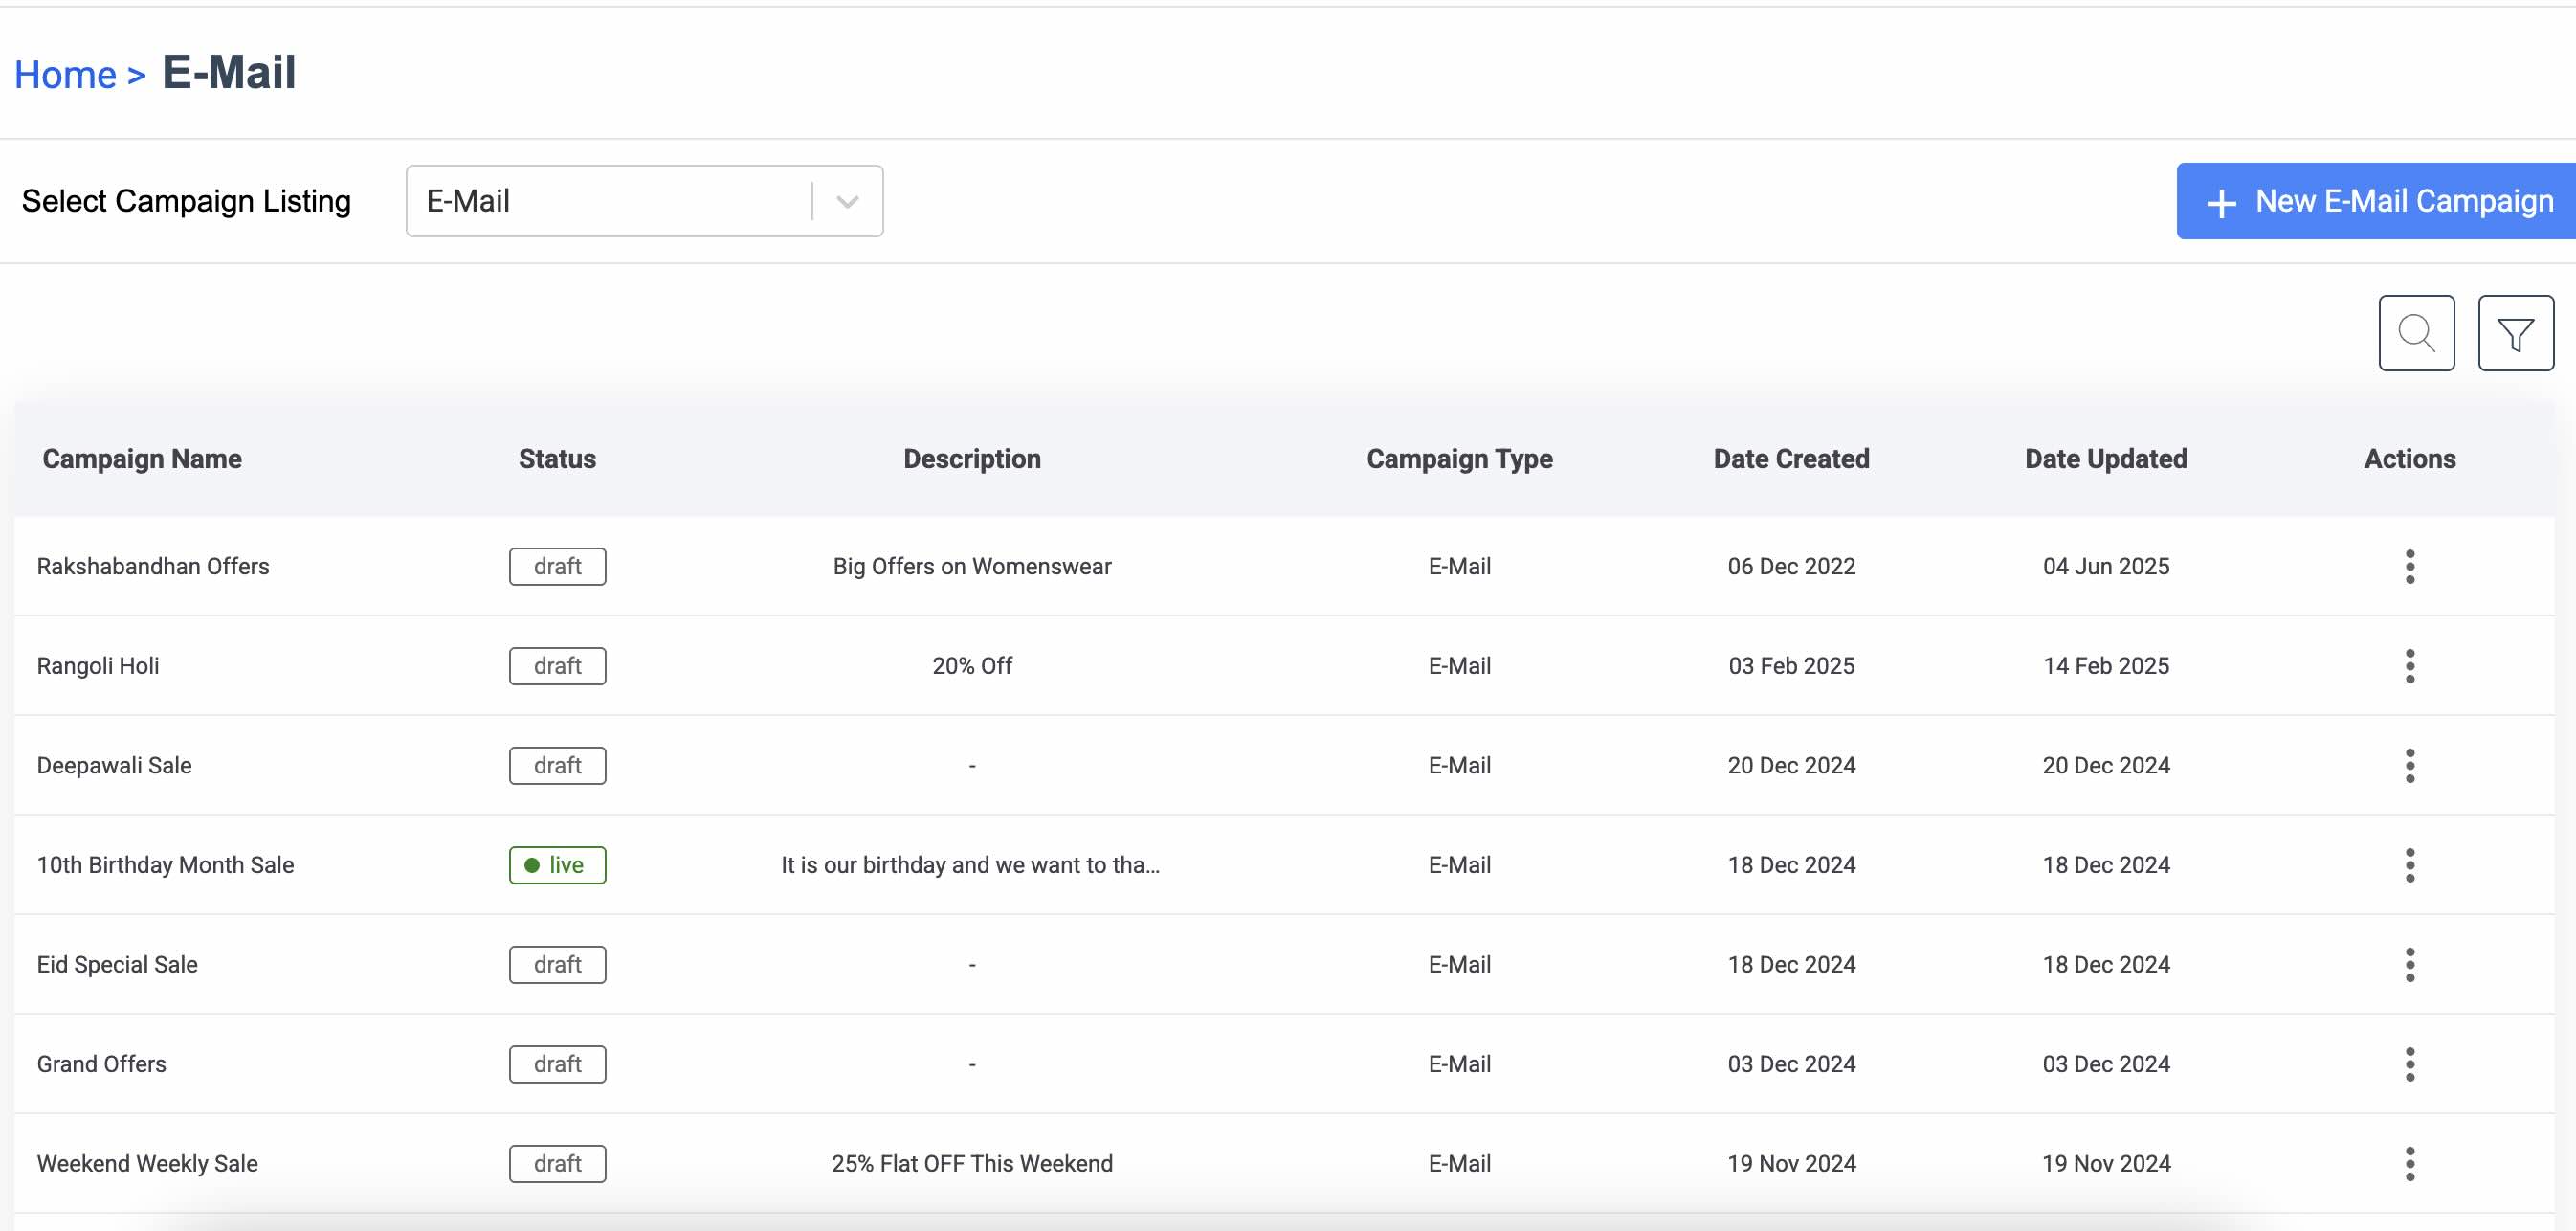 ## Create New Email Campaign
To create a new email campaign:
1. Click **+ New E-mail Campaign**.
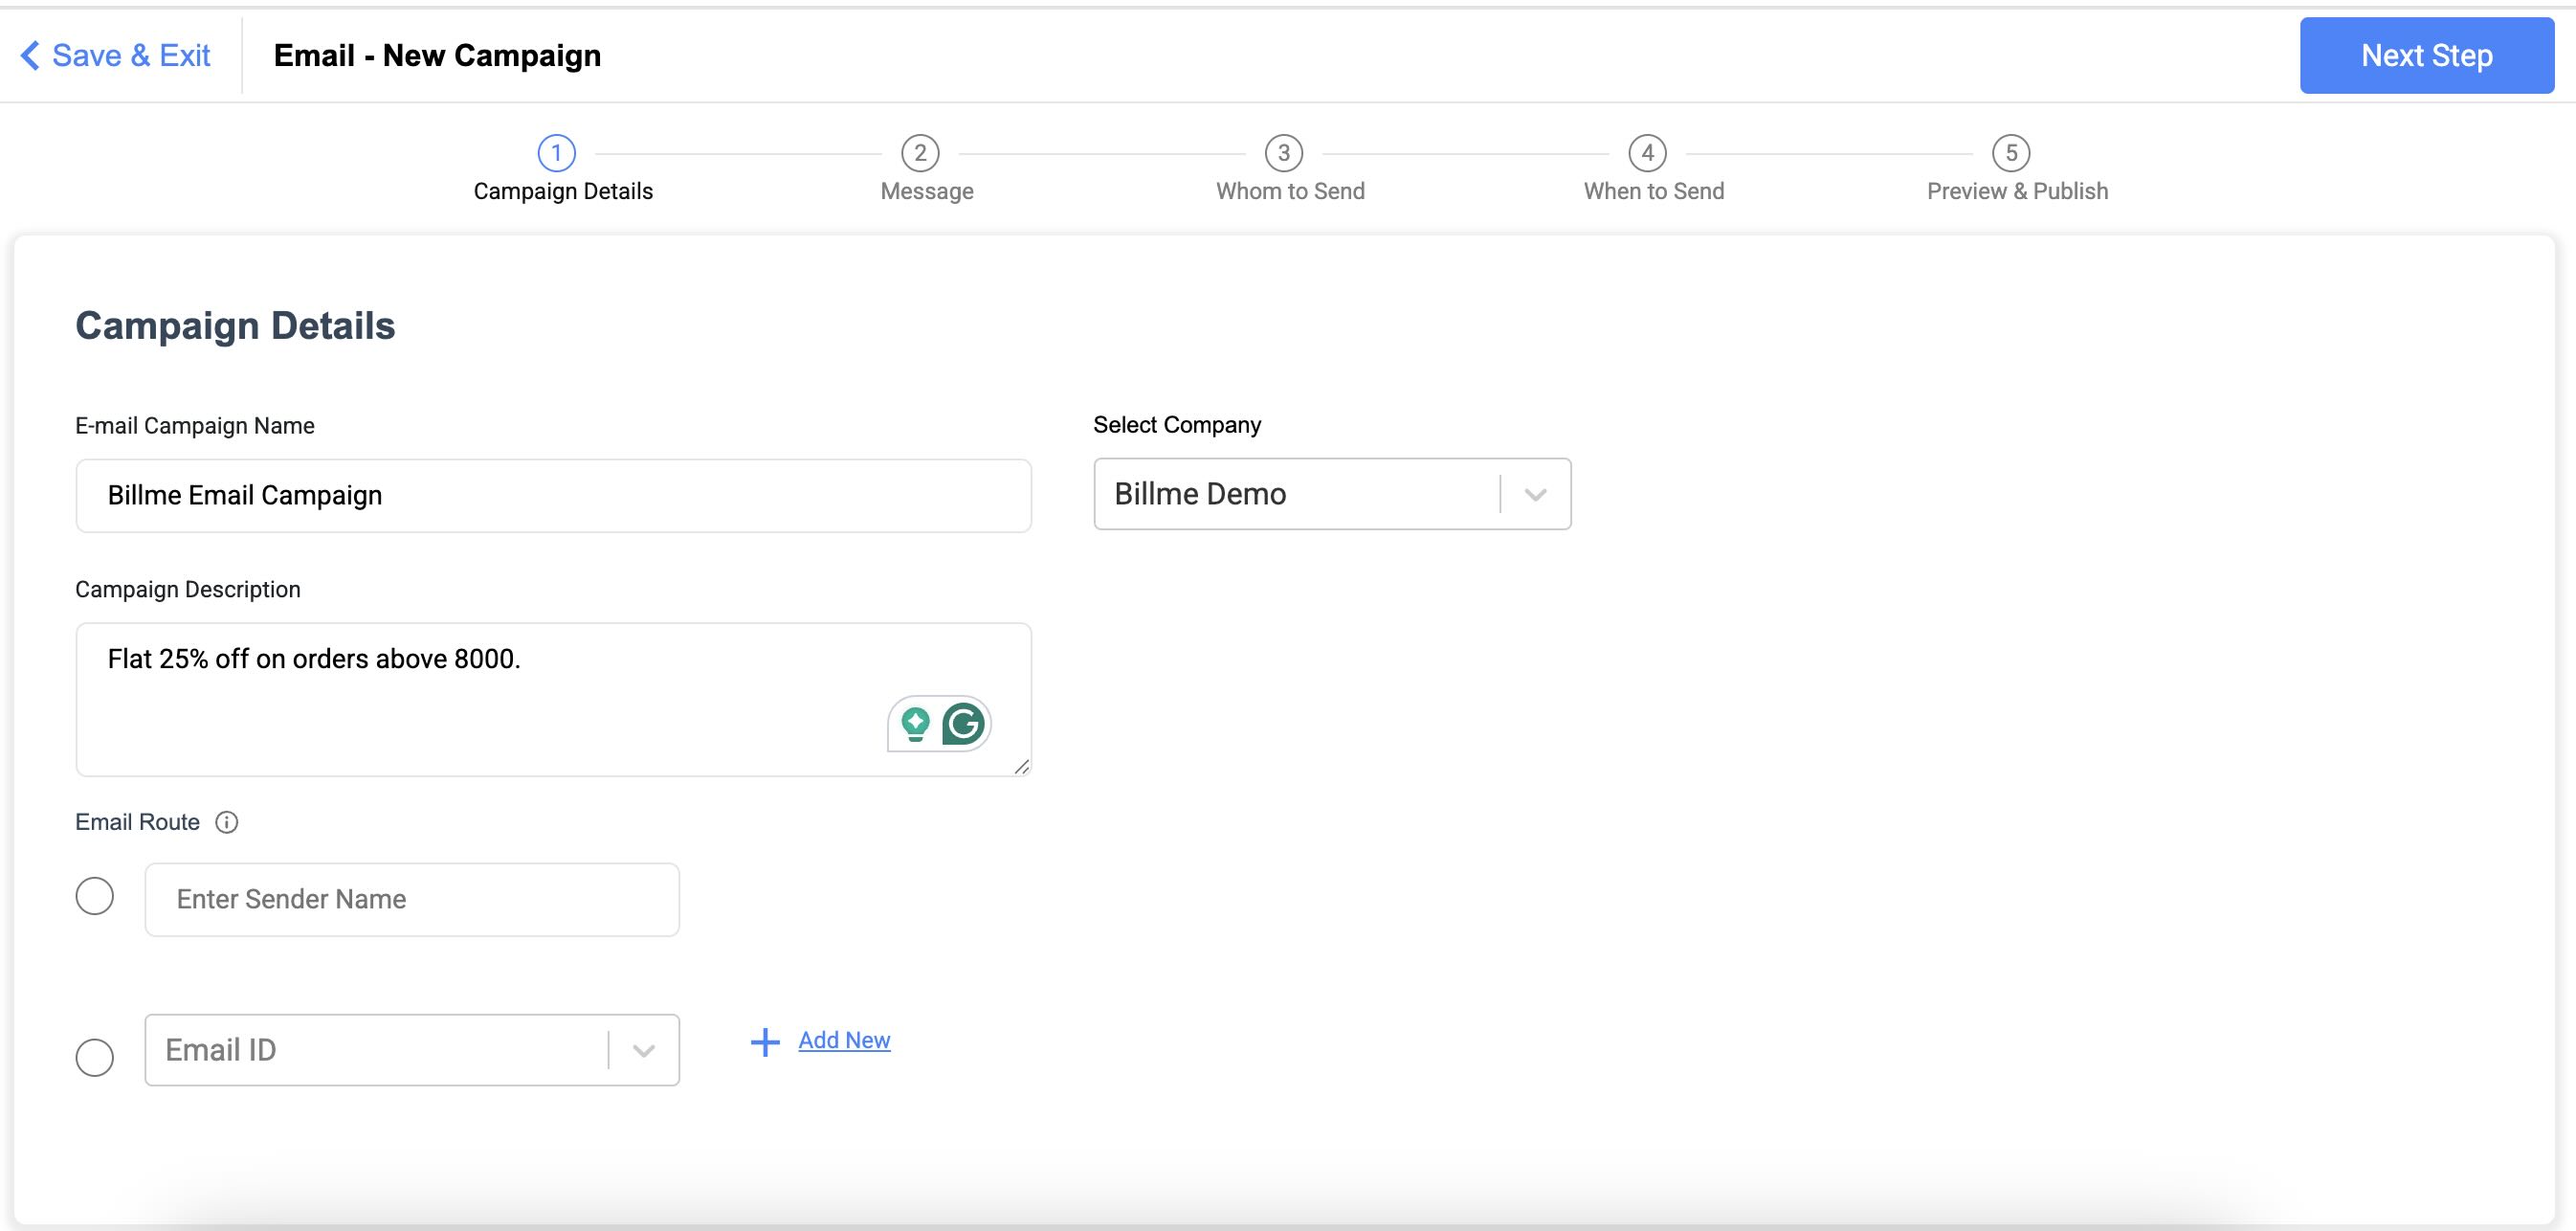
The **Email - New Campaign** page appears.
2. Enter the Campaign Name, Description and select your Company. Select the **Email Route** and choose to either send the email by a name or an Email ID. Click **Next Step**.
## Create New Email Campaign
To create a new email campaign:
1. Click **+ New E-mail Campaign**.
The **Email - New Campaign** page appears.
2. Enter the Campaign Name, Description and select your Company. Select the **Email Route** and choose to either send the email by a name or an Email ID. Click **Next Step**.
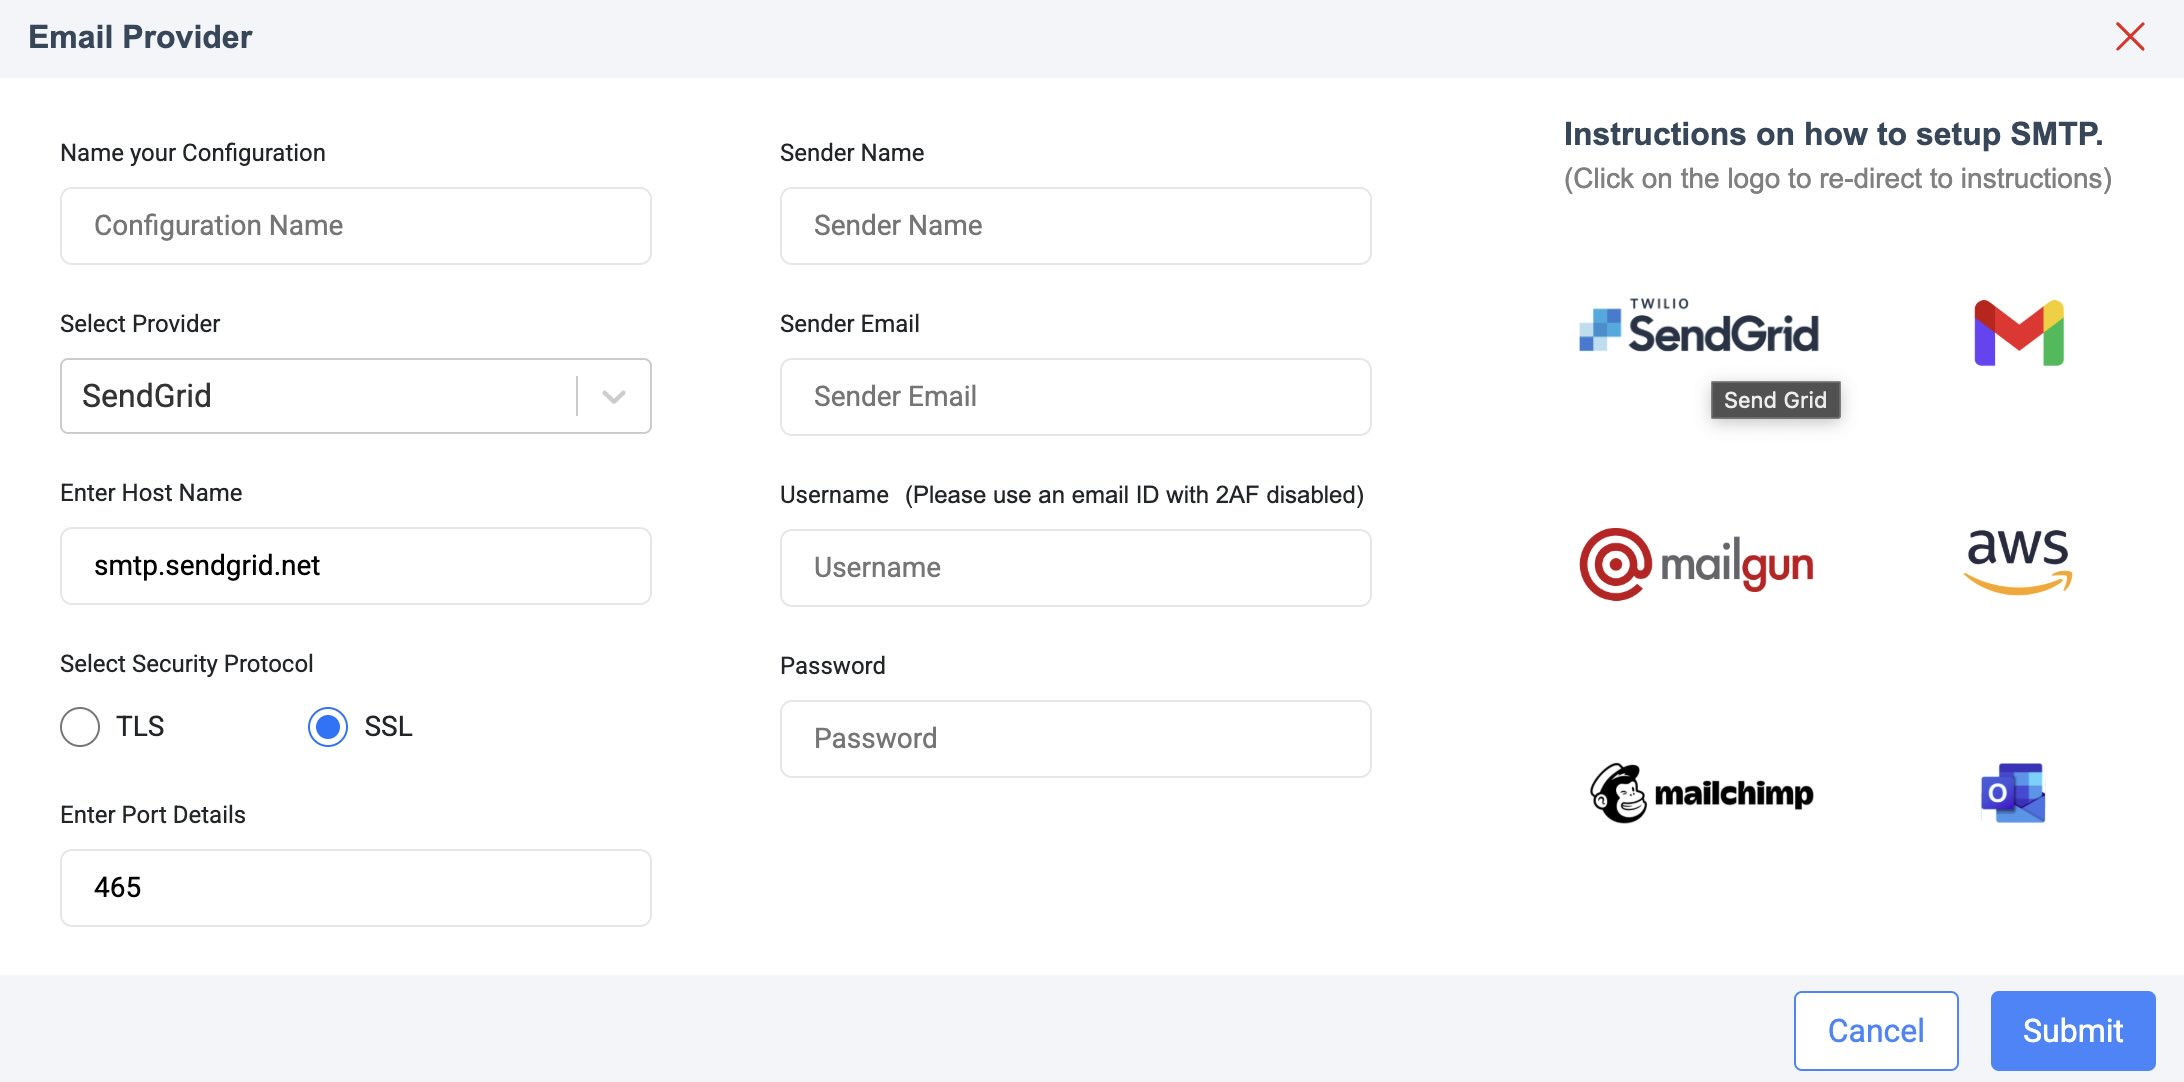
 * Click **Add New** to configure an email service provider of your choice.
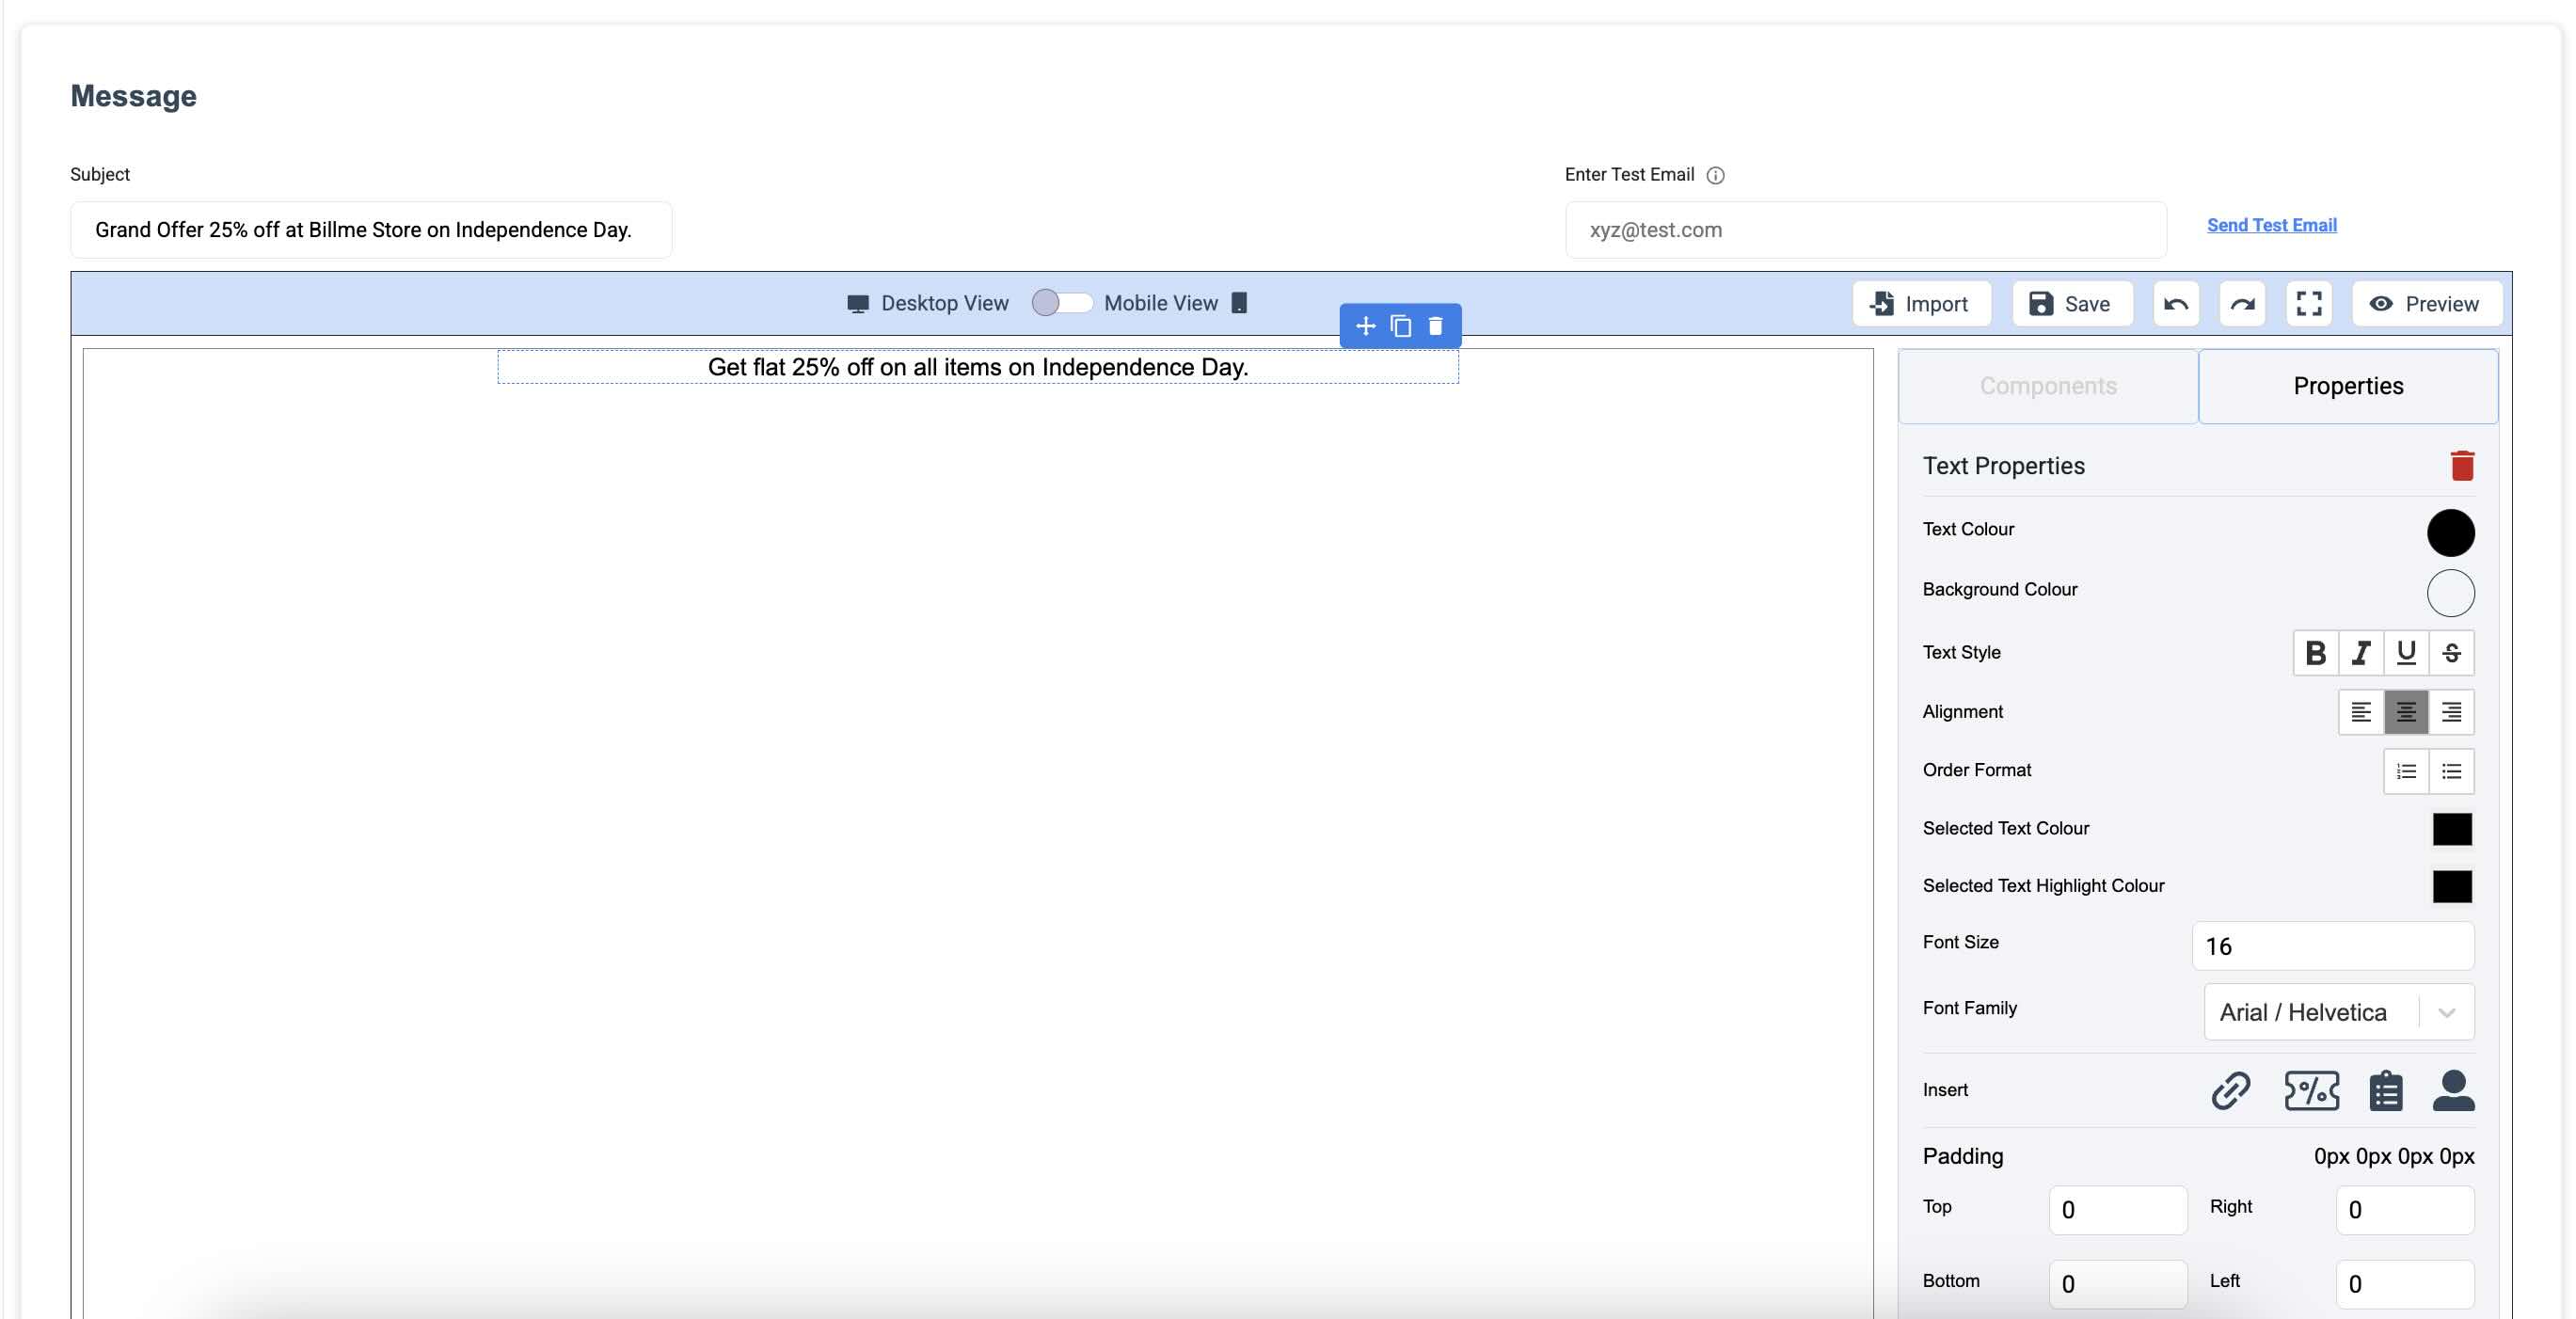
 3. On the **Message** page, customise your email message with dynamic design options. Click **Next Step**.
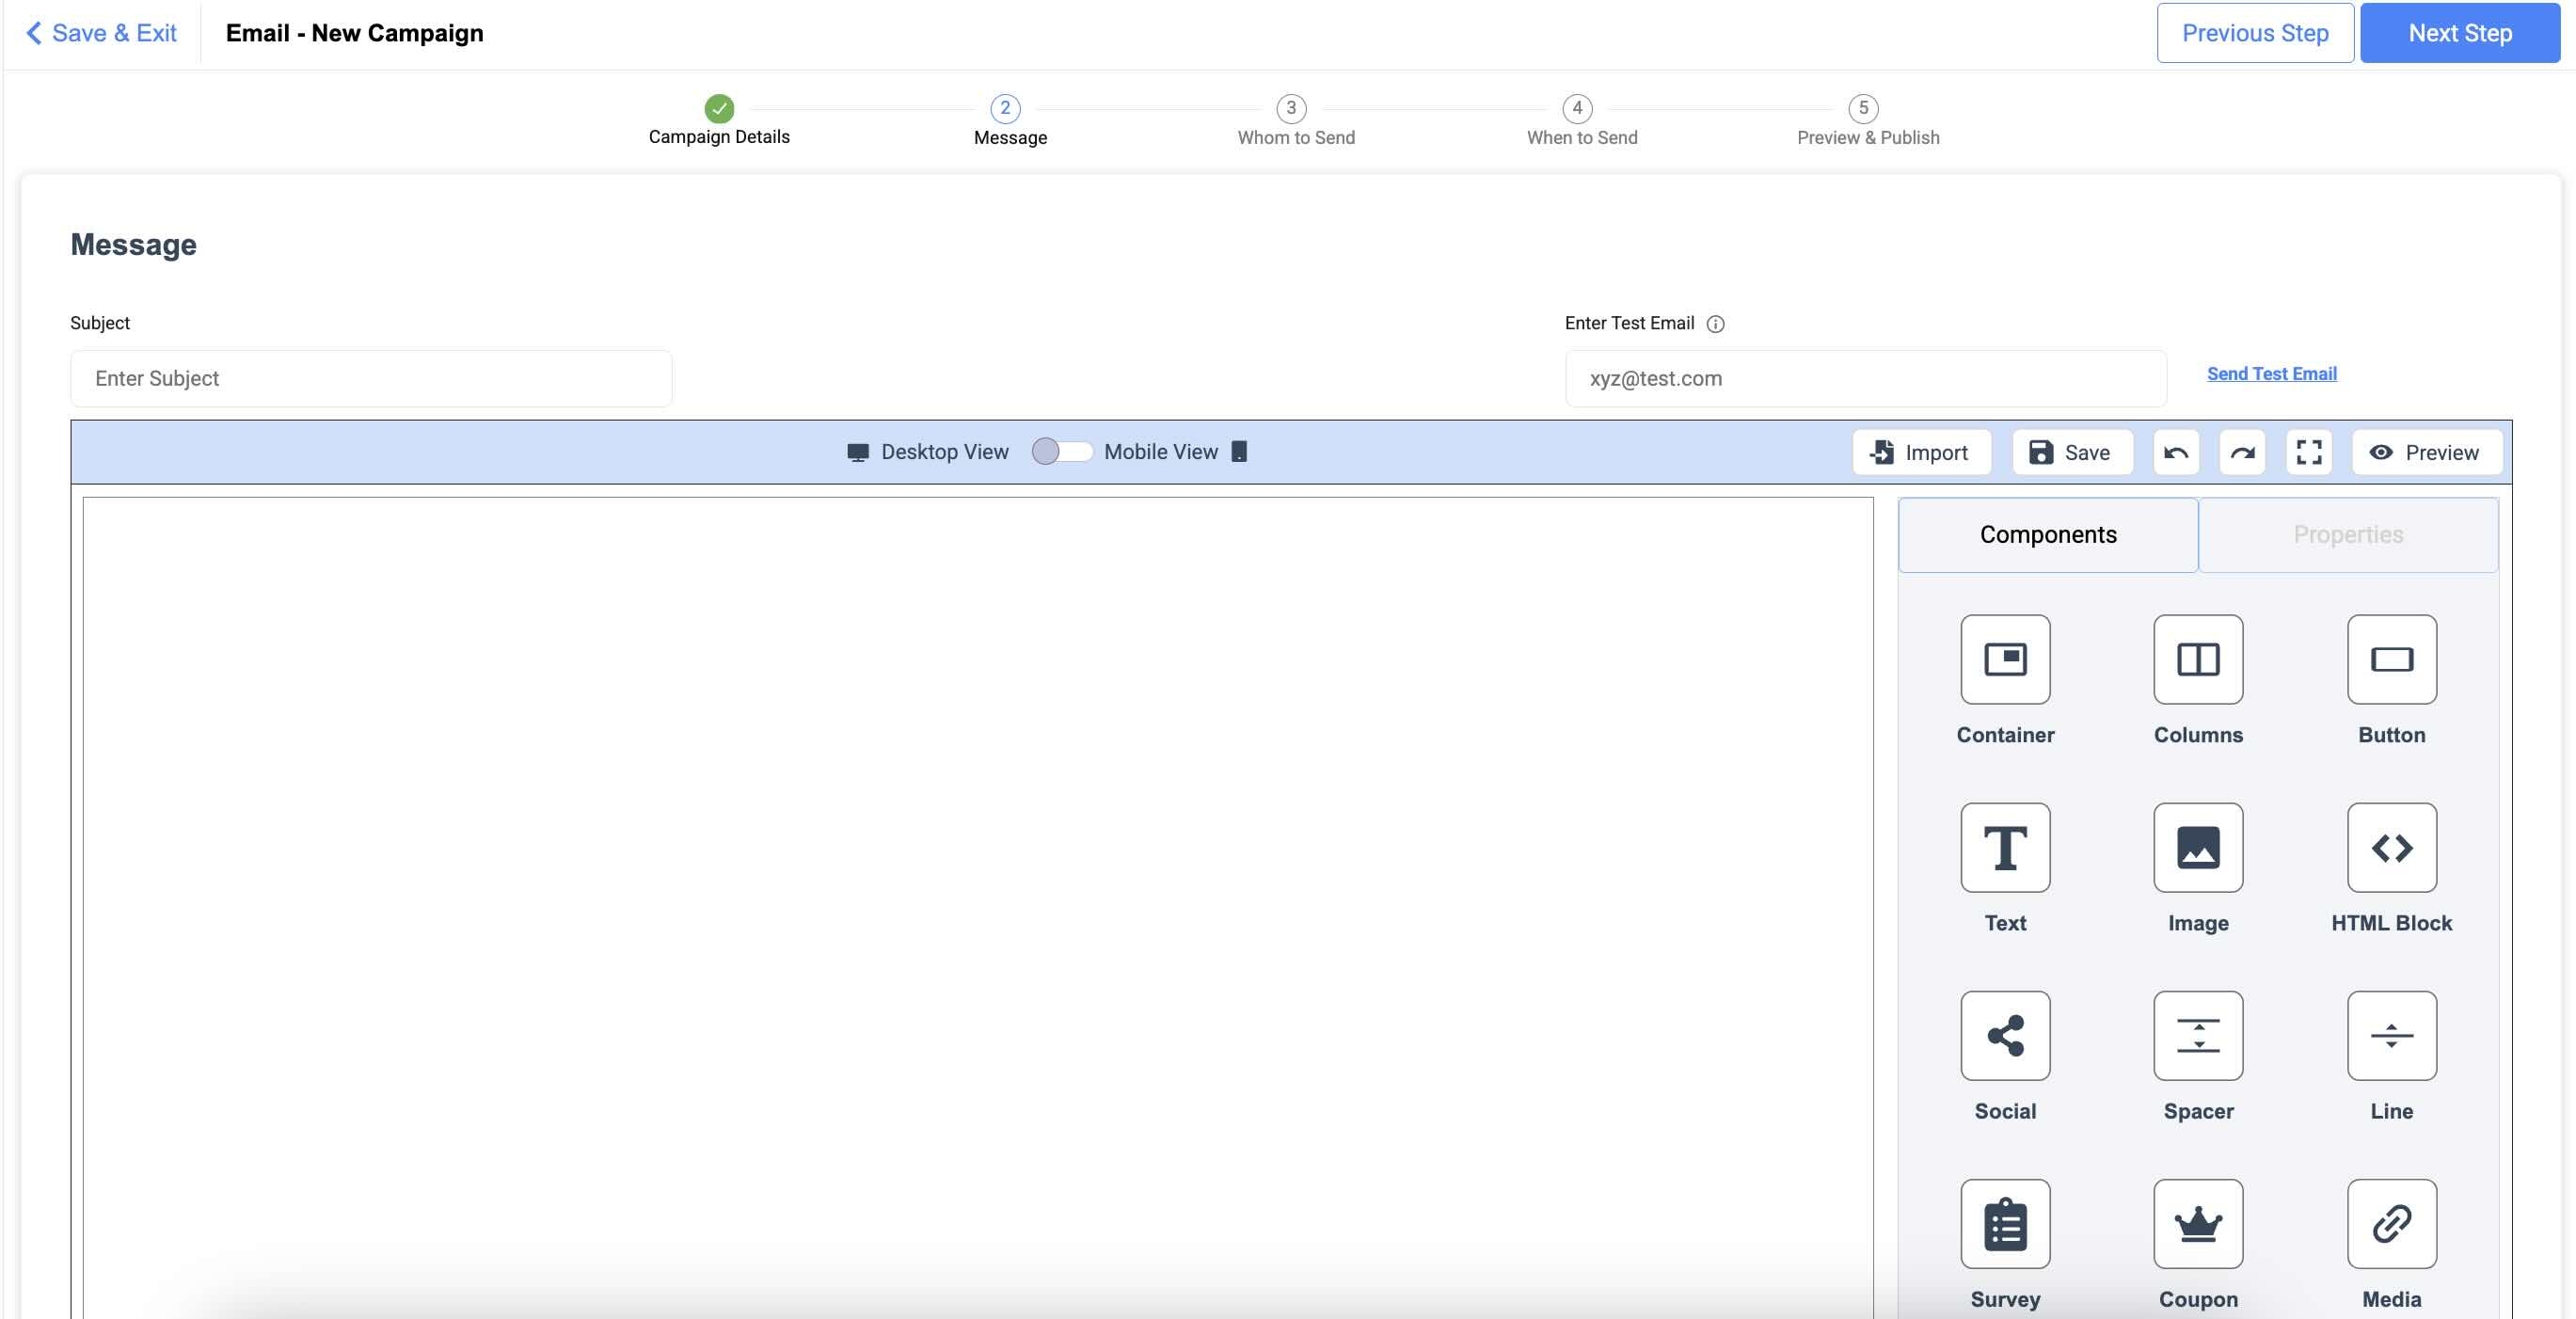 * For example, drag and drop **Text** from the **Components** pane to the board and enter your text.
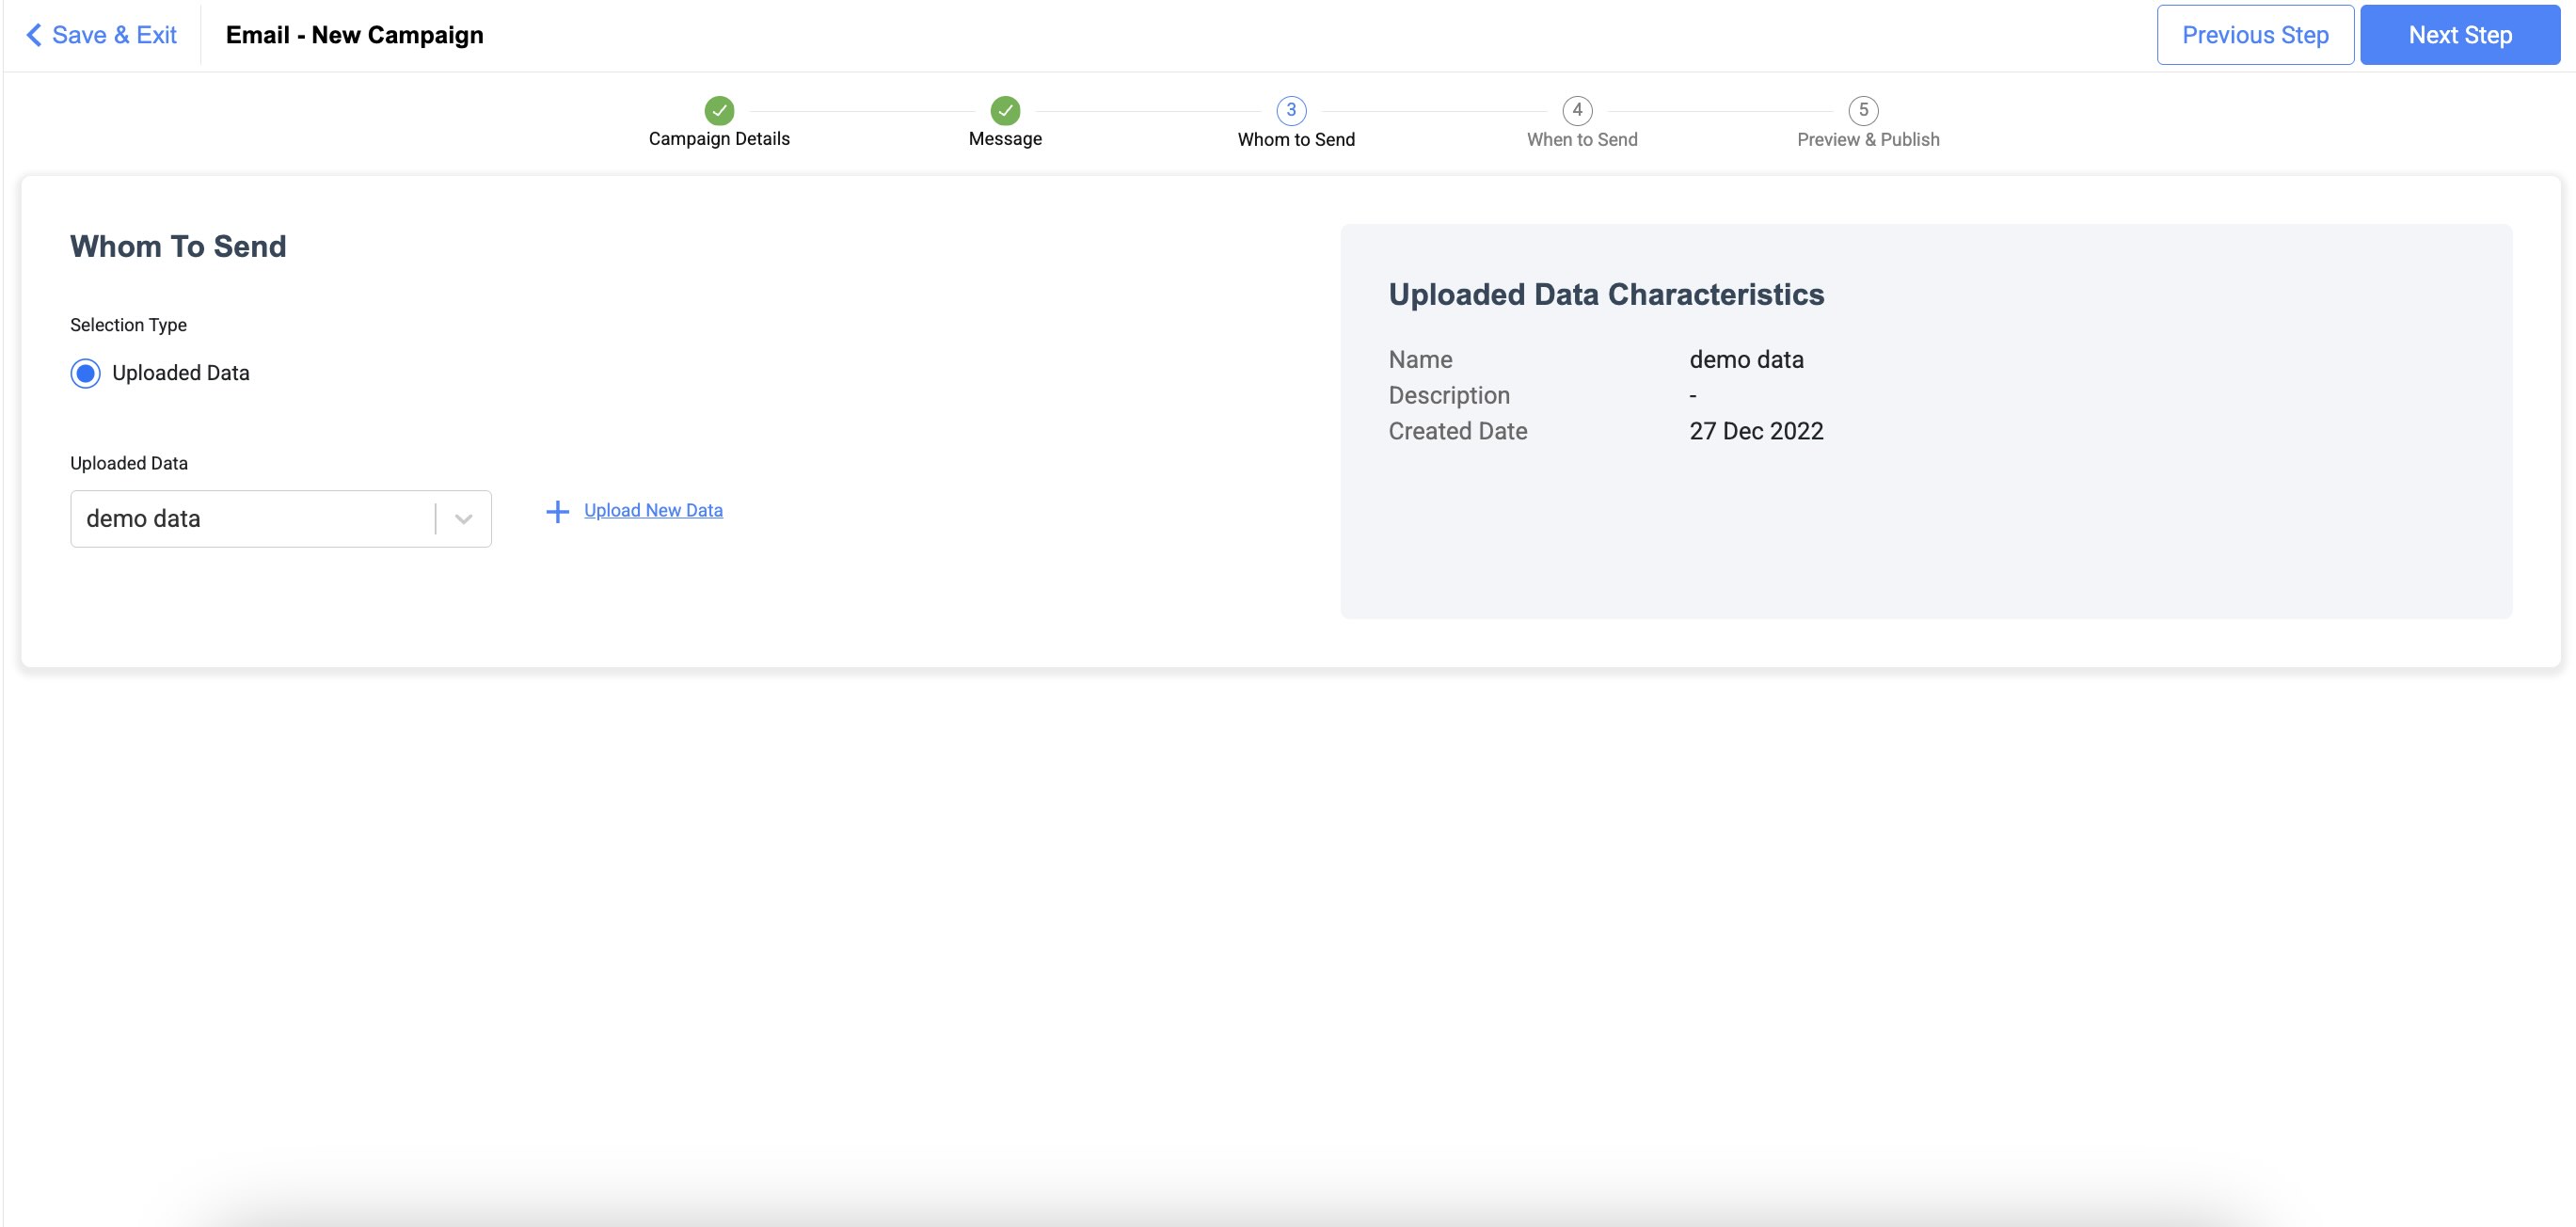
 4. On the **Whom To Send** page, select or upload a list of customers. Click **Next Step**.
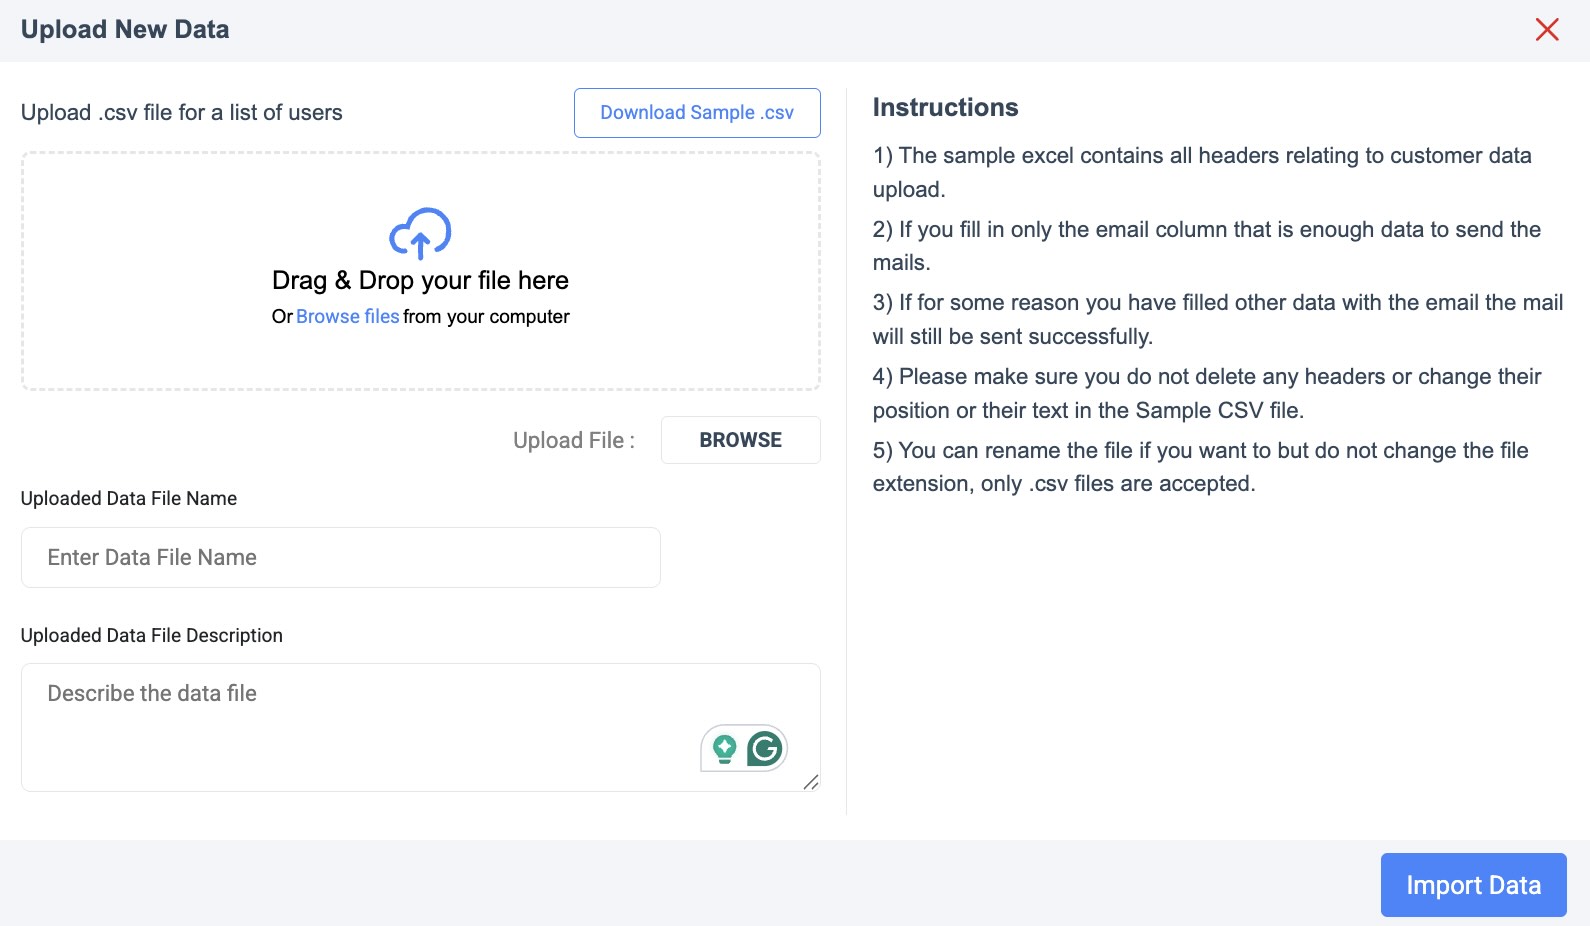
 * To upload a new list of customers, click **Upload New Data** and upload a CSV file.
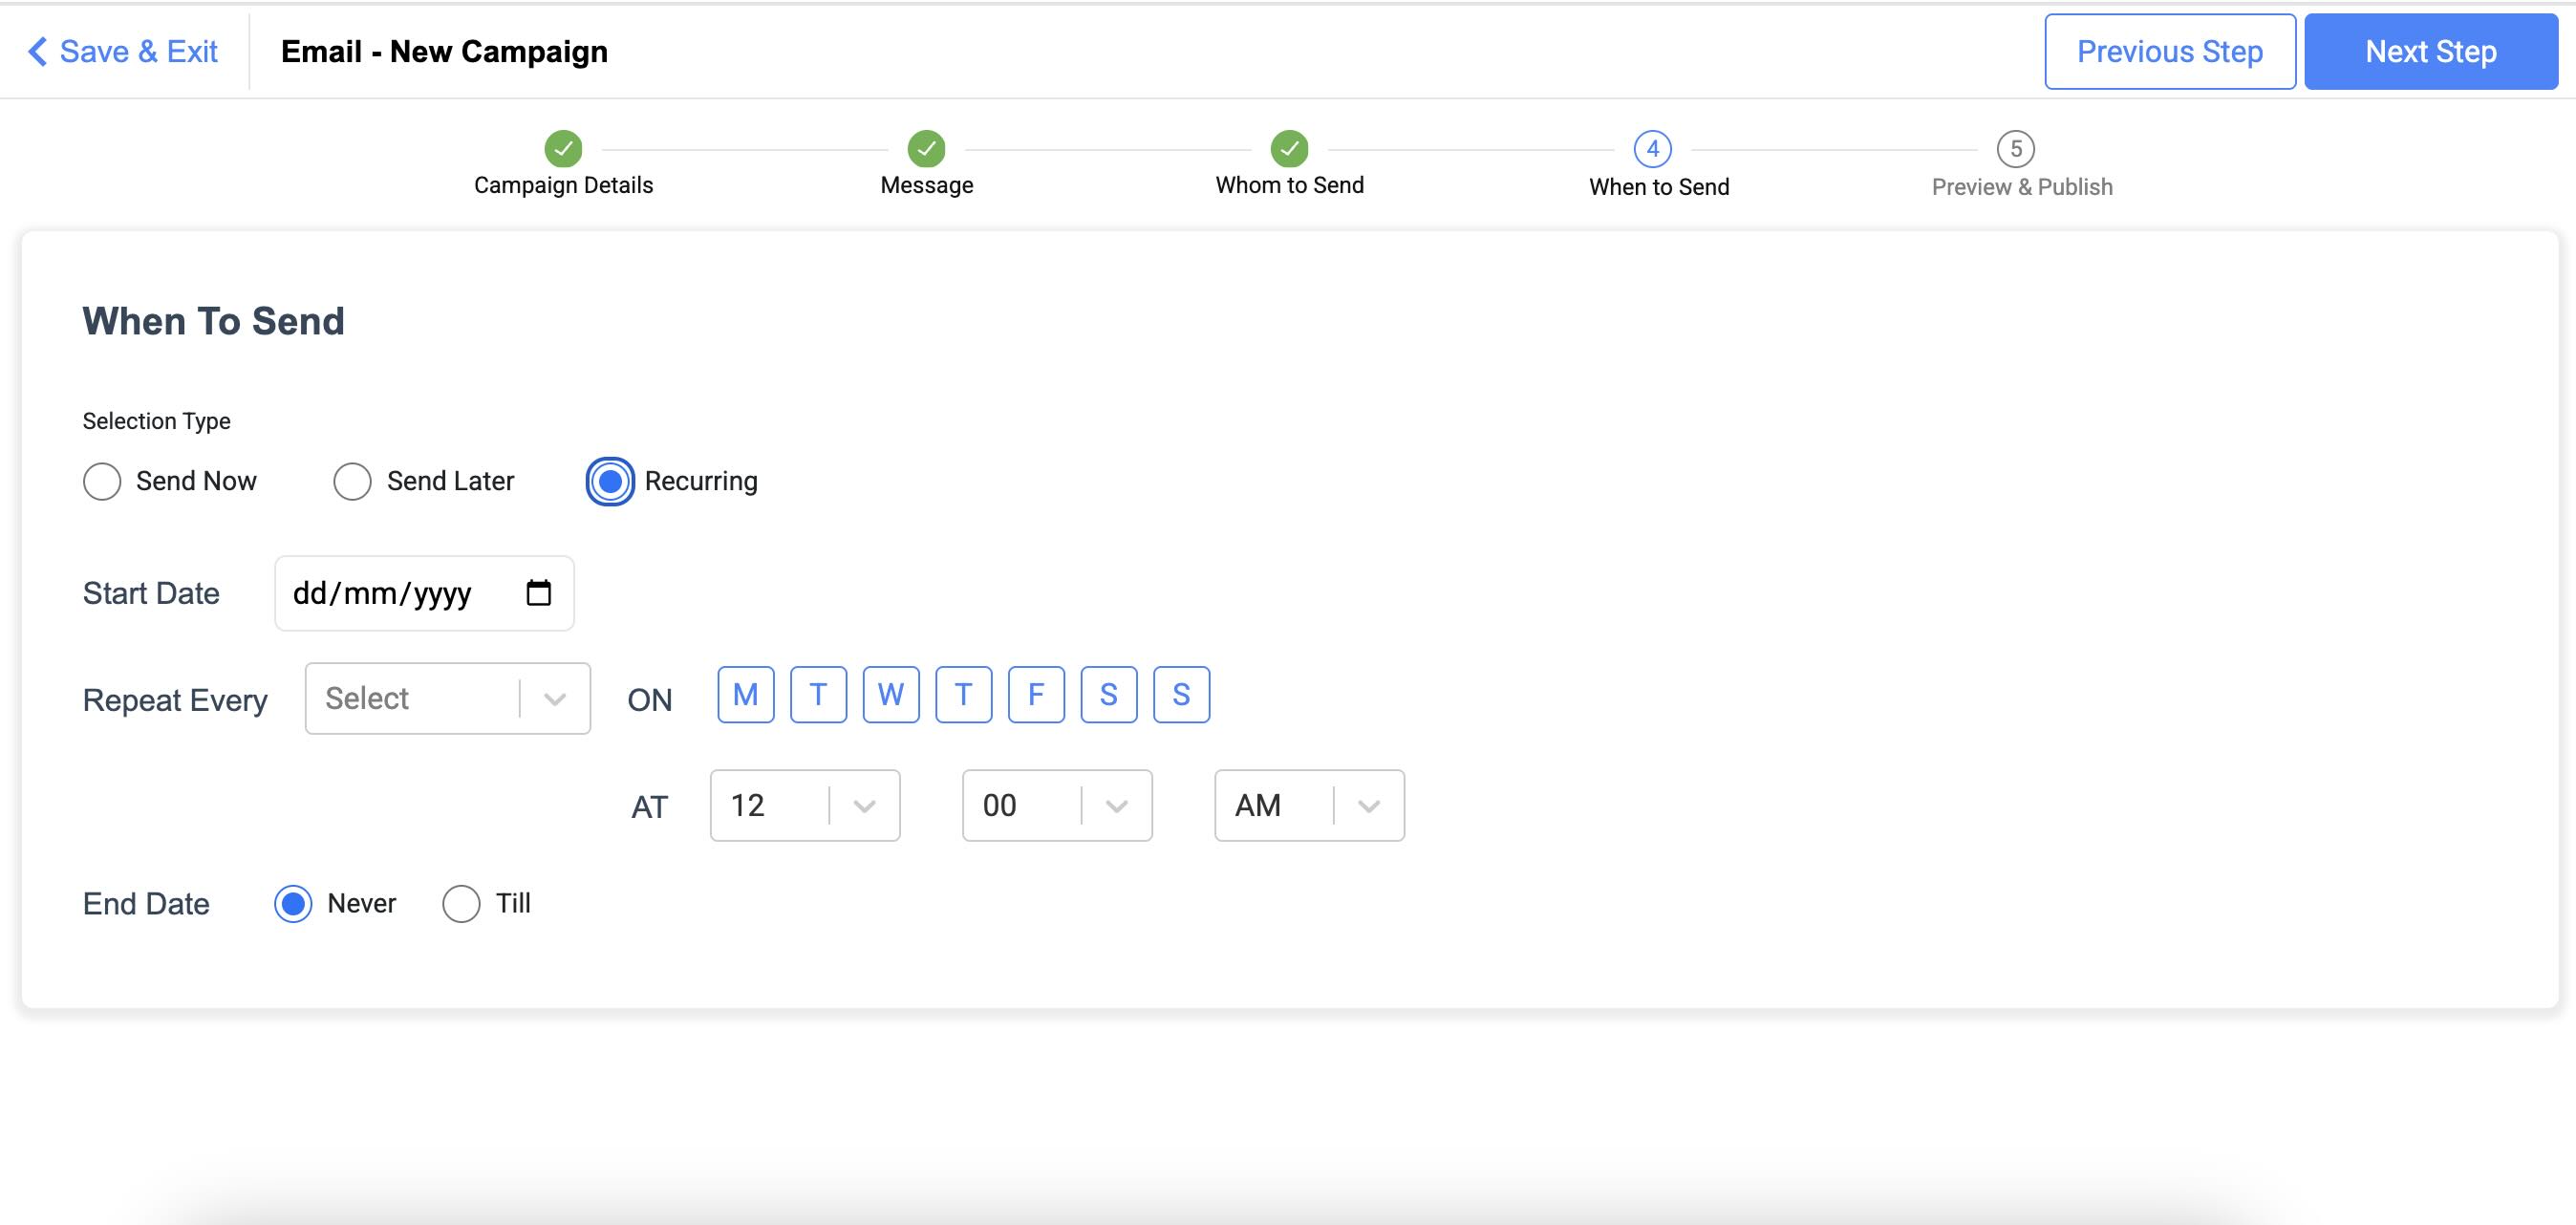
 5. On the **When To Send** page, select the time and date on which you want to send the email campaign. You have the option to select **Send Now**, **Send Later** and **Recurring**. Configure the timelines and click **Next Step**.
 6. Preview the details of your email campaign and click **Publish**.
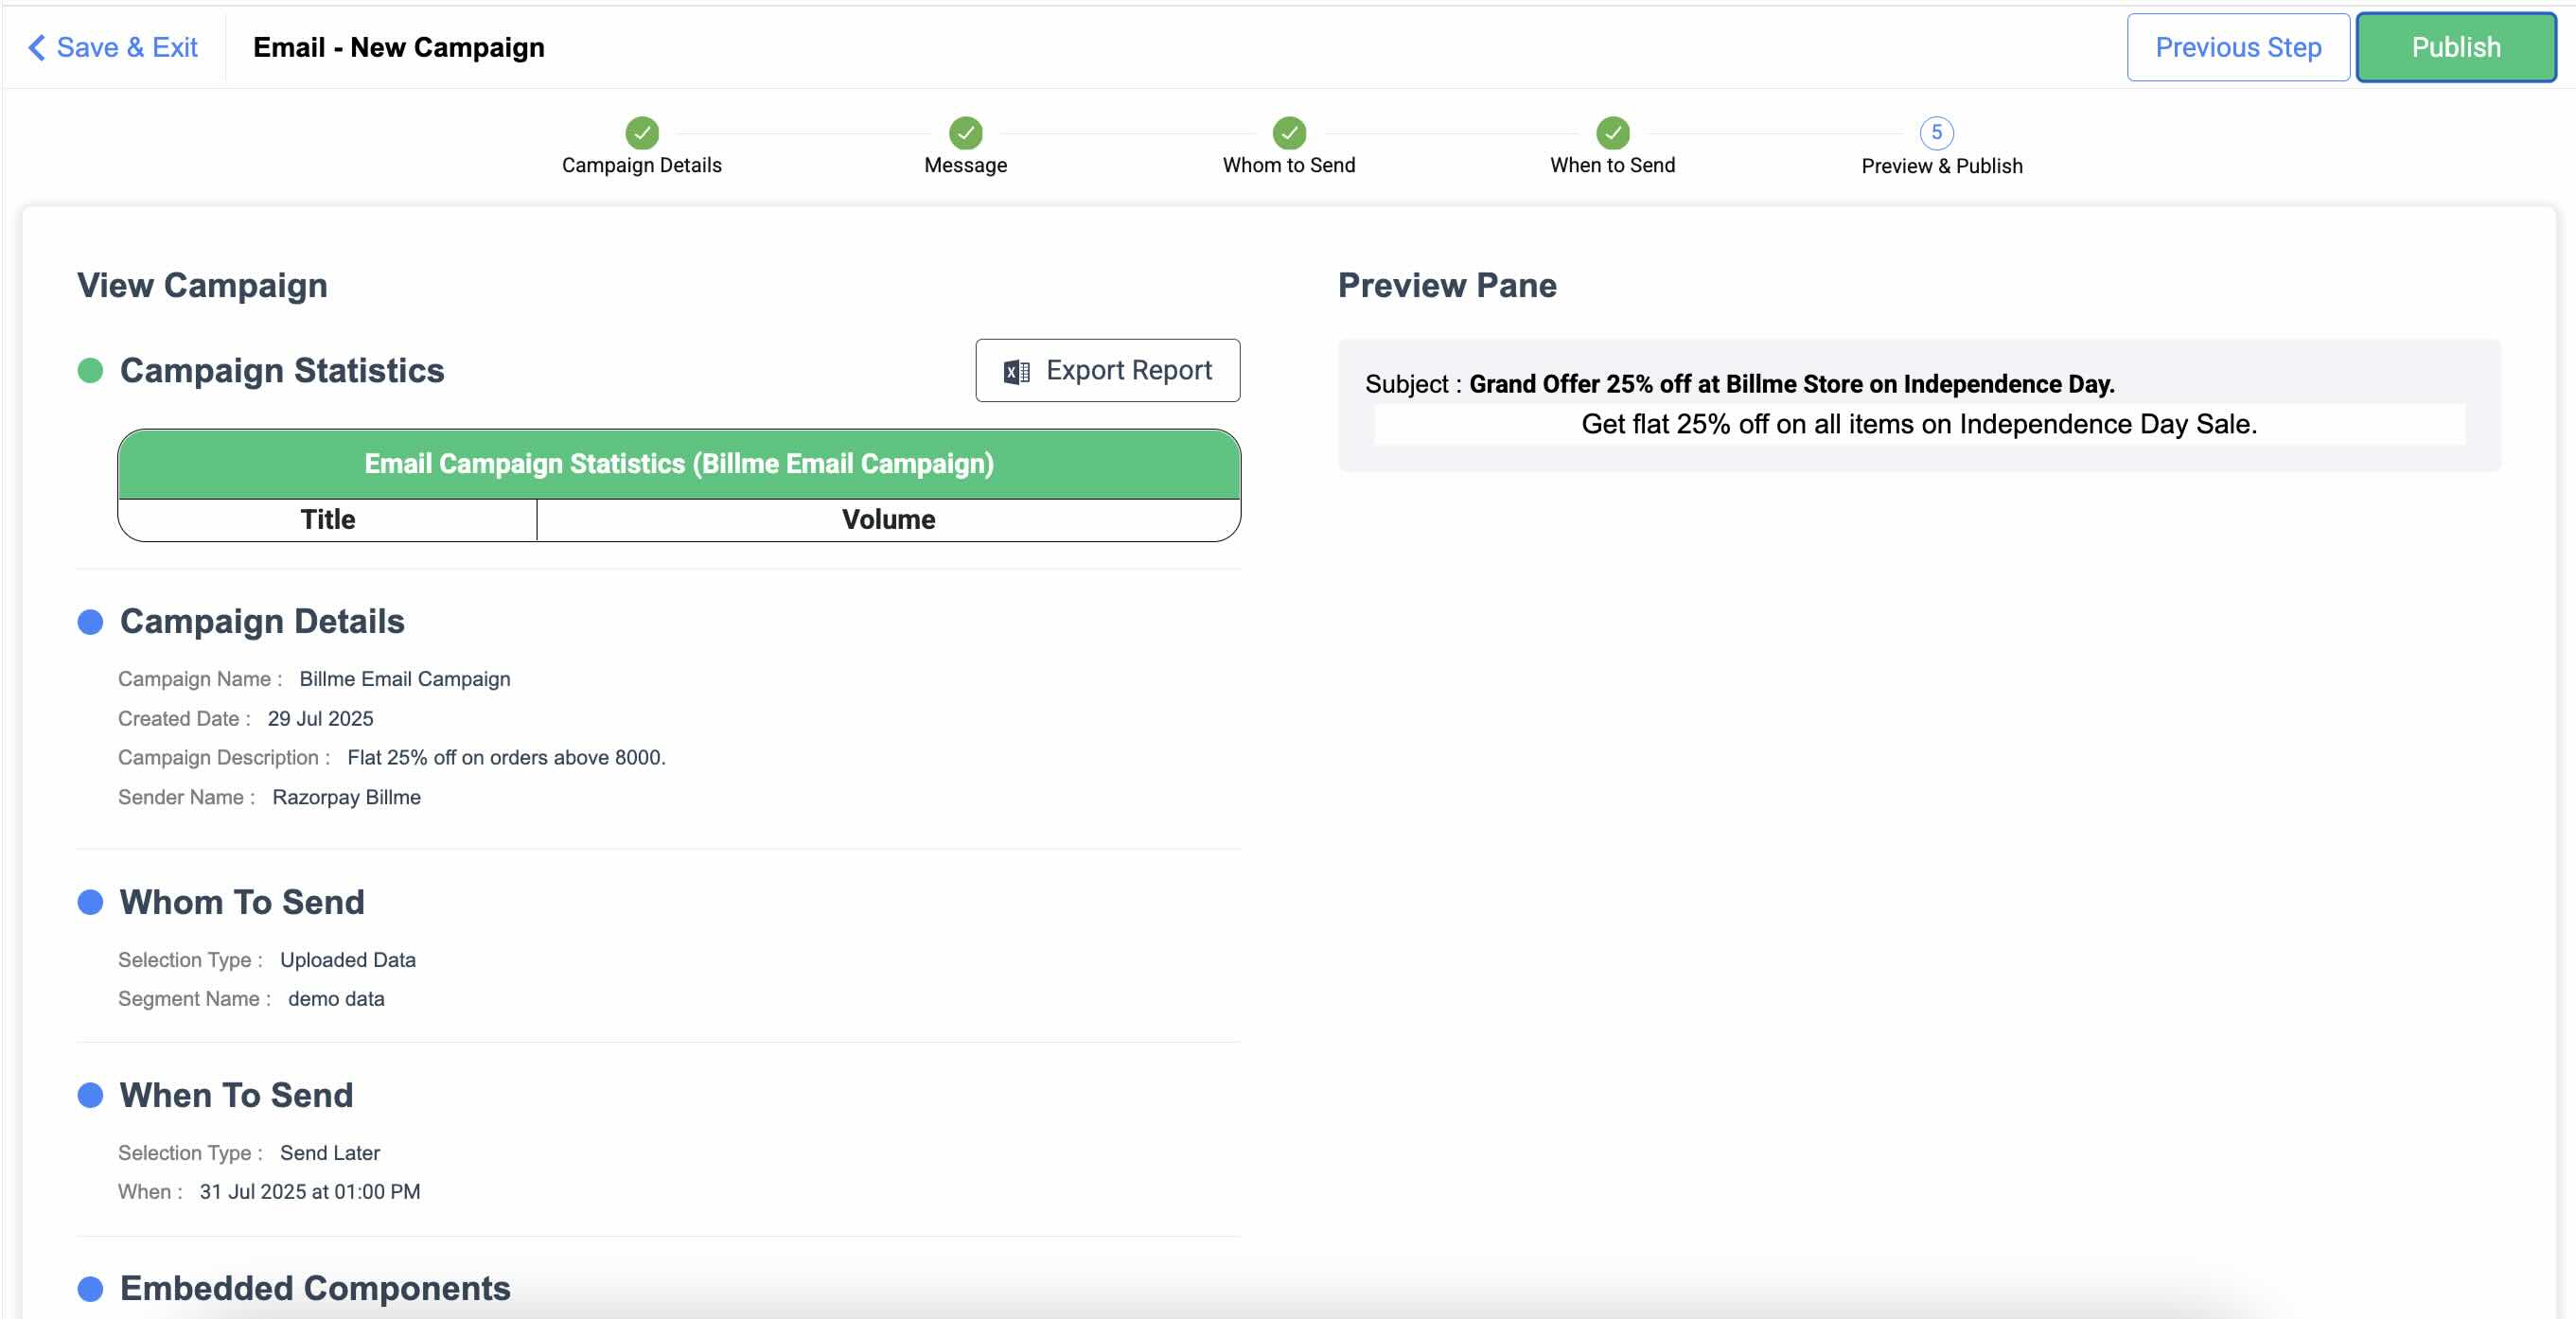 The Email Campaign is published and appears in the list of email campaigns.