> ## Documentation Index
> Fetch the complete documentation index at: https://razorpay-881012b3.mintlify.site/llms.txt
> Use this file to discover all available pages before exploring further.

# About RazorpayX Dashboard

> Switch Merchants, generate Reports, update Account Settings with the RazorpayX Dashboard.

<div style={{display:"flex",flexWrap:"wrap",alignItems:"center",gap:"0.35rem 0.9rem",border:"1px solid rgba(128,128,128,0.28)",borderRadius:"0.5rem",padding:"0.45rem 0.75rem",margin:"0 0 1.25rem",fontSize:"0.875rem"}}>
  <span style={{fontWeight:600}}>Available in</span>
  <span>🇮🇳 India</span>
</div>

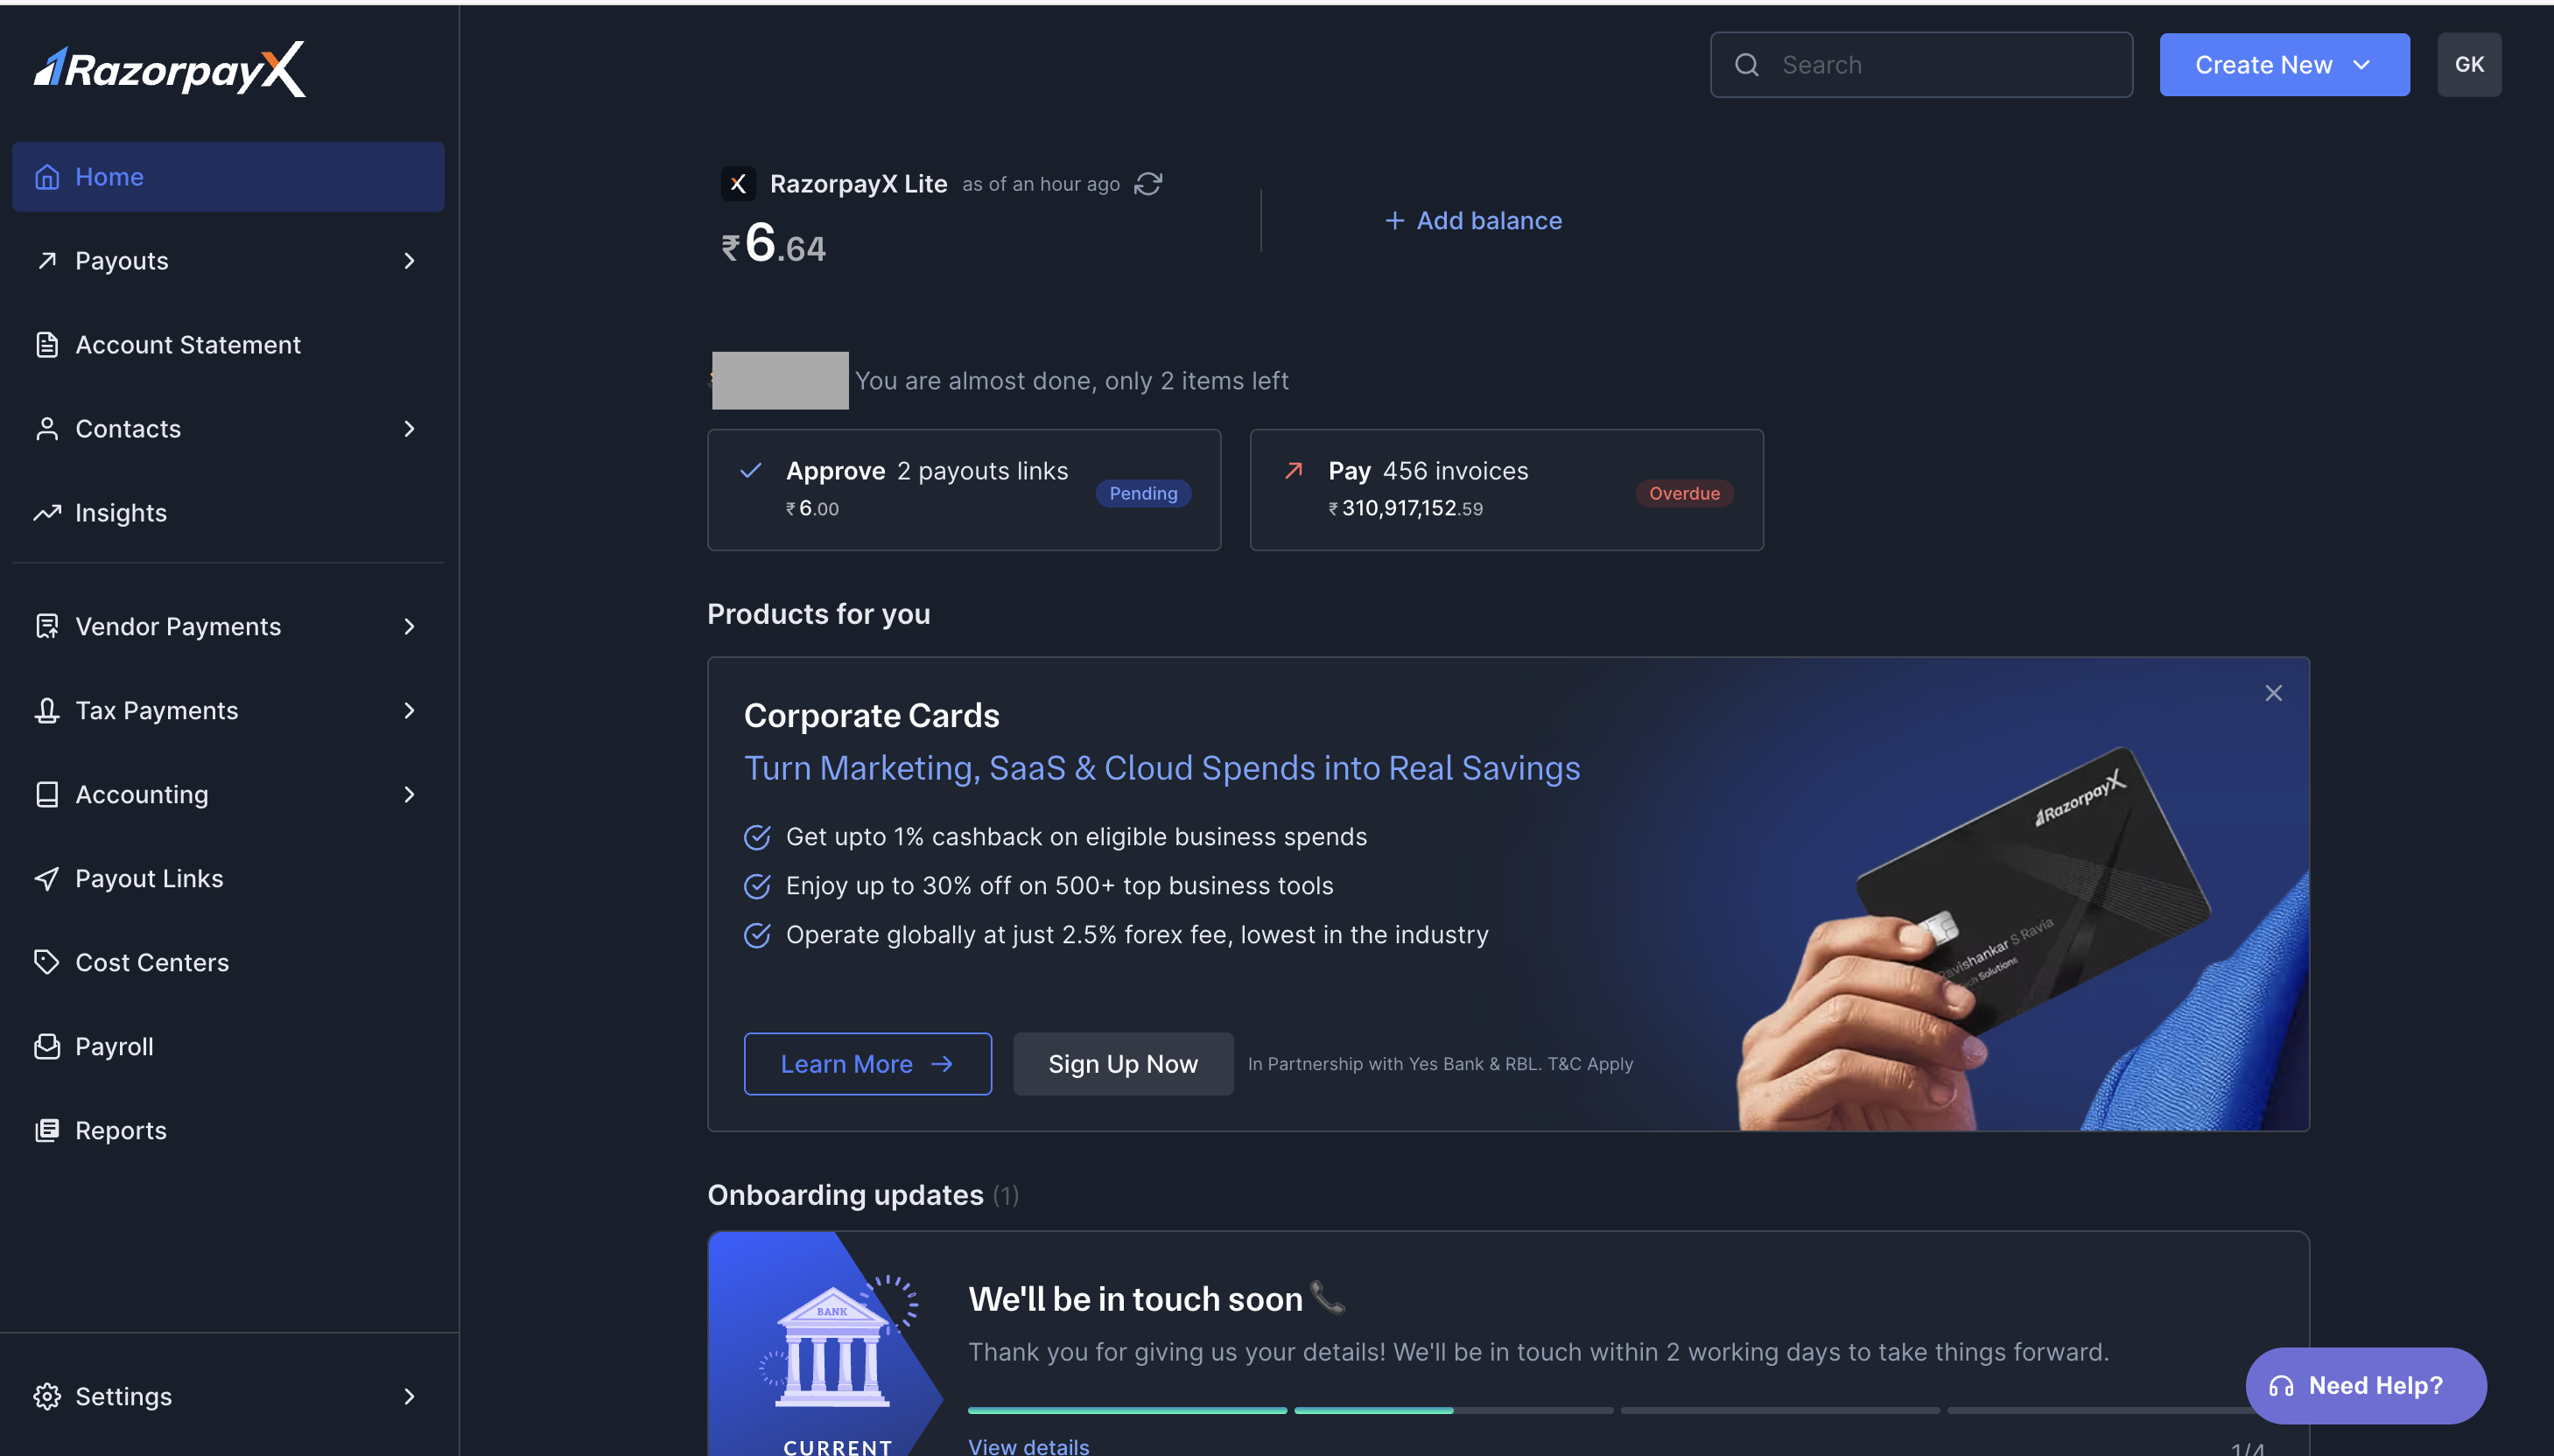
RazorpayX Dashboard is an easy to use and interactive page. It offers [Global Search](/docs/x/dashboard/keyboard-shortcuts#global-search) and announcements for easy discoverability of new and existing features.

<img src="https://razorpay.com/docs/build/browser/assets/images/xdashboard.jpg" alt="RazorpayX Dashboard Global Search and profile" width="800" />

## Profile

This is where you find your Merchant ID (MiD) or Business ID and other necessary tabs:

* [Switch Merchant](#switch-merchant)
* [My Account & Settings](#my-account-settings)
* [Technical Documentation](#technical-documentation)
* [Announcements](#announcements)
* [Keyboard Shortcuts](/docs/x/dashboard/keyboard-shortcuts)
* [Go to Razorpay Dashboard](#razorpay-dashboard)
* [Enable Test Mode](/docs/x/dashboard/test-mode)
* [Light Theme](#light-theme)
* [Cashflow Insights](/docs/x/dashboard/cashflow-insights)
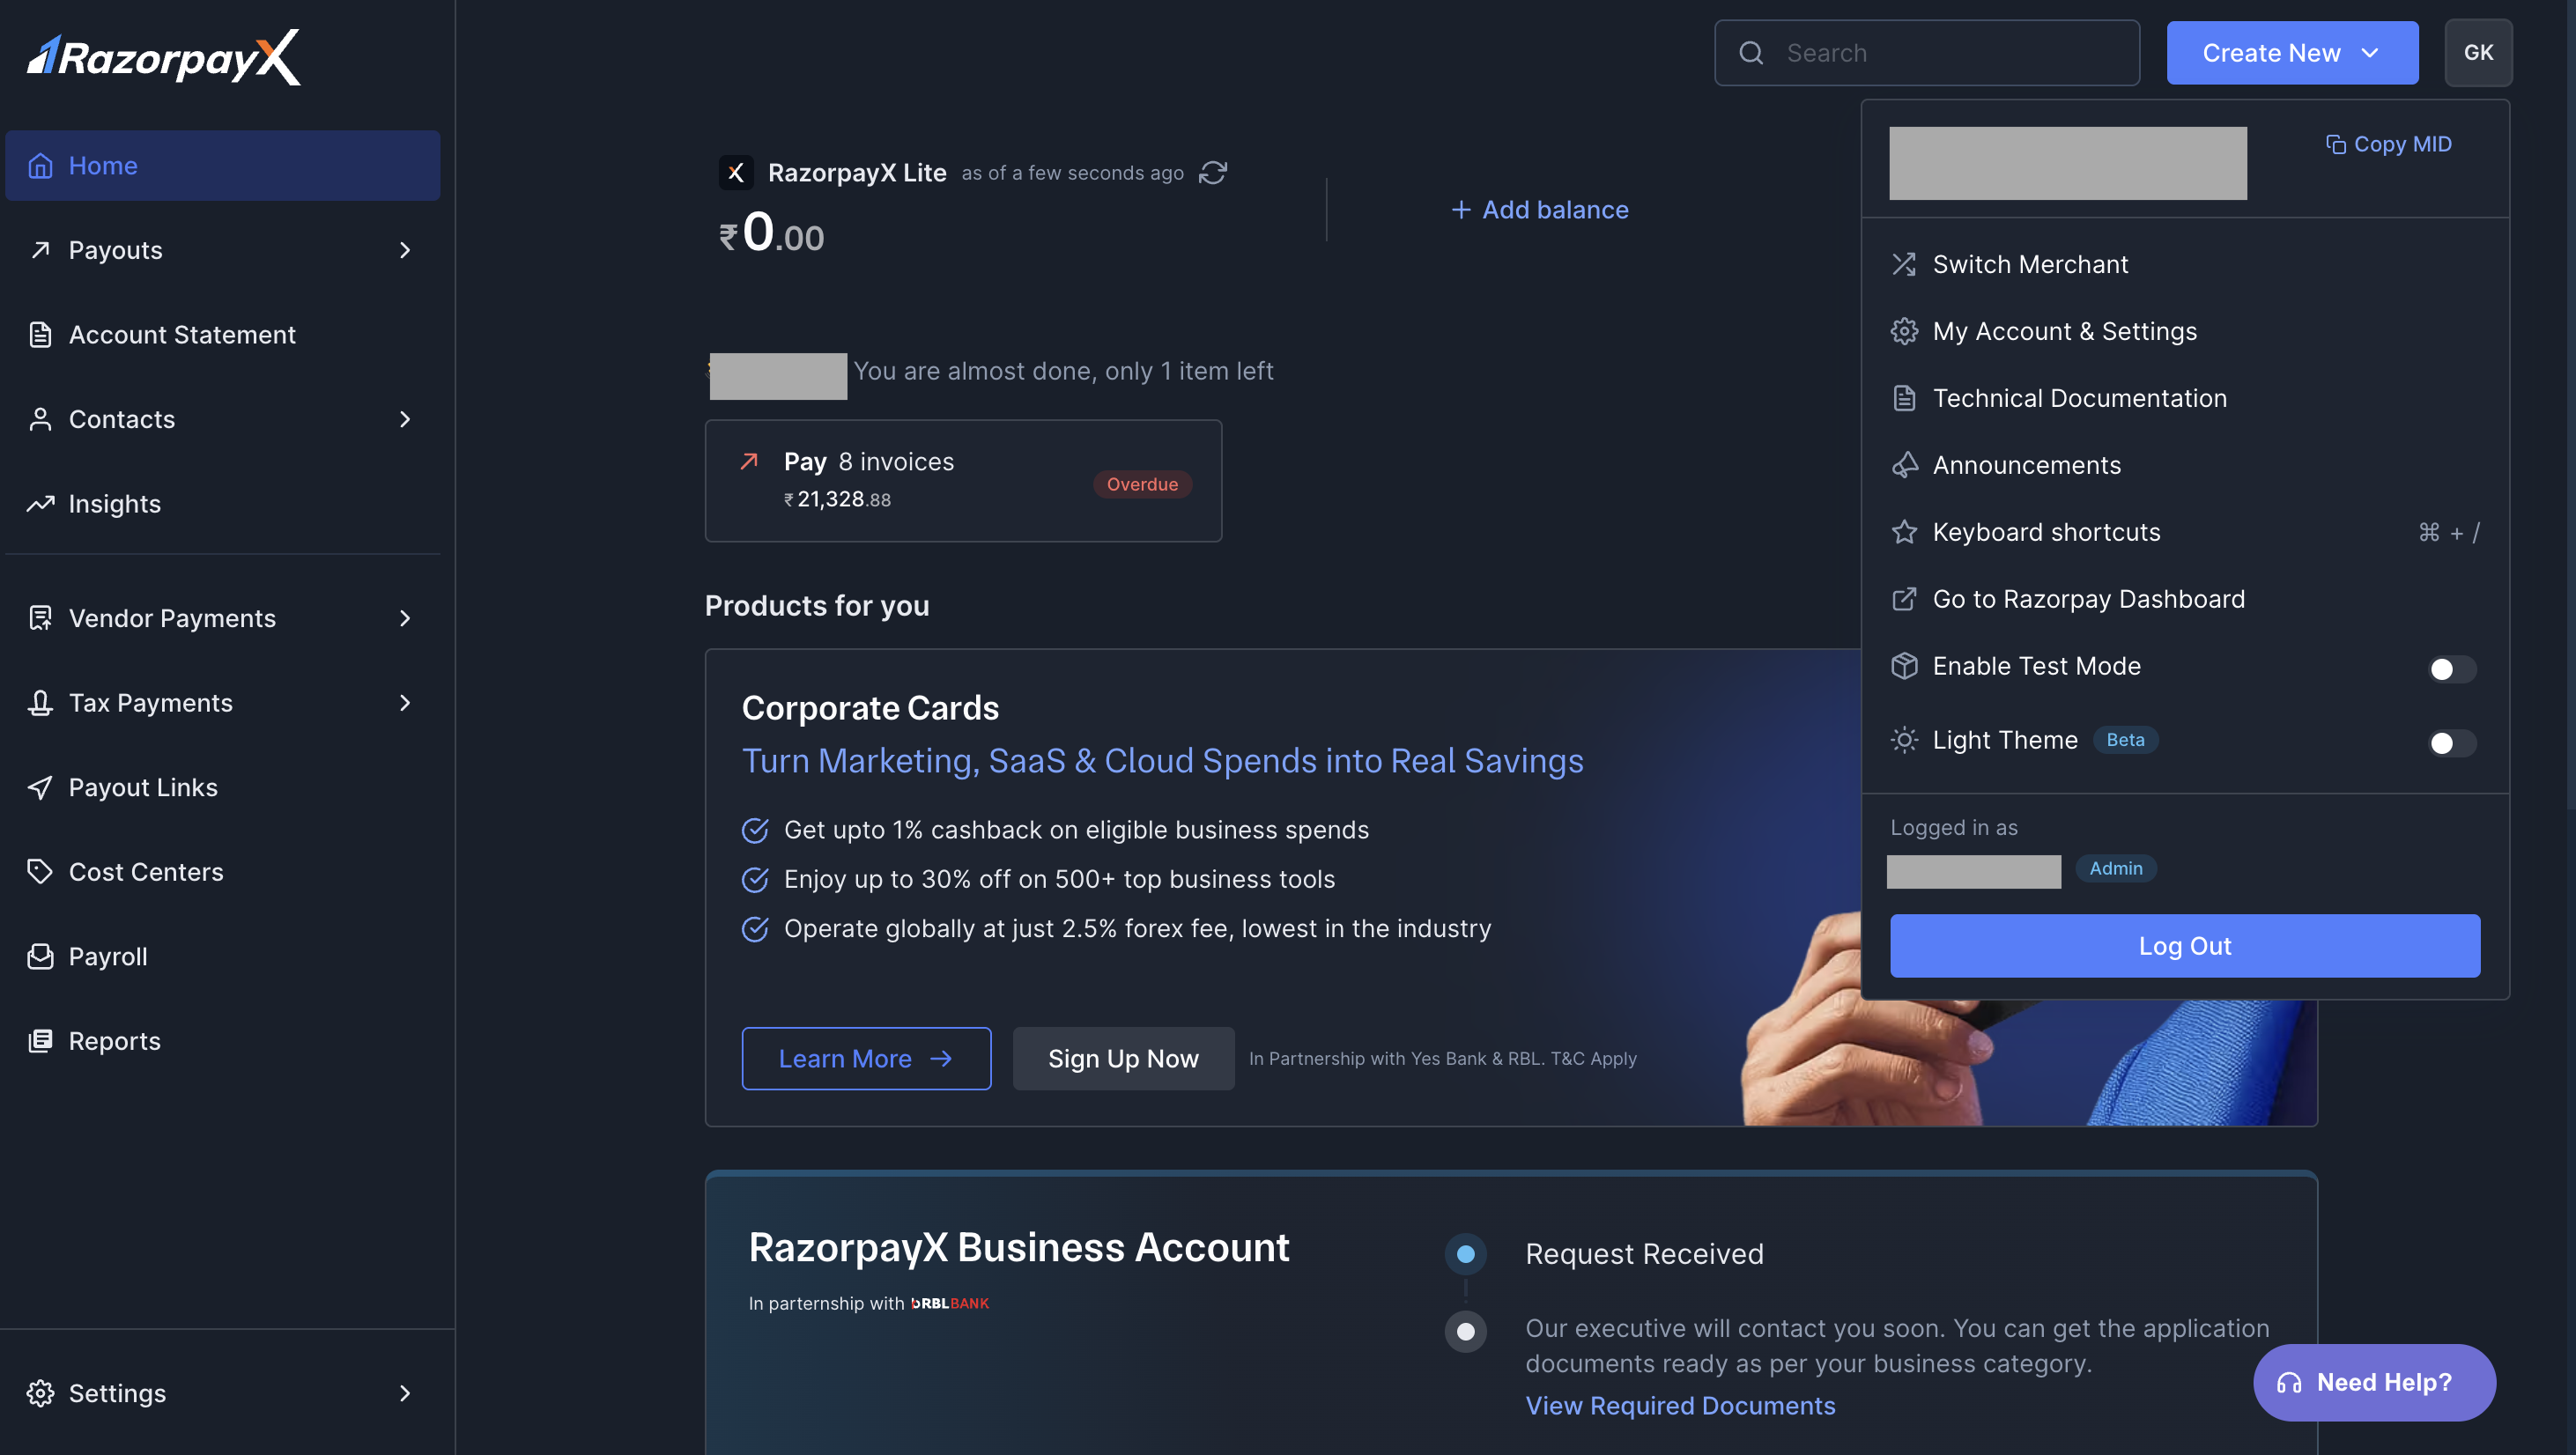
<img src="https://razorpay.com/docs/build/browser/assets/images/xdashboardDark.jpg" alt="RazorpayX Dashboard Profile" width="700" />

### Switch Merchant

To switch you merchant profile:

1. Go to Profile.
2. Click **Switch Merchant**.
3. Select the Merchant you want to switch to and wait for the page to refresh.

### My Account & Settings

| Tab                                      | Actions                                                                                                                                             |
| ---------------------------------------- | --------------------------------------------------------------------------------------------------------------------------------------------------- |
| User Profile                             | <ul><li>To find and edit details like your username, password, phone number.</li><li>To disable or enable 2 FA.</li></ul>                           |
| Business Profile                         | <ul><li>To find business details like KYC status, business name and ID, website, tax details etc.</li><li>To set expiry for Payout Links.</li></ul> |
| Public Profile                           | To customise Payout Links display screen with a colour or logo of your choice and support details.                                                  |
| Banking                                  | To find all your affiliated bank account details.                                                                                                   |
| [Manage Team](/docs/x/manage-teams)      | <ul><li>To enable 2FA for the team.</li><li>To add and assign roles to the team members.</li></ul>                                                  |
| Developer Controls                       | To [generate API keys](/docs/x/dashboard/api-keys) and edit webhooks.                                                                               |
| [Support Tickets](/docs/x/support) Inbox | To raise queries in case of trouble and follow up on the existing ones.                                                                             |
| Integrations                             | To [integrate with accounting tools](/docs/x/accounting) for easier reconciliation.                                                                 |

### Technical Documentation

You can access the documentation related to all RazorpayX products and APIs here.

### Announcements

You can view all the latest announcements with respect to RazorpayX products and features here.

### Razorpay Dashboard

You can directly access your Razorpay Dashboard via Profile. Click **Go to Razorpay Dashboard** and you will be redirected to your Dashboard.

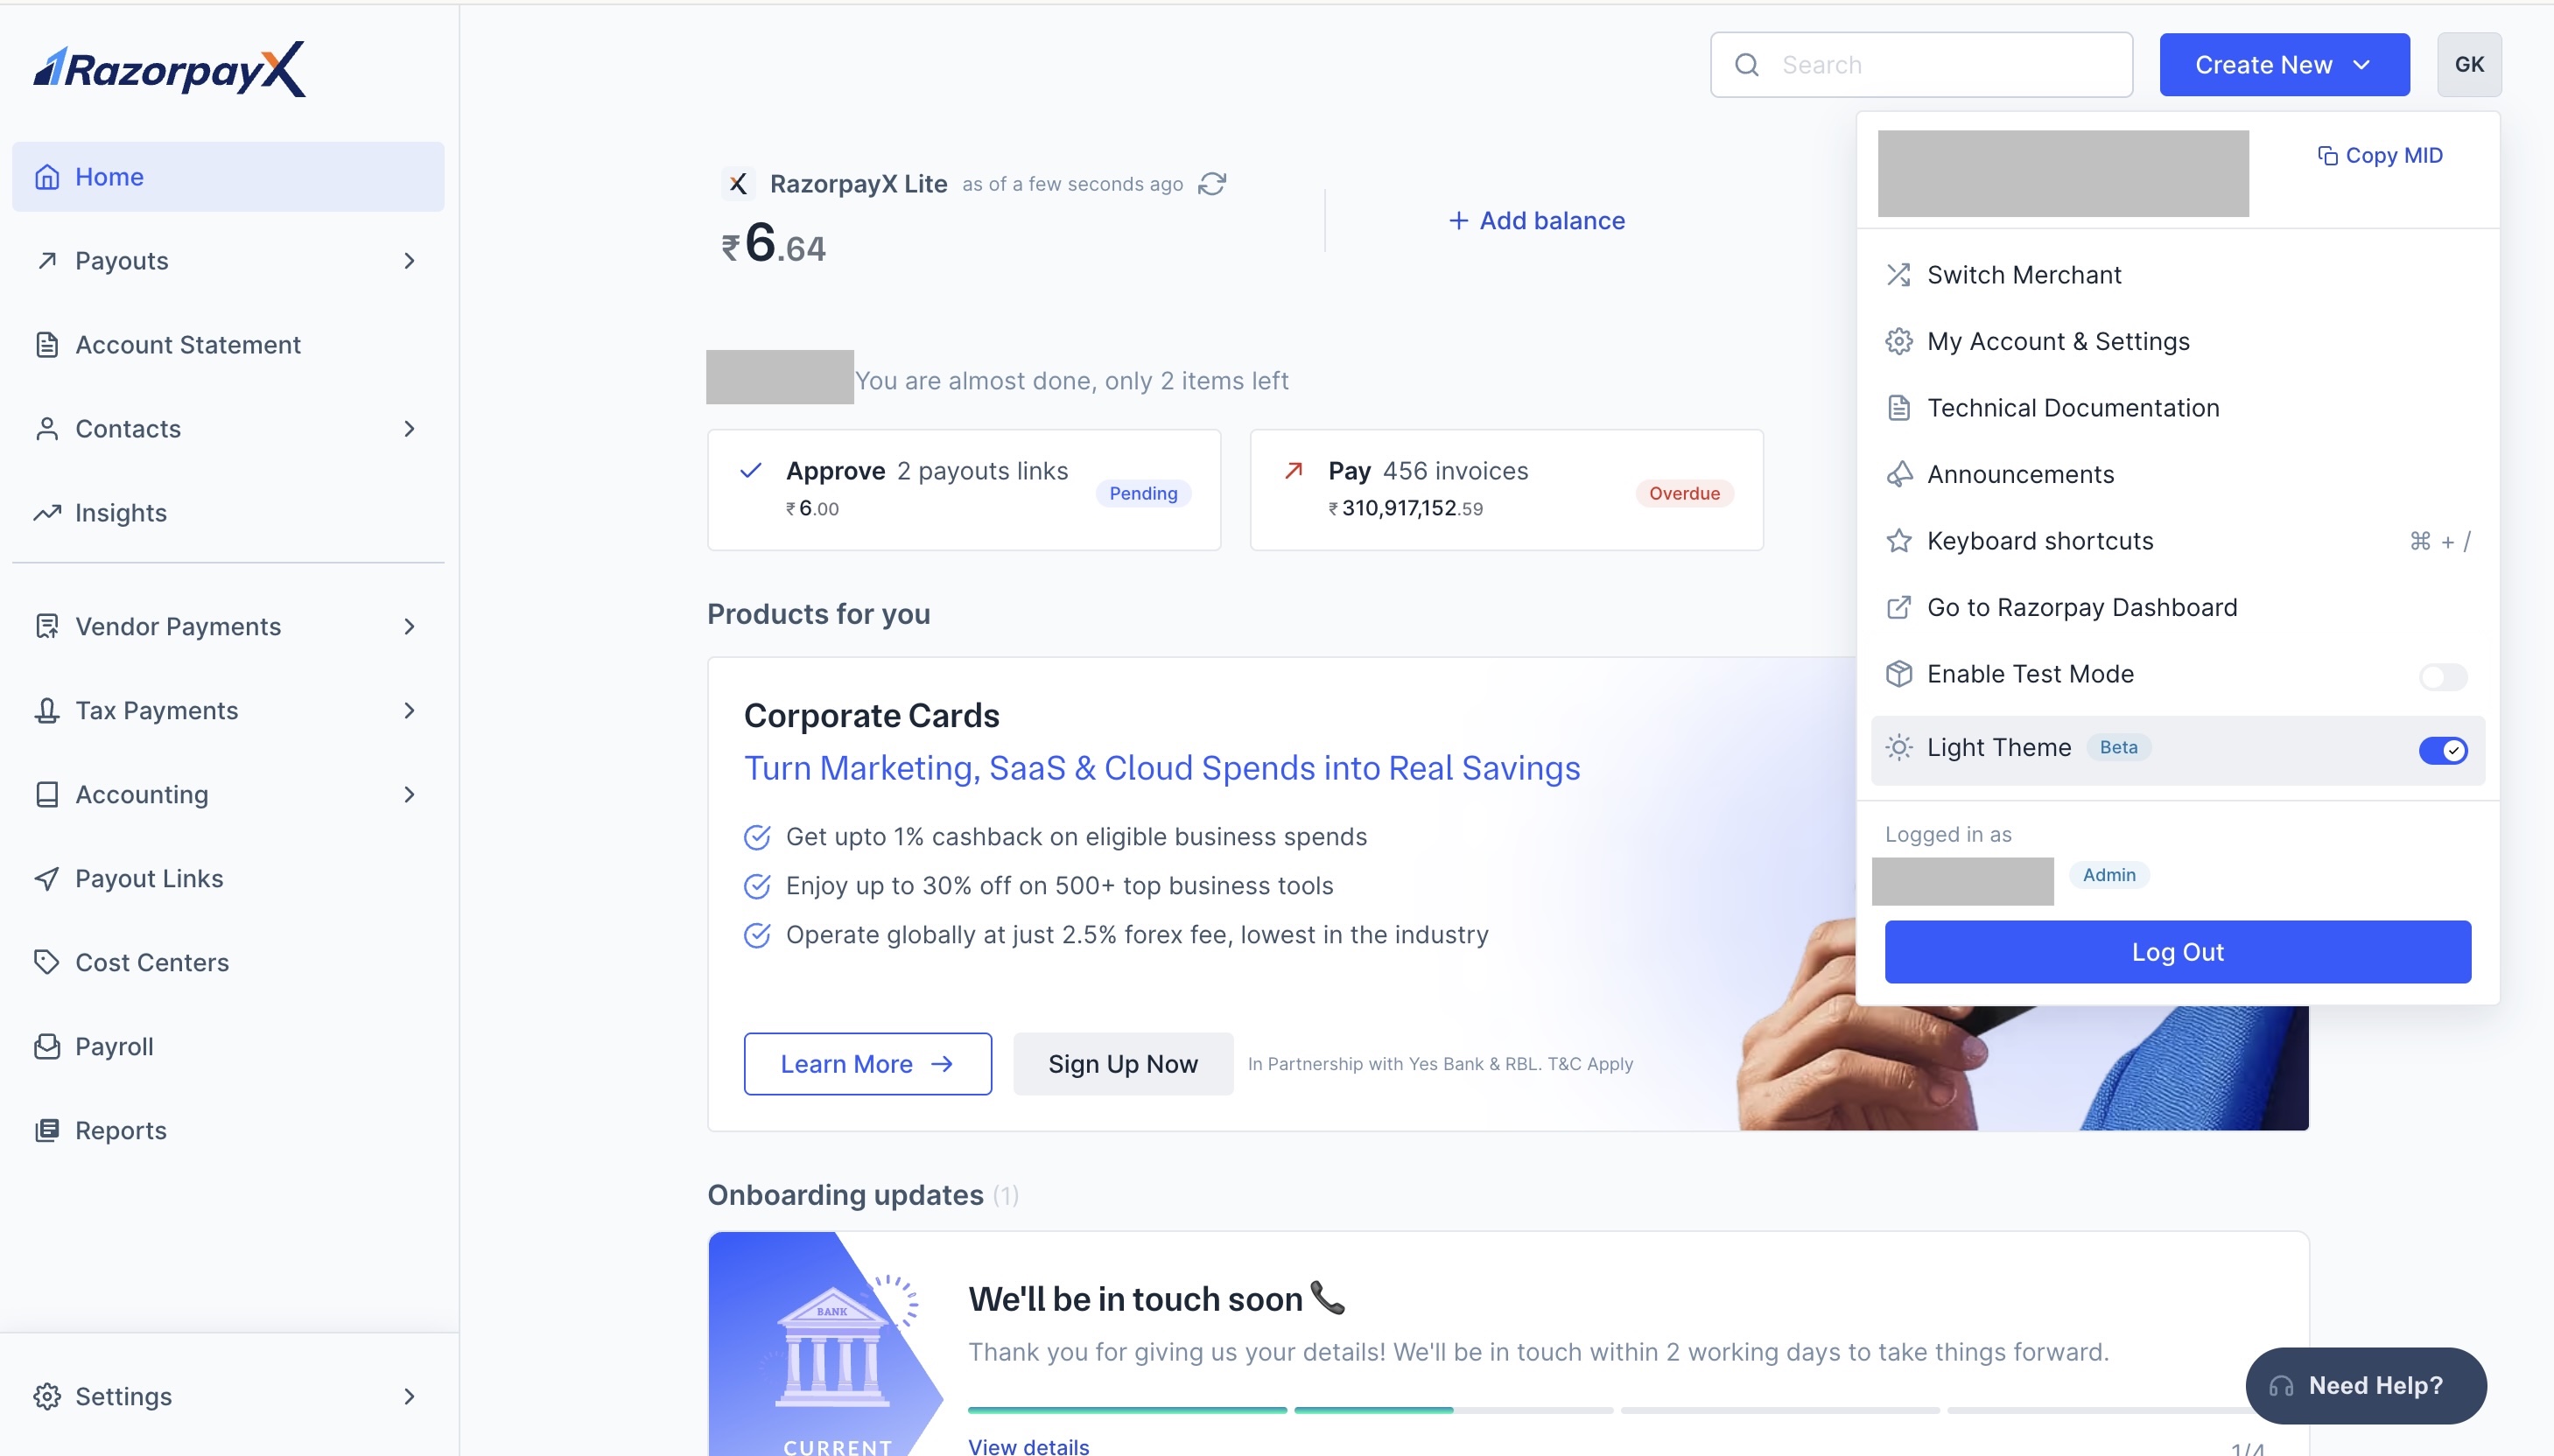
### Light Theme

You can switch your Dashboard to Light Theme using the Light Theme toggle.

<img src="https://razorpay.com/docs/build/browser/assets/images/lightmode.jpg" alt="RazorpayX Dashboard Light Mode" width="800" />

### Related Information

* [Sign up](https://x.razorpay.com/auth/signup) for a RazorpayX account.
* [Open a Current Account](https://razorpay.com/x/current-accounts/)
* [Reports](/docs/x/reports)
