> ## Documentation Index
> Fetch the complete documentation index at: https://razorpay-881012b3.mintlify.site/llms.txt
> Use this file to discover all available pages before exploring further.
# Manage Teams
> Manage your team's access to the RazorpayX Dashboard by assigning User Roles and understand how you can invite and add a user.
Available in🇮🇳 India
You can add the relevant team members as users on your [Dashboard](https://x.razorpay.com/) and assign user roles to them. User roles limit their access to the Dashboard as per your business requirements.
For example, you might want to provide a **View Only** role to a Support Engineer of your team, or you want your Finance Team to access Payouts and Reports. In such cases, you can create user roles, or choose from the available templates in RazorpayX and manage your team's access to your Dashboard.
**Handy Tips**
Any team member with access can add team members, create and edit roles & permissions.
## Invite a Team Member
Watch the video to know how to add or invite a user to your team.
To add a team member:
1. Log in to your [RazorpayX Dashboard](https://x.razorpay.com/).
2. You can to it in two ways:
* Navigate to the drop-down menu next to **+ Payouts** and click **Team Member**.
* Navigate to the profile icon → **My Account and Settings** → **Manage Team** and click **+ TEAM MEMBER**.
3. You can either select an existing role or you can [create a new role](/docs/x/manage-teams/create-user-role).
4. Once the role is selected, you can preview the permissions associated with the role and enter the email address of the team member.
5. Click **SEND INVITE**.
RazorpayX will send an email to the added user, informing about the pending invitation. User can then [accept the invitation](#accept-an-invitation) and access the Dashboard as per the access permissions the Owner has set.
| Invitation status | Actions you can perform |
| ----------------------------------------------- | --------------------------------------------------------------------------------------------------------------------------------- |
| After the invite is sent | [**Remove**](#remove-invite) or [**Resend**](#resend-invite) the pending invitation. |
| After the user accepts the invitation, you can: |
[**Change** the role assigned](#edit-user-role).
[**Remove** the user](#remove-users) from your team.
|
## Change Team Member Role
To edit the role of a team member:
1. Log in to the [RazorpayX Dashboard](https://x.razorpay.com/).
2. Navigate to the profile icon → **My Account & Settings** → **Manage Team**.
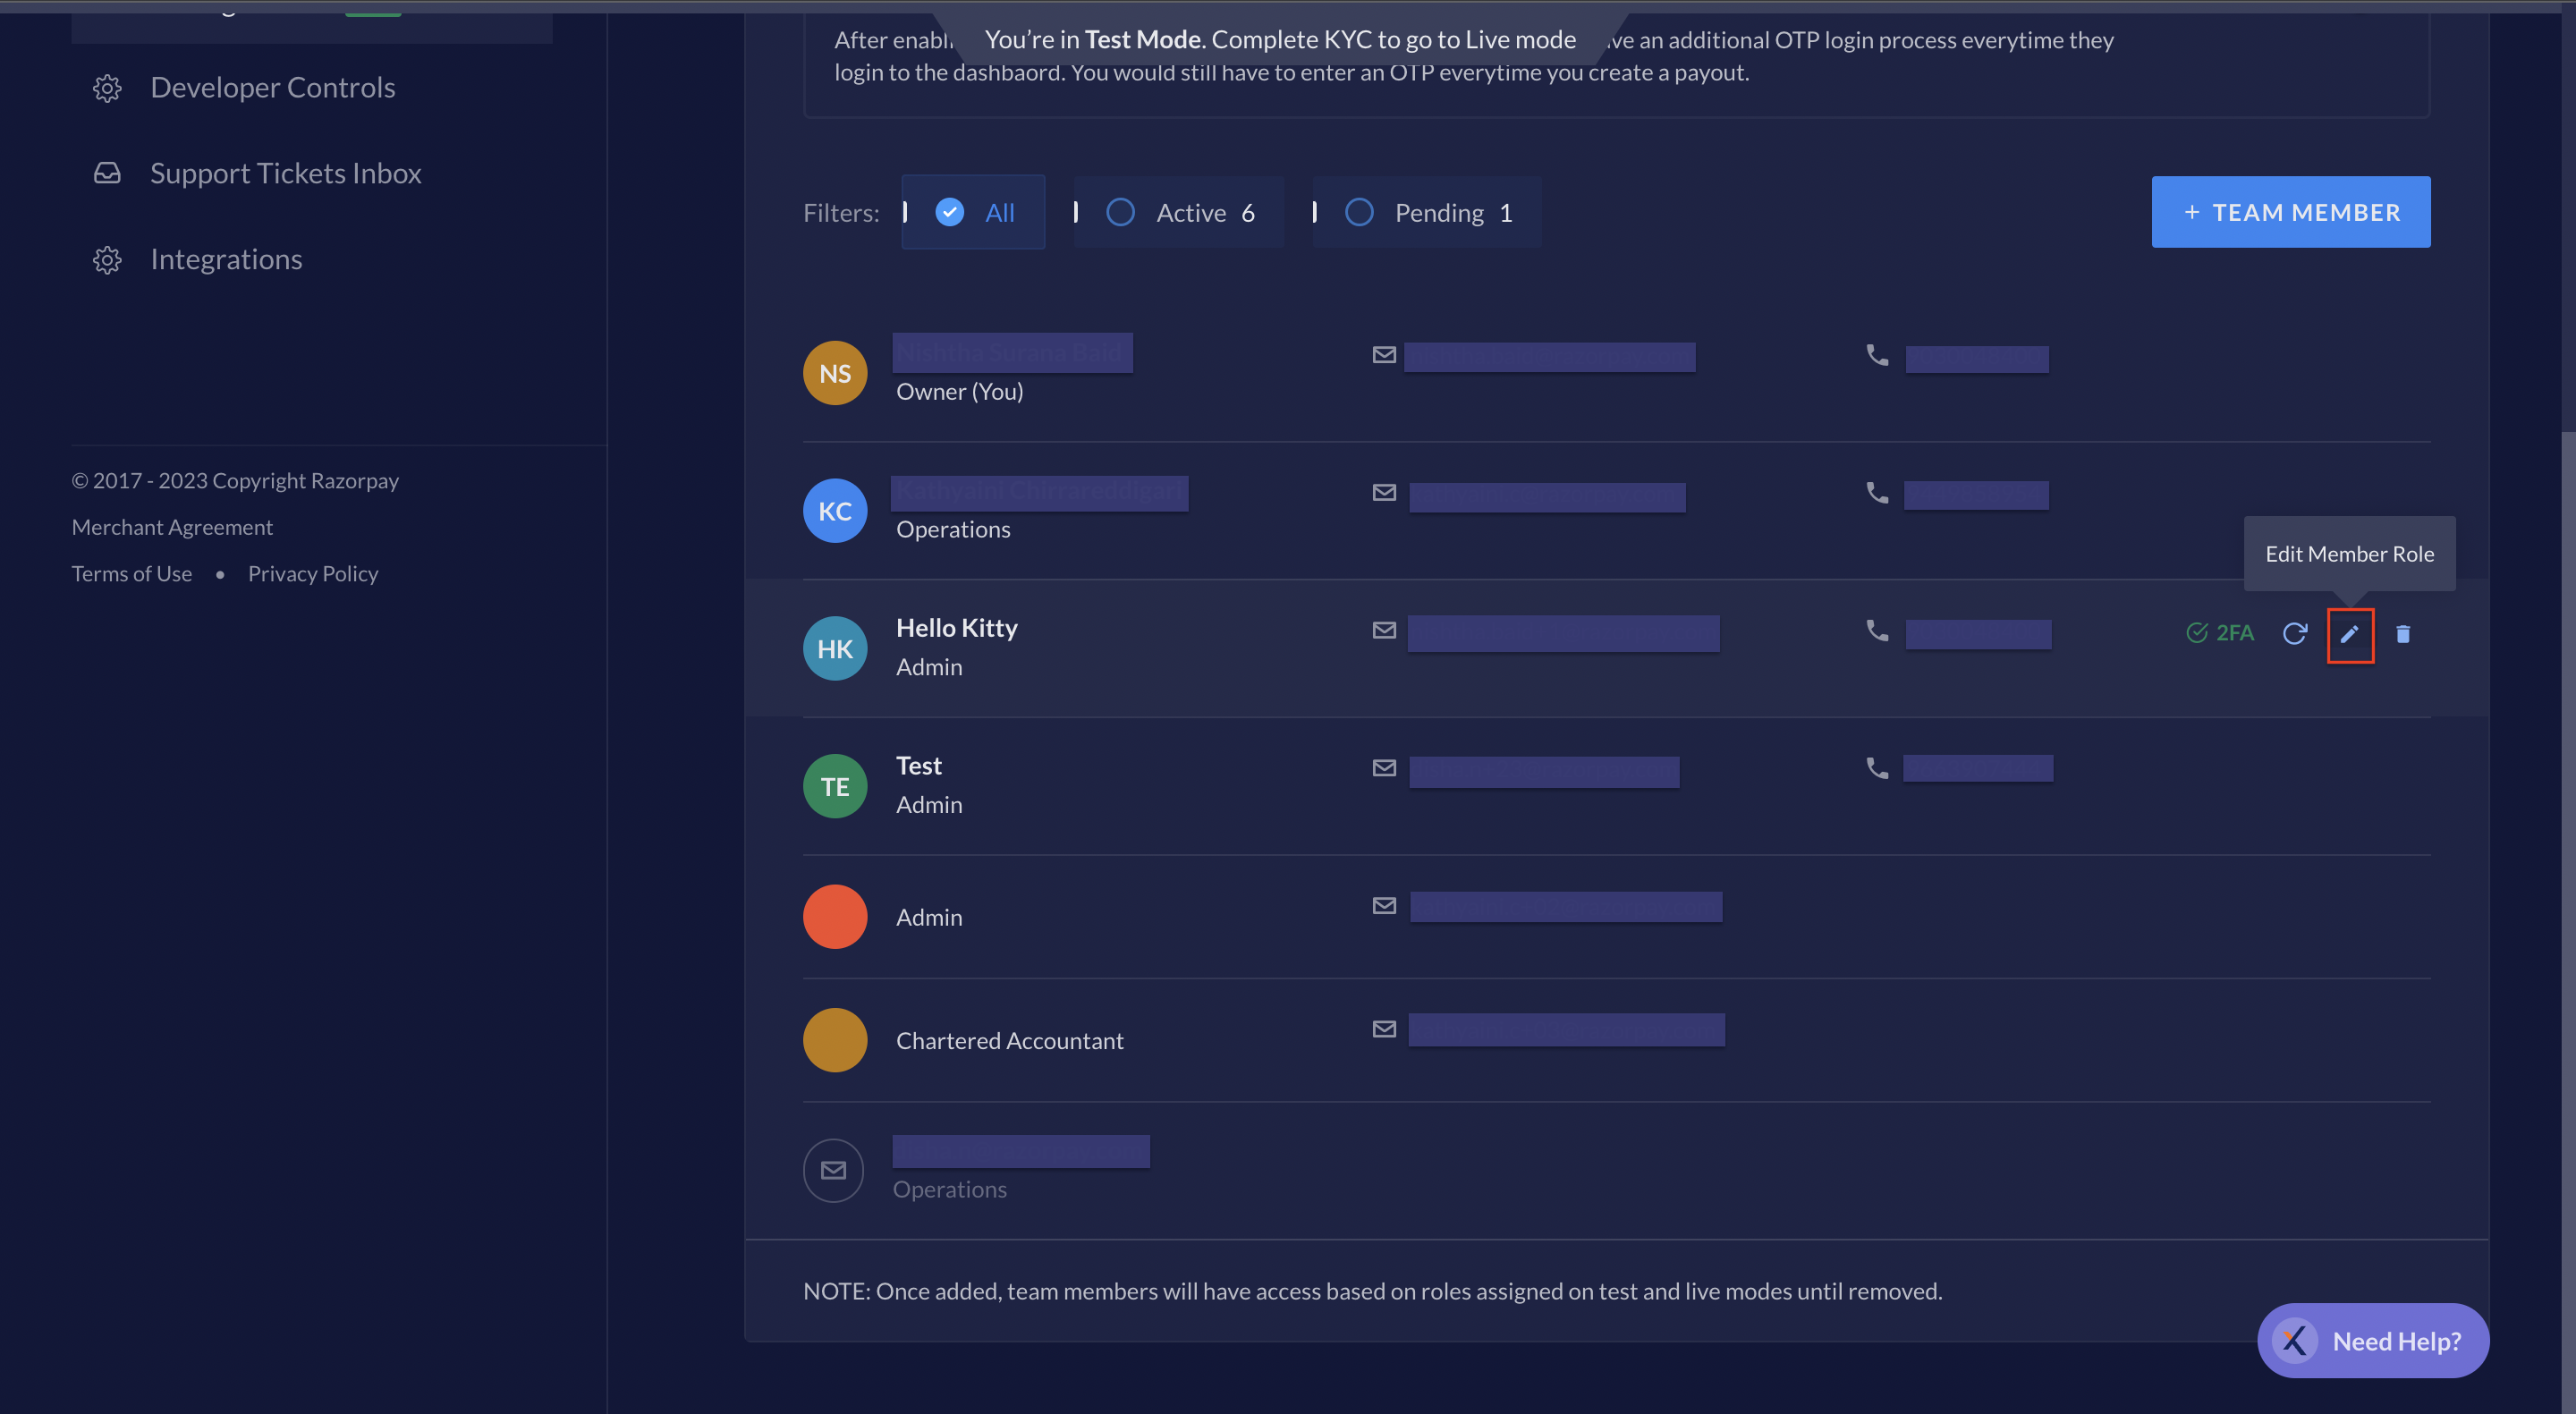
3. Hover over the team member on the list you want to change the role for and click the edit icon.
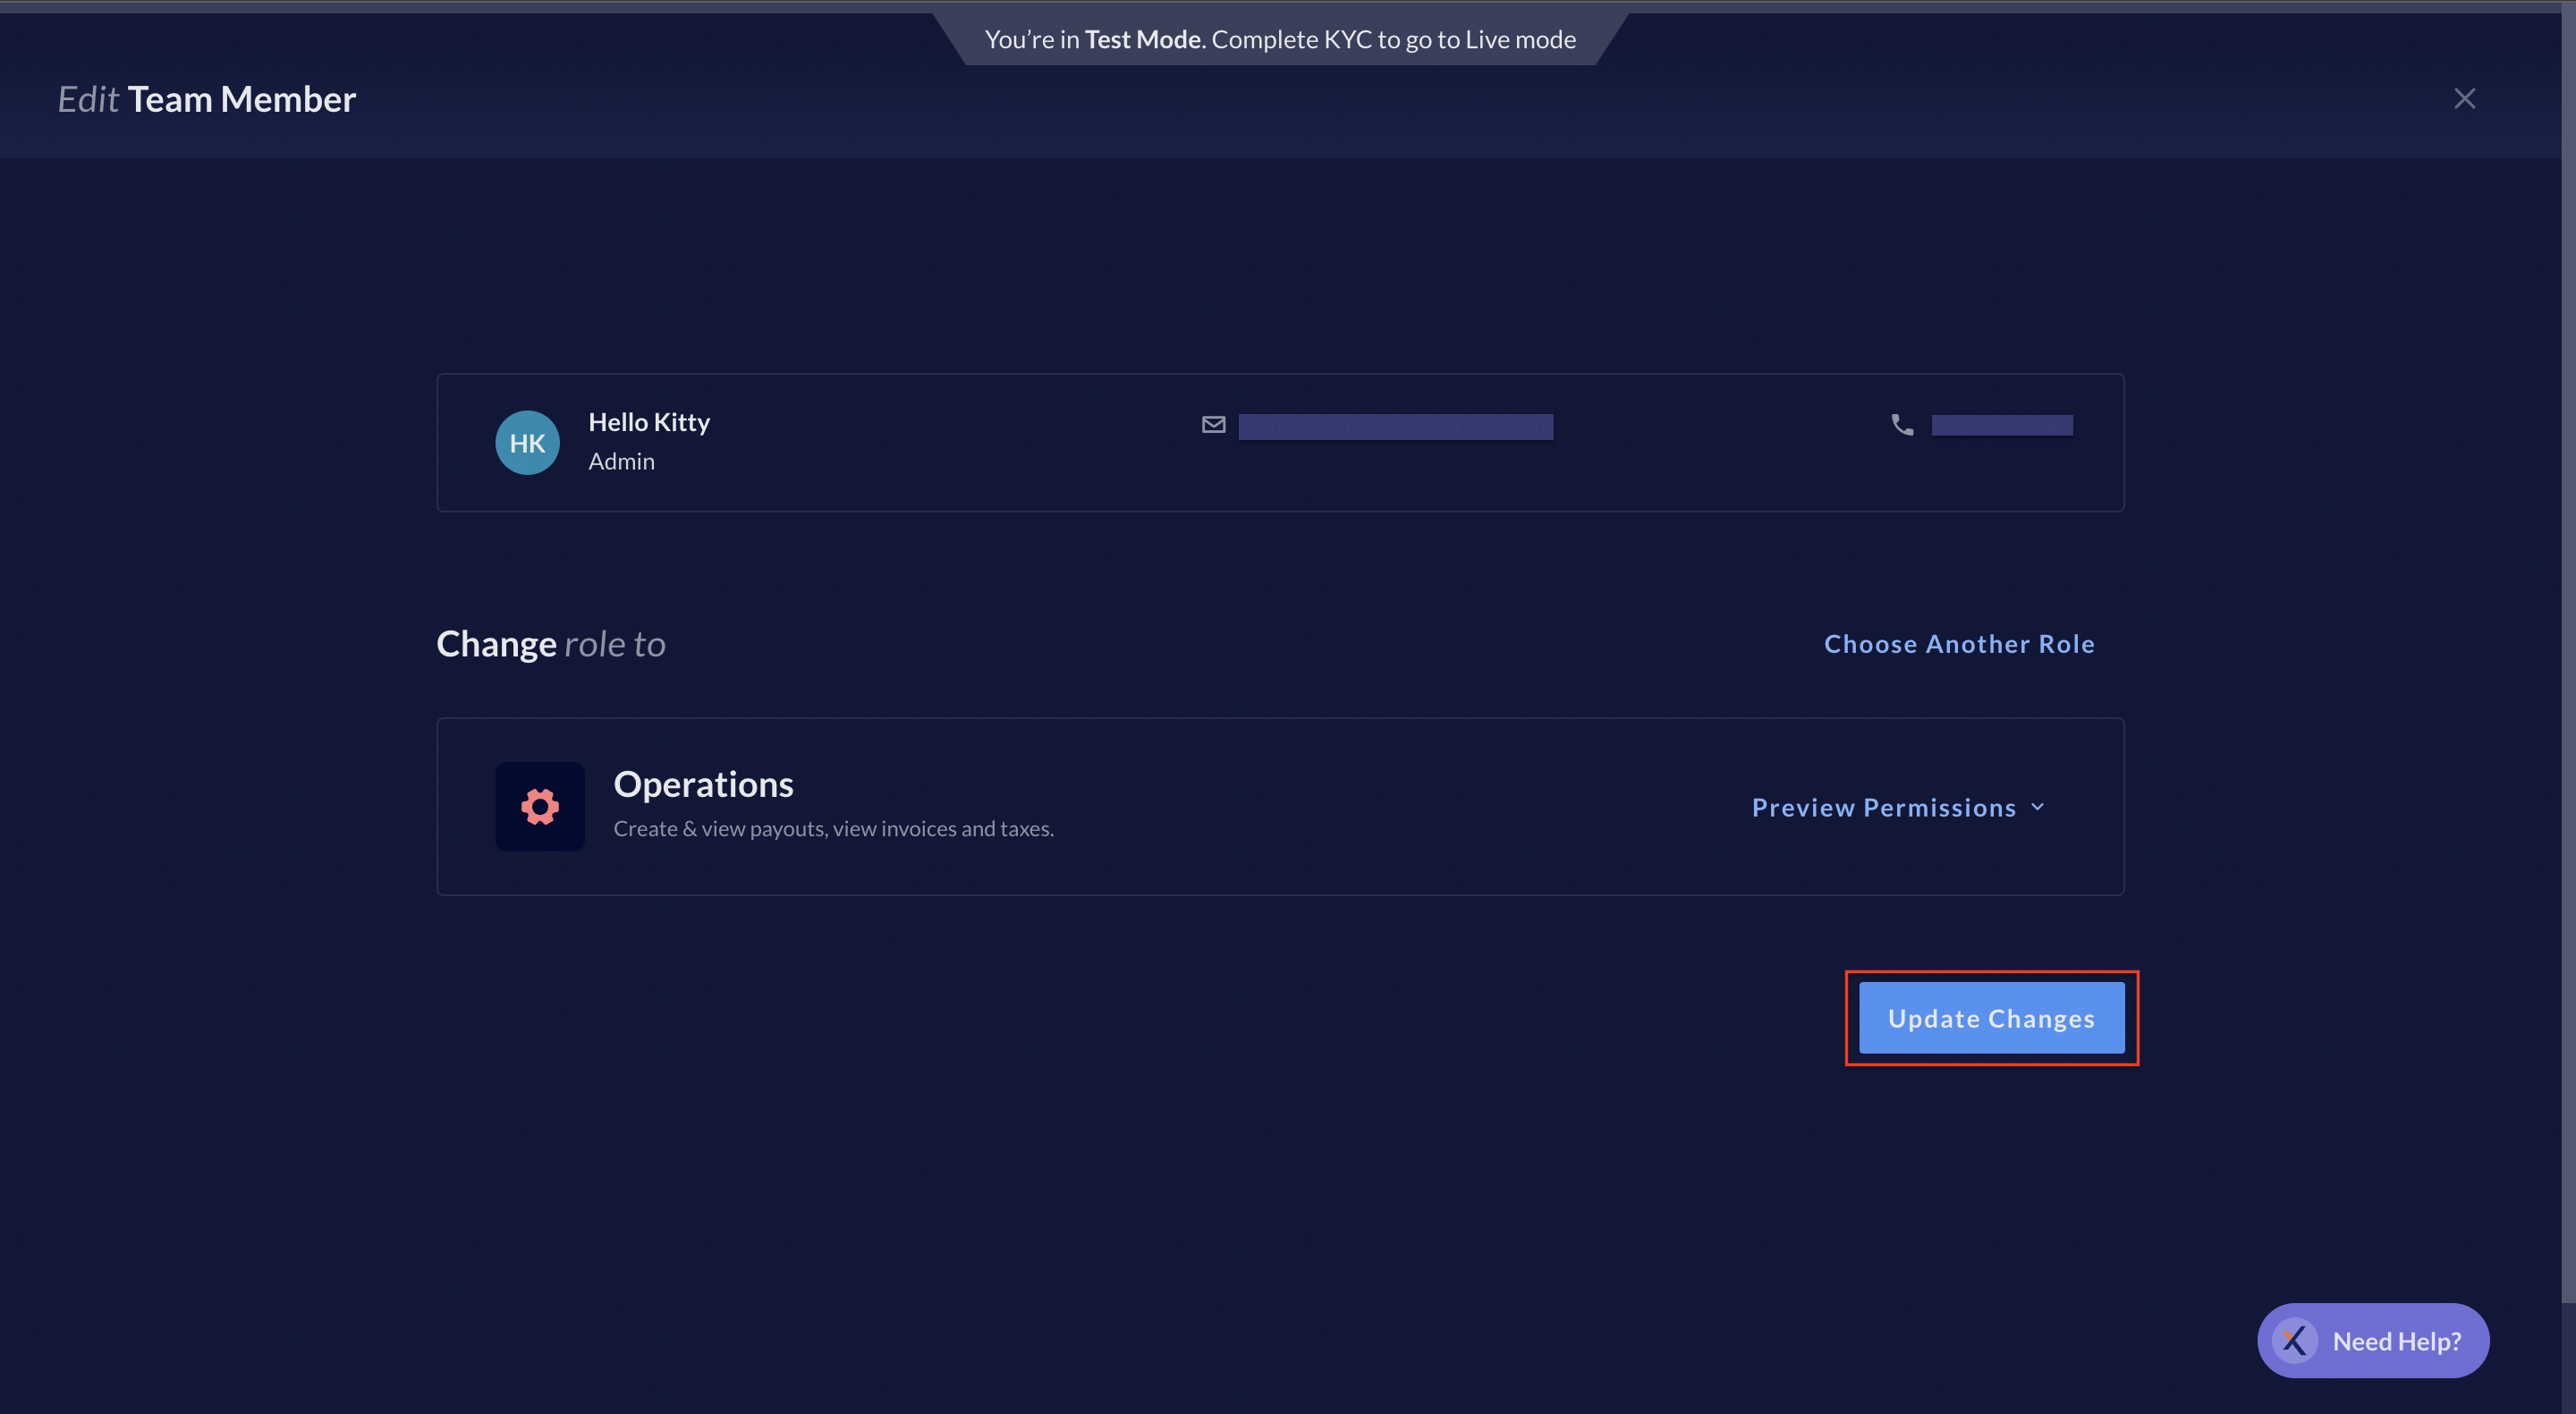
4. Select from the existing user role templates or [create a new role](/docs/x/manage-teams/create-user-role).
5. You can select and review the the permissions and click **Update Changes**.
**Watch Out!**
* First [create the custom role](/docs/x/manage-teams/create-user-role) to change the role of a team member to a new custom role.
* If the team member's role is already a part of approval workflow, make sure to add the team member's newly assigned role to the approval workflow for them to be able to continue approve or reject payouts.
## Remove Team Members
To remove a team member from your RazorpayX account:
1. Log in to the [RazorpayX Dashboard](https://x.razorpay.com/).
2. Navigate to the profile icon **My Account & Settings** → **Manage Team**.
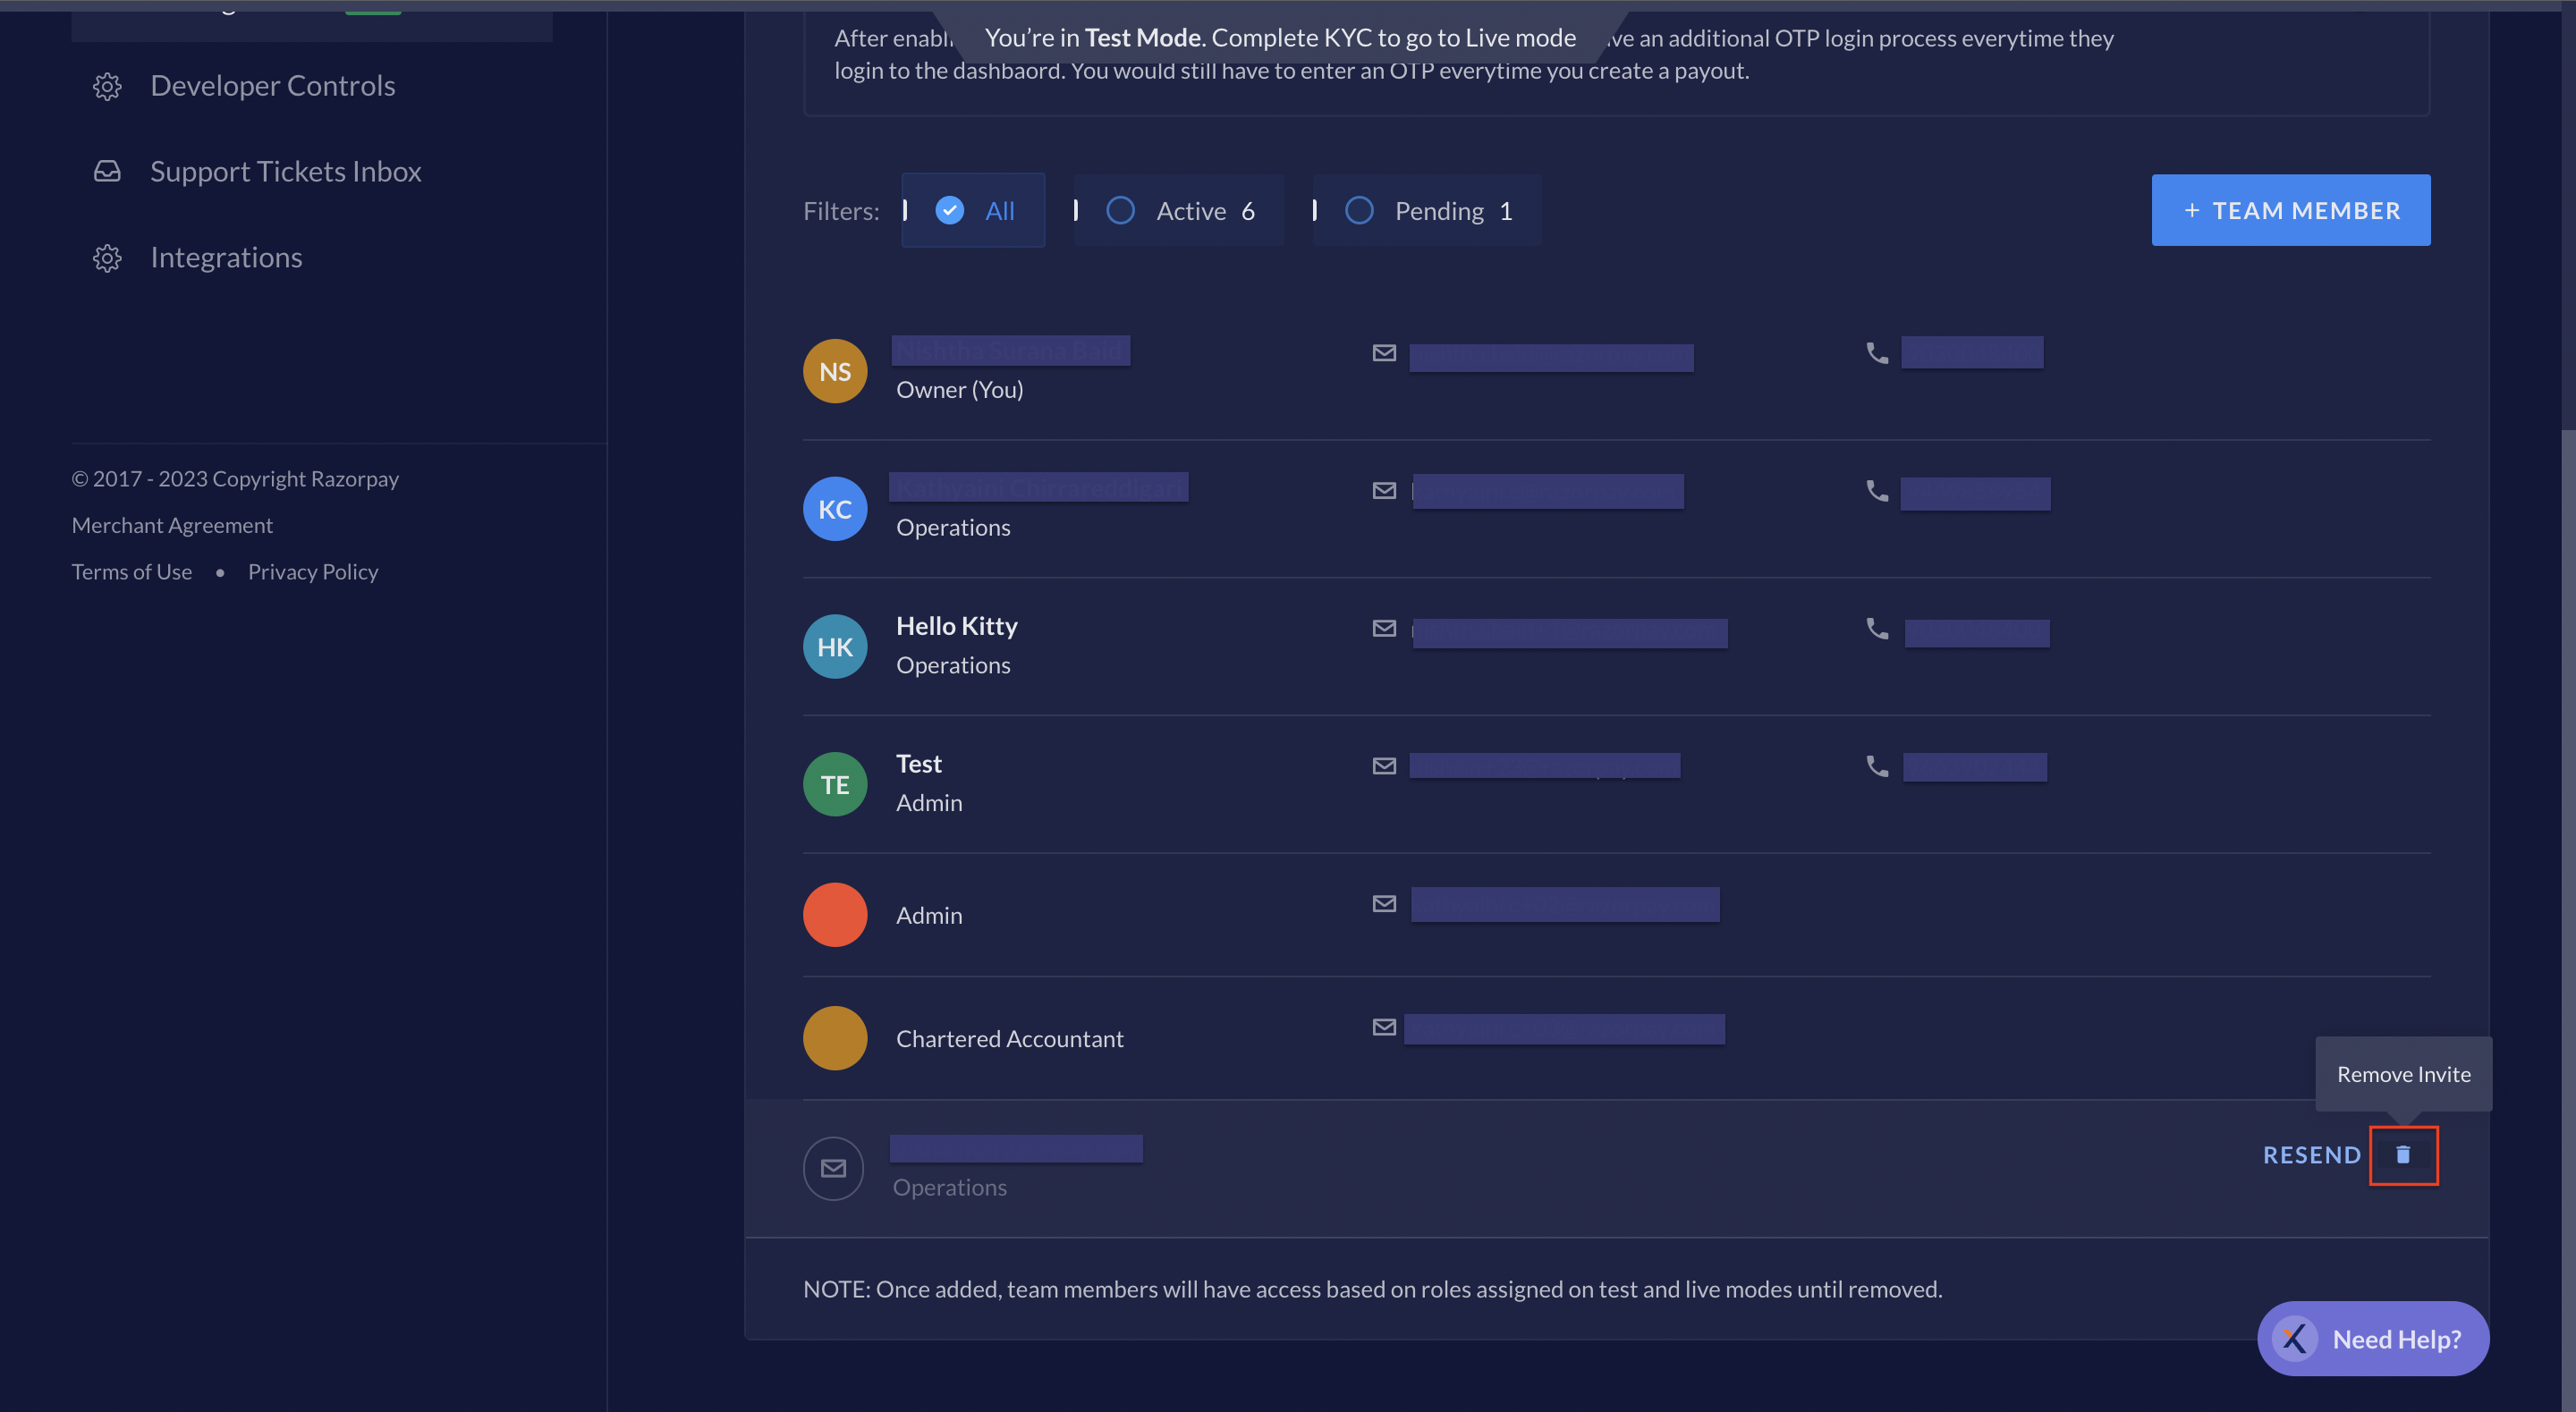
3. Hover over the user you want to remove from the team and click the delete icon.
## Resend Invite
To resend an invite to a team member:
1. Log in to the [RazorpayX Dashboard](https://x.razorpay.com/).
2. Navigate to the profile icon → **My Account & Settings** → **Manage Team**.
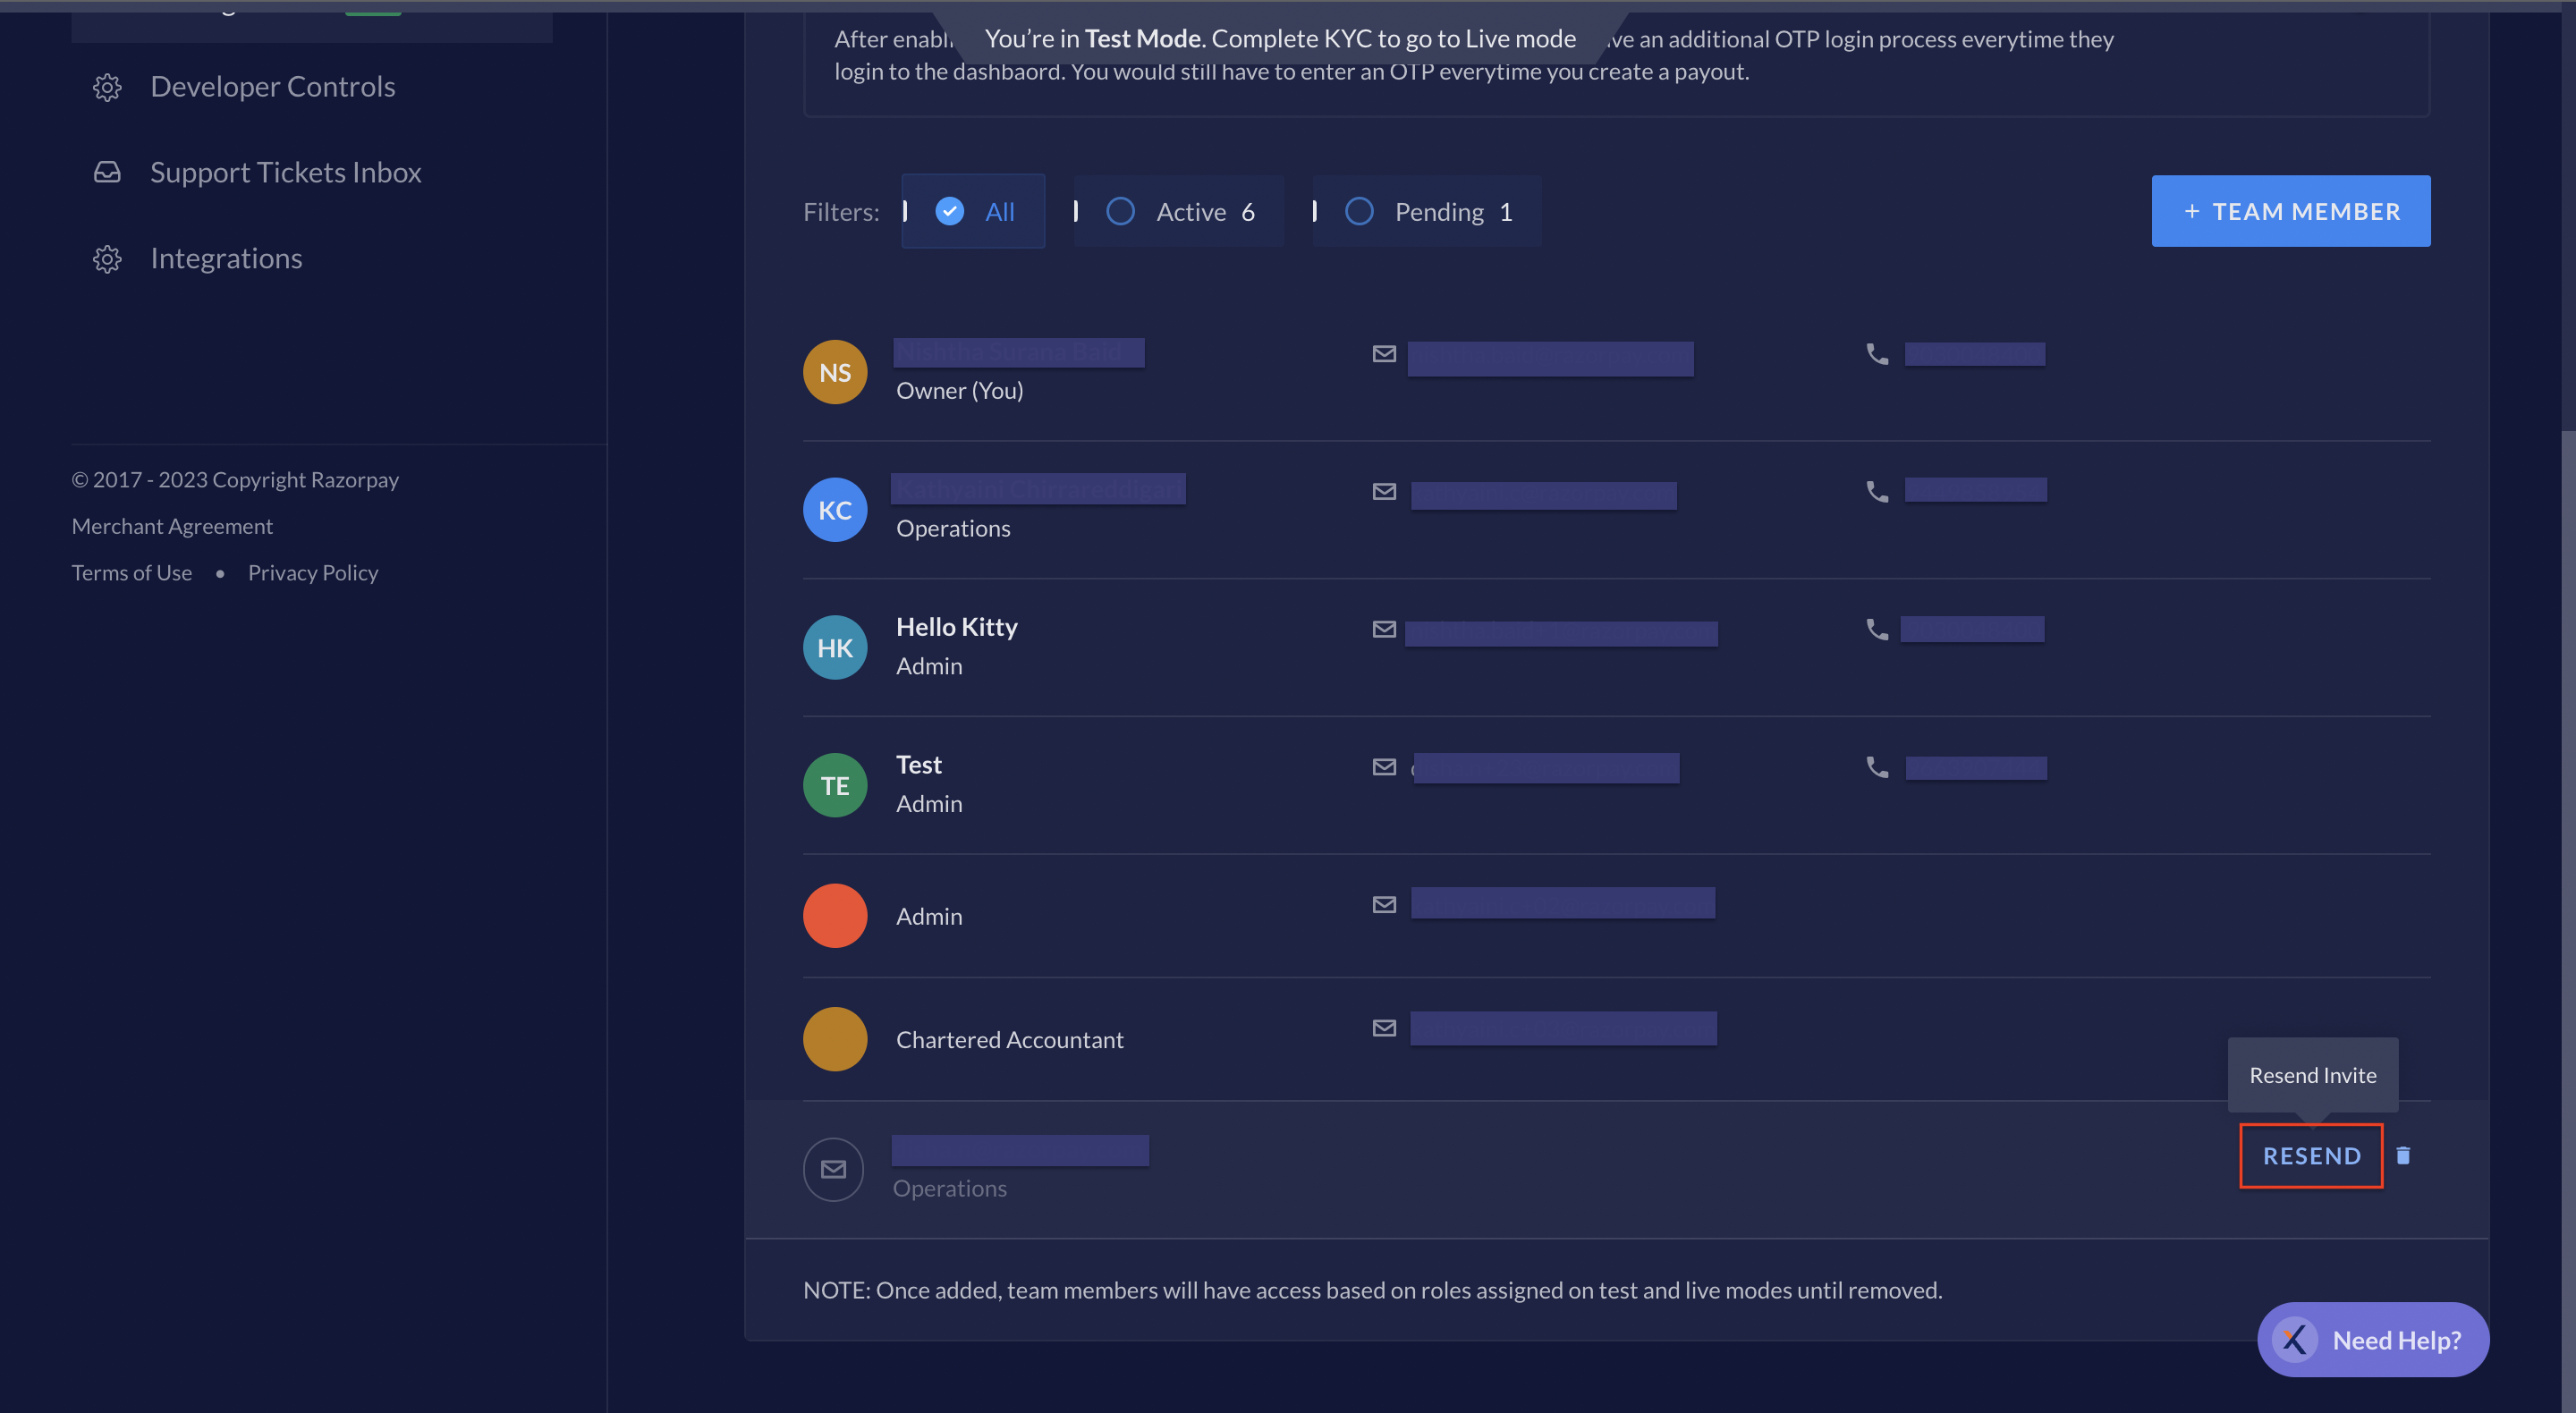
3. Hover over the pending invite you want to send again and click **RESEND**.
## Remove Invite
To remove the invite sent to the user:
1. Log in to the [RazorpayX Dashboard](https://x.razorpay.com/).
2. Navigate to the profile icon → **My Account & Settings** → **Manage Team**.
3. Hover over the user you want to remove the invite for and click the delete icon.
## Accept an Invitation
To accept an invitation:
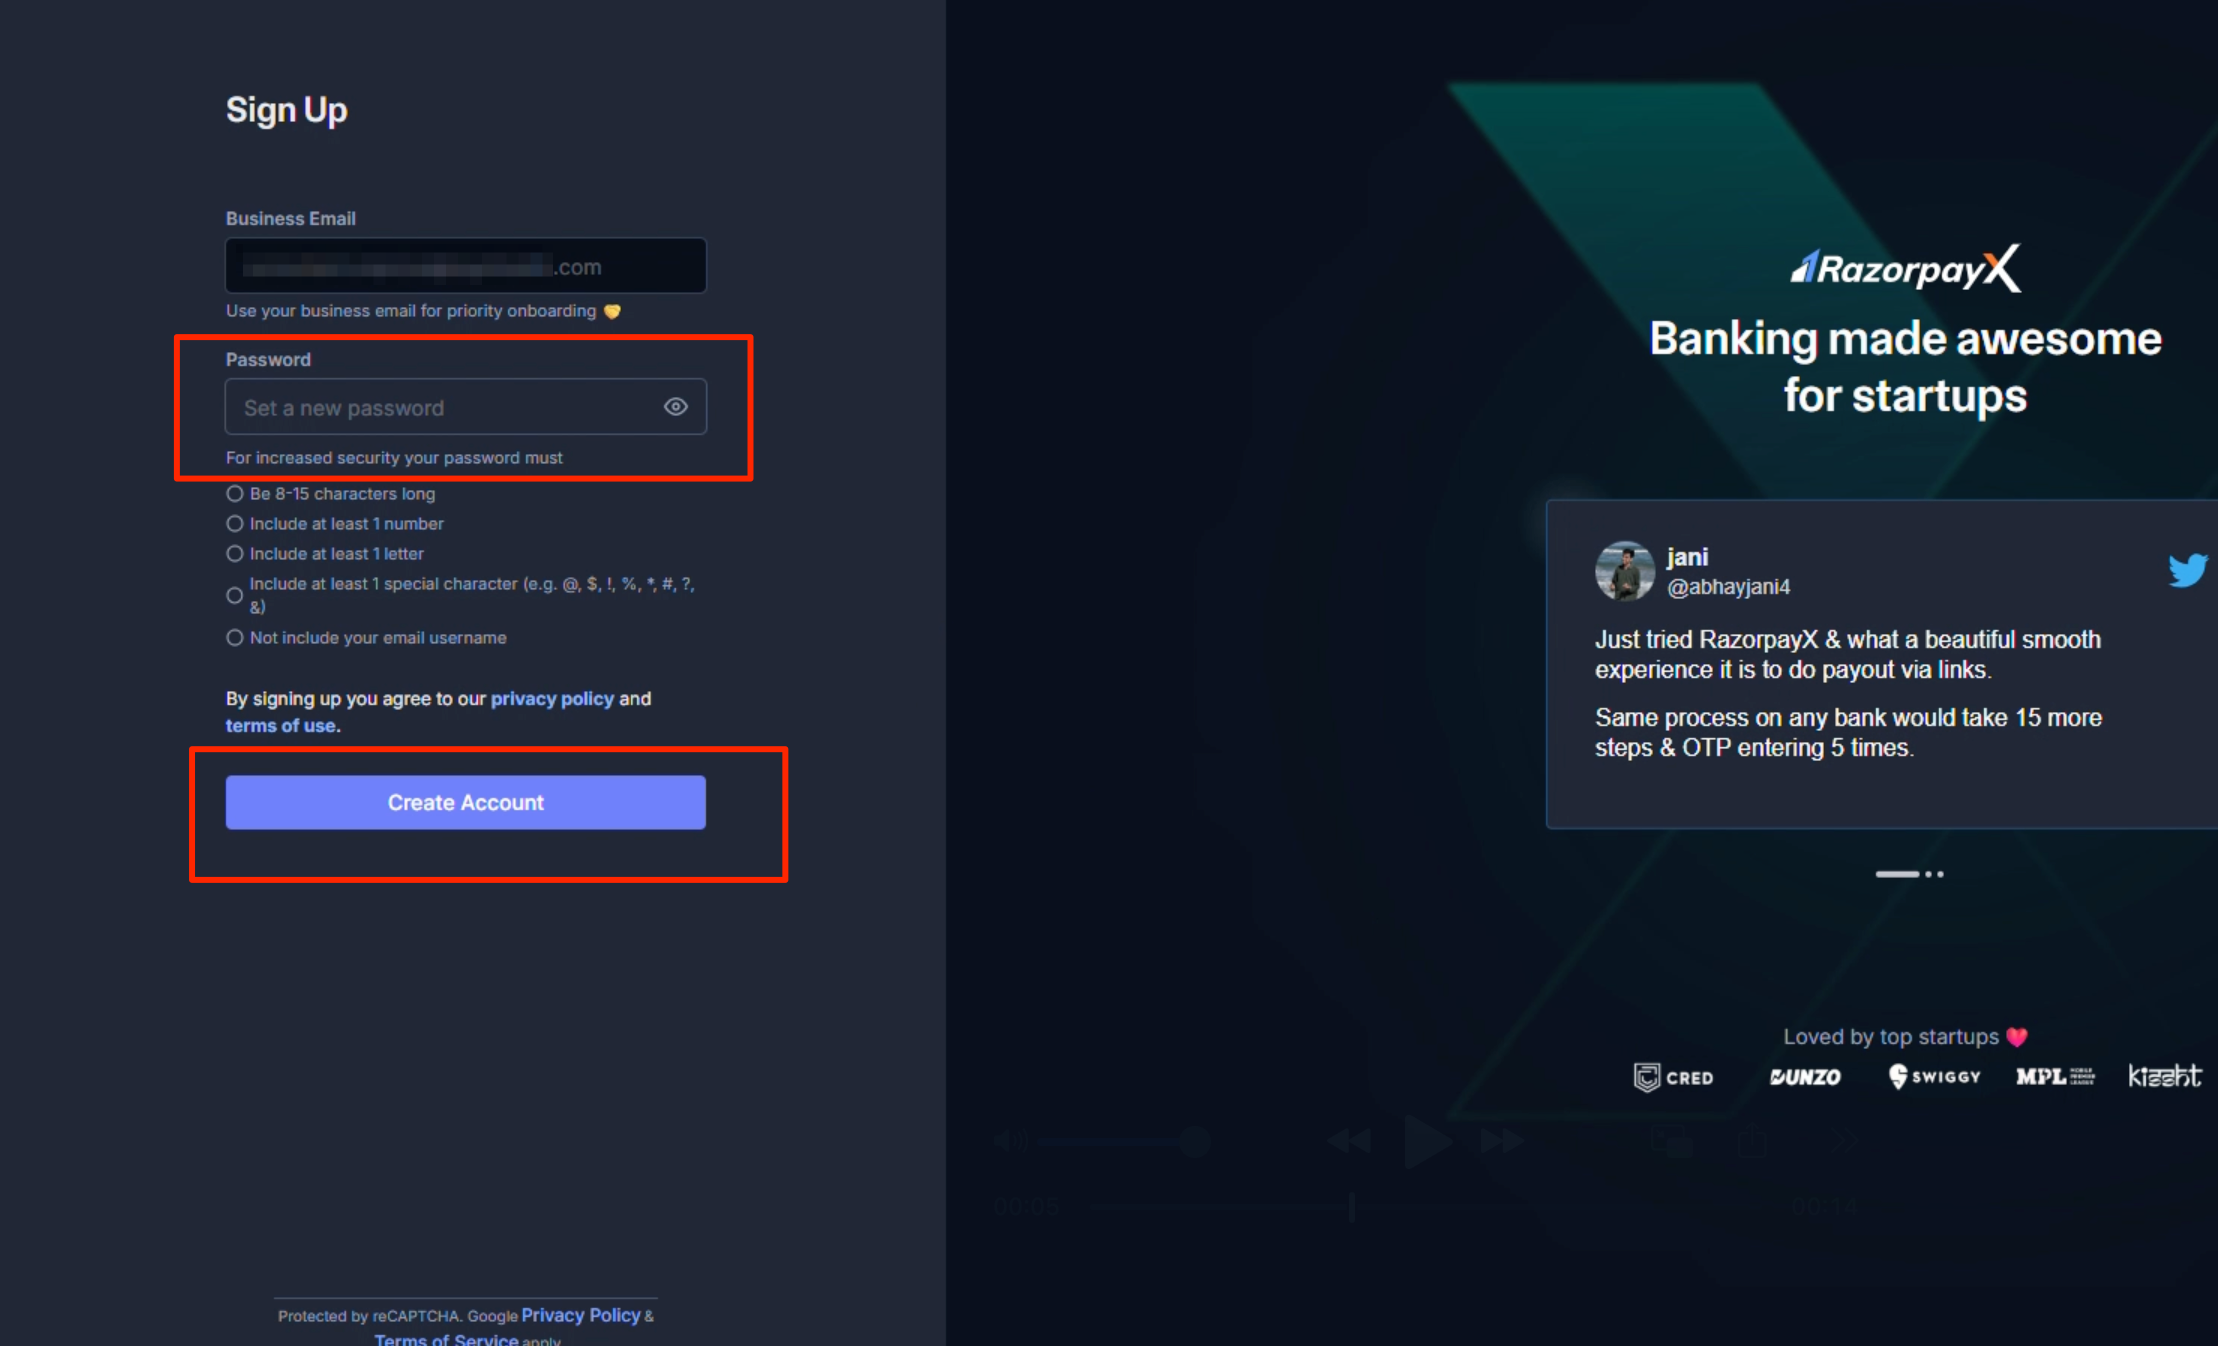
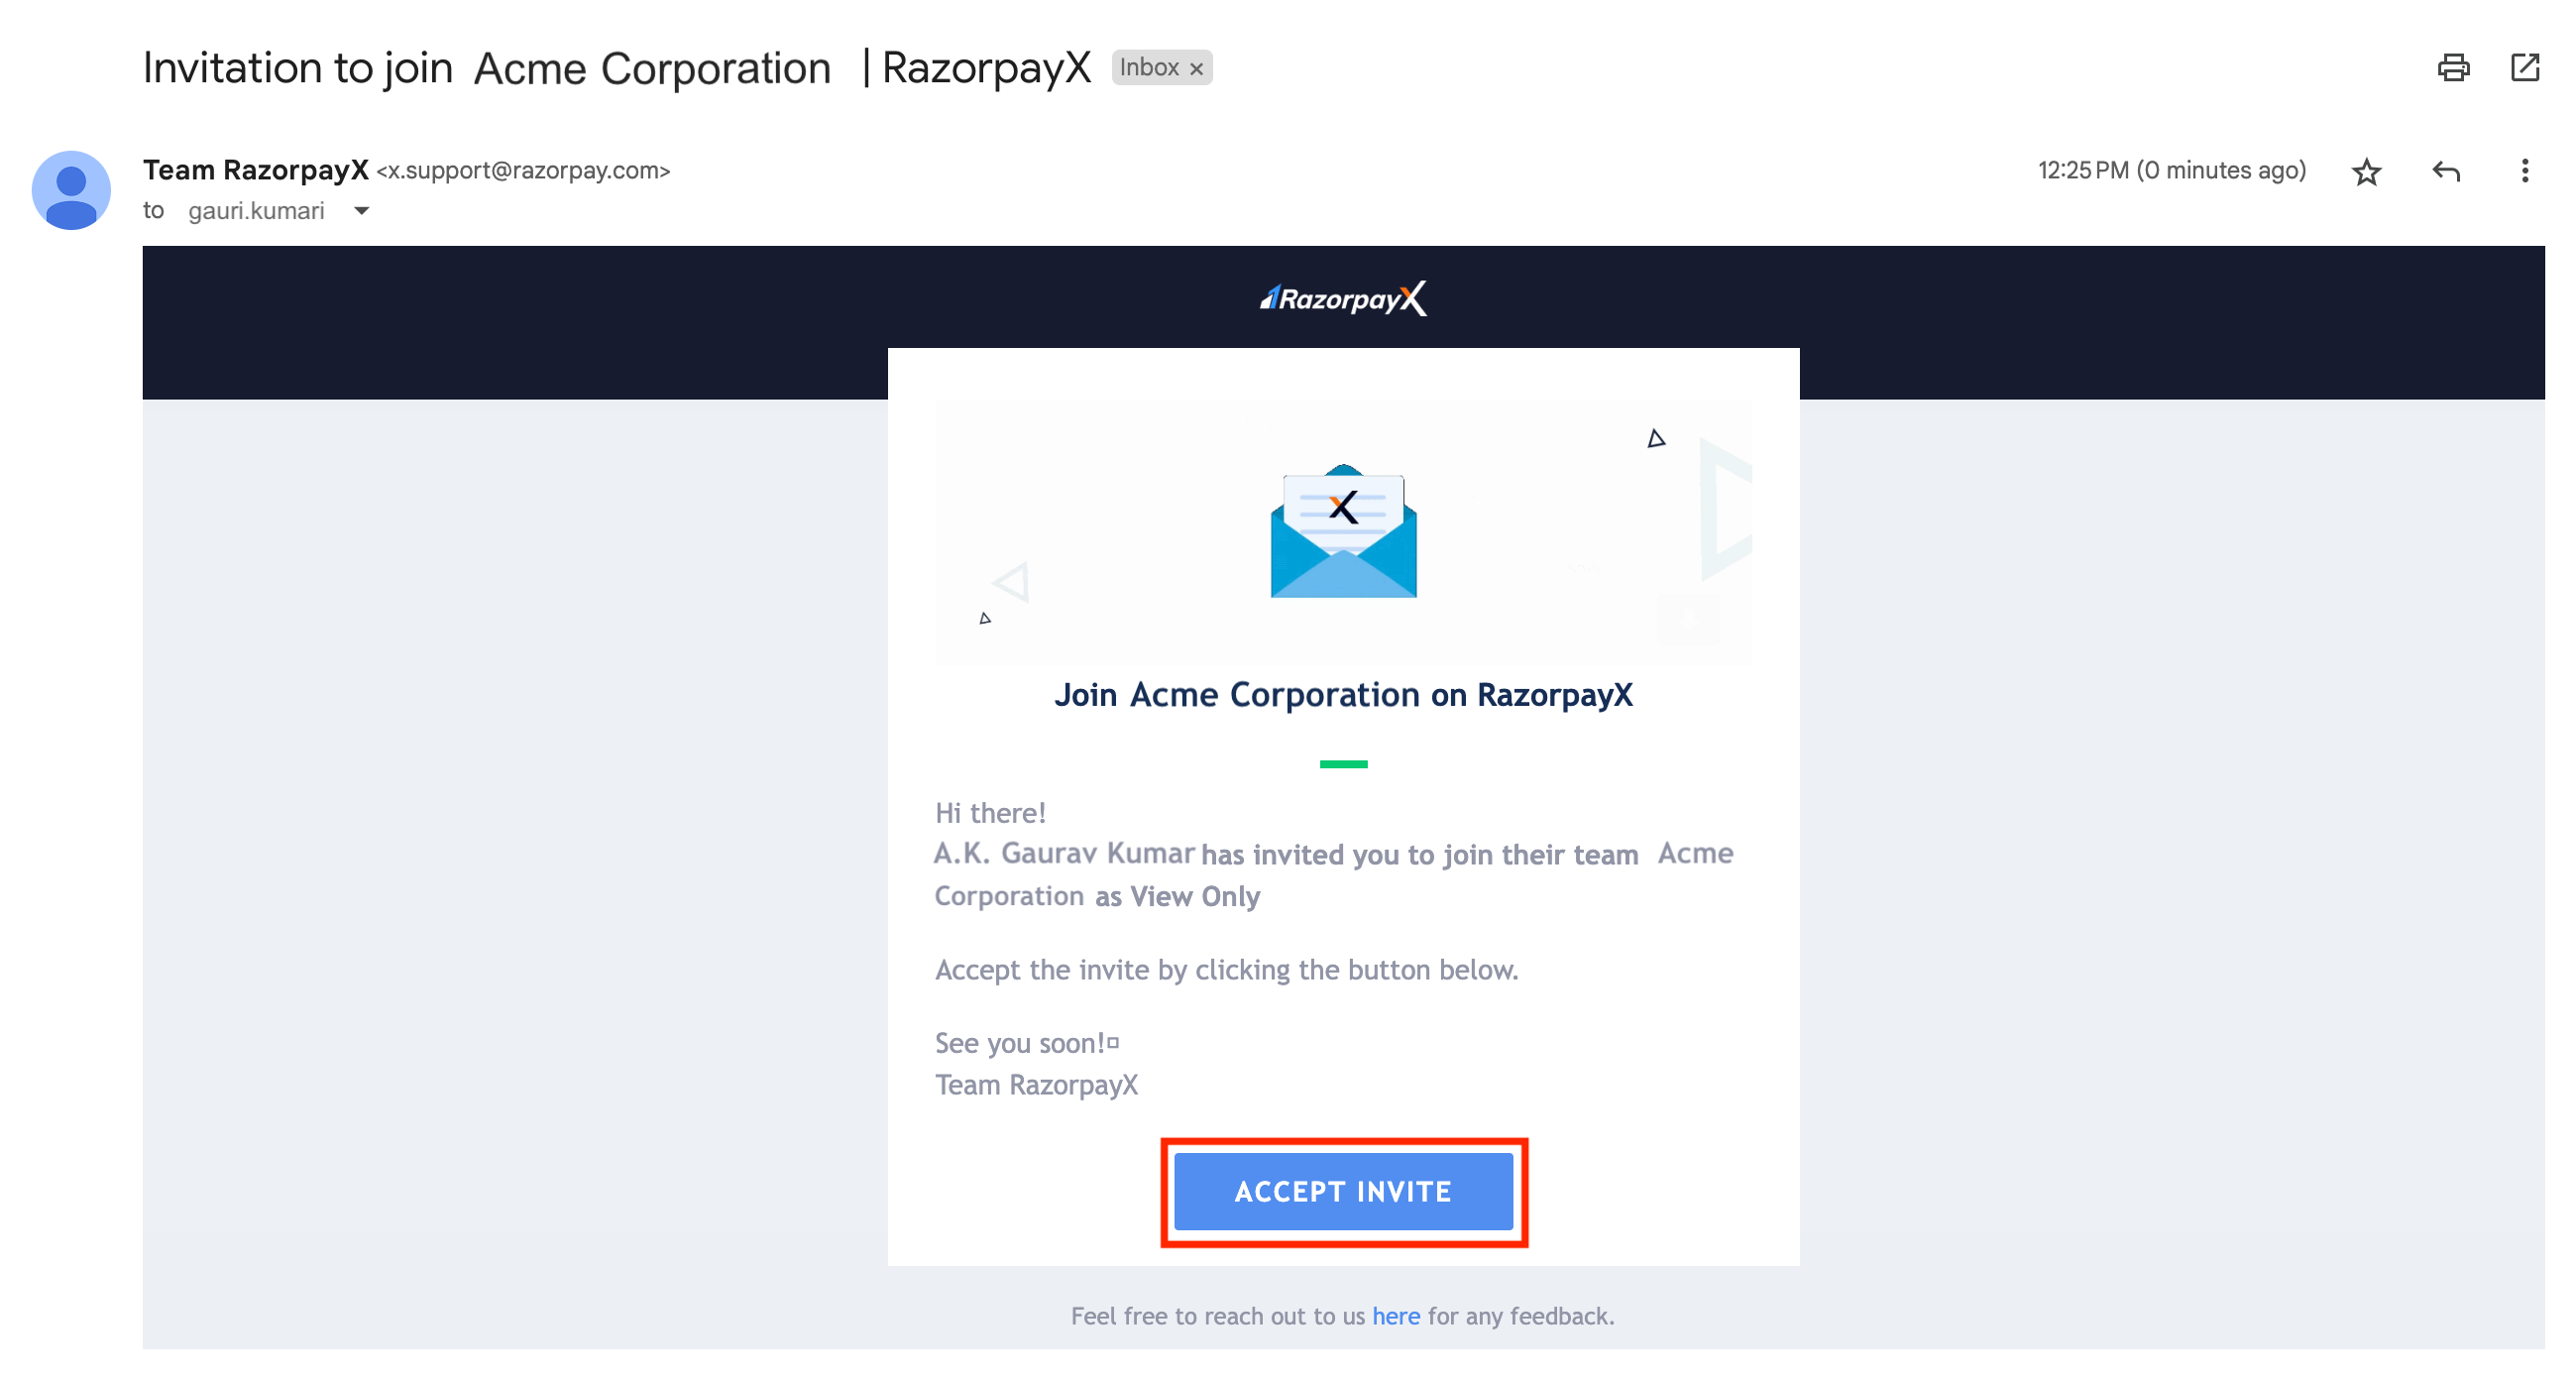
1. Click **ACCEPT INVITE** on the email and you will be redirected to either sign in or sign up for RazorpayX.
2. Set a new password for your RazorpayX account and click **Create Account**.
**Watch Out!**
To avoid creating a duplicate Merchant ID (MID), we recommend that you set a password directly instead of signing in through Google SSO.
3. If you are already logged in, you can accept the invite by navigating to **My Account & Settings** → **User Profile** and [Switch Merchant](/docs/x/dashboard#switch-merchant).
### Related Information
* [Approval Workflow](/docs/x/manage-teams/approval-workflow)
* [Two-Factor Authentication](/docs/x/manage-teams/2fa)
* [Chartered Accountant Portal](/docs/x/manage-teams/ca-portal)
 4. Select from the existing user role templates or [create a new role](/docs/x/manage-teams/create-user-role).
5. You can select and review the the permissions and click **Update Changes**.
4. Select from the existing user role templates or [create a new role](/docs/x/manage-teams/create-user-role).
5. You can select and review the the permissions and click **Update Changes**.
 ## Resend Invite
To resend an invite to a team member:
1. Log in to the [RazorpayX Dashboard](https://x.razorpay.com/).
2. Navigate to the profile icon → **My Account & Settings** → **Manage Team**.
3. Hover over the pending invite you want to send again and click **RESEND**.
## Resend Invite
To resend an invite to a team member:
1. Log in to the [RazorpayX Dashboard](https://x.razorpay.com/).
2. Navigate to the profile icon → **My Account & Settings** → **Manage Team**.
3. Hover over the pending invite you want to send again and click **RESEND**.
 ## Remove Invite
To remove the invite sent to the user:
1. Log in to the [RazorpayX Dashboard](https://x.razorpay.com/).
2. Navigate to the profile icon → **My Account & Settings** → **Manage Team**.
3. Hover over the user you want to remove the invite for and click the delete icon.
## Remove Invite
To remove the invite sent to the user:
1. Log in to the [RazorpayX Dashboard](https://x.razorpay.com/).
2. Navigate to the profile icon → **My Account & Settings** → **Manage Team**.
3. Hover over the user you want to remove the invite for and click the delete icon.
 ## Accept an Invitation
To accept an invitation:
1. Click **ACCEPT INVITE** on the email and you will be redirected to either sign in or sign up for RazorpayX.
## Accept an Invitation
To accept an invitation:
1. Click **ACCEPT INVITE** on the email and you will be redirected to either sign in or sign up for RazorpayX.
 2. Set a new password for your RazorpayX account and click **Create Account**.