> ## Documentation Index
> Fetch the complete documentation index at: https://razorpay-881012b3.mintlify.site/llms.txt
> Use this file to discover all available pages before exploring further.
# Items
> Add and save detailed descriptions, pricing and specifications for products and services on the RazorpayX Dashboard.
Available in
🇮🇳 India
Items serve as a detailed description of products or services that are bought or sold. They enable buyers to verify that they are receiving what they ordered and at the agreed-upon prices, and they provide sellers with a clear record of what was delivered and the corresponding revenue.
[Invoices](/docs/x/vendor-payments/invoices) and [purchase orders](/docs/x/vendor-payments/purchase-order) often feature multiple items, making them records of a business transactions. The effective use of items streamlines the process of procurement, sales and financial management, contributing to more efficient and accurate business operations.
Items in invoices and purchase orders typically include a range of information, such as:
| Term | Description |
| -------------- | ------------------------------------------------------------------------------------------------------------------------------------------------------------------------------------------------------------------------------------------------------------------------------------------------------------------------- |
| Item Name | This is the name or title of the item, which serves as a unique identifier for the product or service being bought or sold. This is a mandatory field. |
| Description | A brief or detailed explanation of the item, providing additional information about its features, specifications or any other relevant details. |
| Rate per Unit | The cost or price associated with a single unit of the item. It is used to calculate the total cost for the specified quantity. This is a mandatory field. |
| Unit | This indicates the quantity for which the given rate is applied. |
| HSN Code | A standardised code used to classify and categorise products for taxation and trade purposes. It helps determine the applicable tax rates and is often used in international trade. |
| Item type | This attribute categorises the item into a specific type or category, which is useful for organizing and classifying products or services within a business. This is a mandatory field. Possible values: |
| Tax Preference | Tax preference refers to the tax treatment or categorisation of the item for the purpose of taxation. It includes whether the item is subject to different tax rates or exemptions. This is a mandatory field. Possible values: - Taxable
- Non Taxable
- Out of scope
- Non GST Supply
|
| CGST + SGST | This represents the tax components applied at both the central and state levels. CGST and SGST are levied separately on the same transaction. This is applicable only when the Tax Preference is Taxable. Possible values: |
| IGST | In a GST system, this represents the tax applied on inter-state transactions. It is collected by the central government. This is applicable only when the Tax Preference is Taxable. Possible values: |
| Discount type | This attribute indicates the method or type of discount applied to the item, such as a percentage discount or fixed amount discount. Possible values: |
| Discount | The amount or percentage reduction in an item's cost owing to discounts or promotions. It stores the value per quantity. When you use the item and change the quantity, the discount is applied accordingly. |
## Create an Item
To create an item:
1. Log in to the [RazorpayX Dashboard](http://x.razorpay.com/auth).
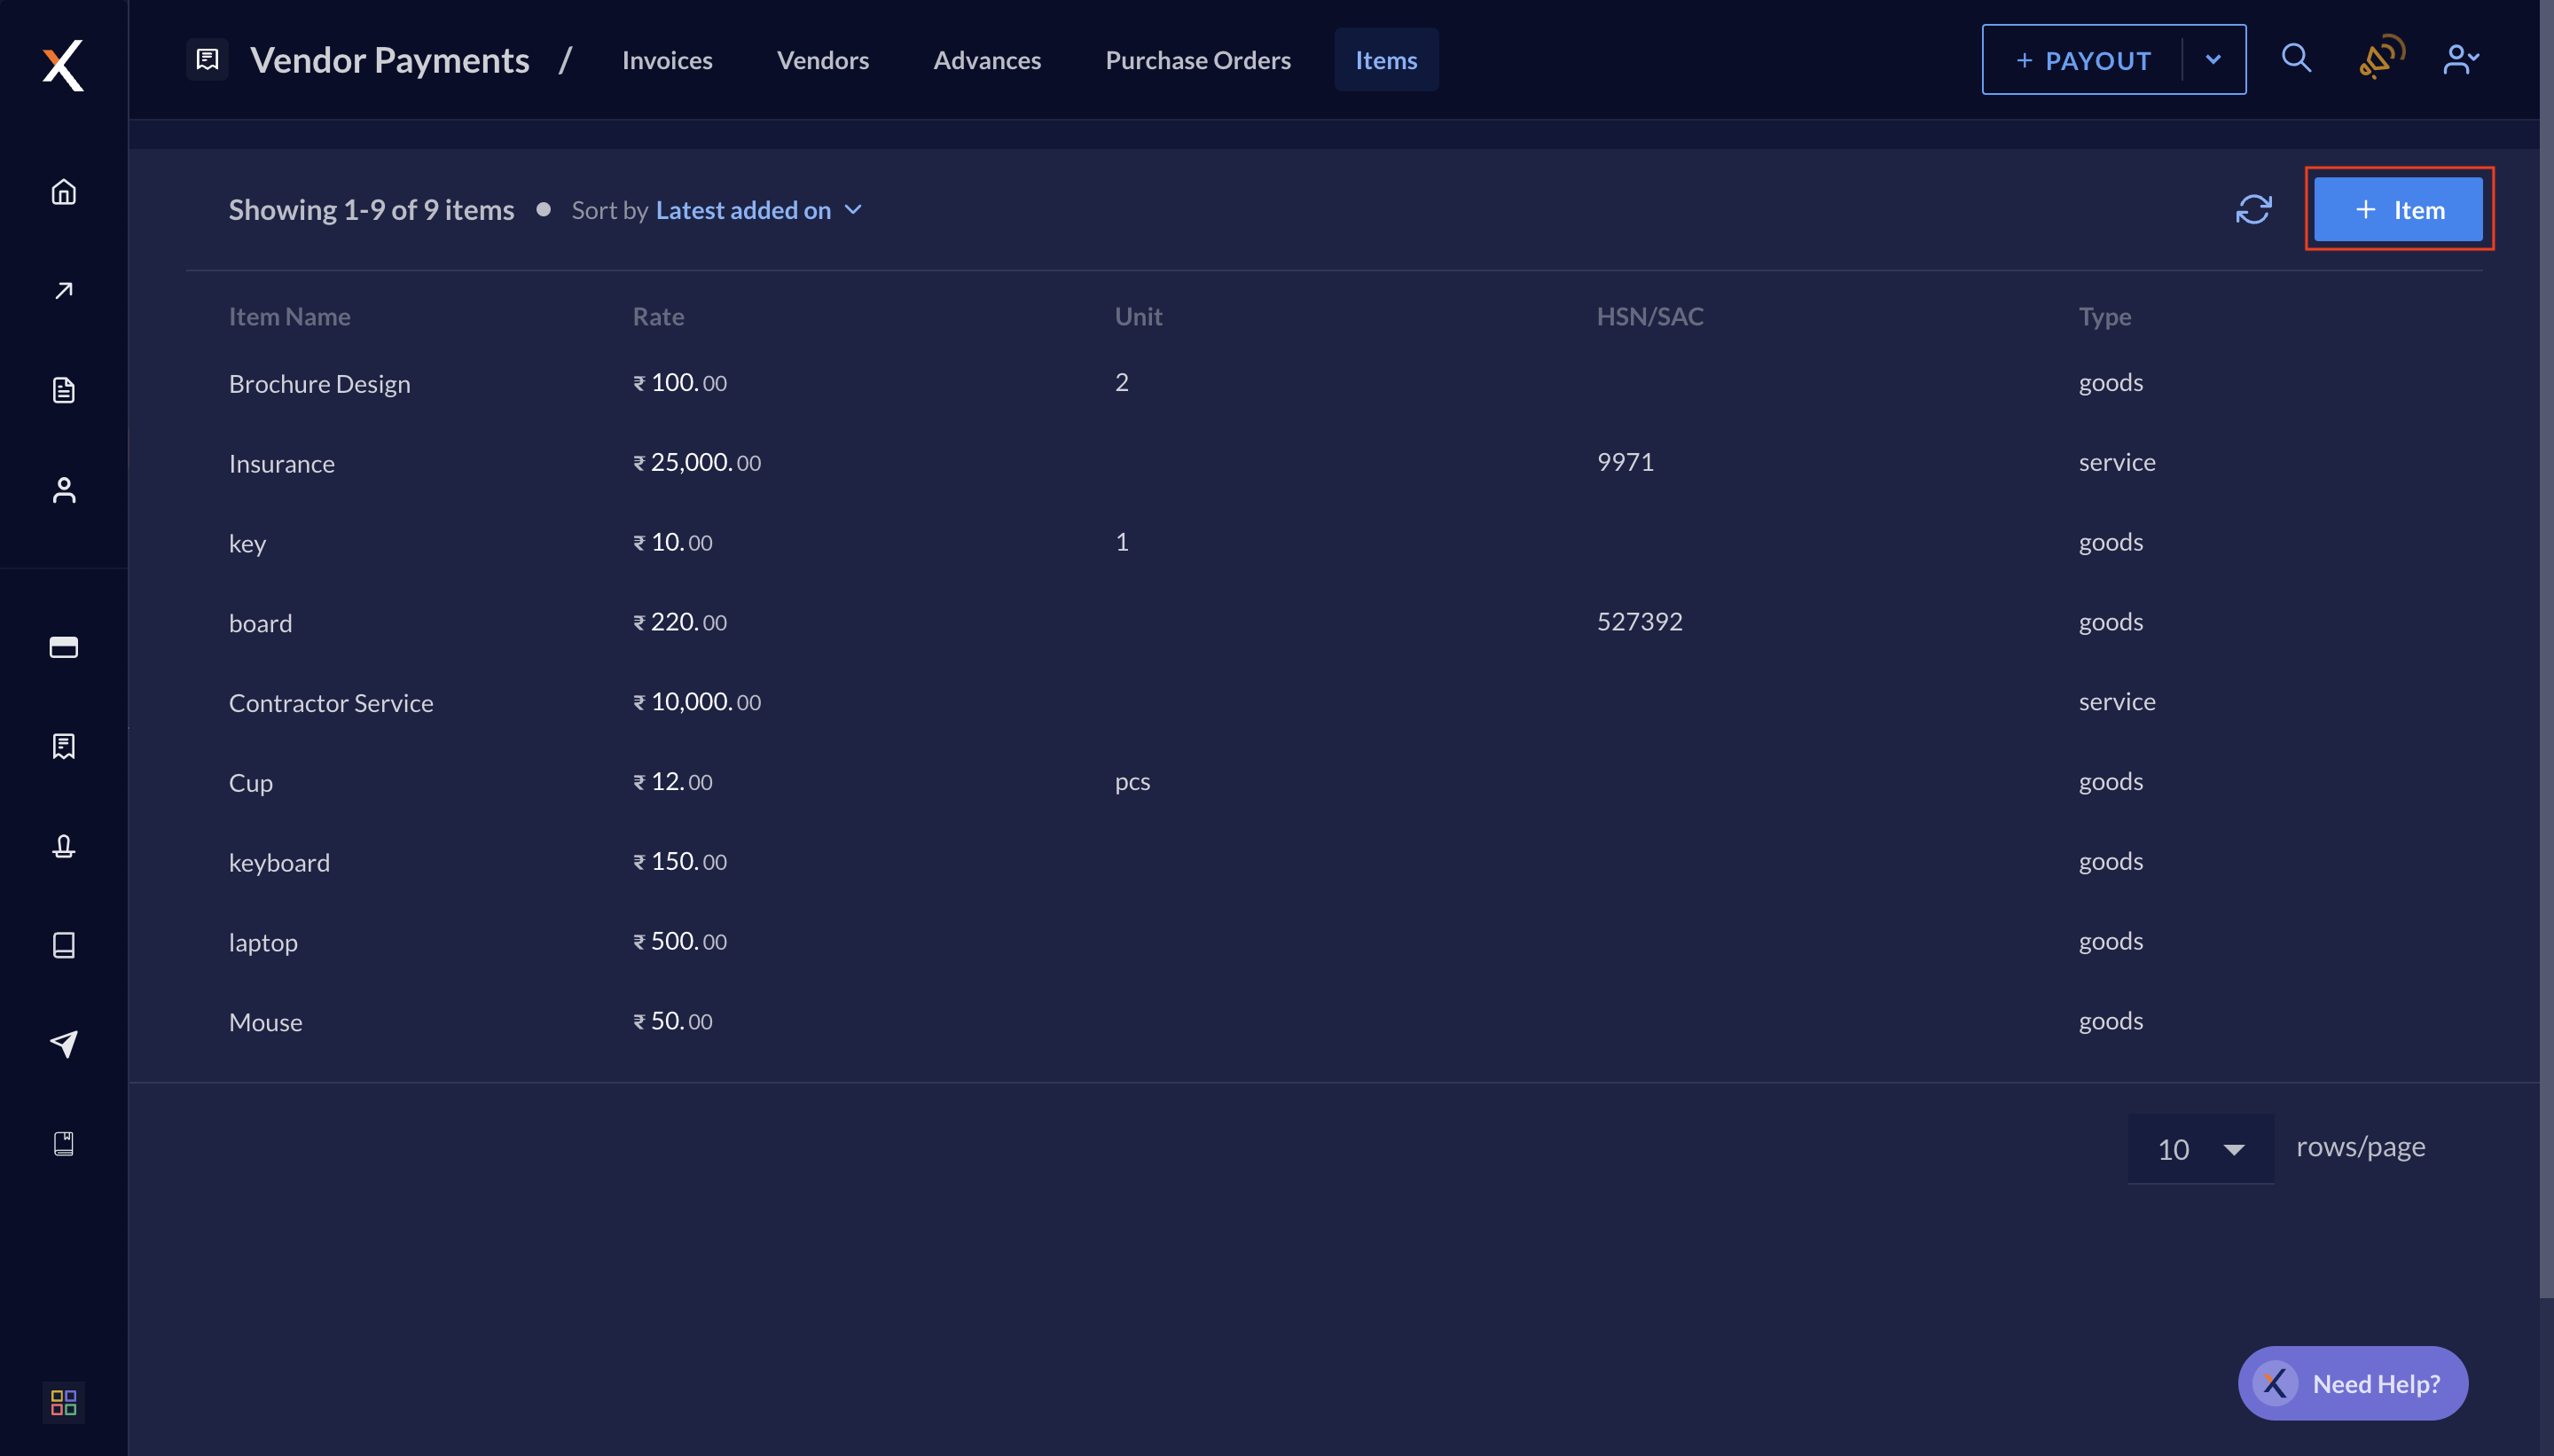
2. Navigate to **Vendor Payments** → **Items**.
3. Click **+ Item**.
 4. Enter the fields mentioned [above](/docs/x/vendor-payments/items#item-fields).
5. Click **Save**.
You can use these items while creating invoices or purchase orders. To view the item details, you can select the item from the list.
## Edit an Item
To edit an item:
1. Log in to the [RazorpayX Dashboard](http://x.razorpay.com/auth).
2. Navigate to **Vendor Payments** → **Items**.
3. Select the item you want to edit.
4. Go to **Options** → **Edit Item**.
4. Enter the fields mentioned [above](/docs/x/vendor-payments/items#item-fields).
5. Click **Save**.
You can use these items while creating invoices or purchase orders. To view the item details, you can select the item from the list.
## Edit an Item
To edit an item:
1. Log in to the [RazorpayX Dashboard](http://x.razorpay.com/auth).
2. Navigate to **Vendor Payments** → **Items**.
3. Select the item you want to edit.
4. Go to **Options** → **Edit Item**.
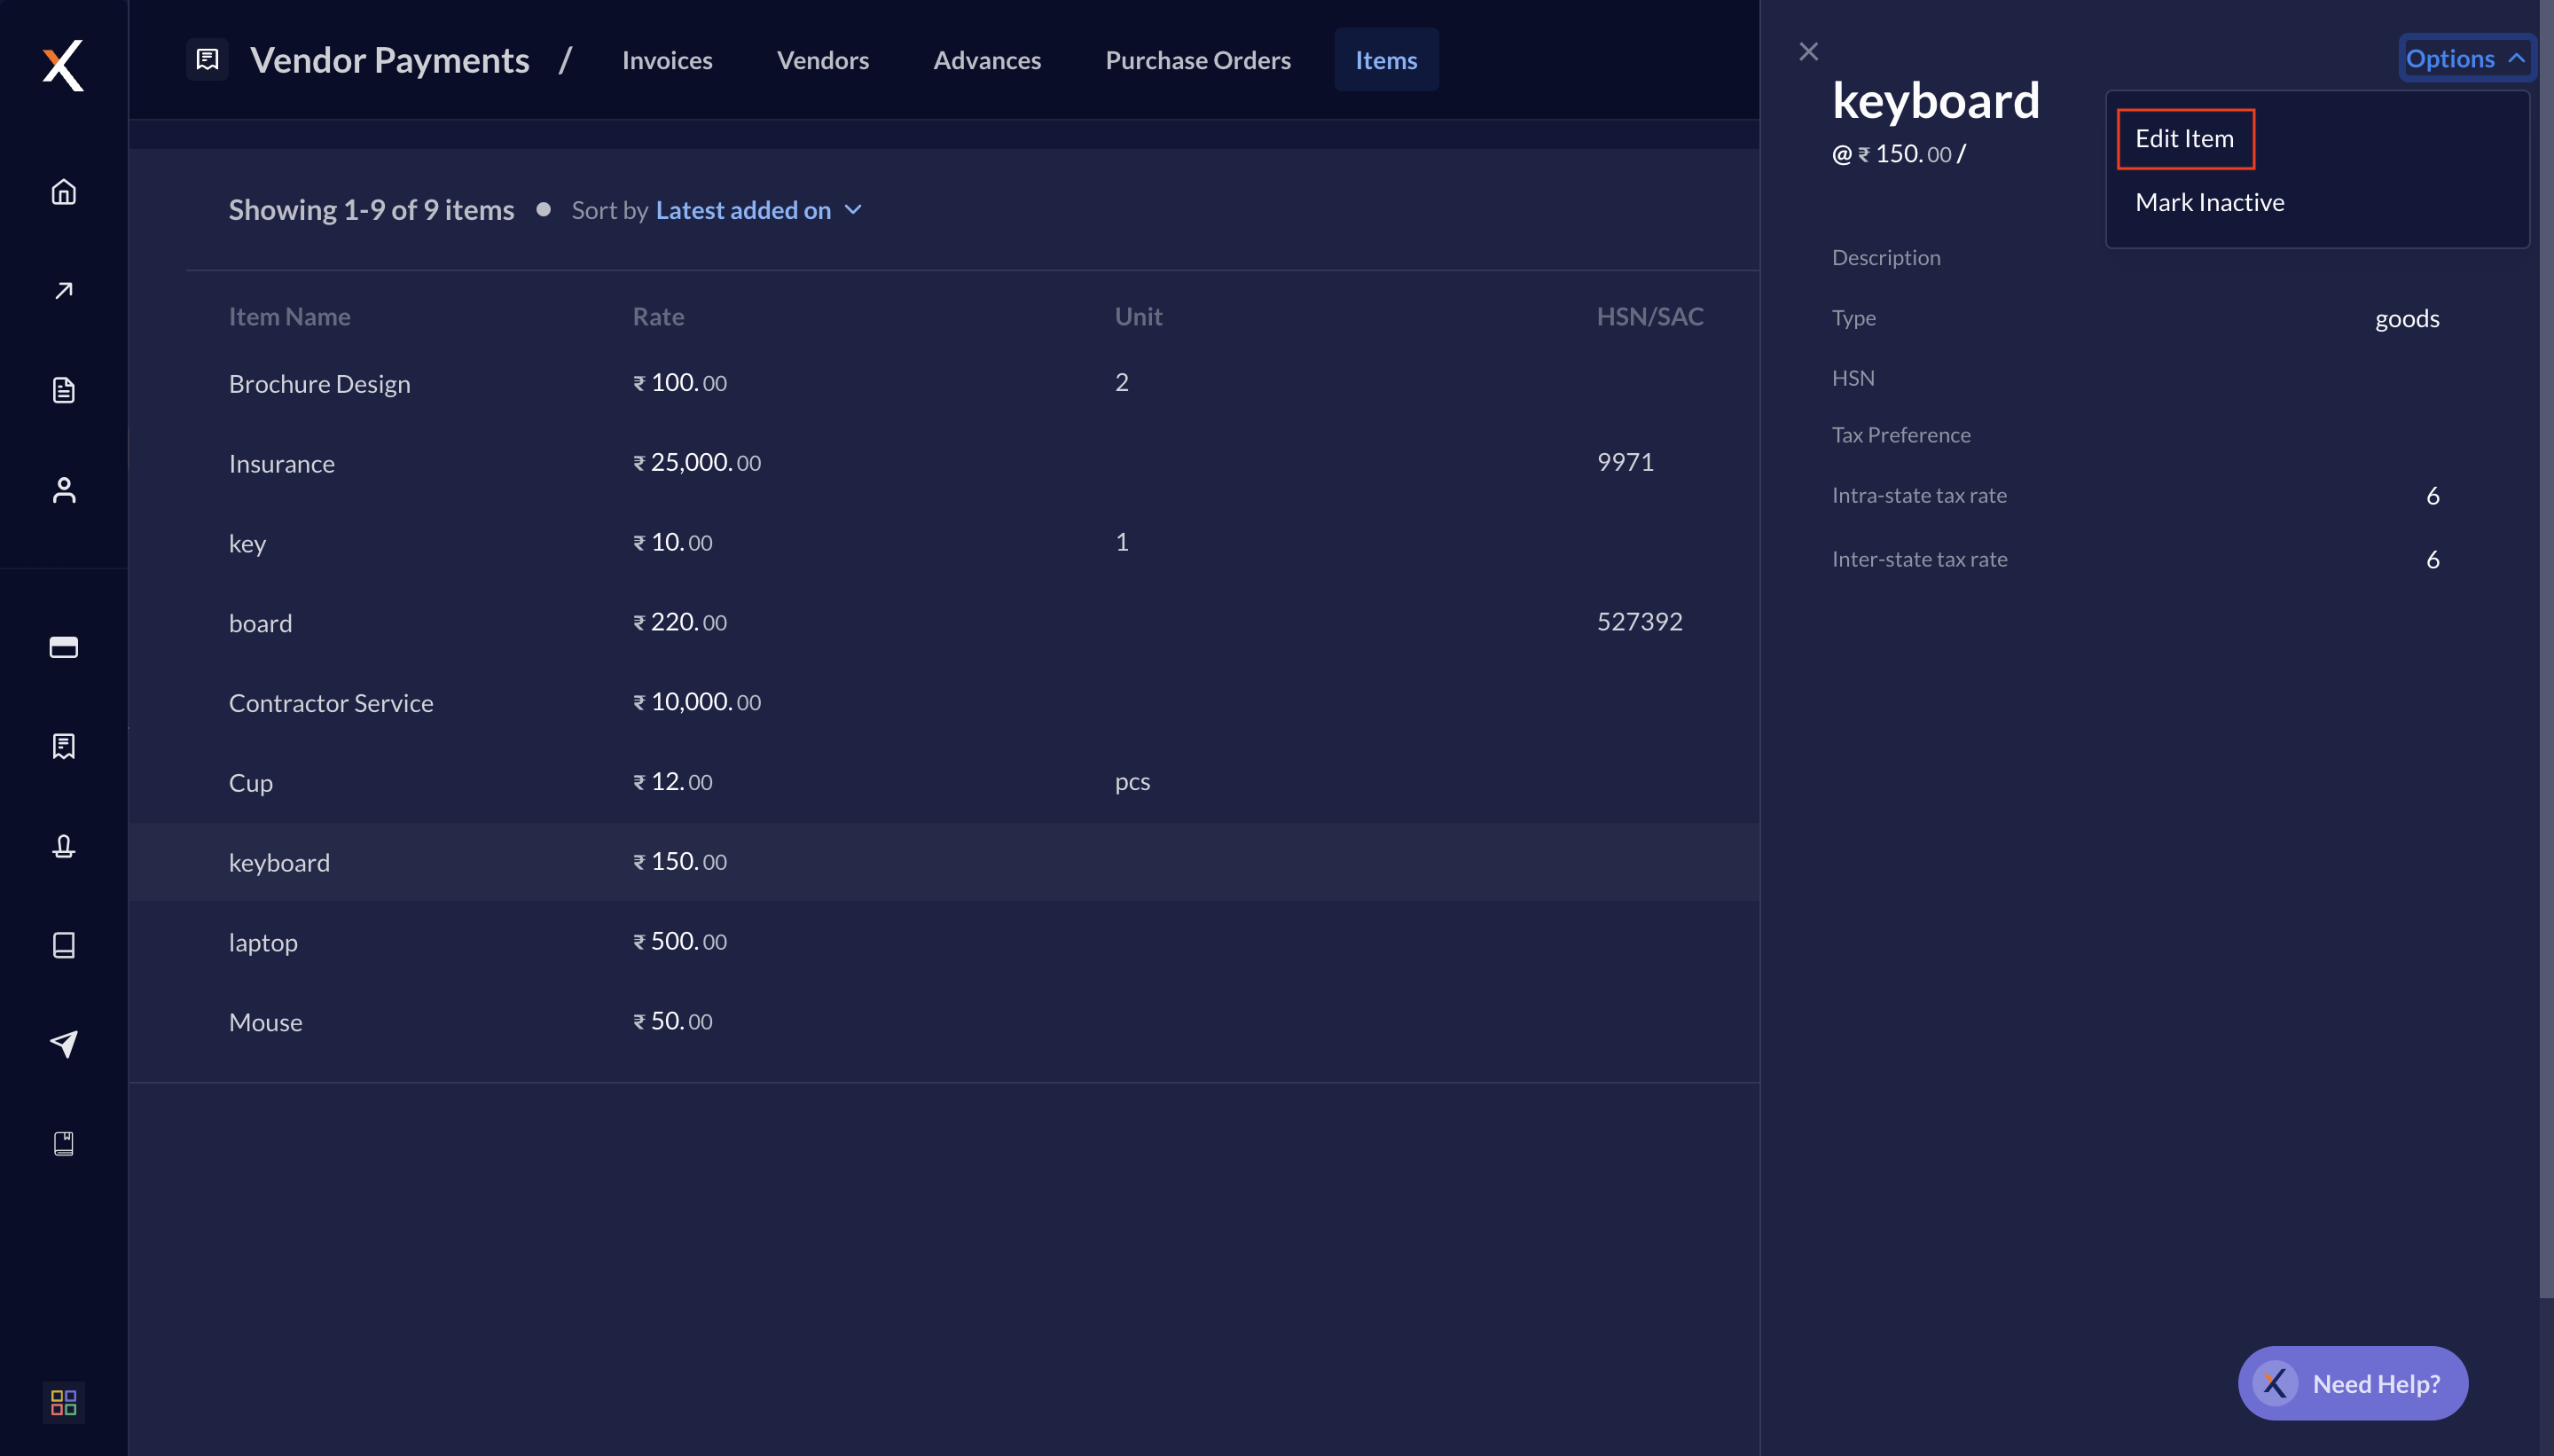 5. Add or modify the fields and click **Save**.
Your modified item is saved.
## Mark Item Inactive
To mark an item inactive:
1. Log in to the [RazorpayX Dashboard](http://x.razorpay.com/auth).
2. Navigate to **Vendor Payments** → **Items**.
3. Select the item you want to mark inactive.
4. Go to **Options** → **Mark Inactive**.
Your item is inactive.
### Related Information
* [Vendor Payments](/docs/x/vendor-payments)
* [Invoices](/docs/x/vendor-payments/invoices)
* [Purchase Orders](/docs/x/vendor-payments/purchase-order)
5. Add or modify the fields and click **Save**.
Your modified item is saved.
## Mark Item Inactive
To mark an item inactive:
1. Log in to the [RazorpayX Dashboard](http://x.razorpay.com/auth).
2. Navigate to **Vendor Payments** → **Items**.
3. Select the item you want to mark inactive.
4. Go to **Options** → **Mark Inactive**.
Your item is inactive.
### Related Information
* [Vendor Payments](/docs/x/vendor-payments)
* [Invoices](/docs/x/vendor-payments/invoices)
* [Purchase Orders](/docs/x/vendor-payments/purchase-order)