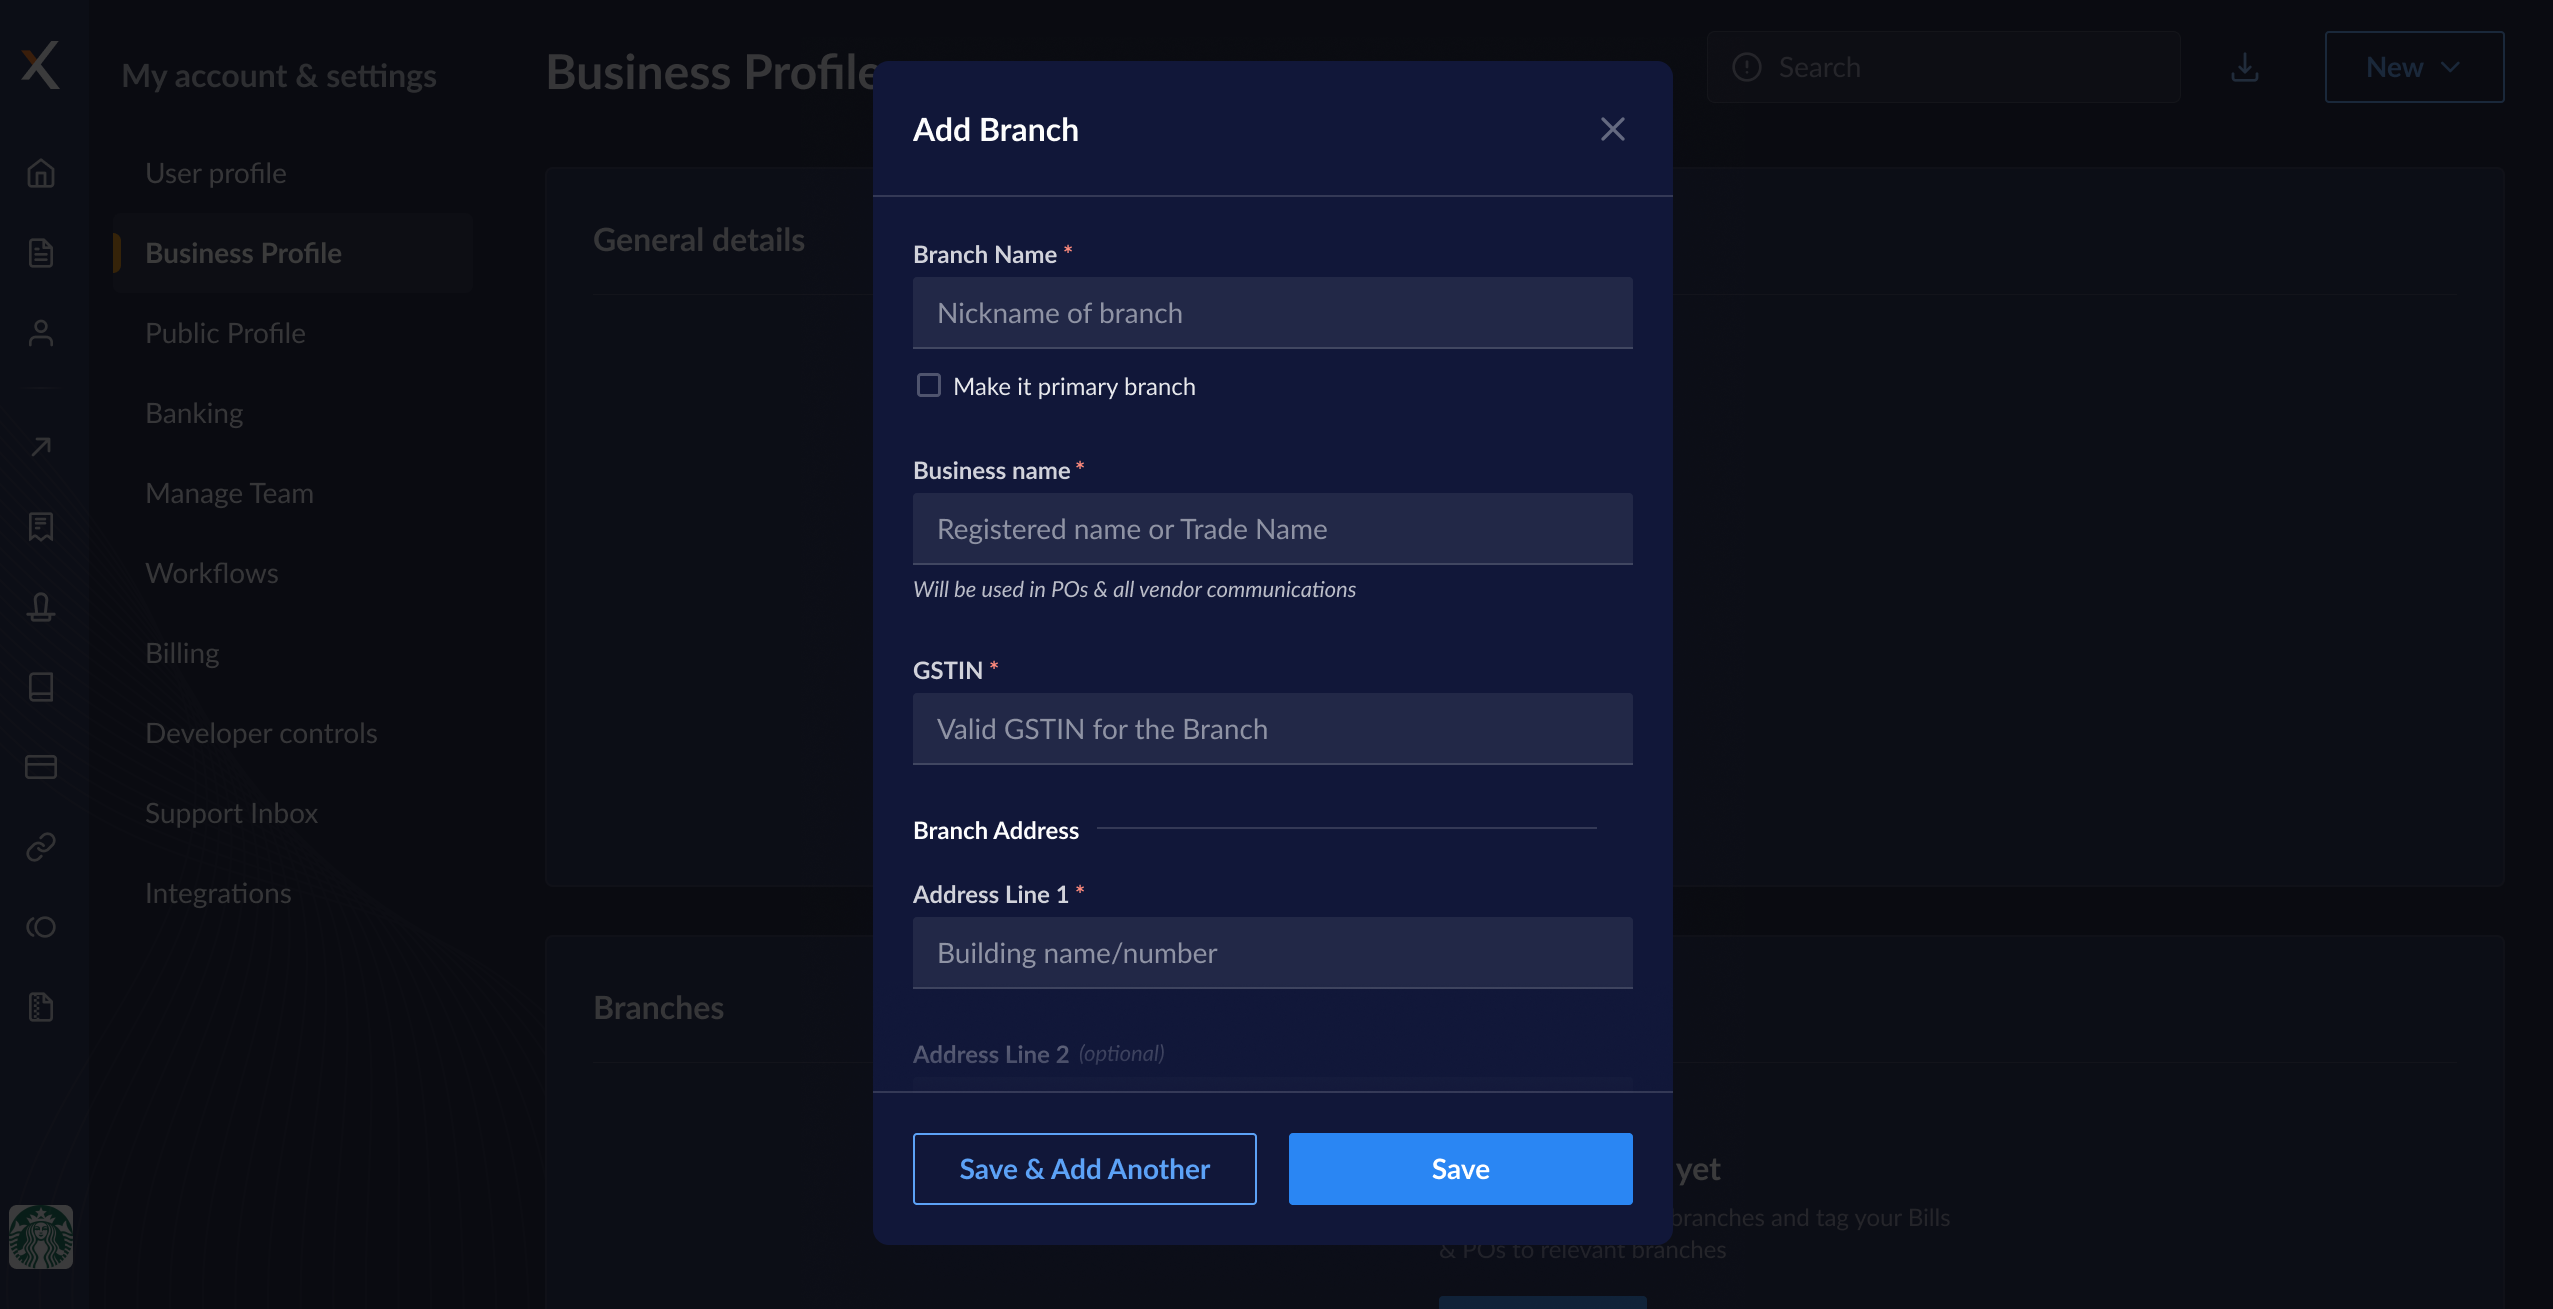
 * You can mark any one of your branches as the primary branch, if a majority of your invoices and POs are billed to that branch. This will automatically add the billing address on your POs and invoices. You can change your primary branch anytime by marking any other branch as the primary branch, if required.
## Edit Branch
To edit a branch:
1. Log in to the [RazorpayX Dashboard](https://x.razorpay.com/auth).
2. Navigate to the profile icon → **My Accounts & Settings** → **Branches**.
3. Hover over the branch you want to edit, click ⋮ and **Edit**.
* You can mark any one of your branches as the primary branch, if a majority of your invoices and POs are billed to that branch. This will automatically add the billing address on your POs and invoices. You can change your primary branch anytime by marking any other branch as the primary branch, if required.
## Edit Branch
To edit a branch:
1. Log in to the [RazorpayX Dashboard](https://x.razorpay.com/auth).
2. Navigate to the profile icon → **My Accounts & Settings** → **Branches**.
3. Hover over the branch you want to edit, click ⋮ and **Edit**.
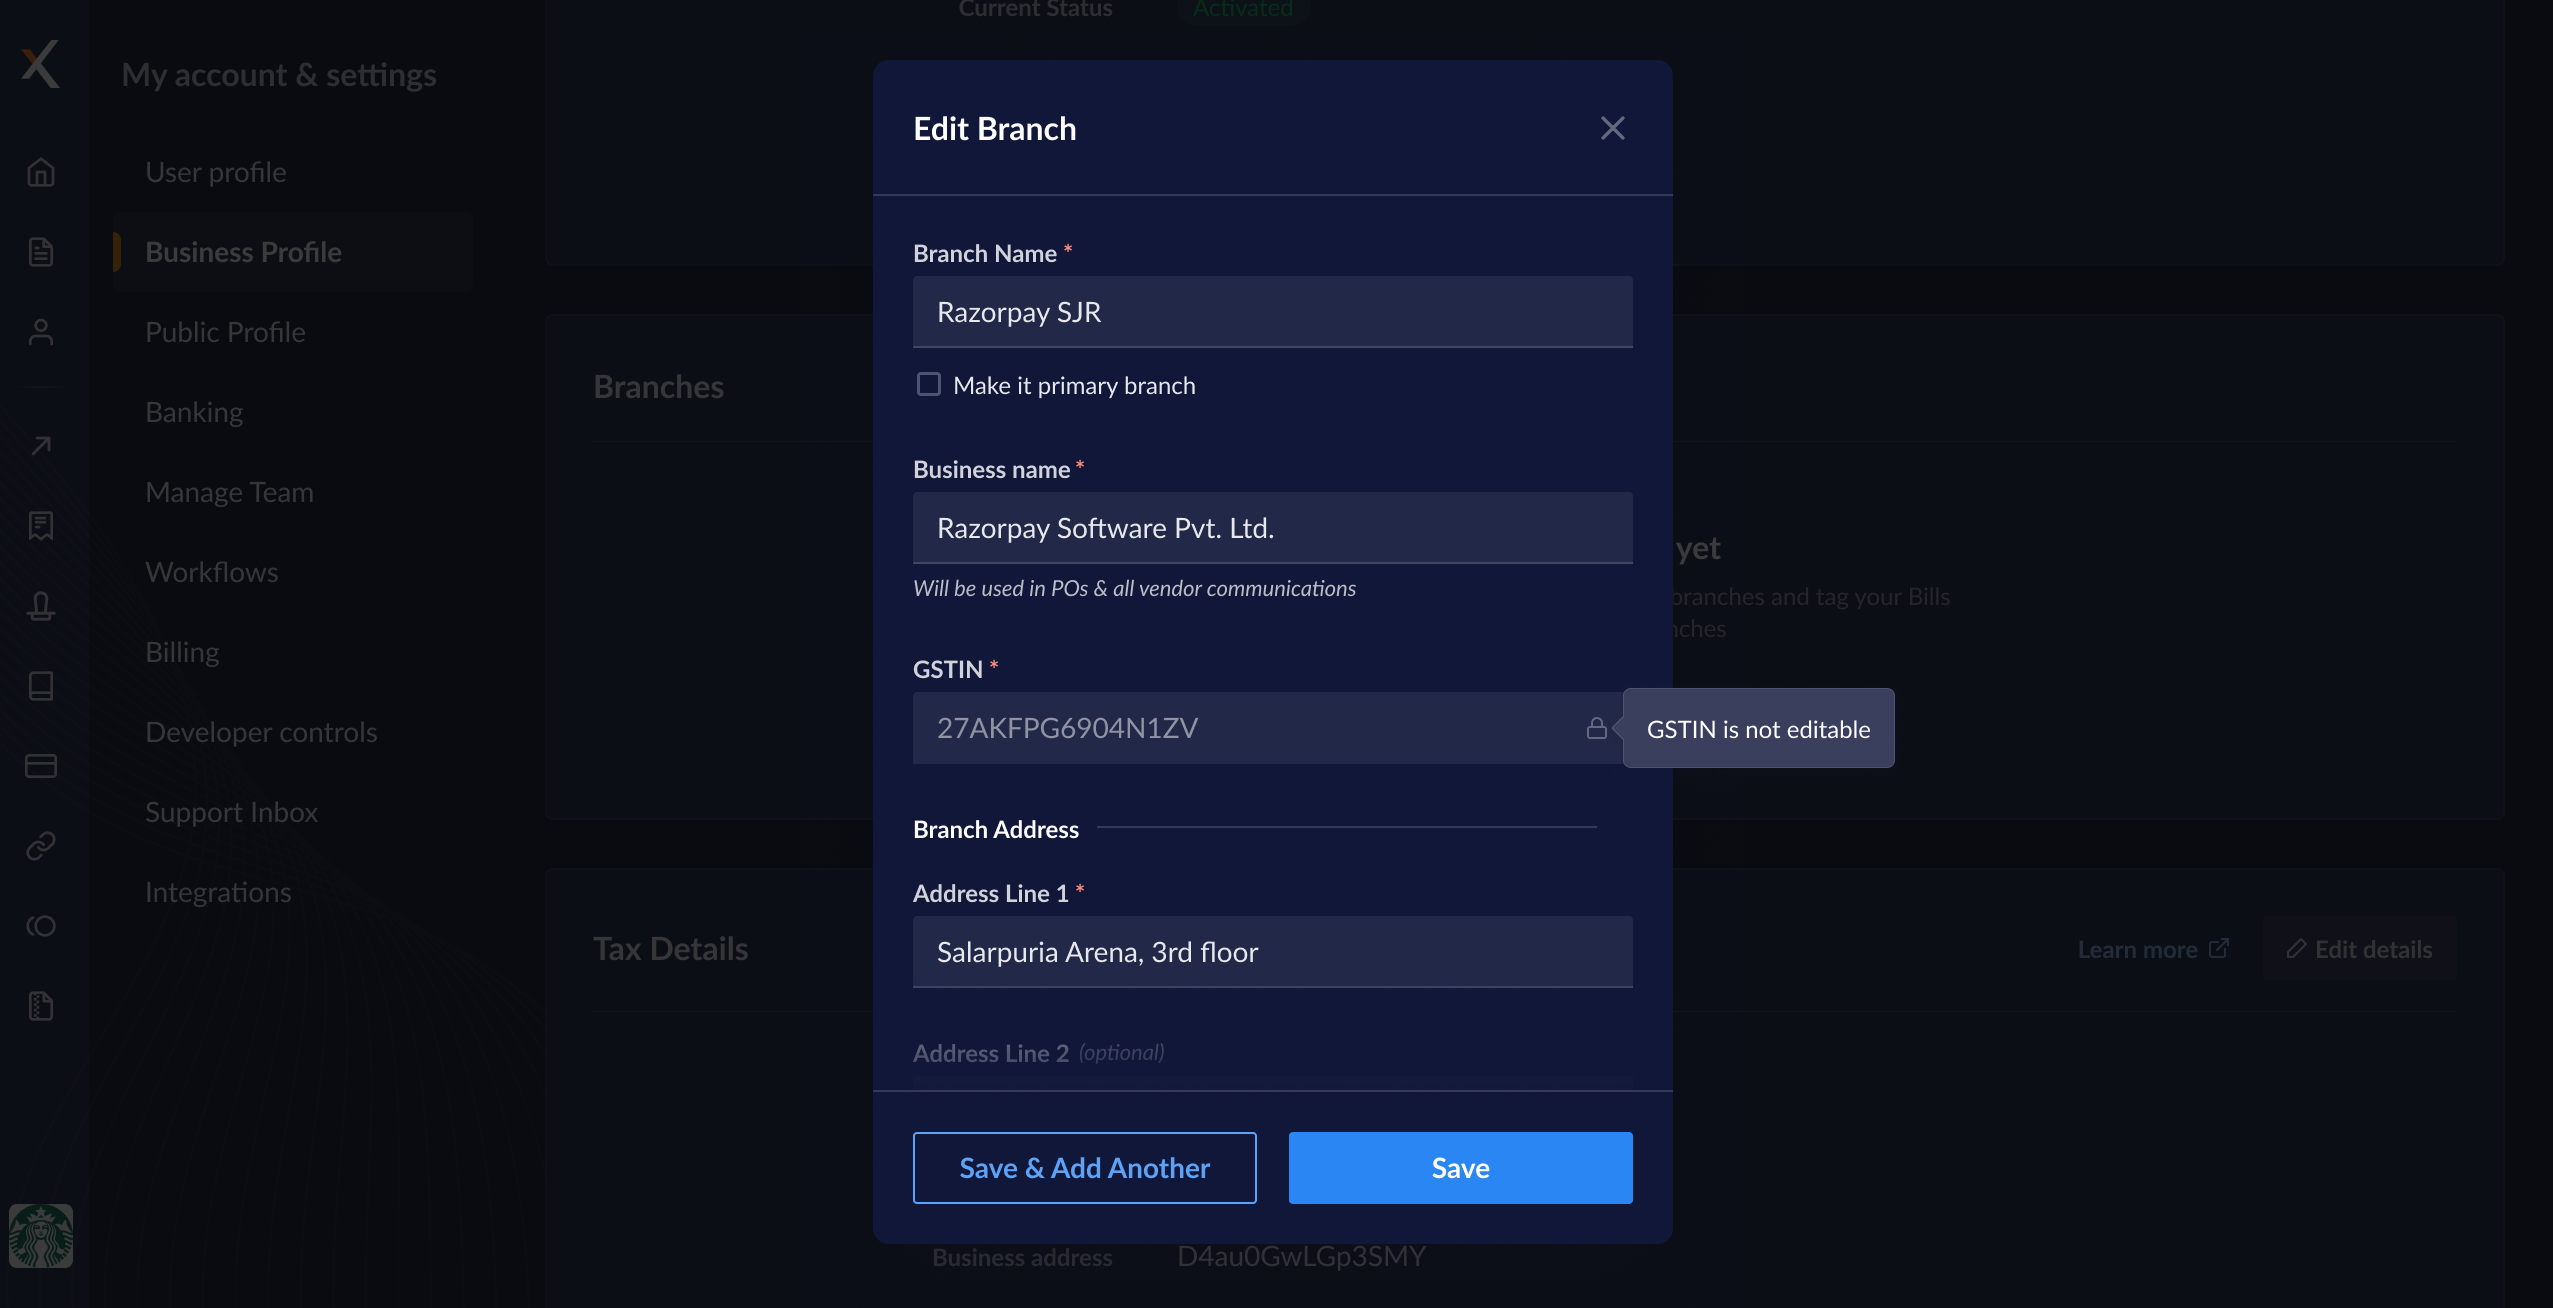 4. Edit the **Business Nickname**, **Name** or **Address**. You cannot edit the GSTIN. Click **Save**.
5. Click **Save Changes** on the pop-up window.
Your changes are saved. Invoices in `draft` state and POs in `created` state are updated with the changes made to the linked branch.
## Mark Branch Inactive
You can deactivate a branch if it is no longer required. This action is irreversible. To mark a branch inactive:
1. Log in to the [RazorpayX Dashboard](https://x.razorpay.com/auth).
2. Navigate to the profile icon → **My Accounts & Settings** → **Branches**.
3. Hover over the branch you want to deactivate, click ⋮ and **Mark as Inactive**.
4. Click **Mark as Inactive**.
4. Edit the **Business Nickname**, **Name** or **Address**. You cannot edit the GSTIN. Click **Save**.
5. Click **Save Changes** on the pop-up window.
Your changes are saved. Invoices in `draft` state and POs in `created` state are updated with the changes made to the linked branch.
## Mark Branch Inactive
You can deactivate a branch if it is no longer required. This action is irreversible. To mark a branch inactive:
1. Log in to the [RazorpayX Dashboard](https://x.razorpay.com/auth).
2. Navigate to the profile icon → **My Accounts & Settings** → **Branches**.
3. Hover over the branch you want to deactivate, click ⋮ and **Mark as Inactive**.
4. Click **Mark as Inactive**.
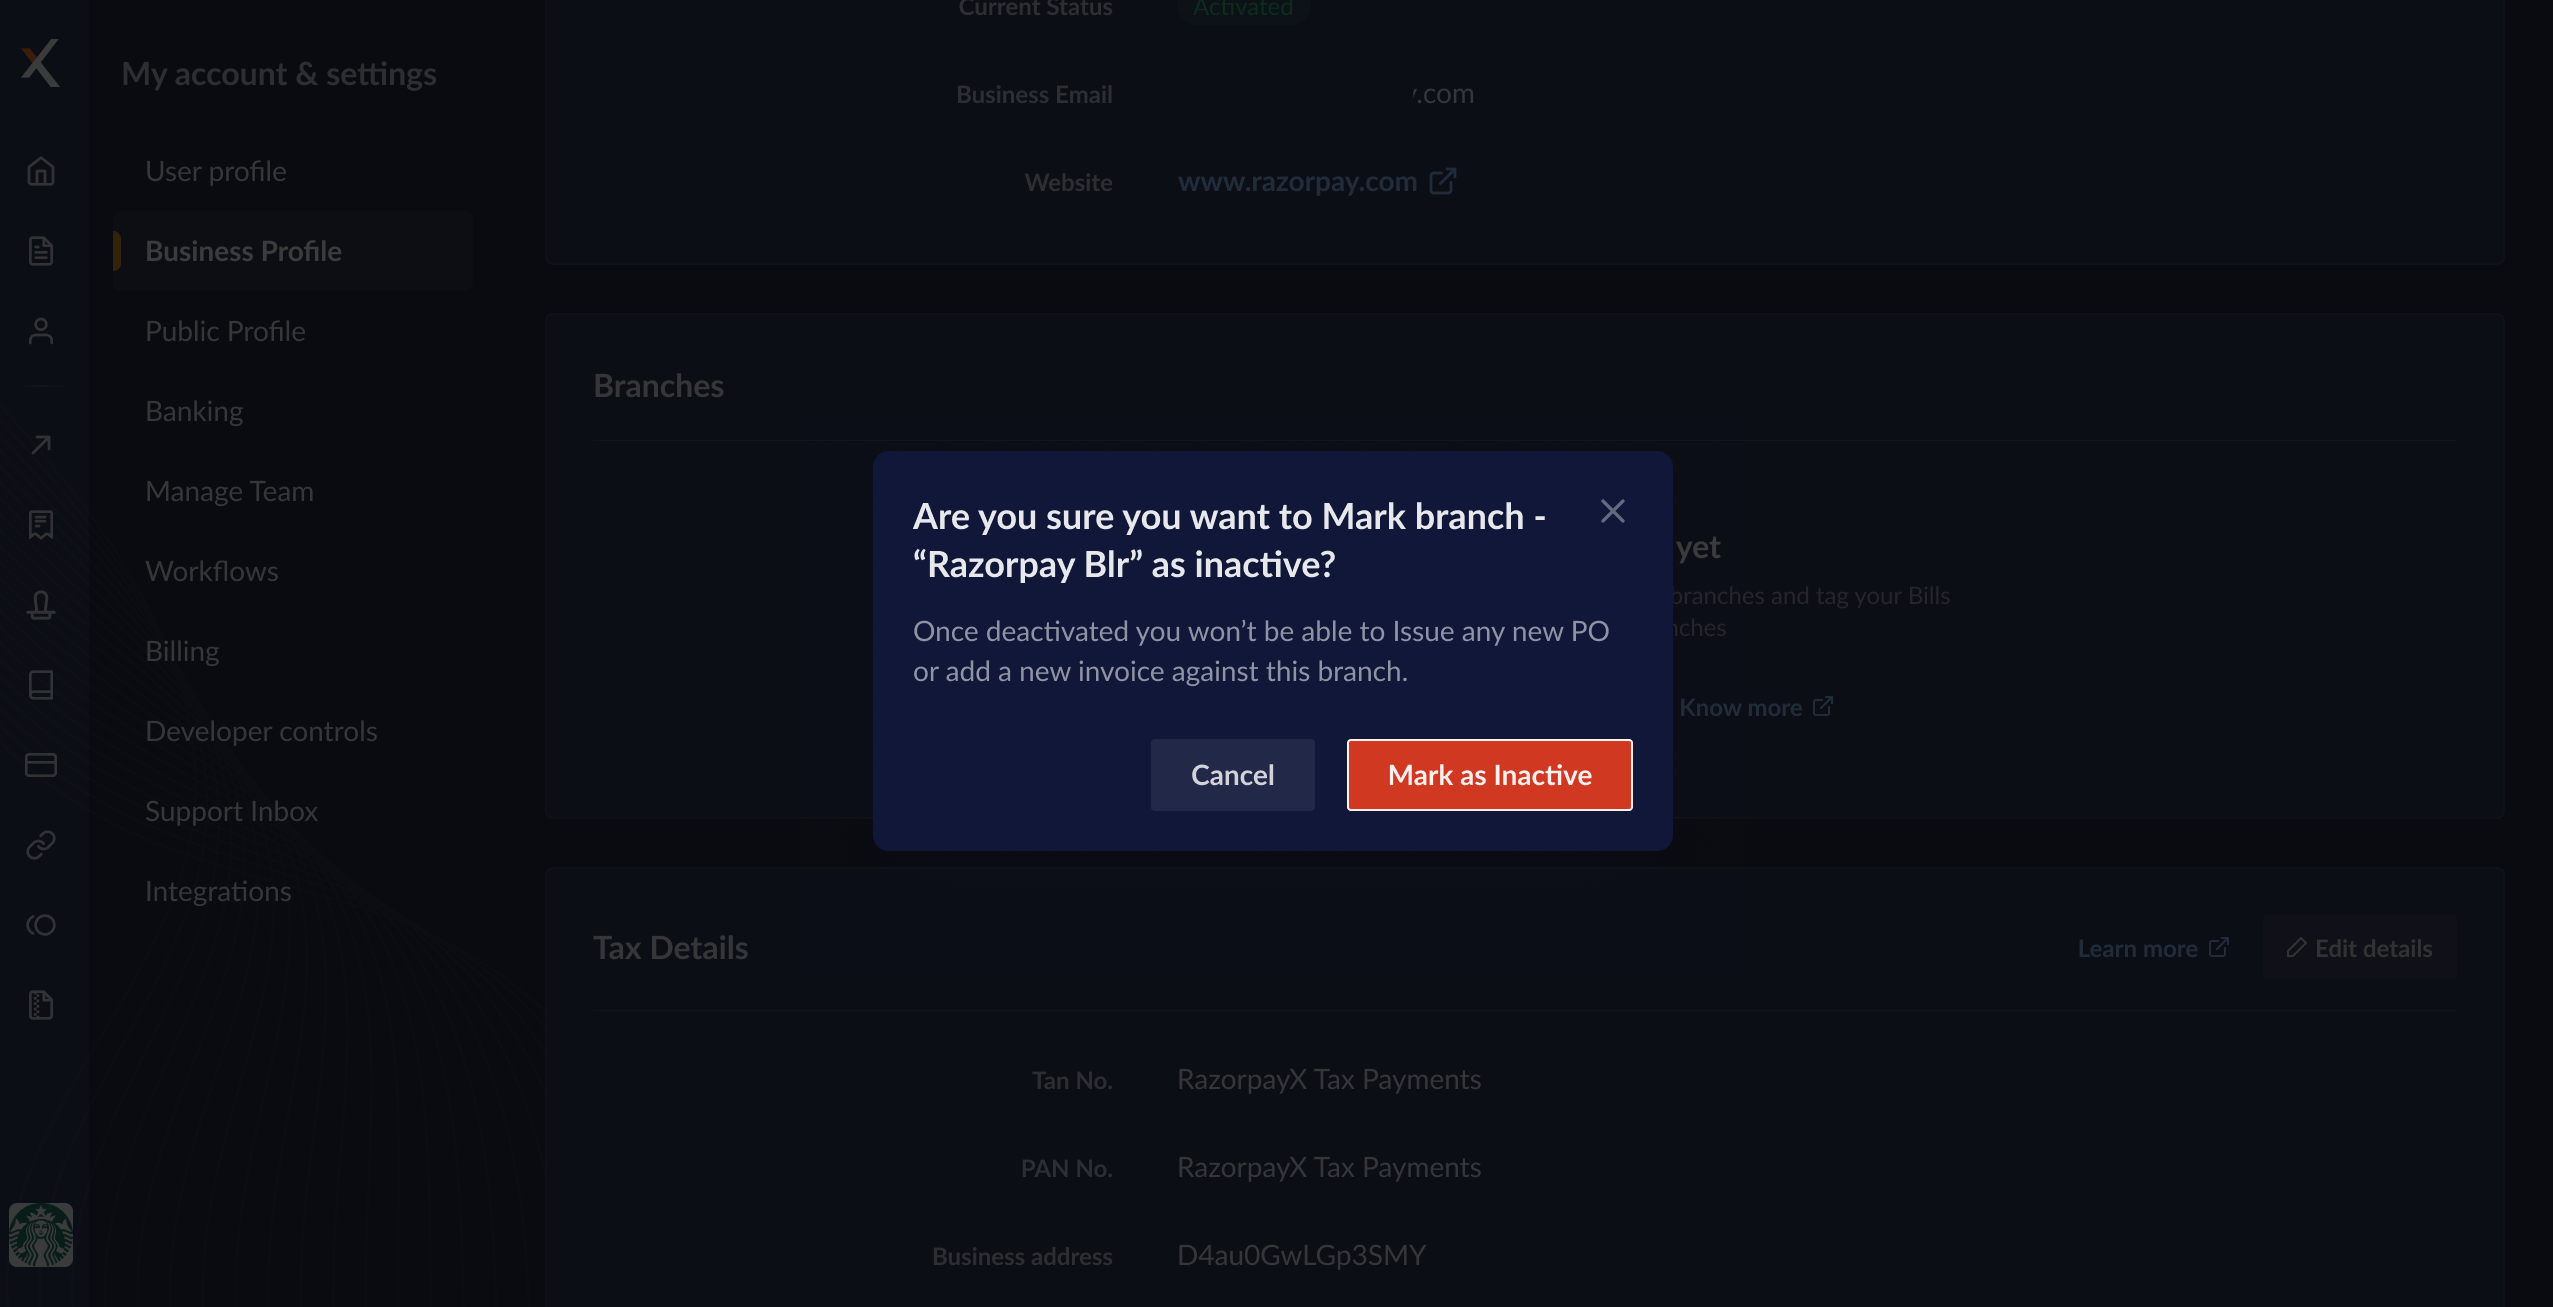 You cannot reuse an inactive branch. Create a new branch if required.
## Auto-fill Branch Details on Invoice or PO
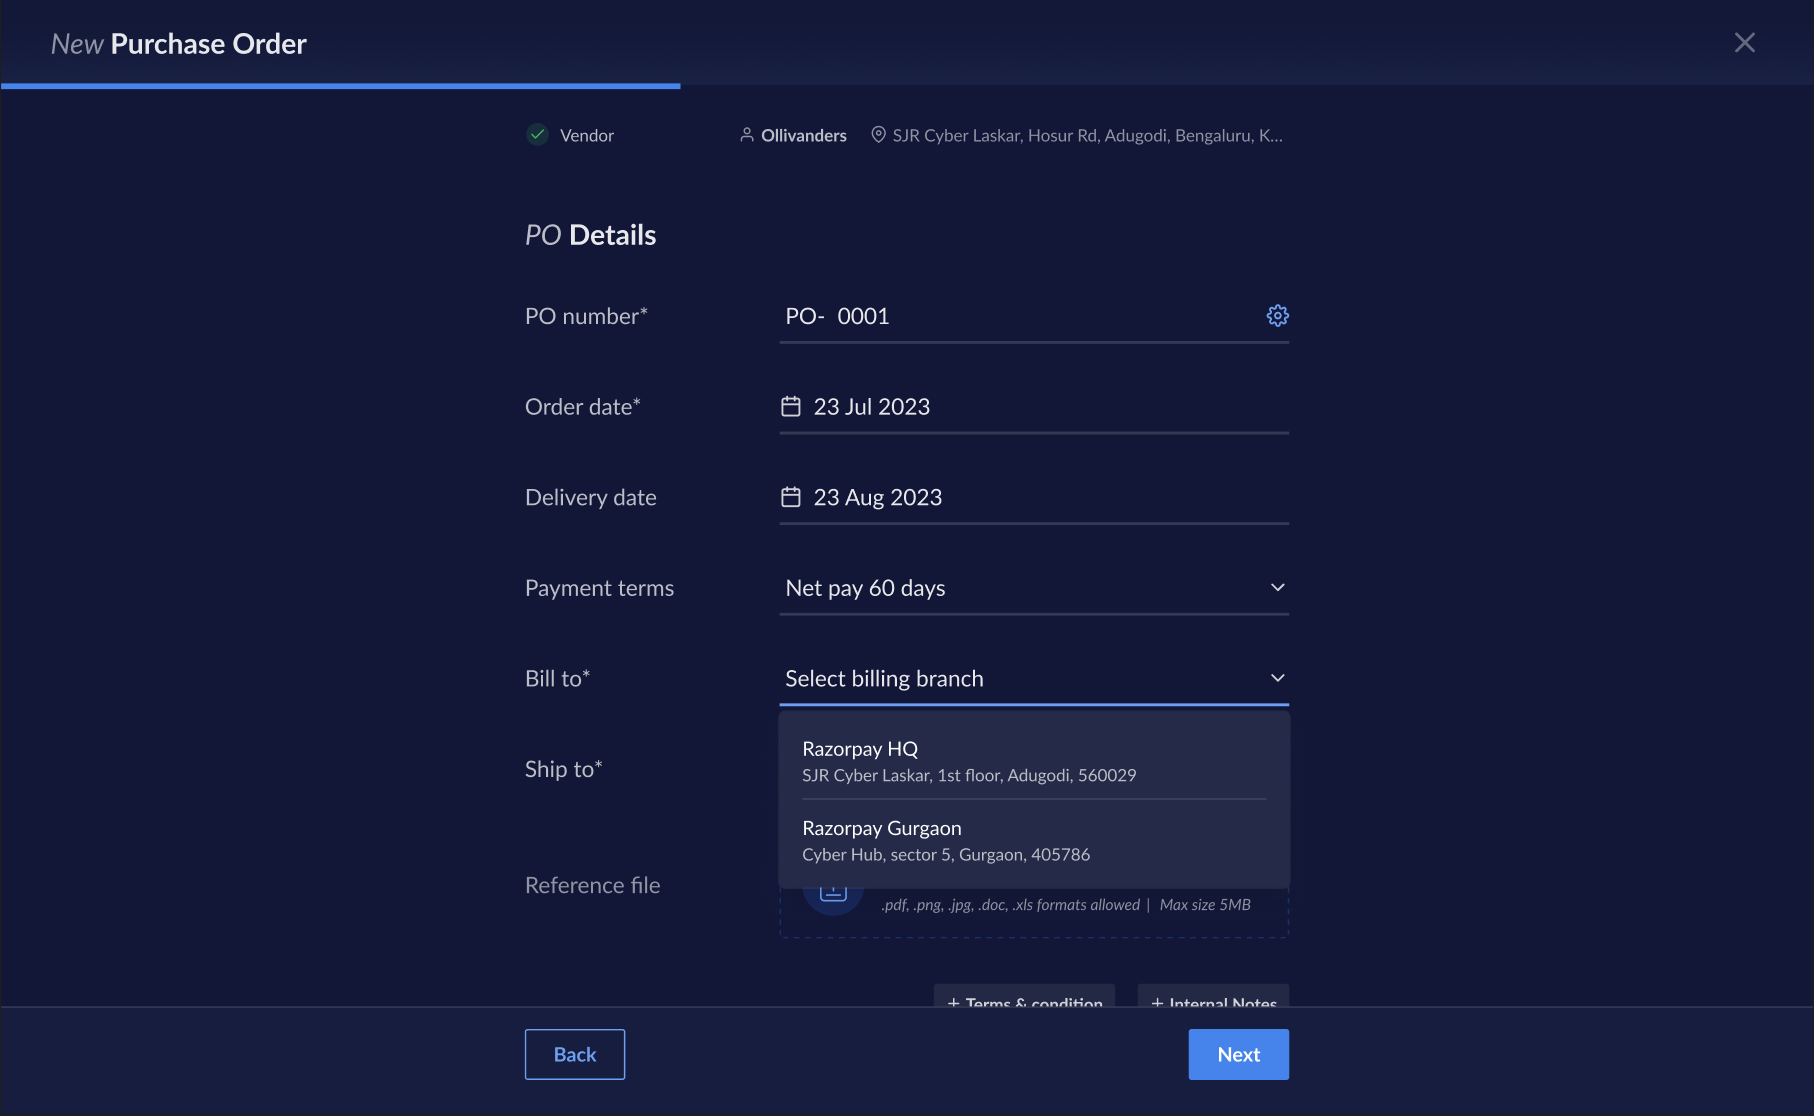
You can select branches for your Invoices and POs on the **Invoice Details** tab and **PO Details** tab respectively, through the **Bill to** field. By default, the invoice/PO is auto-filled with the details of your primary branch. Click **Change** to update the **Bill to** field for your invoice/PO from your list of branches.
You cannot reuse an inactive branch. Create a new branch if required.
## Auto-fill Branch Details on Invoice or PO
You can select branches for your Invoices and POs on the **Invoice Details** tab and **PO Details** tab respectively, through the **Bill to** field. By default, the invoice/PO is auto-filled with the details of your primary branch. Click **Change** to update the **Bill to** field for your invoice/PO from your list of branches.