> ## Documentation Index
> Fetch the complete documentation index at: https://razorpay-881012b3.mintlify.site/llms.txt
> Use this file to discover all available pages before exploring further.
# Bulk Vendor Payouts
> View or pay your vendor bills, in parts or full, directly from the RazorpayX Dashboard.
Available in
🇮🇳 India
Using RazorpayX, you can settle the amount for multiple invoices in a single transaction. This way, you can have de-cluttered, cleaner bank statements.
1. Log in to the [RazorpayX Dashboard](https://x.razorpay.com/auth).
2. Go to to **Vendor Payments** → **Vendors** → **Vendor Balances**.
List of vendors with details such as **Vendor Name**, **Invoice Outstanding**, **Open Advances**, **Outstanding Balance** and **Last Invoice on** (date) is displayed.
## Full Settlement
You can choose to clear the complete dues in one go rather than settling individual invoices.
1. Hover over the respective vendor from the list. You can see **View Invoices**, **View Advances** and **Settle Invoices** options under **Last Invoice on**.
2. Click **View Invoices** to view all the paid, unpaid and partially paid invoices raised by the vendor.
3. Click **View Advances** to view the used, partially used and unused advances for the vendor.
4. Click **Settle Invoices**.
5. Click **Apply advances** if you have made any advance payments to the vendor. This populates the final settlement amount less the advance(s) paid. Click **Settle anyway** to settle the dues without deducting the advance(s) paid.
**Handy Tips**
* **Outstanding** amount is the total sum of invoices that are unpaid or partially paid to the vendor.
* **Overdue** amount is the total sum of unpaid invoices past their due date.
6. Click **Pay/Schedule** to proceed with payment or **Mark as Paid** if the settlement has been made via other means.
* If you wish to proceed with **Mark as Paid**, select one of **Bank transfer**, **Cheque**, or **Cash** and enter comments (if any) to mark the settlement as complete. Once the settlement is marked paid, you cannot change the status to unpaid.
7. Click **Proceed**. Vendor name, phone number, email id, GST and registered account(s) are displayed.
8. Hover over the account/upi to which you wish to make the payment to view the **Select** button.
9. Click **Select** to view the payout details. You can see the vendor details, amount, payout purpose your debit account and transfer type.
10. Click **Add Attachment** to add a file of your choice.
11. Click **+Additional Details** to add notes and narration. Comments given under **Narration** will be passed to your and the vendor's bank statement.
12. Click **Next** to complete the payout or **Schedule Payout** to do the payout on a later date and time.
13. Enter the OTP to complete the payout/scheduled payout.
14. Click **Send for approval**.
**Handy Tips**
This is recorded as one payout in the **Payouts** section of the Dashboard.
## Selective Settlement
If you do not want to pay for all the invoices but only some of them, follow the steps below:
1. Hover over the respective vendor from the list and click **View Invoices**.
2. View all the invoices associated with that particular vendor.
3. Select the Invoices you want to pay.
4. Click **Pay Invoices**. The vendor name, phone number, email id, GST and registered account(s) are displayed.
5. Hover over the account/upi to which you wish to make the payment to view the **Select** button.
6. Click **Select** to view the payout details. You can see the vendor details, amount, payout purpose your debit account and transfer type.
7. Click **Add Attachment** to add a file of your choice.
8. Click **+Additional Details** to add notes and narration. Comments given under **Narration** will be passed to your and the vendor's bank statement.
9. Click **Next** to complete the payout or **Schedule Payout** to do the payout on a later date and time.
10. Enter the OTP to complete the payout/scheduled payout.
11. Click **Send for approval**.
## Vendor Advice
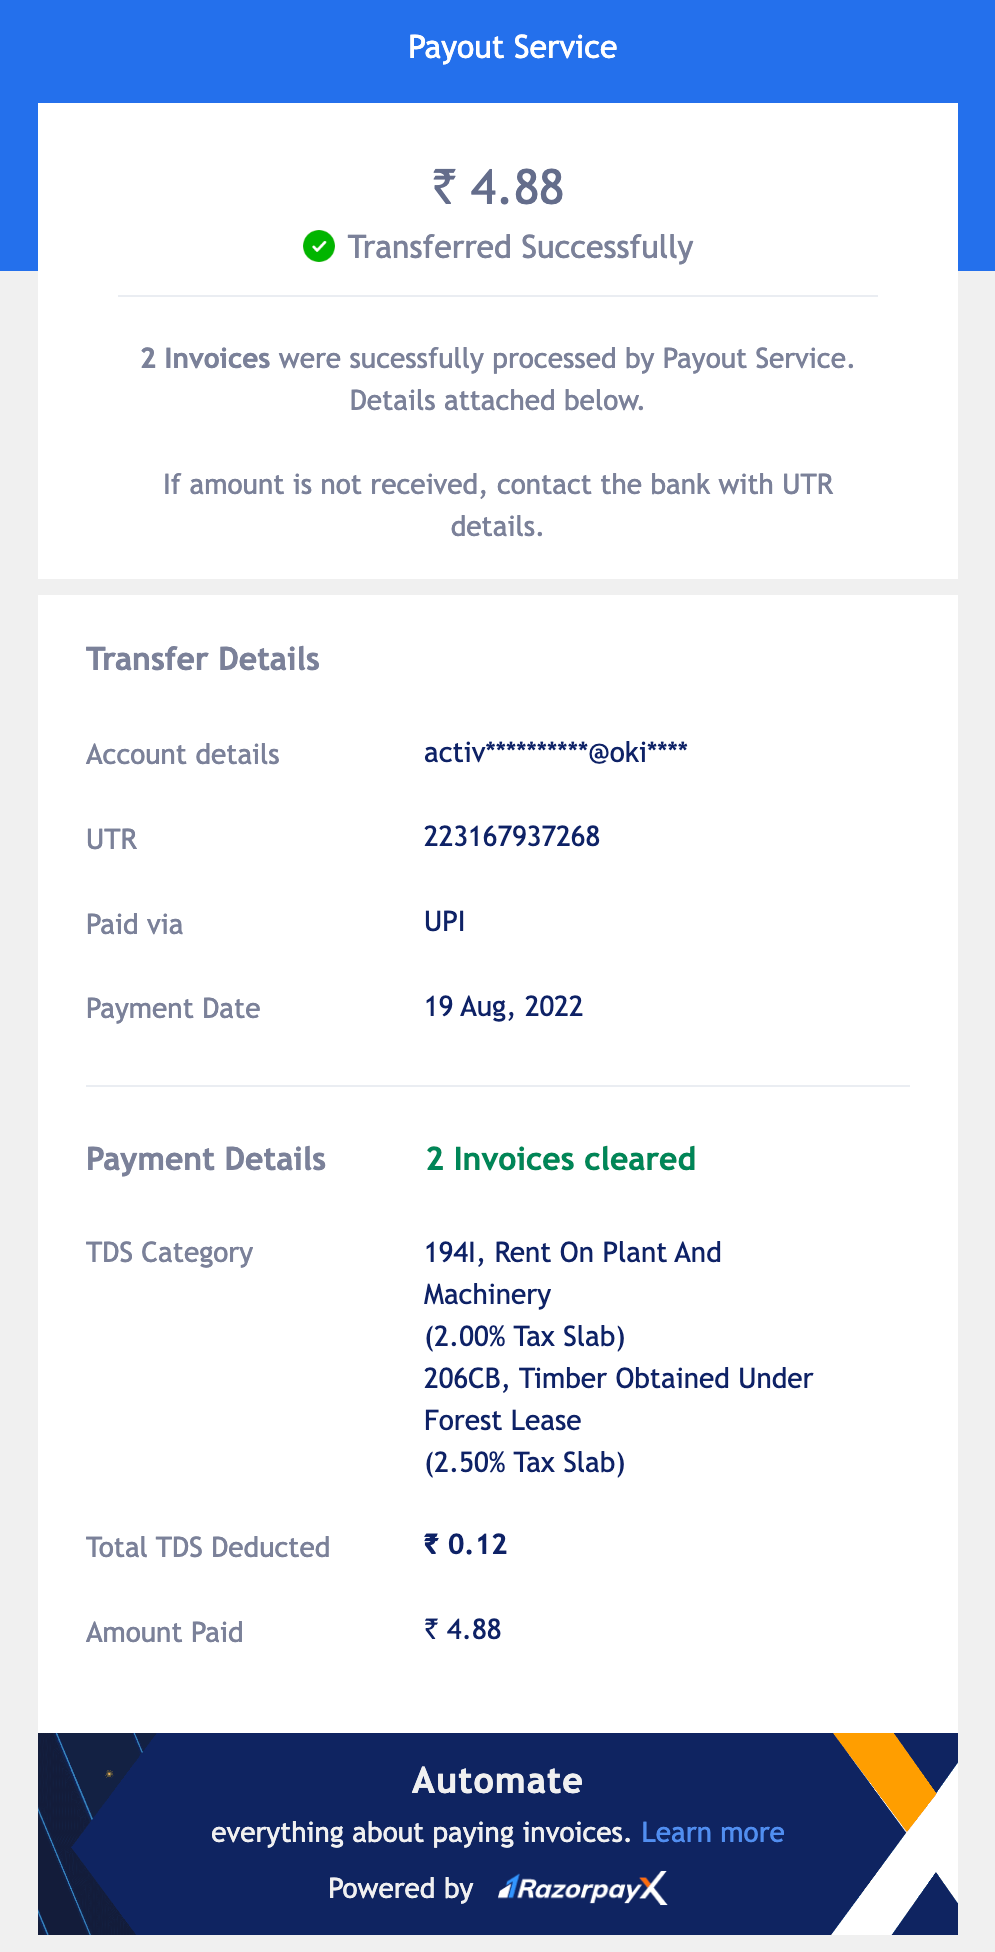
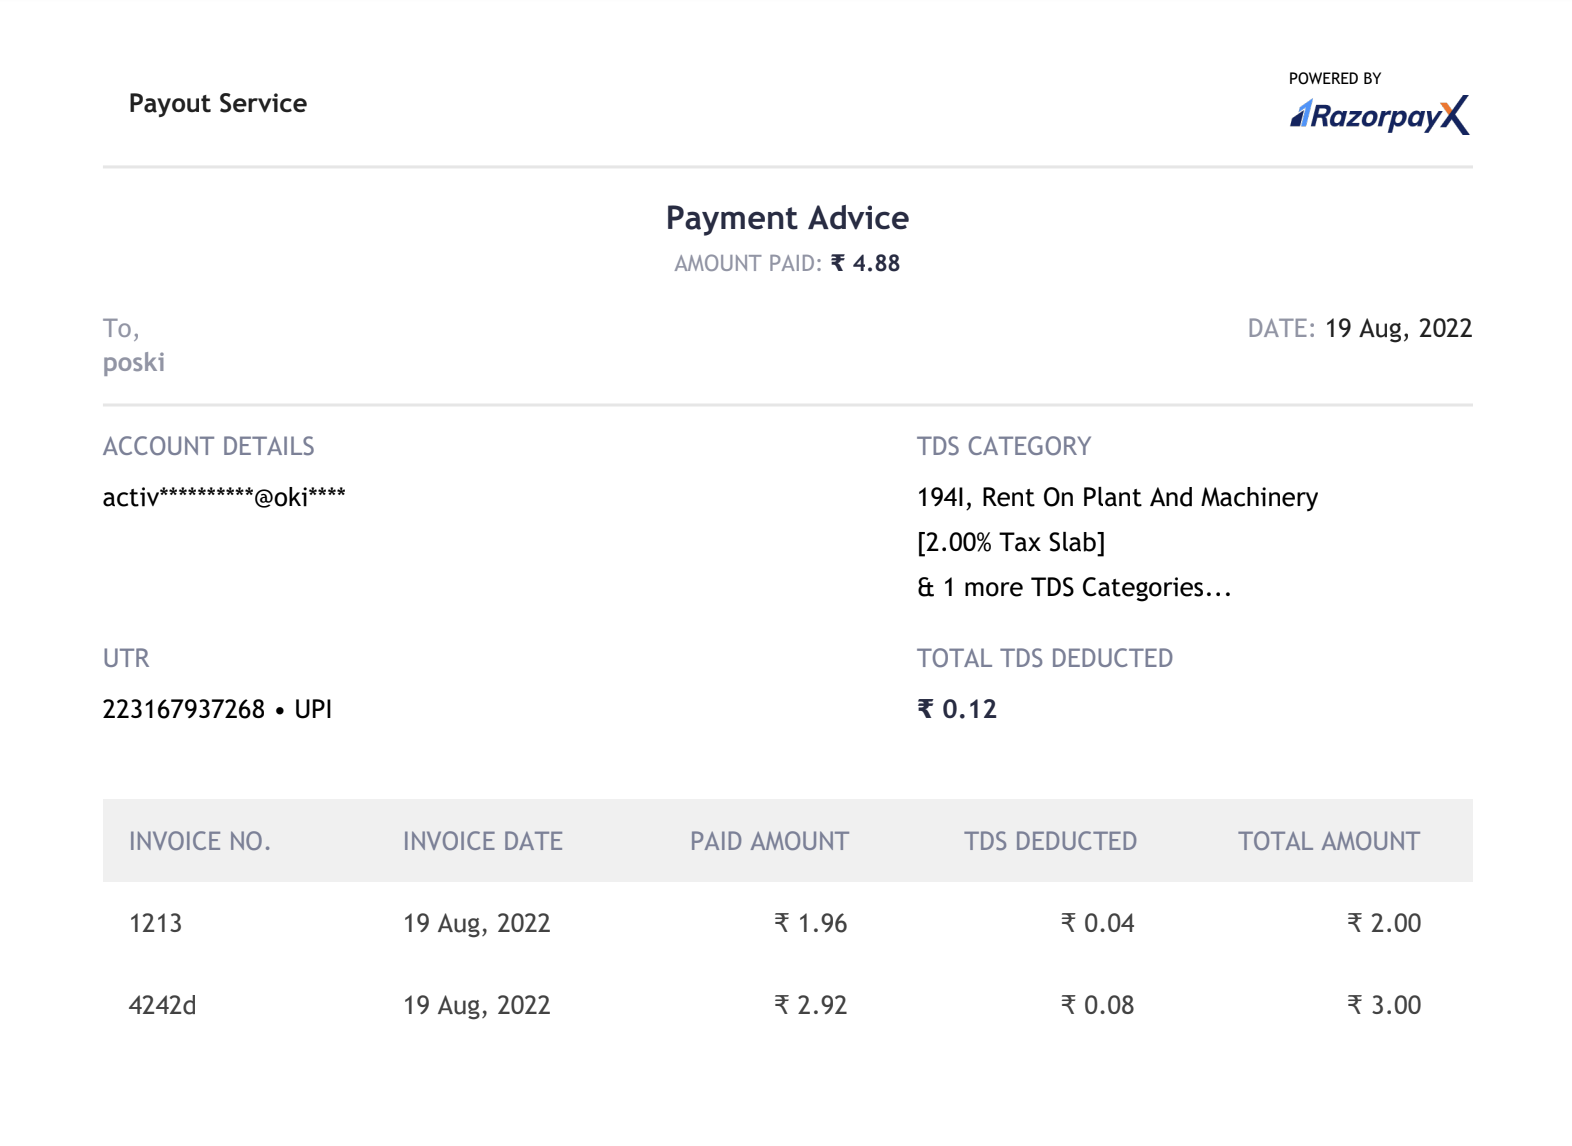
After the payment is made, the vendor receives an email with an advice which displays the total amount transferred along with a `.pdf` attachment which lists the invoice numbers, invoice date, paid amount, TDS deducted and the total amount against which the payment was made.
* Below is a sample image of tax advice sent over email.
 * Below is a sample image of the `.pdf` attached to the email.
 ### Related Information
* [Partial Payouts](/docs/x/vendor-payments/vendor-payouts/partial-payouts)
* [Scheduled Payouts](/docs/x/vendor-payments/vendor-payouts/scheduled-payouts)
* [Invoices](/docs/x/vendor-payments/invoices)
* [Invoice Life Cycle](/docs/x/vendor-payments/life-cycle)
* [Advances](/docs/x/vendor-payments/advances)
* [Purchase Orders](/docs/x/vendor-payments/purchase-order)
### Related Information
* [Partial Payouts](/docs/x/vendor-payments/vendor-payouts/partial-payouts)
* [Scheduled Payouts](/docs/x/vendor-payments/vendor-payouts/scheduled-payouts)
* [Invoices](/docs/x/vendor-payments/invoices)
* [Invoice Life Cycle](/docs/x/vendor-payments/life-cycle)
* [Advances](/docs/x/vendor-payments/advances)
* [Purchase Orders](/docs/x/vendor-payments/purchase-order)