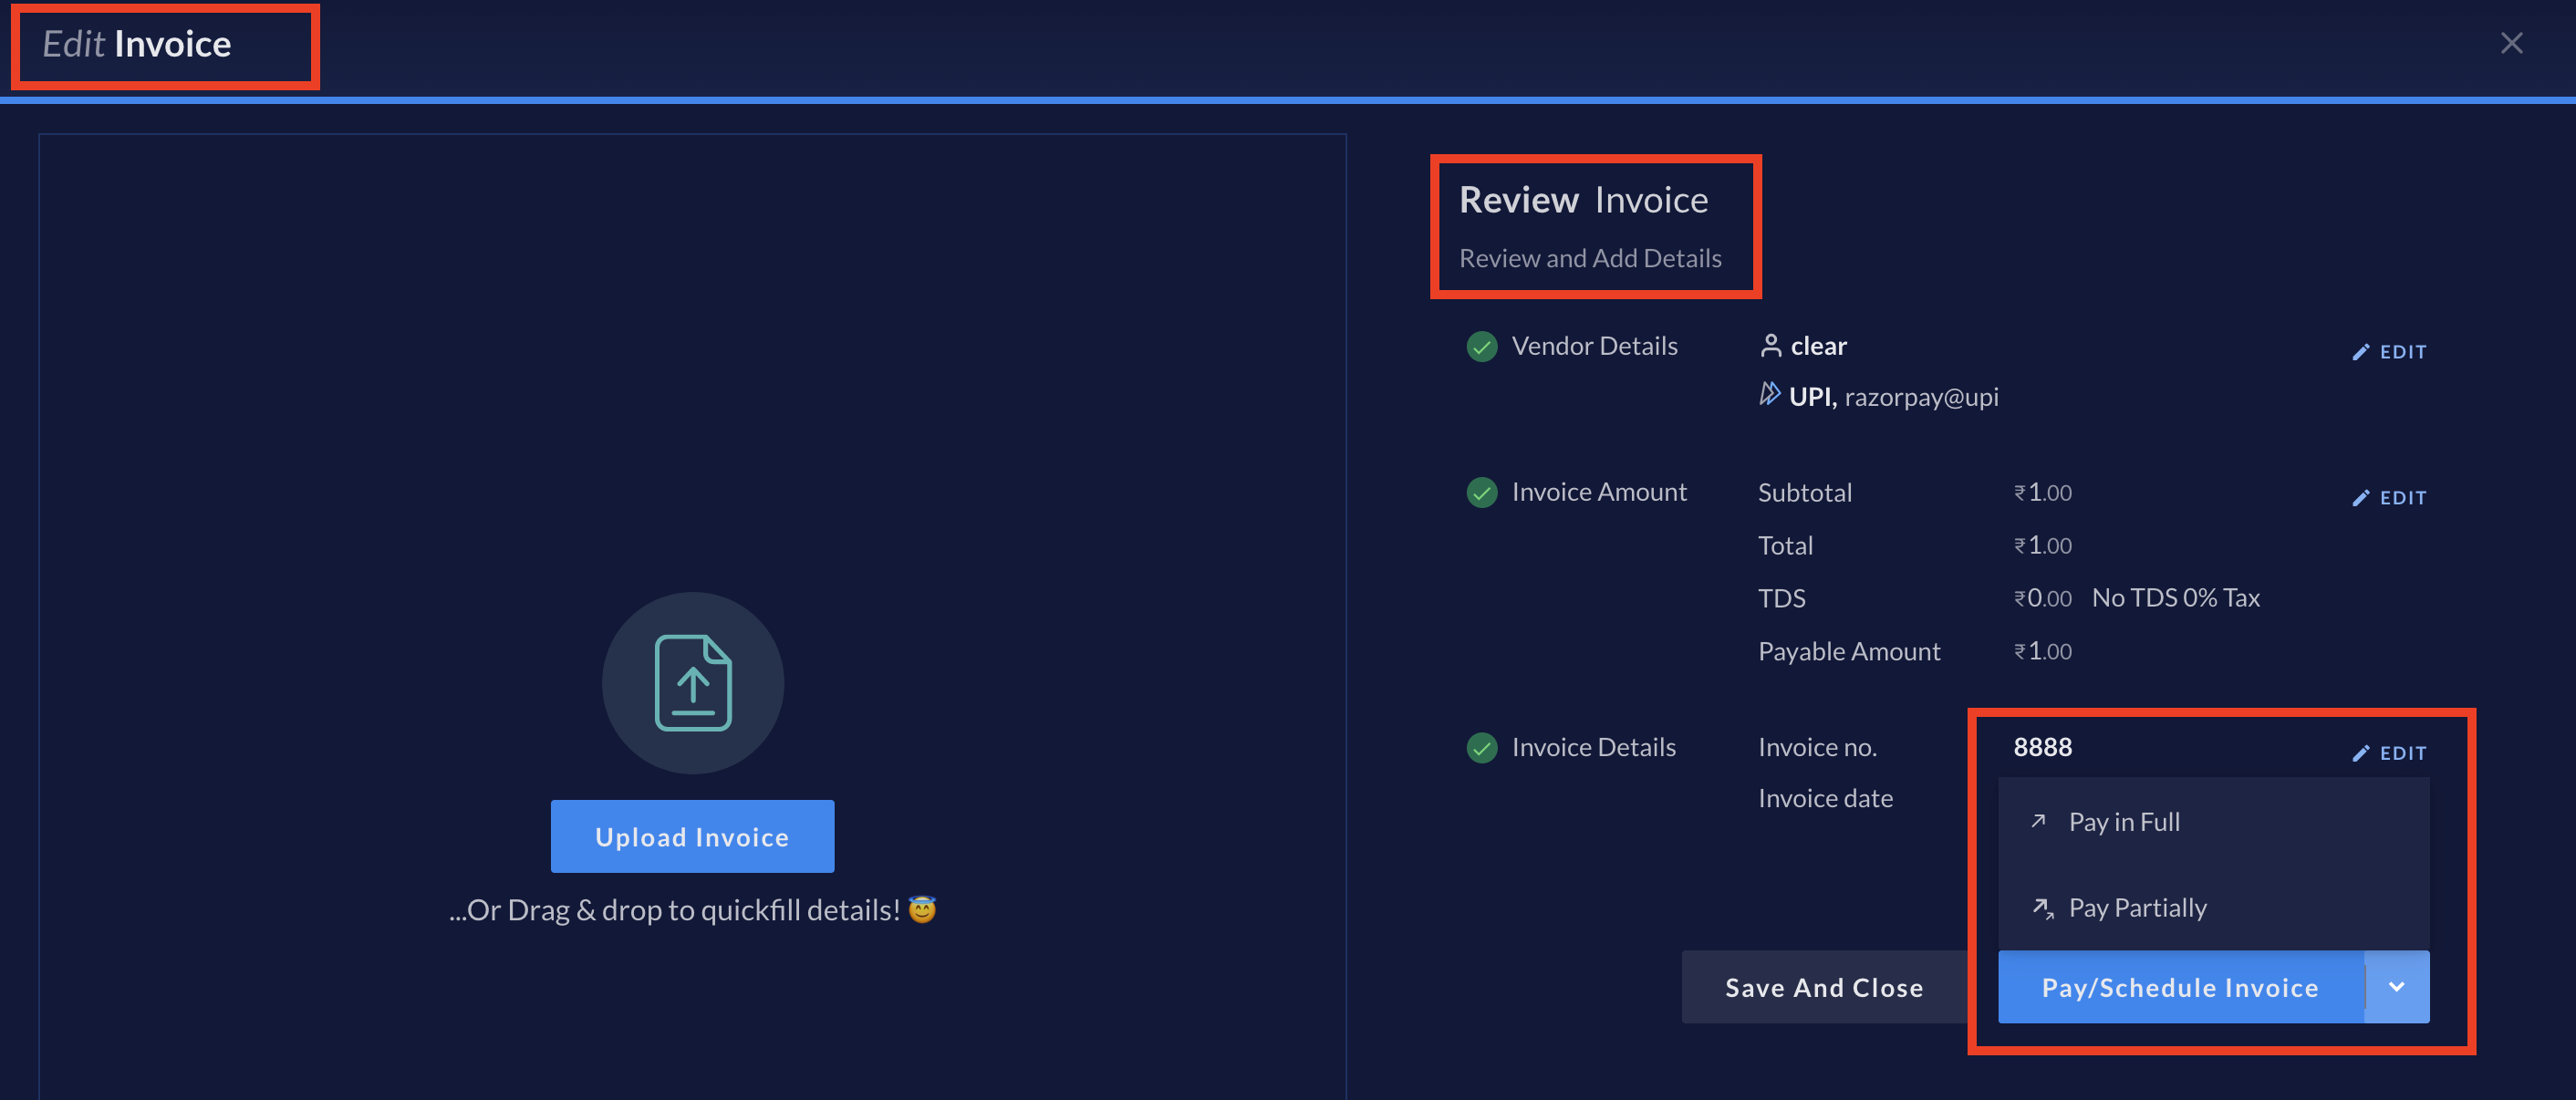
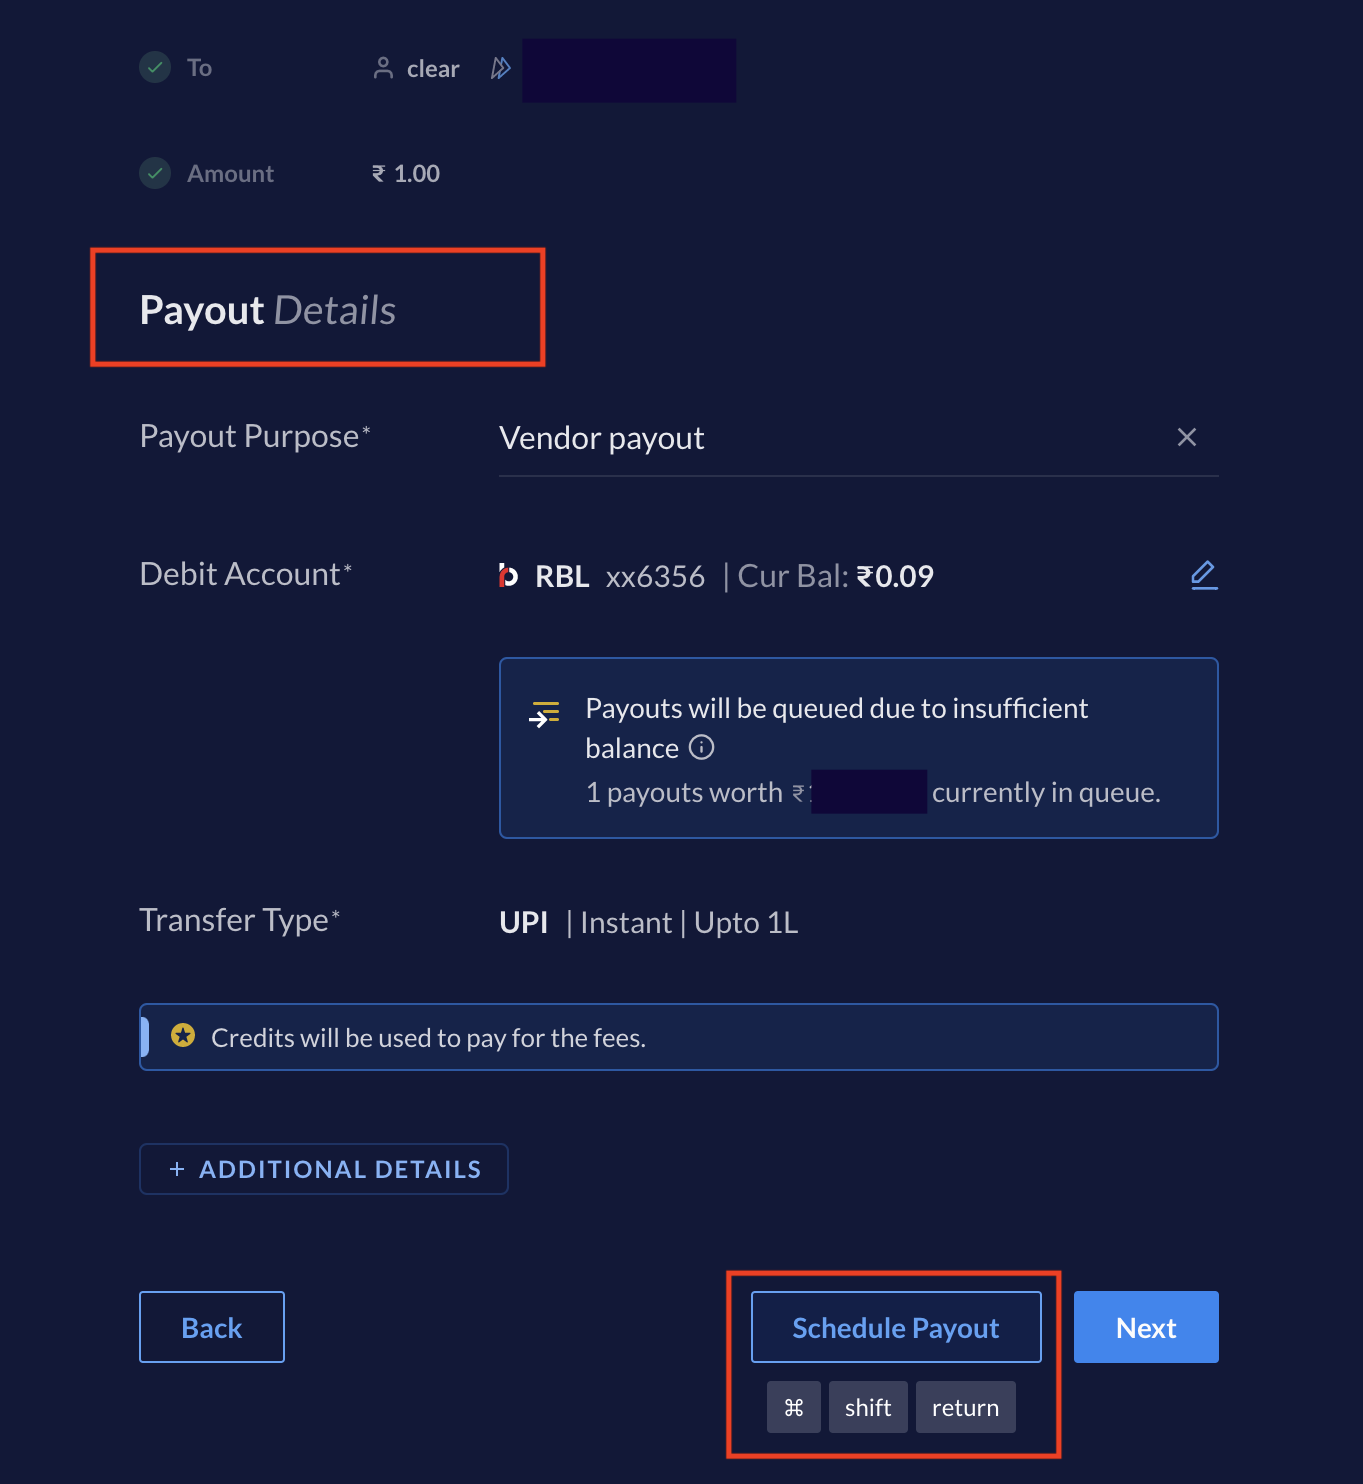
 8. It takes you to the **New Payout** window. Here you can finalise the payout details. Once done, click **Schedule Payout**, as shown.
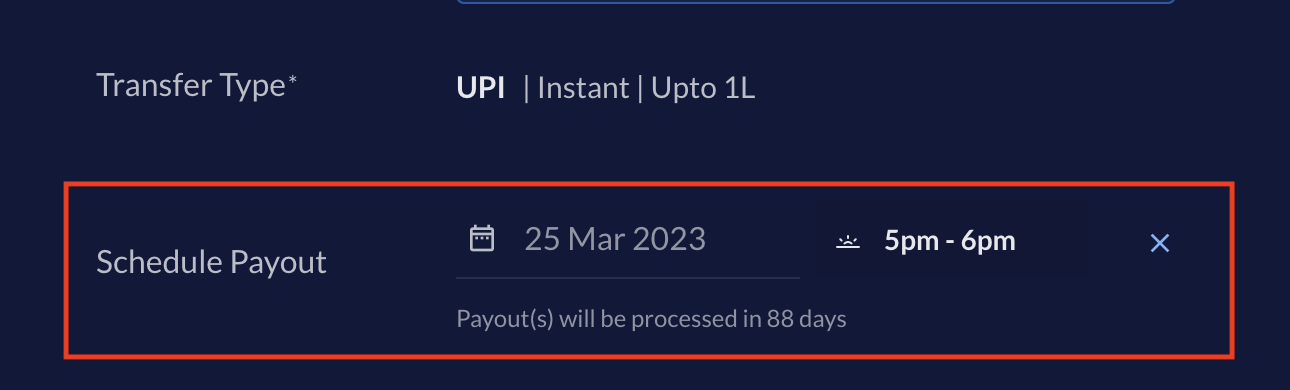
 Once you click **Schedule Payout**, you see the calendar and time options on your screen. Select the date on the calendar and also the time of day when you want RazorpayX to process your scheduled payout, as shown.
 9. Click **CONFIRM**.
10. Authenticate the transaction using OTP.
After you schedule a payout, the invoice status changes to `Scheduled`.
### Related Information
* [Bulk Payouts](/docs/x/vendor-payments/vendor-payouts/bulk)
* [Partial Payouts](/docs/x/vendor-payments/vendor-payouts/partial-payouts)
* [Invoices](/docs/x/vendor-payments/invoices)
* [Invoice Life Cycle](/docs/x/vendor-payments/life-cycle)
* [Advances](/docs/x/vendor-payments/advances)
* [Purchase Orders](/docs/x/vendor-payments/purchase-order)
9. Click **CONFIRM**.
10. Authenticate the transaction using OTP.
After you schedule a payout, the invoice status changes to `Scheduled`.
### Related Information
* [Bulk Payouts](/docs/x/vendor-payments/vendor-payouts/bulk)
* [Partial Payouts](/docs/x/vendor-payments/vendor-payouts/partial-payouts)
* [Invoices](/docs/x/vendor-payments/invoices)
* [Invoice Life Cycle](/docs/x/vendor-payments/life-cycle)
* [Advances](/docs/x/vendor-payments/advances)
* [Purchase Orders](/docs/x/vendor-payments/purchase-order)