Available in🇮🇳 India🇸🇬 Singapore🇺🇸 United States
Sign up for a Razorpay account to start accepting customer payments using our products.
1. Sign Up
Set up an account to use Razorpay products to accept customer payments.
You can also set up multiple accounts with the same mobile number and email id.
You can also set up multiple accounts with the same mobile number and email id.
2. Submit KYC
Submit your KYC documents to get your account verified and get the payments settled in your account.
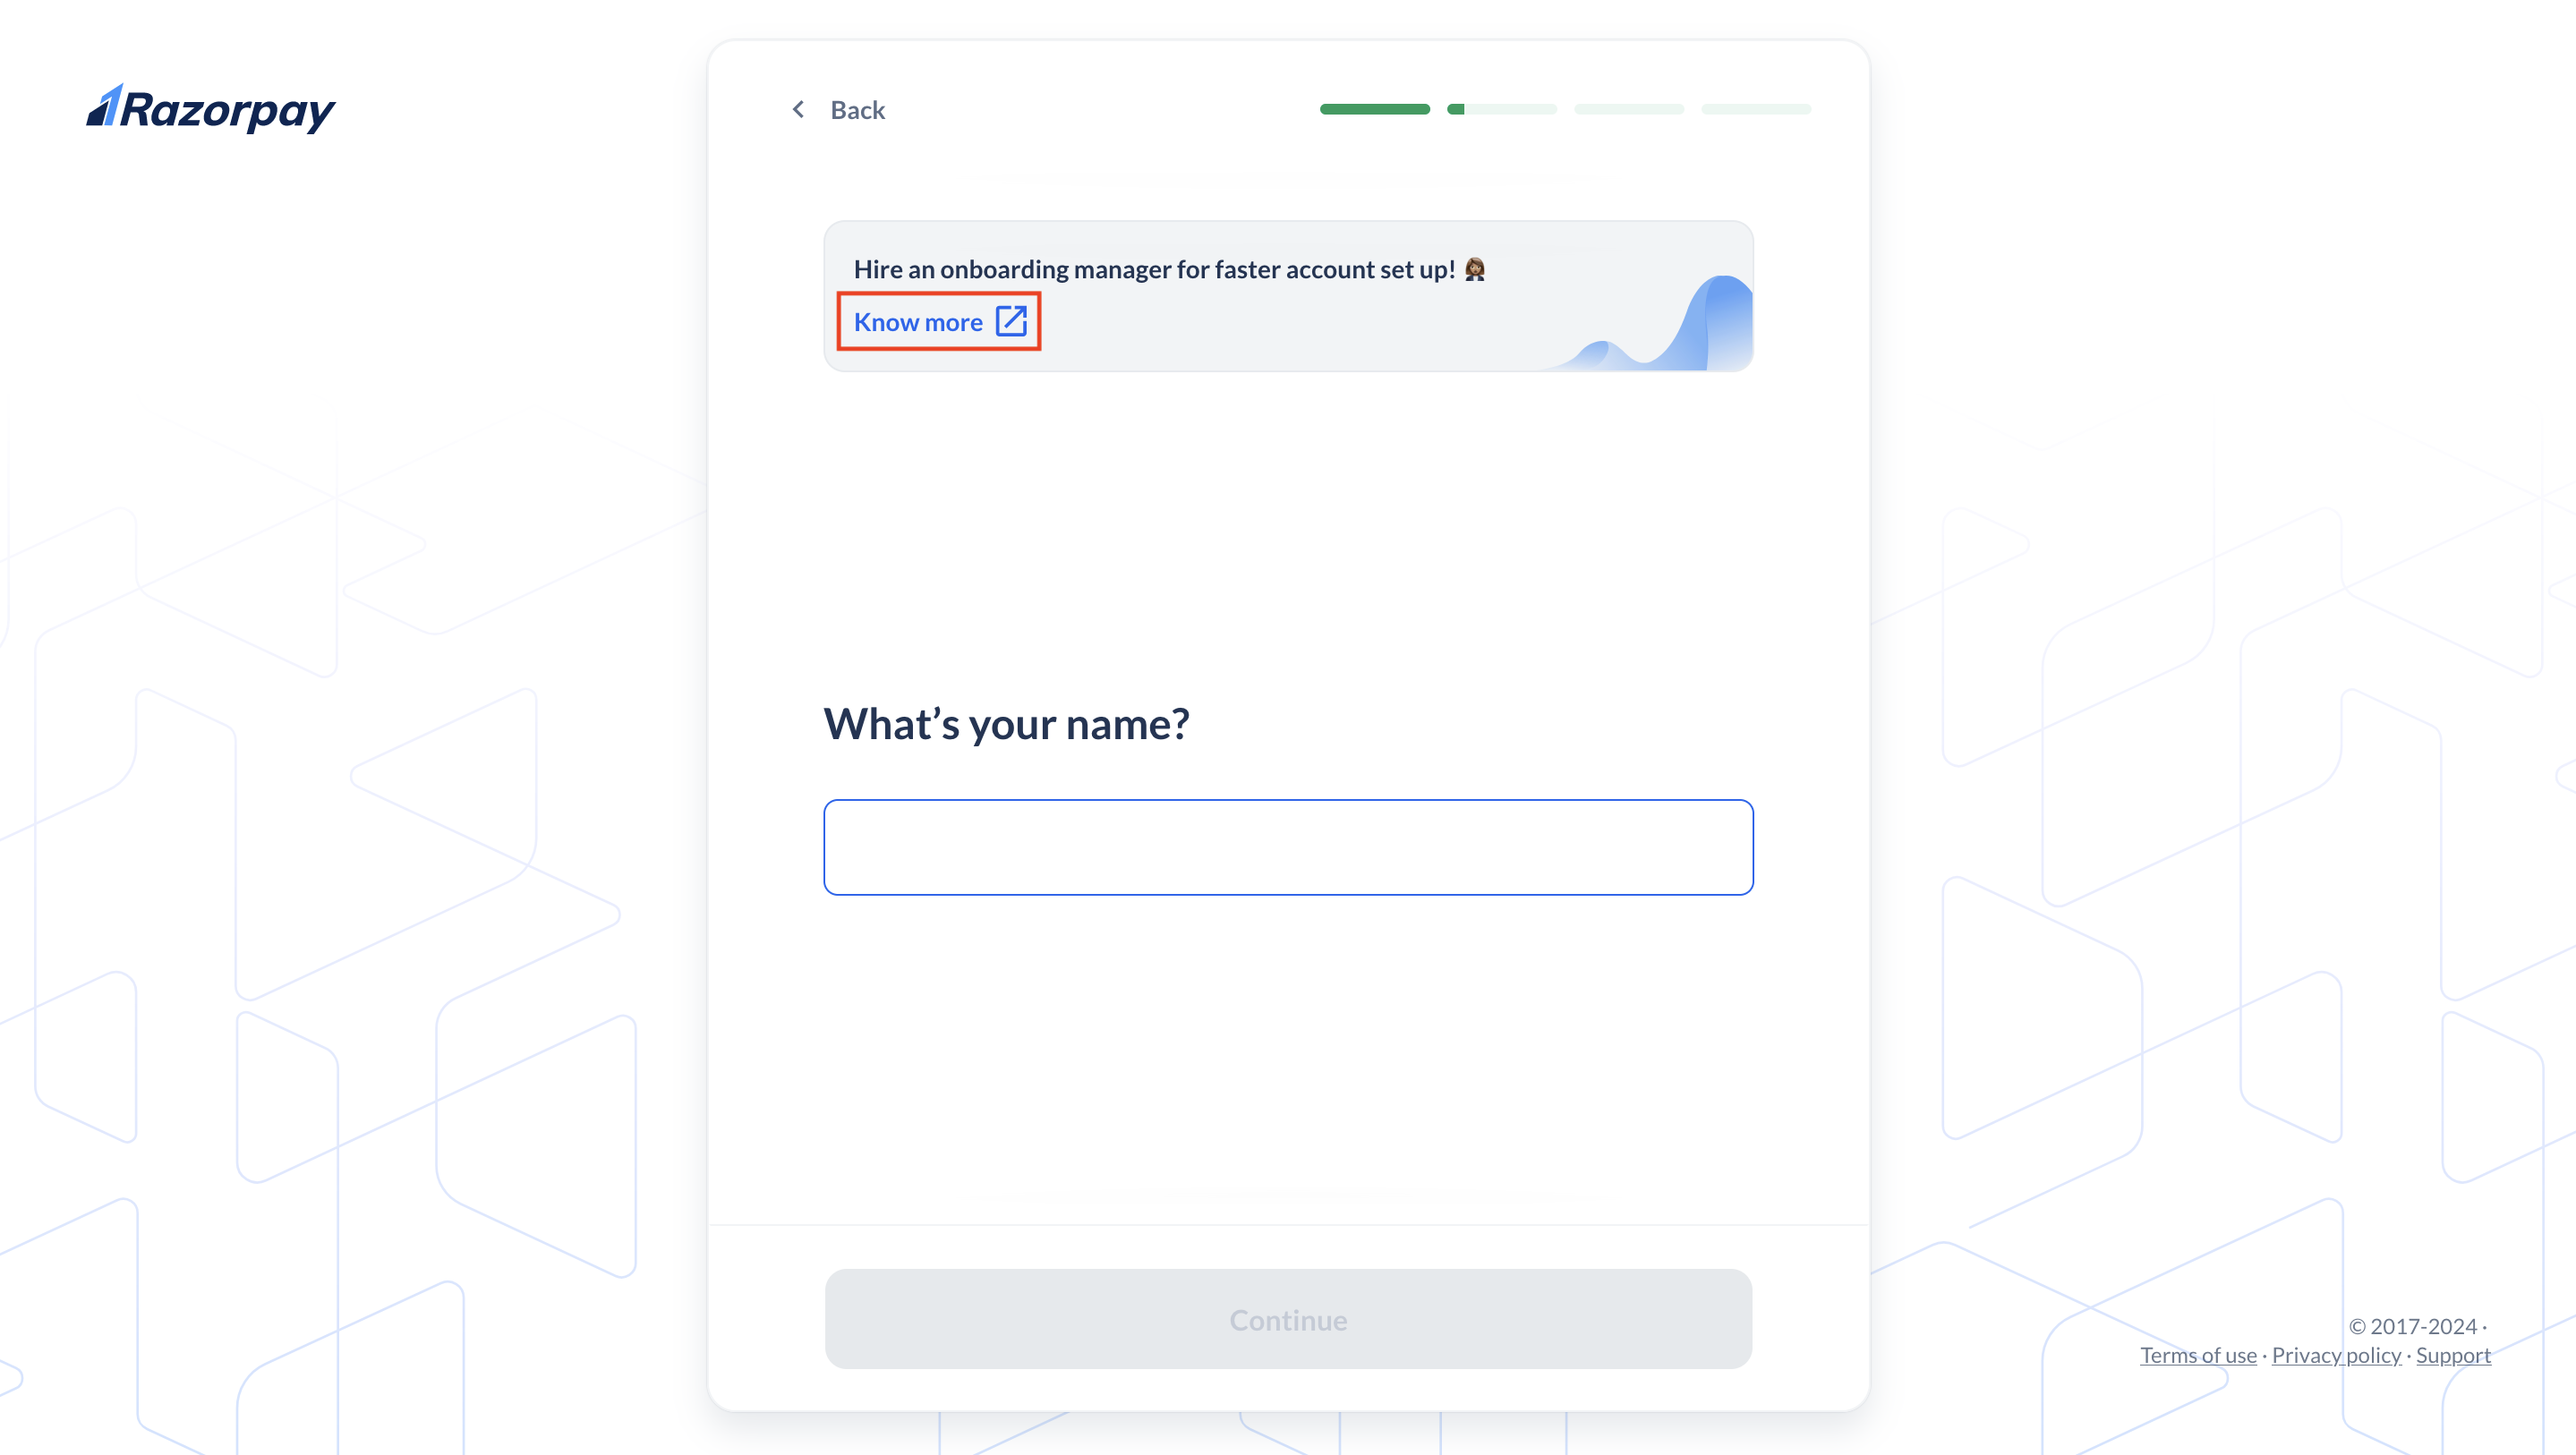
Assisted OnboardingHire a dedicated onboarding manager for an additional fee to assist you through your onboarding journey. The onboarding manager will provide end-to-end assistance, from sign-up and KYC document submission to verification and account activation. Know more about Assisted Onboarding.
1. Sign Up
To set up a Razorpay Account, go to the Razorpay website and click Sign Up. Follow these steps for a smooth sign up process:Contact Details
Contact Details
Provide your contact details to get started:
- Enter your Mobile Number.
- Click Send OTP.
- Enter the OTP sent to your mobile number. If you did not receive the OTP, click Resend OTP.
- Click Submit OTP.
- Enter your Name and click Continue.
Business Details
Business Details
Provide the following business details:
- Enter your Brand Name. This should be the name of your business that your customers recognise.
- Click Continue.
Communication Details
Communication Details
Provide details to receive account updates:
- Enter your email id to receive account updates on your email and click Send OTP.
- Enter the OTP sent to your email id and click Continue.
After Your Account is Created
- You can accept payments using a range of products after KYC completion.
- You can access the Test mode on the Dashboard to test and experience the products offered by Razorpay. Test mode does not involve actual money transactions.
- You have to generate separate API keys for Live and Test modes. Know more about API Keys.
2. Submit KYC Details
Upon creating an account, you can start accepting payments from customers once your KYC is completed. The operations team will subsequently contact you to activate your account. After Successful Activation- Accept payments without any amount limits.
- Razorpay will automatically settle payments in your bank account as per your settlement cycle.
- Request for other payment methods.
Set Up Multiple Accounts
As a business owner, you may need different accounts for different kinds of work. However, it is challenging to obtain a new mobile number each time you want to set up an account. With Multi-Account, you can set up different accounts using the same mobile number and email id as your existing account.Example
Assume Alex is a Singaporean business owner who has an account with Razorpay using Mobile Number:+6591119111 and Email Id: alex.lim@example.com.
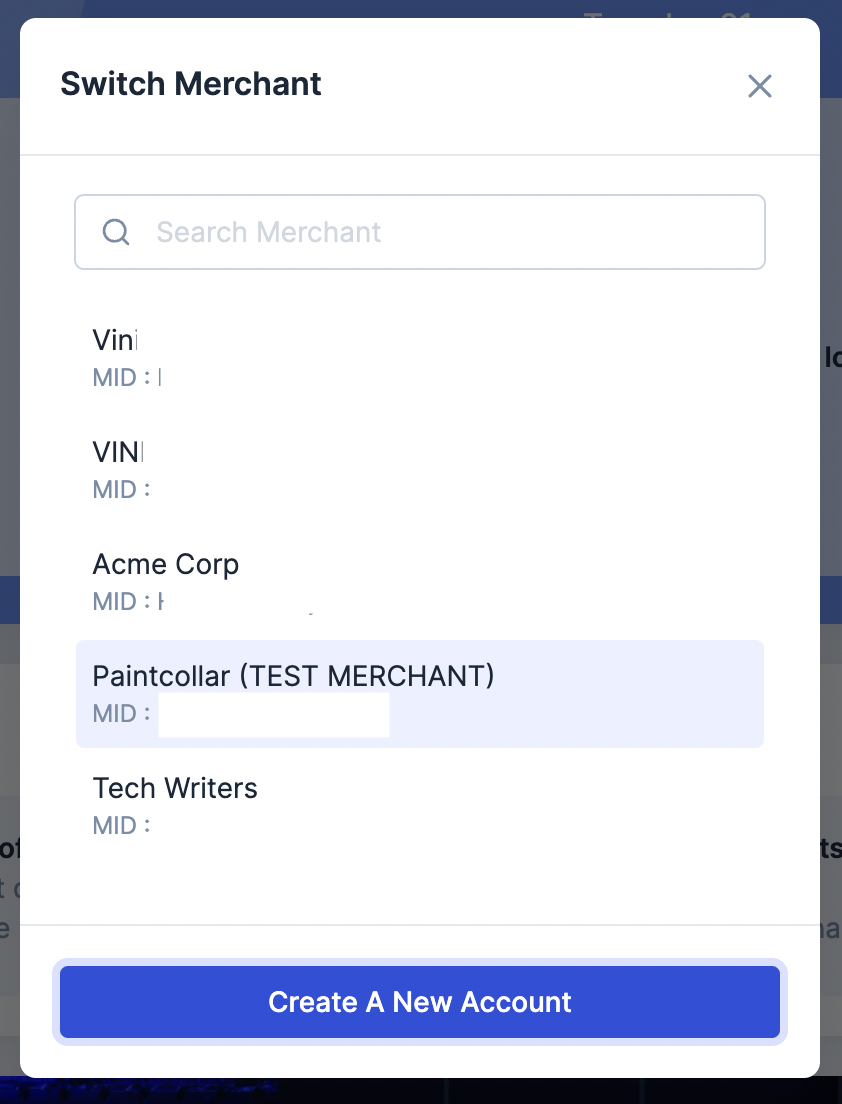
Alex uses Multi-Account feature to set up another account. Razorpay will use the same number and email id as shown above to set up the other account. This will work in a similar way in your respective country.
Set up Another Account Using Website
Set up Another Account Using Website
- Go to the website and click Sign Up.
- Enter your mobile number or email id and click Continue.
- Enter the OTP sent to your registered mobile number and click Verify.
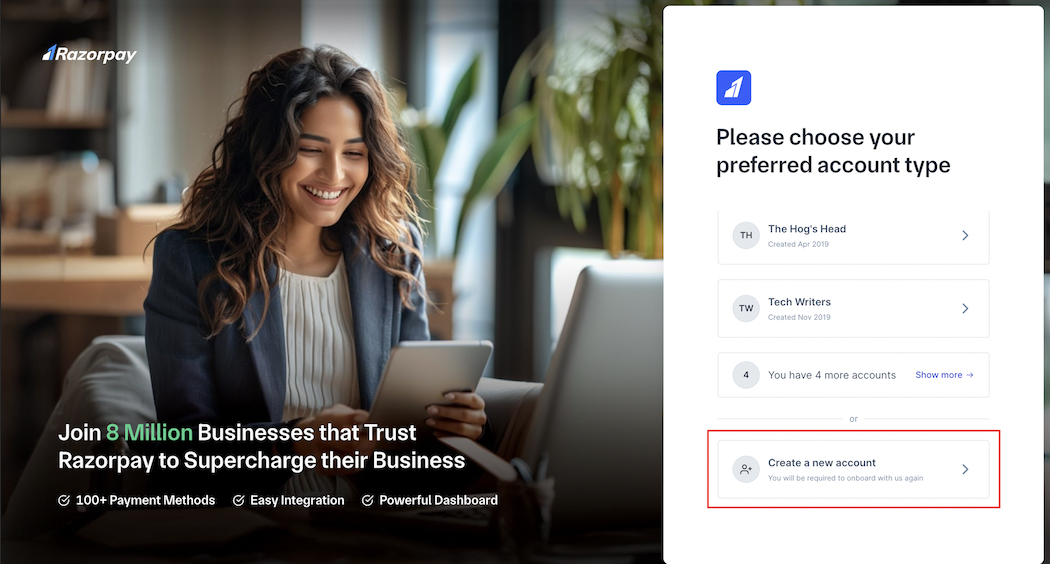
- All the accounts linked to the entered number/email is are displayed. Click Create a new account.
- Select the country and click Verify.
- Your existing number and email id is already registered with the new account. Enter your name and continue with Sign Up and KYC.
Assisted Onboarding
Why Hire an Onboarding Manager
Why Hire an Onboarding Manager
- Dedicated onboarding manager: Receive personalised support with a dedicated onboarding manager assigned to you within 1 hour.
- Swift account activation: Get your account activated within 8 business hours and start accepting payments via Razorpay.
- End-to-end assistance: Receive comprehensive support until you complete your first transaction, addressing any queries throughout the process.
How to Hire an Onboarding Manager
How to Hire an Onboarding Manager
- On the Razorpay sign-up page, sign up using your mobile number.
- Click Know more under Hire an onboarding manager for faster account set up!. Complete the payment.