

Available in🇮🇳 India
Generate and process Linked Accounts and Transfers in bulk (batches) by uploading a batch file in the Dashboard. This simplifies the process of creating these individually.
Create Batches
To create batches:- Download the sample file from the Dashboard.
- Update the file with the required information.
- Upload the file back to the Dashboard.
Actions Using Batches
You can perform the following actions using batch upload:Batch Upload Statuses
The following table lists the upload statuses and their description.Create Linked Accounts via Batch Upload
You can create multiple linked accounts in bulk by uploading a batch file on the Dashboard. Watch this video to see how to create Linked Accounts in bulk using a batch file.To create Linked Accounts using batch upload:
To create Linked Accounts using batch upload:
- Log in to the Dashboard and click Route under PAYMENT PRODUCTS.
- Click Batch Upload.
- Hover on Upload New Batch and click Linked Accounts. The Batch Upload pop-up page appears.
- Click download sample file to download the sample file.
- Update and save the file with the following details. Refer to the Linked Accounts Batch Fields section for more information.
account_nameaccount_emaildashboard_accesscustomer_refundsbusiness_namebusiness_typeifsc_codeaccount_numberbeneficiary_name
- Upload the updated file to the Dashboard in the Batch Upload pop-up page.
- Verify the details and enter the file name in the BATCH FILE NAME text box.
- You can choose to process the file immediately or schedule it for later.
- Click Create.
Linked Account Batch Fields
Linked Account Batch Fields
The following table lists the fields required to create linked accounts and their description.
Download the sample input file of the Linked Account creation for reference.
Batch File After Processing
Batch File After Processing
Once a batch file is processed, you can view and download the processed file from the Dashboard. Click the Batch Id to view the details and click Download to download the file. Information such as the uploaded rows, successfully processed and failed rows are displayed in the file.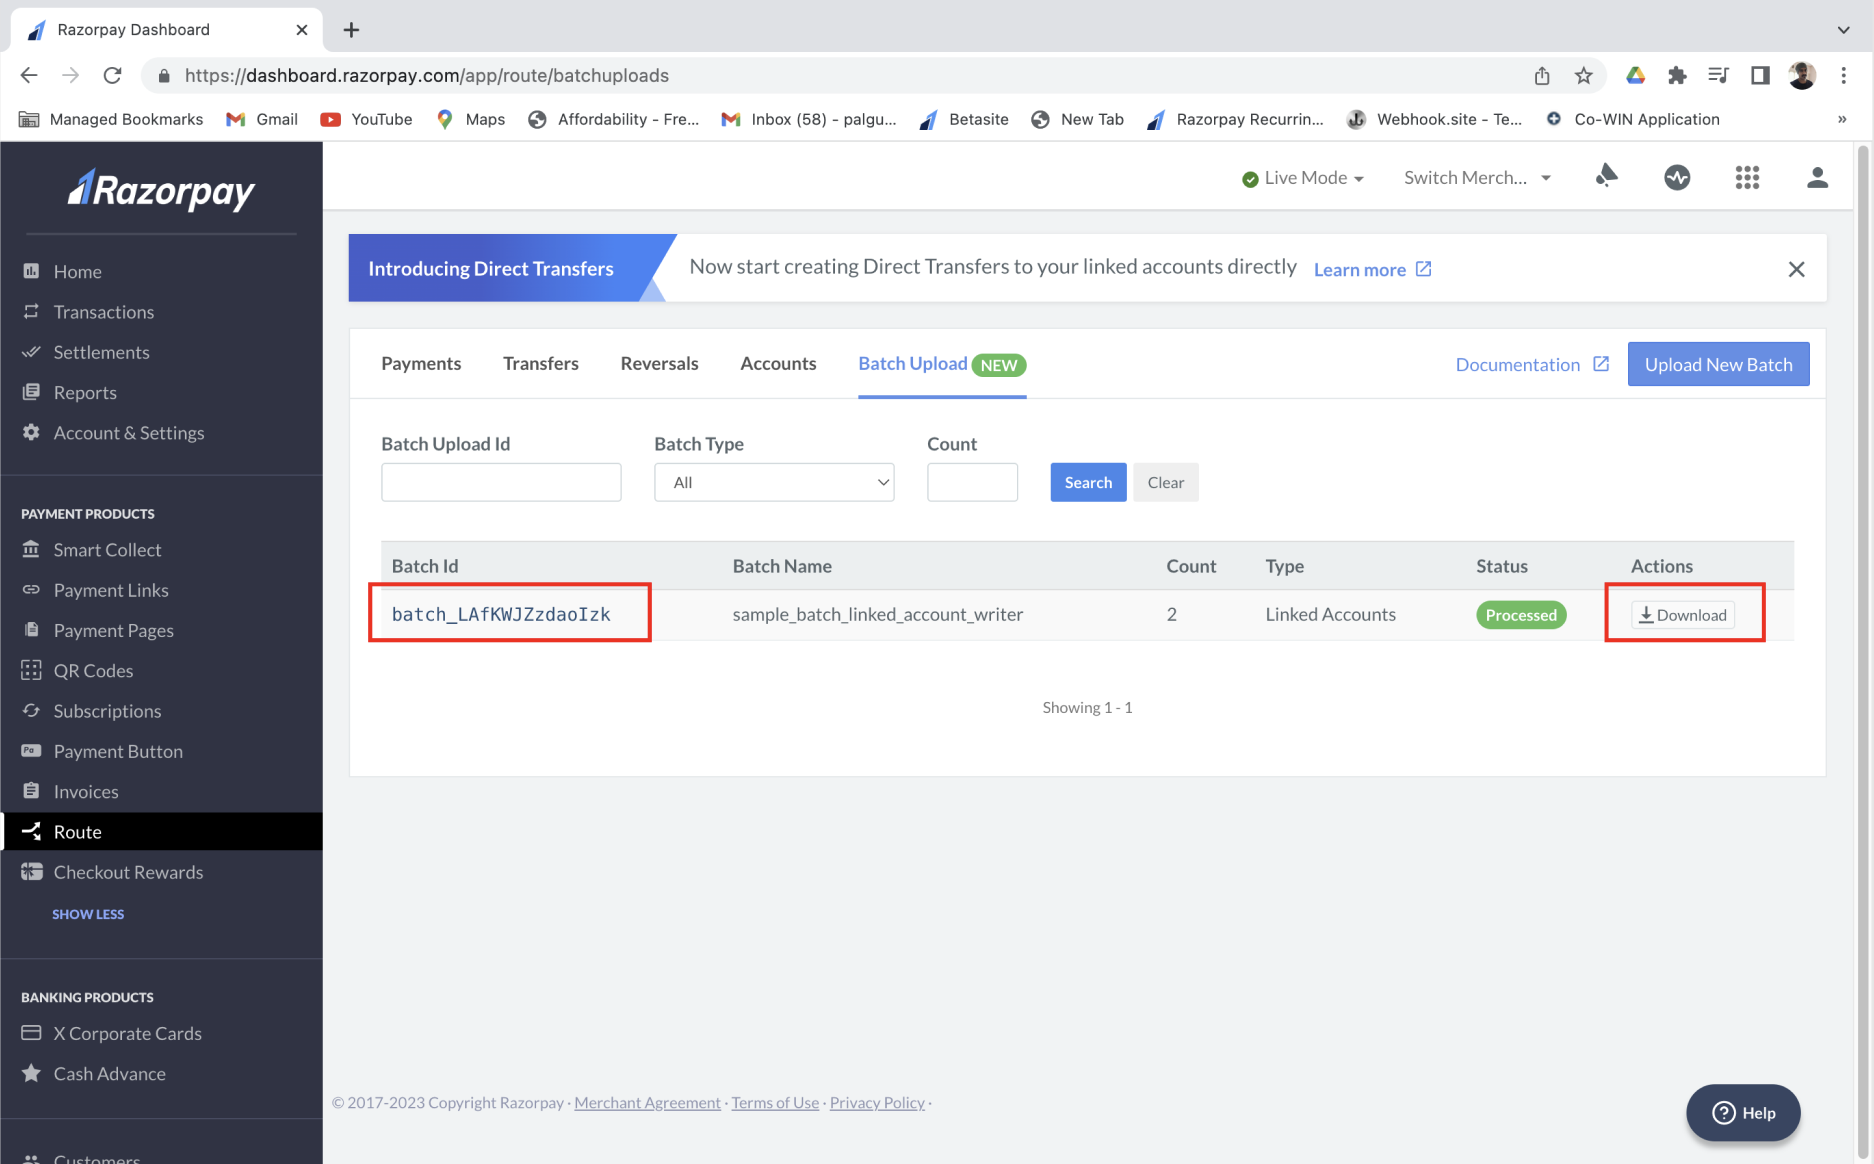 The downloaded file has the following additional fields that provide information about the created linked accounts or the reason for failure.
The downloaded file has the following additional fields that provide information about the created linked accounts or the reason for failure.Create Transfers via Batch Upload
You can create transfers to Linked Accounts in bulk by uploading a batch file with the required details. Watch this video to see how to create transfers to linked accounts in bulk using a batch file.To create Transfers in bulk:
To create Transfers in bulk:
- Log in to the Dashboard and click Route under PAYMENT PRODUCTS.
- Click Batch Upload.
- Hover on Upload New Batch and click Transfers. The Batch Upload pop-up page appears.
- Click download sample file to download the sample file.
- Update and save the file with the following details. Refer to the Transfers Batch Fields section for more information.
payment_idaccount_idamountcurrencytransfer_noteslinked_account_noteson_holdon_hold_until
- Upload the updated file to the Dashboard in the Batch Upload pop-up page.
- Verify the details and enter the file name in the BATCH FILE NAME text box.
- You can choose to process the file immediately or schedule it for later.
- Click Create.
Transfers Batch Fields
Transfers Batch Fields
The following table lists the fields required to create transfers and their description.
Download the sample input file of Transfers creation for reference.
Batch File After Processing
Batch File After Processing
Once a batch file is processed, you can view and download the processed file from the Dashboard. Click the Batch Id to view the details and click Download to download the file. Information such as the uploaded rows, successfully processed and failed rows are displayed in the file.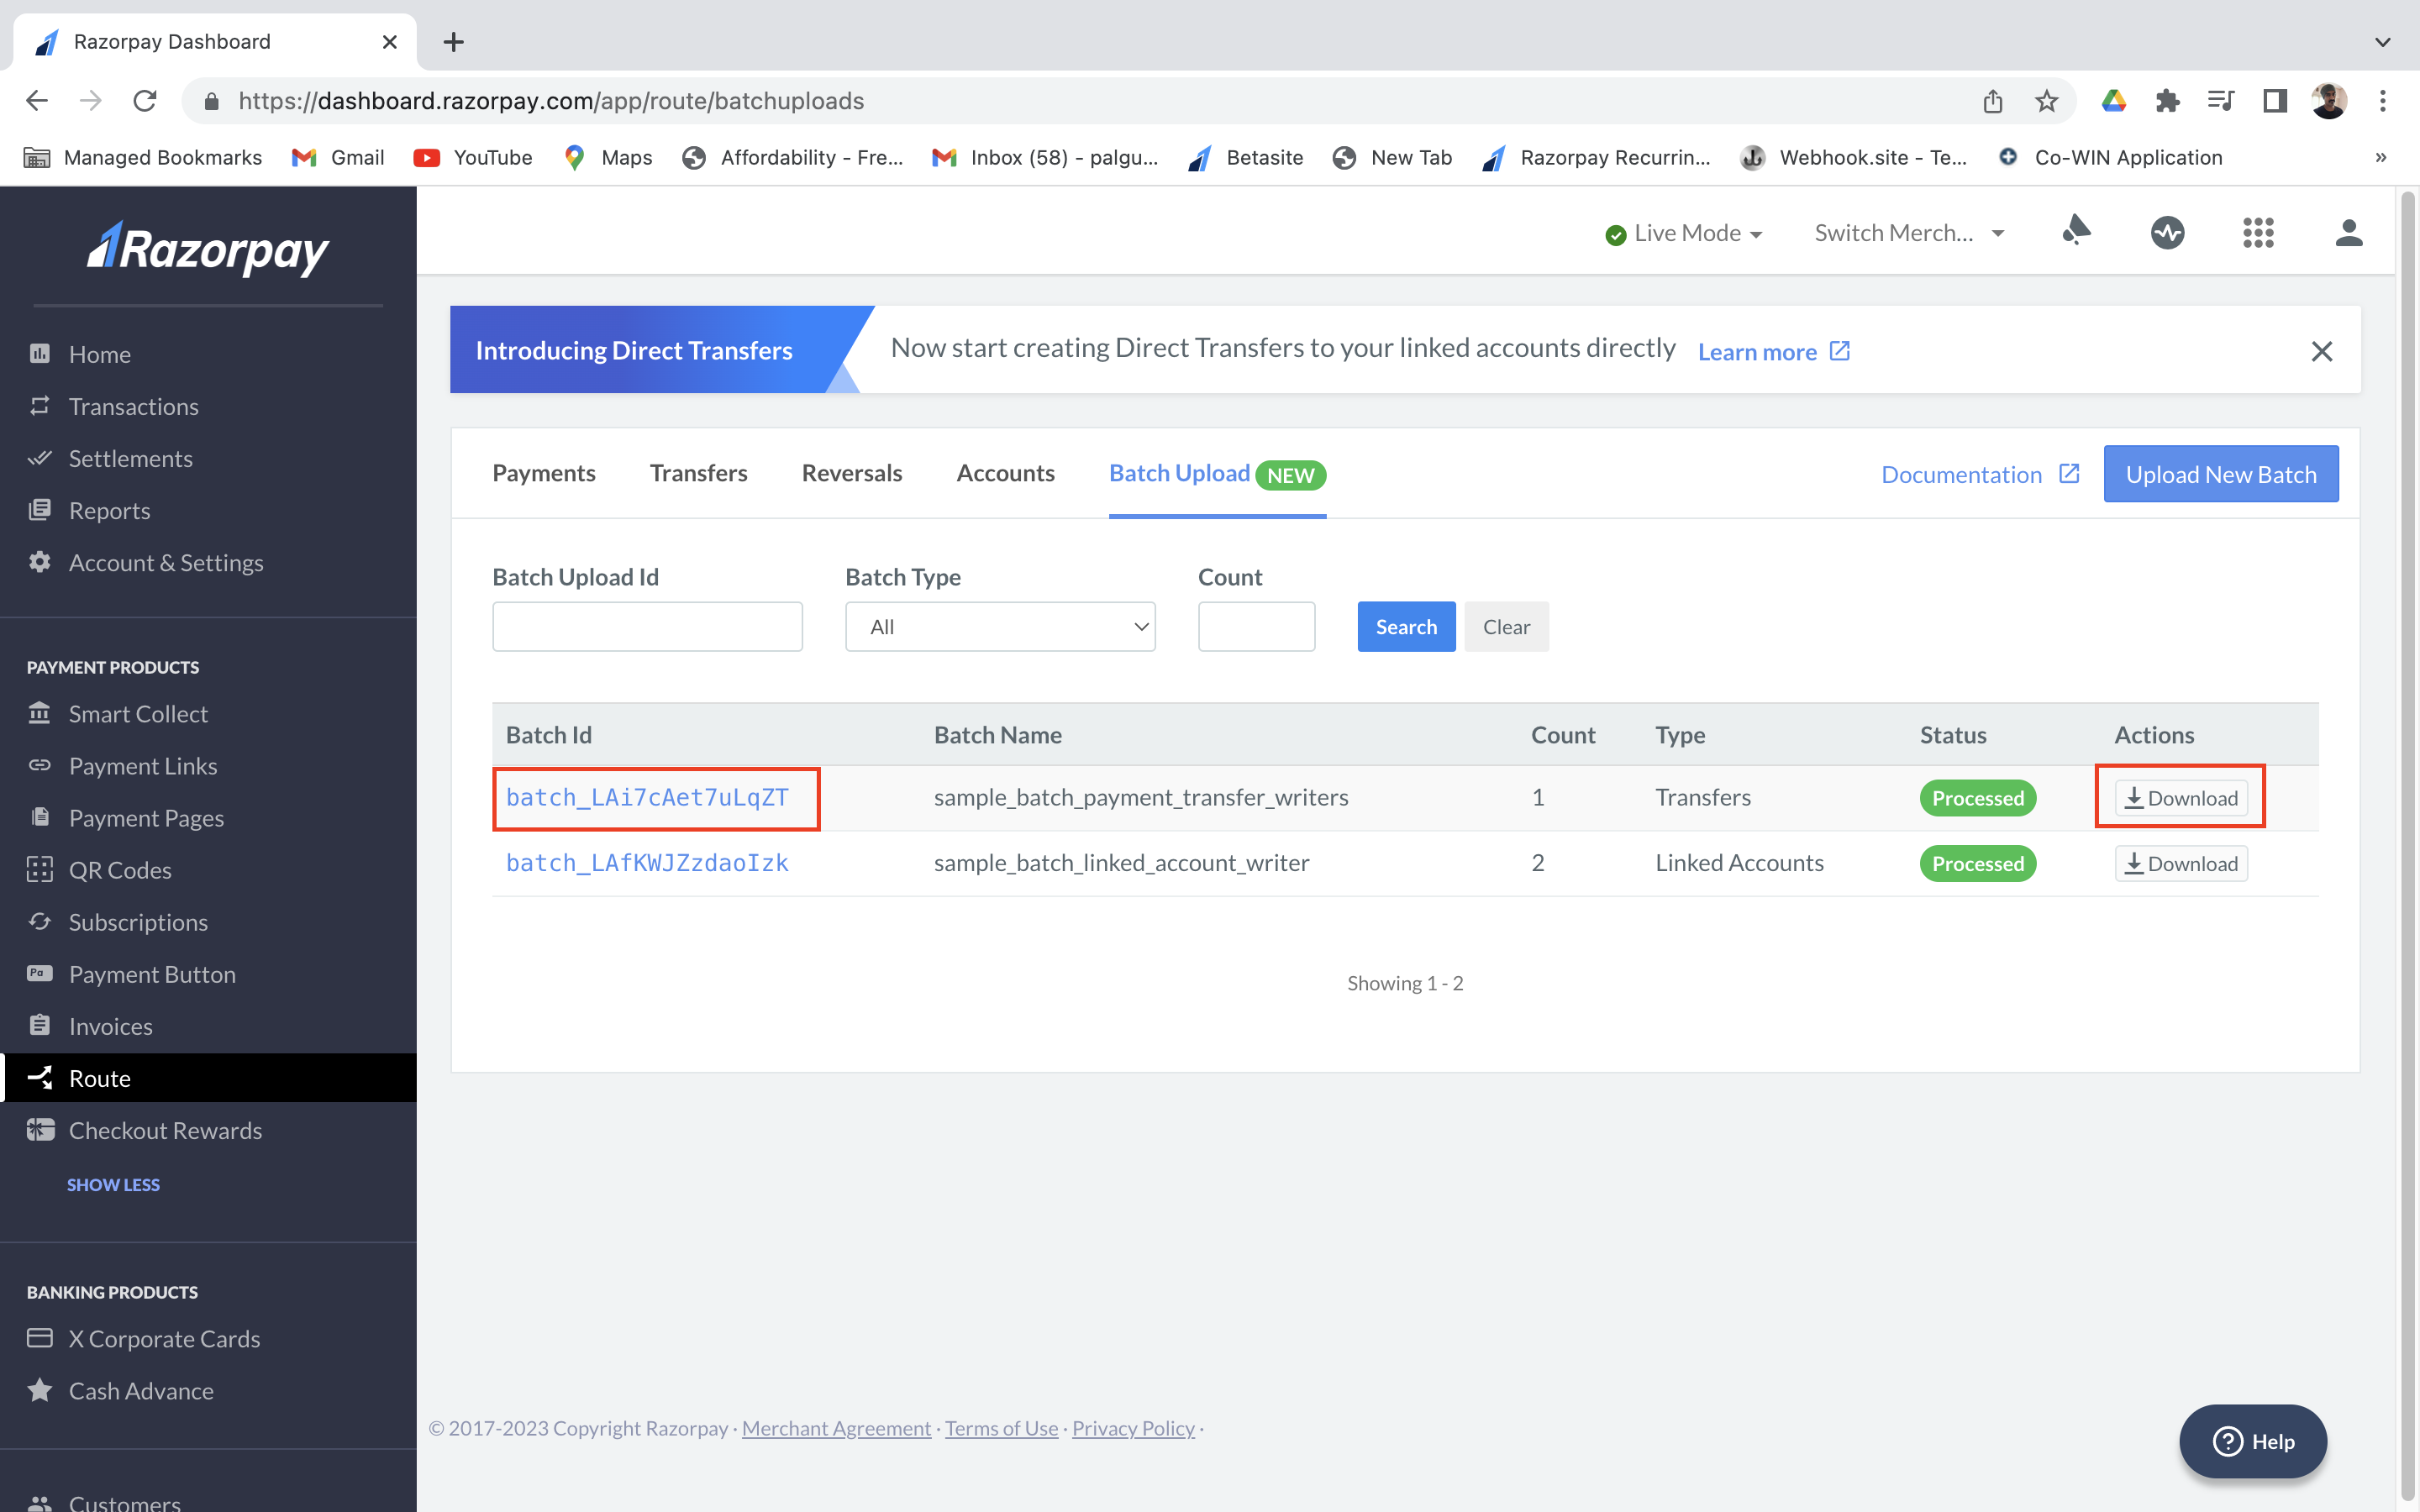 The downloaded file has the following additional fields that provide information about the created transfers or the reason for failure.
The downloaded file has the following additional fields that provide information about the created transfers or the reason for failure.View all Batches
The Batch Upload section in the Dashboard displays the following fields:
The Batch Upload section in the Dashboard displays the following fields:
You can also search for the required batch file using the following search options:
- Batch Upload Id: This option allows you to search using the upload ID.
- Batch Type: This option lets you search using batch type. Select the required type from the Batch Type list.
- Count: This option allows you to search using the number of rows uploaded.
Schedule a Batch
You can choose to process the batch upload immediately or schedule it for later.To schedule a batch:
To schedule a batch:
- Log in to the Dashboard and click Route under PAYMENT PRODUCTS.
- Click Batch Upload.
- Hover on Upload New Batch and click the required batch type. The Batch Upload pop-up page appears.
- Click download sample file to download the sample file.
- Update the file with the required details.
- Upload the updated file to the Dashboard in the Batch Upload pop-up page.
- Select Schedule for Later and select the date and time you want to start the batch upload.
- Click Create.
Errors During and After Batch Upload
Errors During Upload
Errors During Upload
If any error happens in the data rows during the upload step, it will be displayed on the screen. You can also download the report from the Dashboard that contains errors and their reasons. This helps you to fix the errors and upload the file.Some of the common errors during upload are:
- Same file uploaded multiple times
- Uploaded file type not supported
Errors After Upload
Errors After Upload
A processed batch file does not necessarily mean that all linked accounts and transfers were created successfully. Few rows may not get created because of certain issues in the entered data.Download the Batch Report that contains the following additional fields to help you check if a link was issued for a row or not.