

How can I add my business logo on the Webstore?
How can I add my business logo on the Webstore?
- In the Dashboard, navigate to Account & Settings.
- Click Branding under Checkout settings, and click Choose File in the Your Logo section.
- Upload the logo file. Ensure that the logo is a square image of minimum dimensions 256x256 px. Maximum file size allowed is 1MB. Formats supported are JPG, JPEG and PNG.
How can I make the Webstore elements reflect my brand colors?
How can I make the Webstore elements reflect my brand colors?
- In the Dashboard, navigate to Account & Settings.
- Click Branding under Checkout settings and enter the HEX code for your brand. For example,
#6822CCin the Theme Color section. - Click Save Changes.
How do I create a custom URL for my Webstore?
How do I create a custom URL for my Webstore?
livingarts, the custom URL will appear as https://pages.razorpay.com/livingarts.To create a custom URL for Webstore:- In the Dashboard, navigate to menu ribbon, click the drop-down button and select Live Mode.
- While creating a Webstore, click Page Settings and in the pop-up that appears, enter the suffix to create a custom URL. Click Save.
- Click Publish Page.
How do I add a quantity for my products added on the Webstore?
How do I add a quantity for my products added on the Webstore?
What are the supported formats for the image added to a product?
What are the supported formats for the image added to a product?
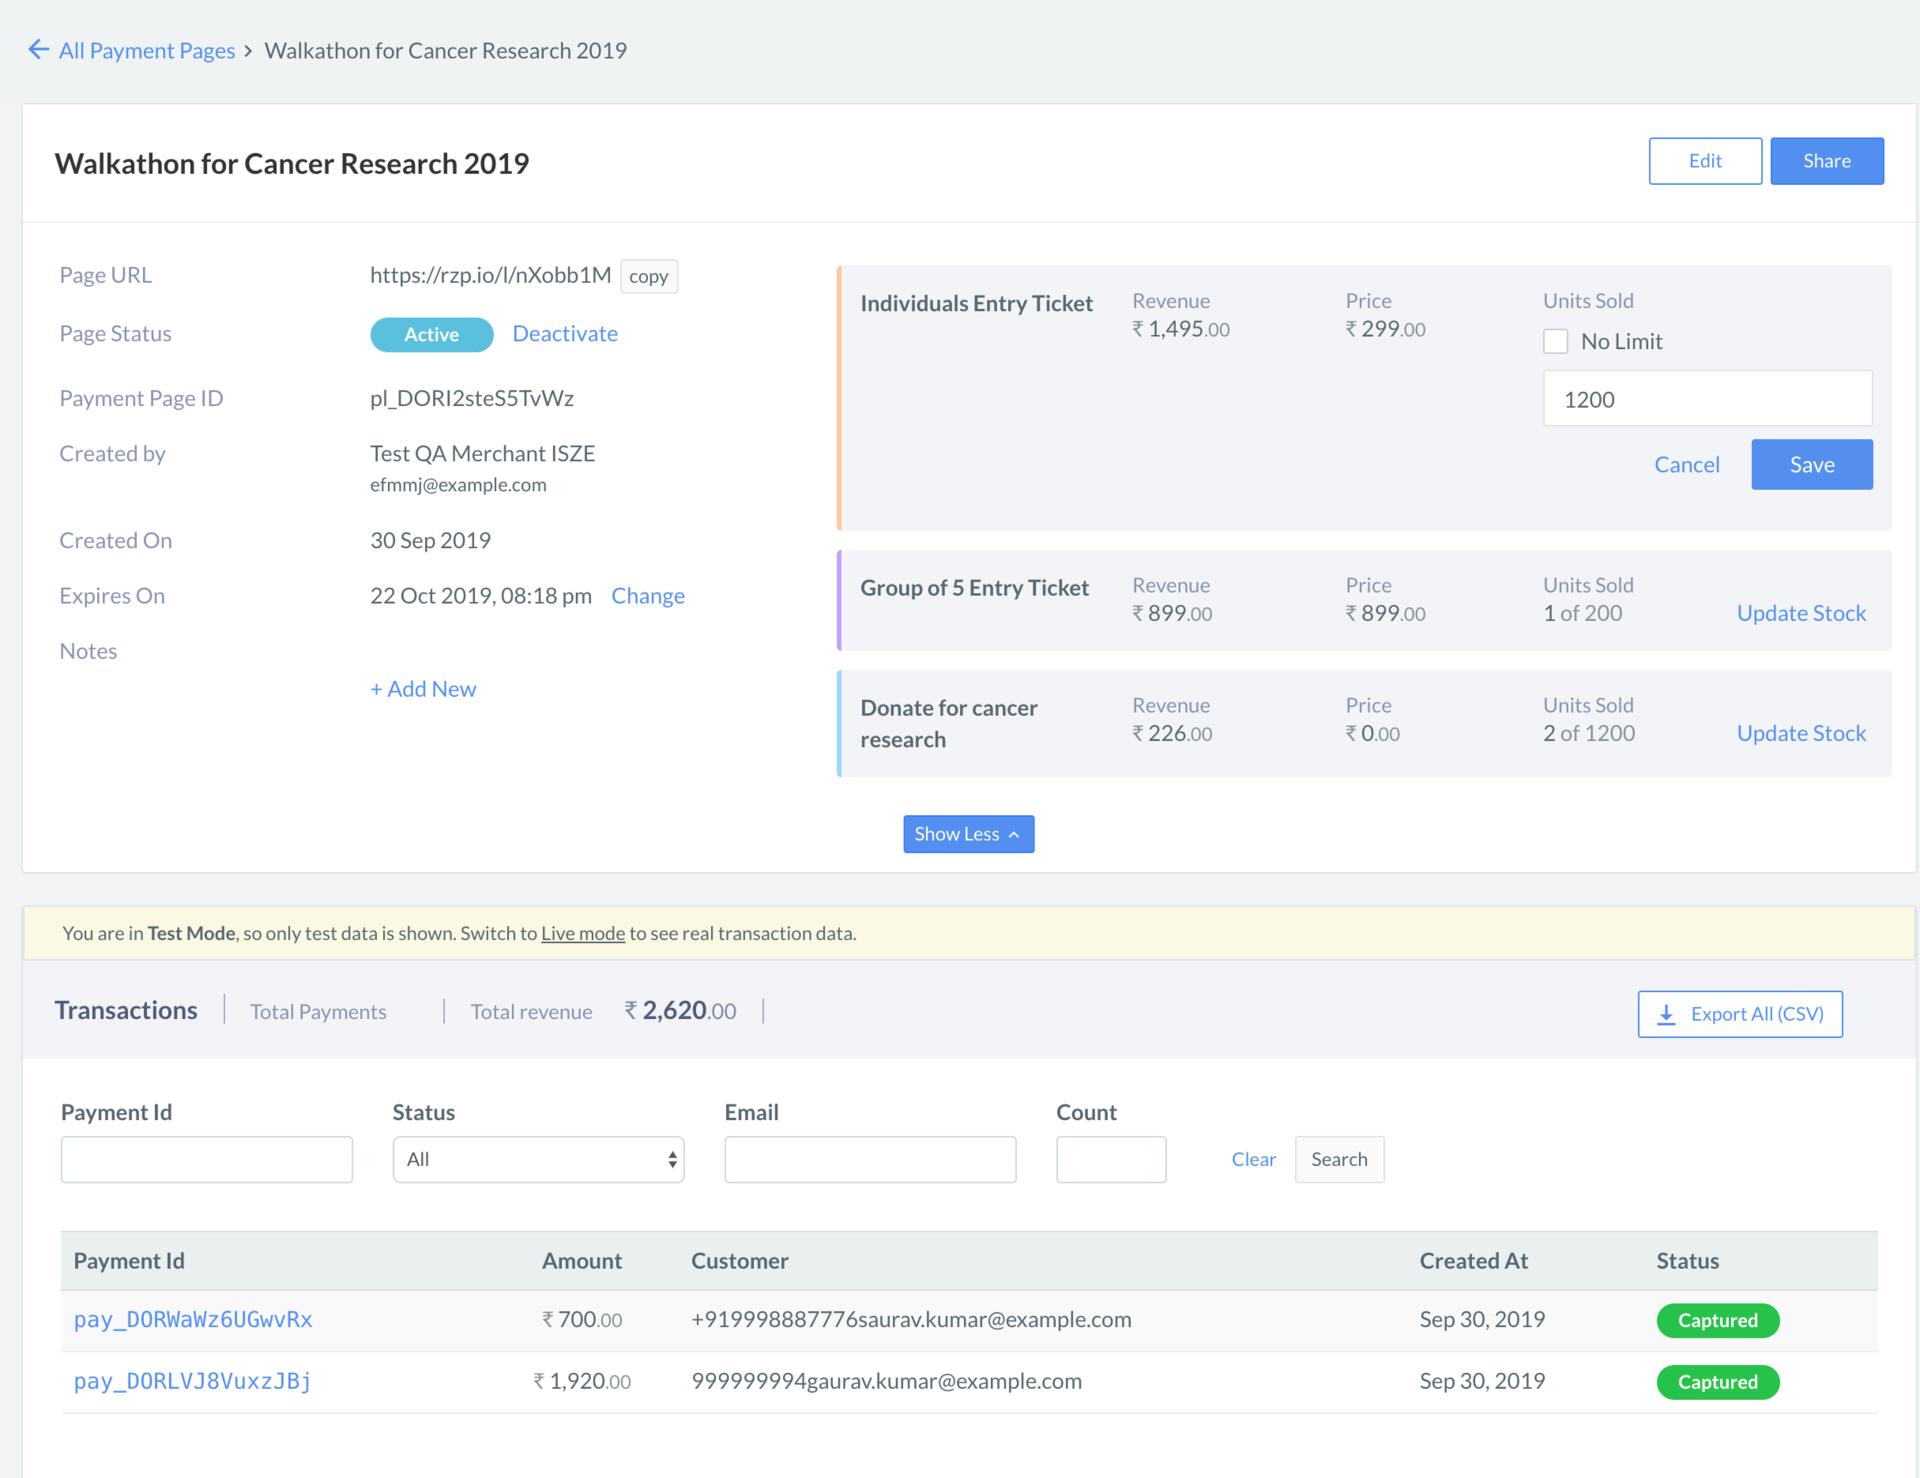
How do I update the stock level of a price field (item) in my Webstore?
How do I update the stock level of a price field (item) in my Webstore?
- Select the relevant Webstore. The items appear on the top of the page, on the right-hand side.
- Click Update Stock and enter the number of units available for sale in the field.
- Click Update.
- Select the relevant webstore and click the edit icon.
- In the Products section, go to the price field and click the edit icon.
- Enter the number of units available for sale in the field.
- Click Add.
What happens to my Webstore if all the listed products go out of stock?
What happens to my Webstore if all the listed products go out of stock?
How do I track the payments made by customers? When will the amount be settled to my account?
How do I track the payments made by customers? When will the amount be settled to my account?
What payment methods can customers use to make payments on the Webstore? Can I display additional payment methods?
What payment methods can customers use to make payments on the Webstore? Can I display additional payment methods?
- Cards
- Netbanking
- UPI
- Wallets (PayZapp)
What is the maximum payment amount allowed per transaction on a Webstore?
What is the maximum payment amount allowed per transaction on a Webstore?
Can I accept payments in international currency?
Can I accept payments in international currency?
- Follow these steps to enable international payments for your account.
- While creating the Webstore, click the currency drop-down list in the Price field and select the required currency.
How many products can I add to a Webstore?
How many products can I add to a Webstore?
I am getting a message that my domain was not connected. What should I do?
I am getting a message that my domain was not connected. What should I do?
I am getting an error message - Failed to create link with given slug, please try a different value. What should I do in this case?
I am getting an error message - Failed to create link with given slug, please try a different value. What should I do in this case?
Can I create multiple URLs for a Webstore?
Can I create multiple URLs for a Webstore?