Available in🇮🇳 India
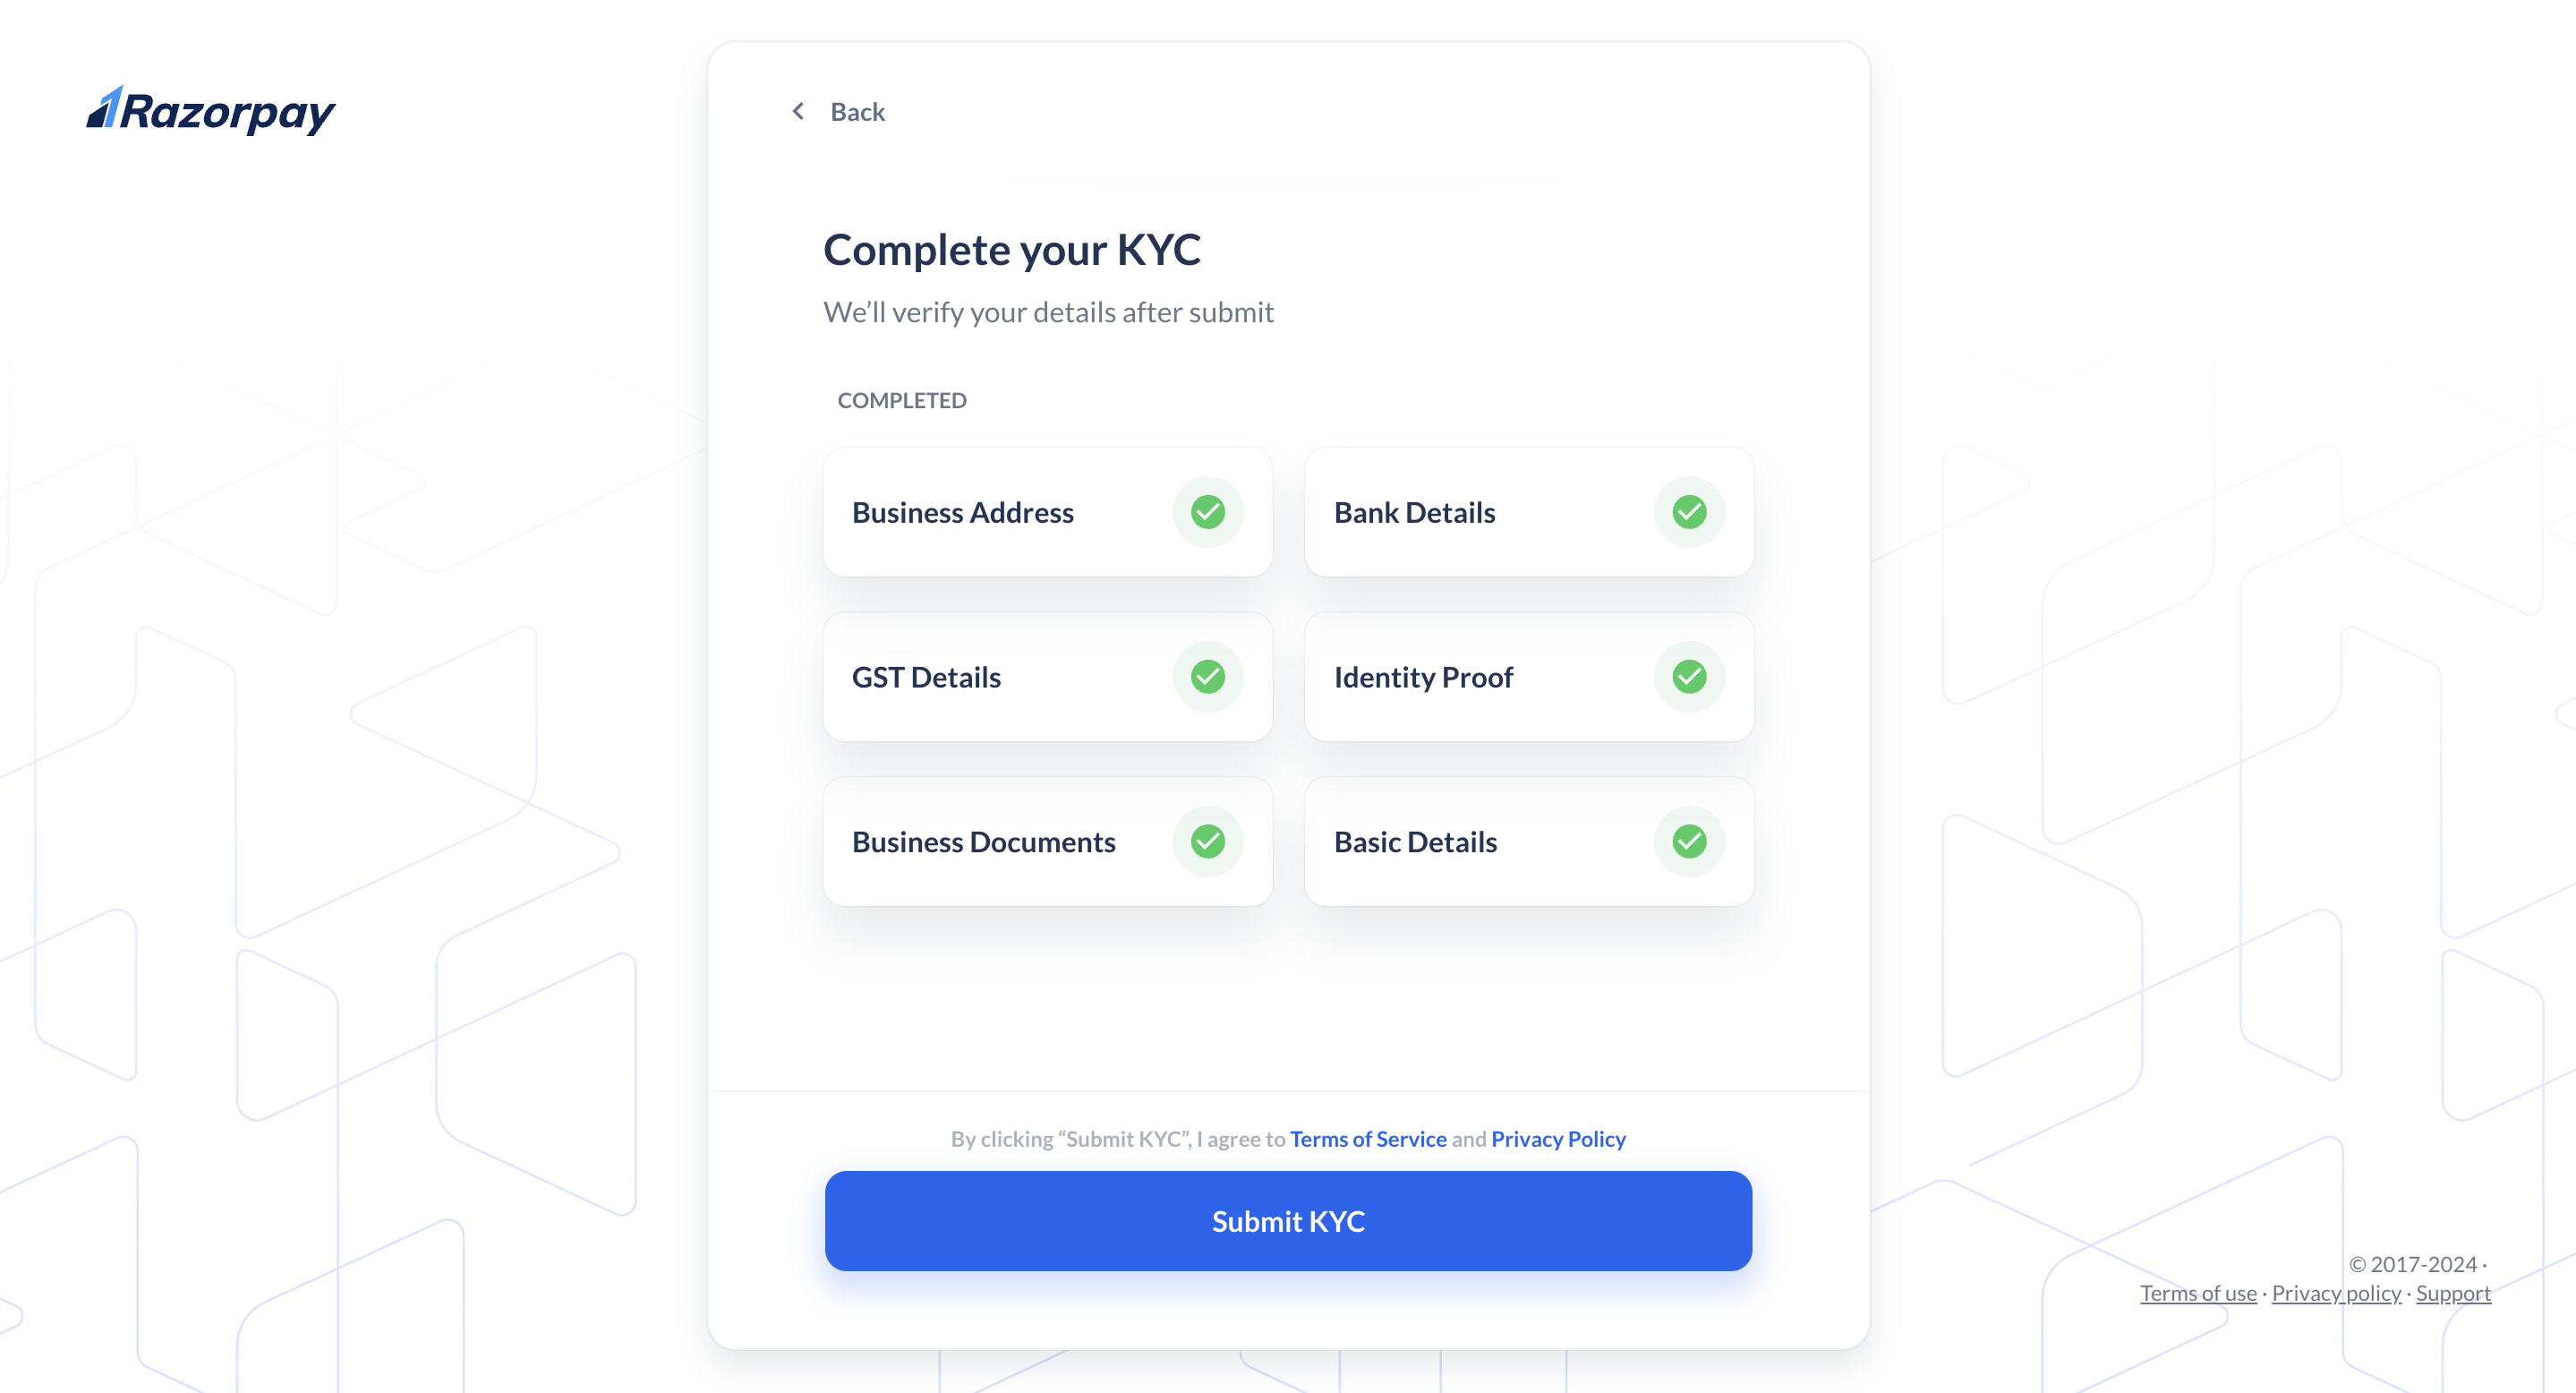
After becoming a Technology Partner, you need to submit KYC details. The commission is settled in your account only after completing the KYC process.
Handy Tips
- In the KYC verification process, you can provide the required information in any order you prefer.
- You can view the details submitted during account creation and make changes if required.
- Review the details provided during the sign-up process. You can edit the fields and make necessary changes if required.
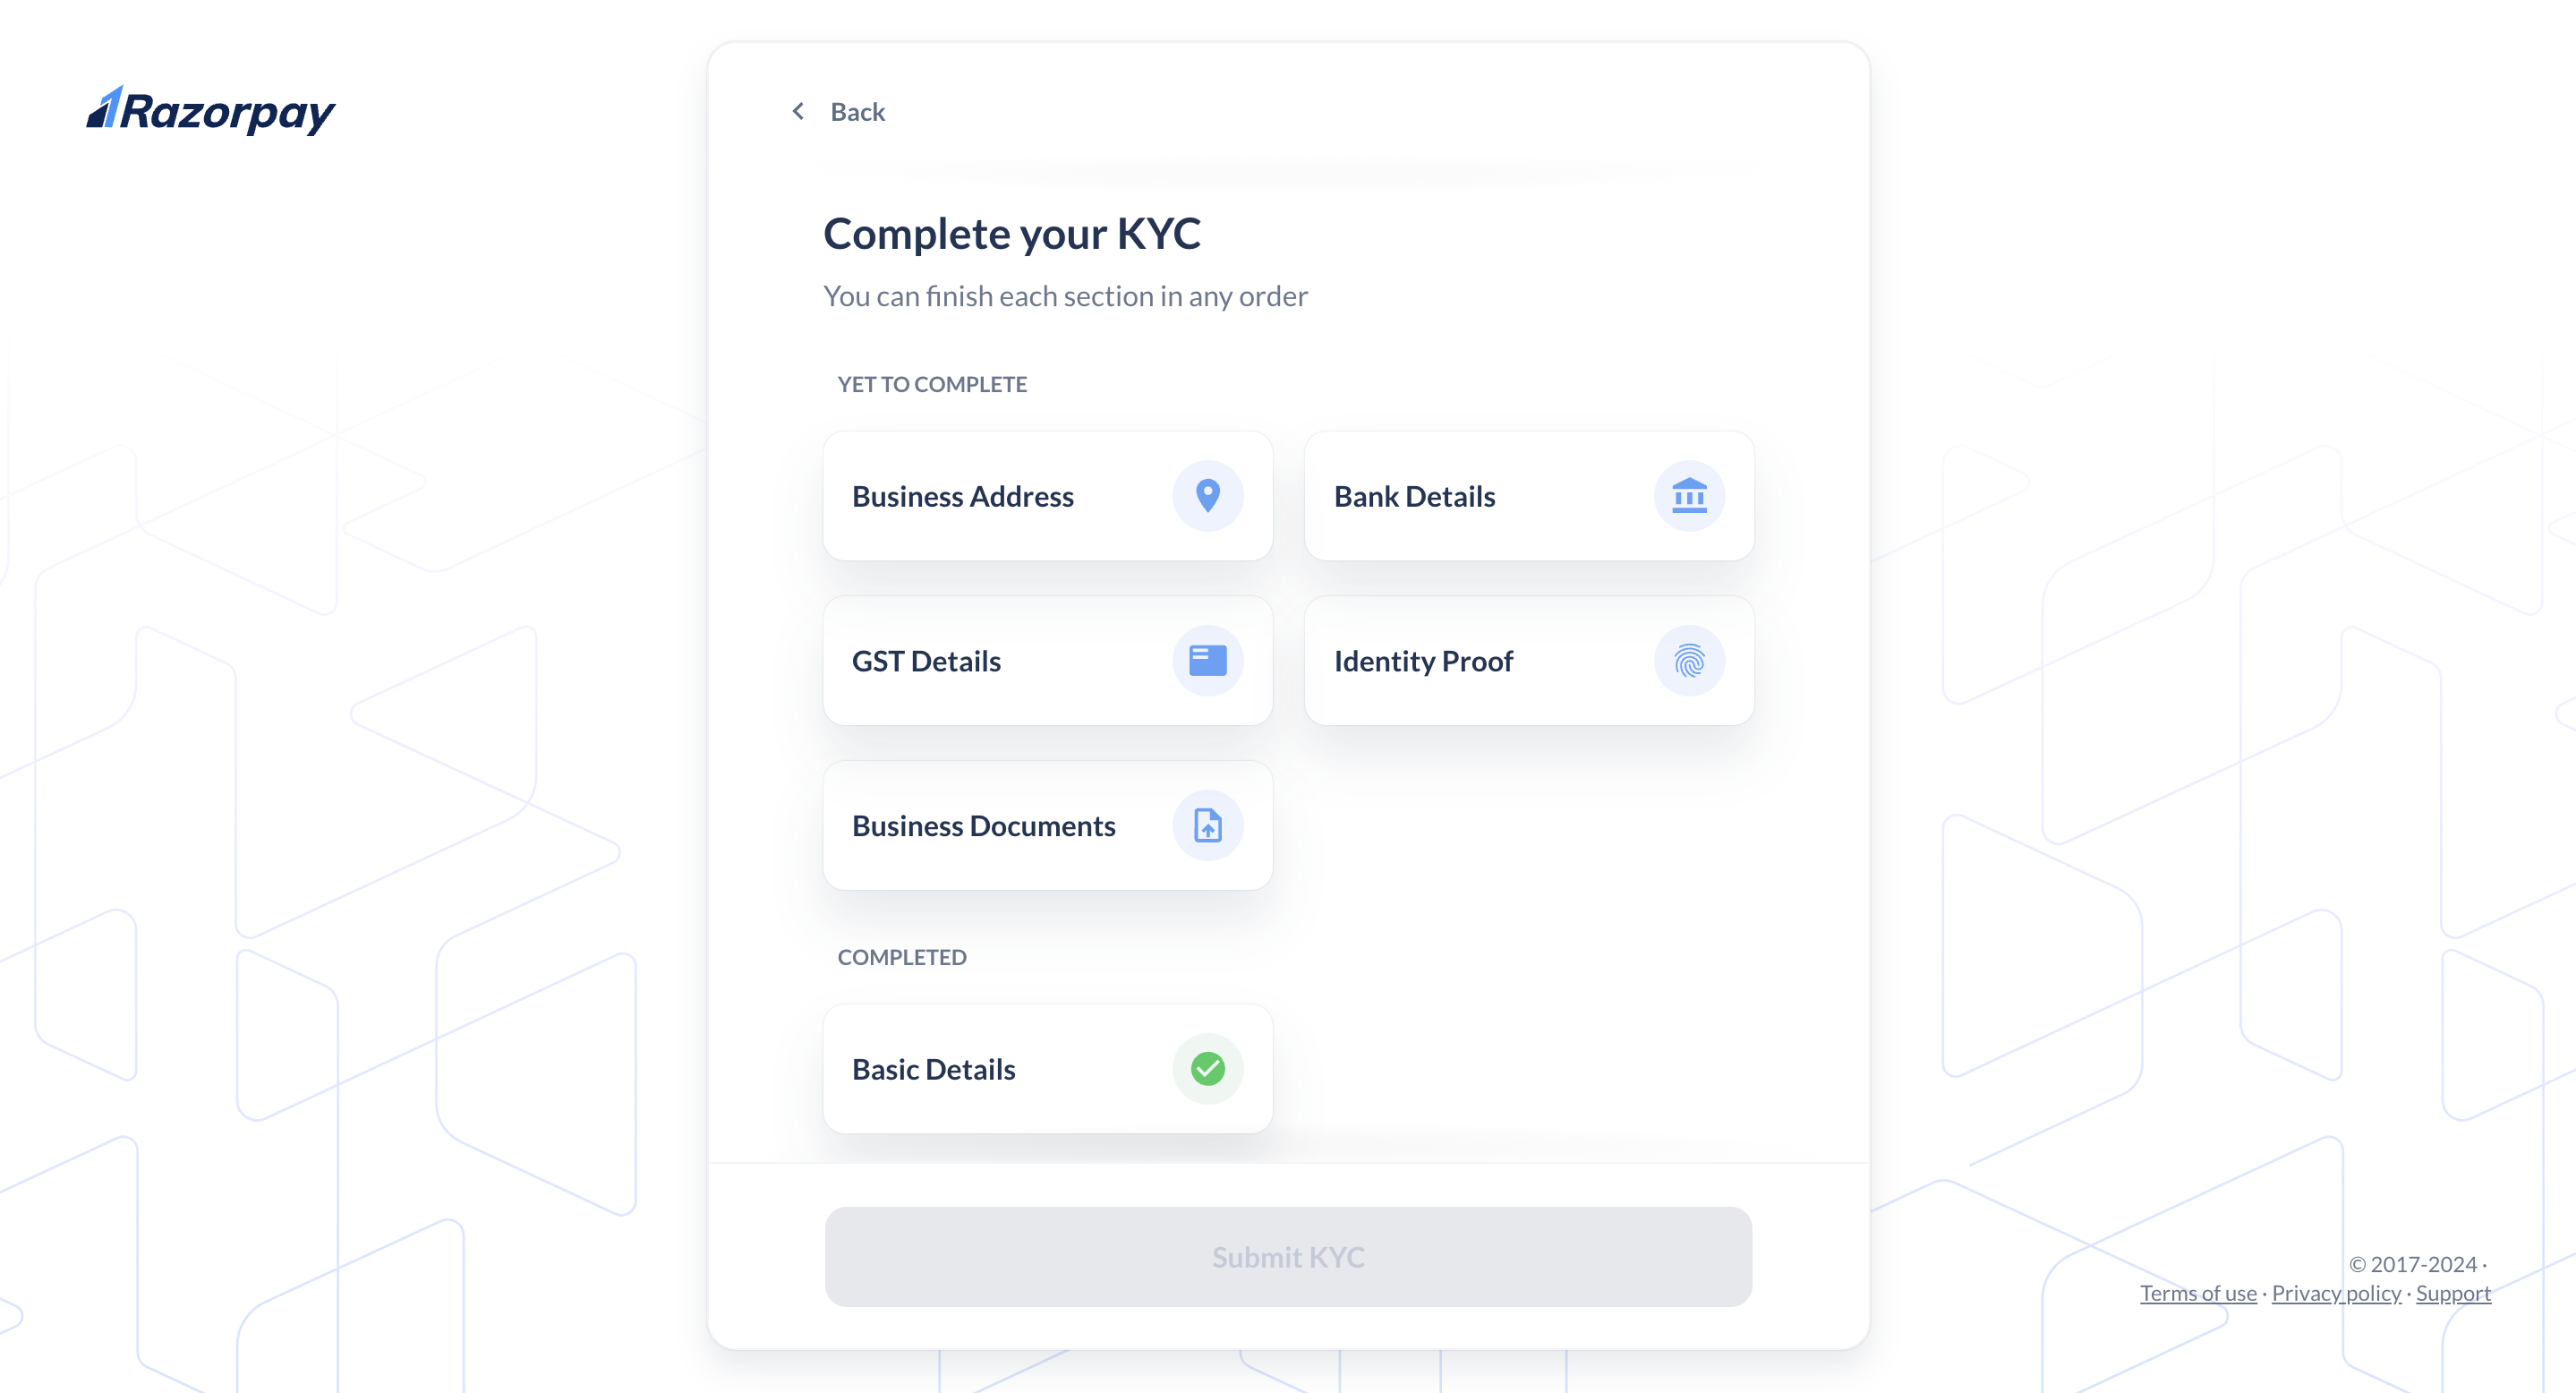
Activate Your Account
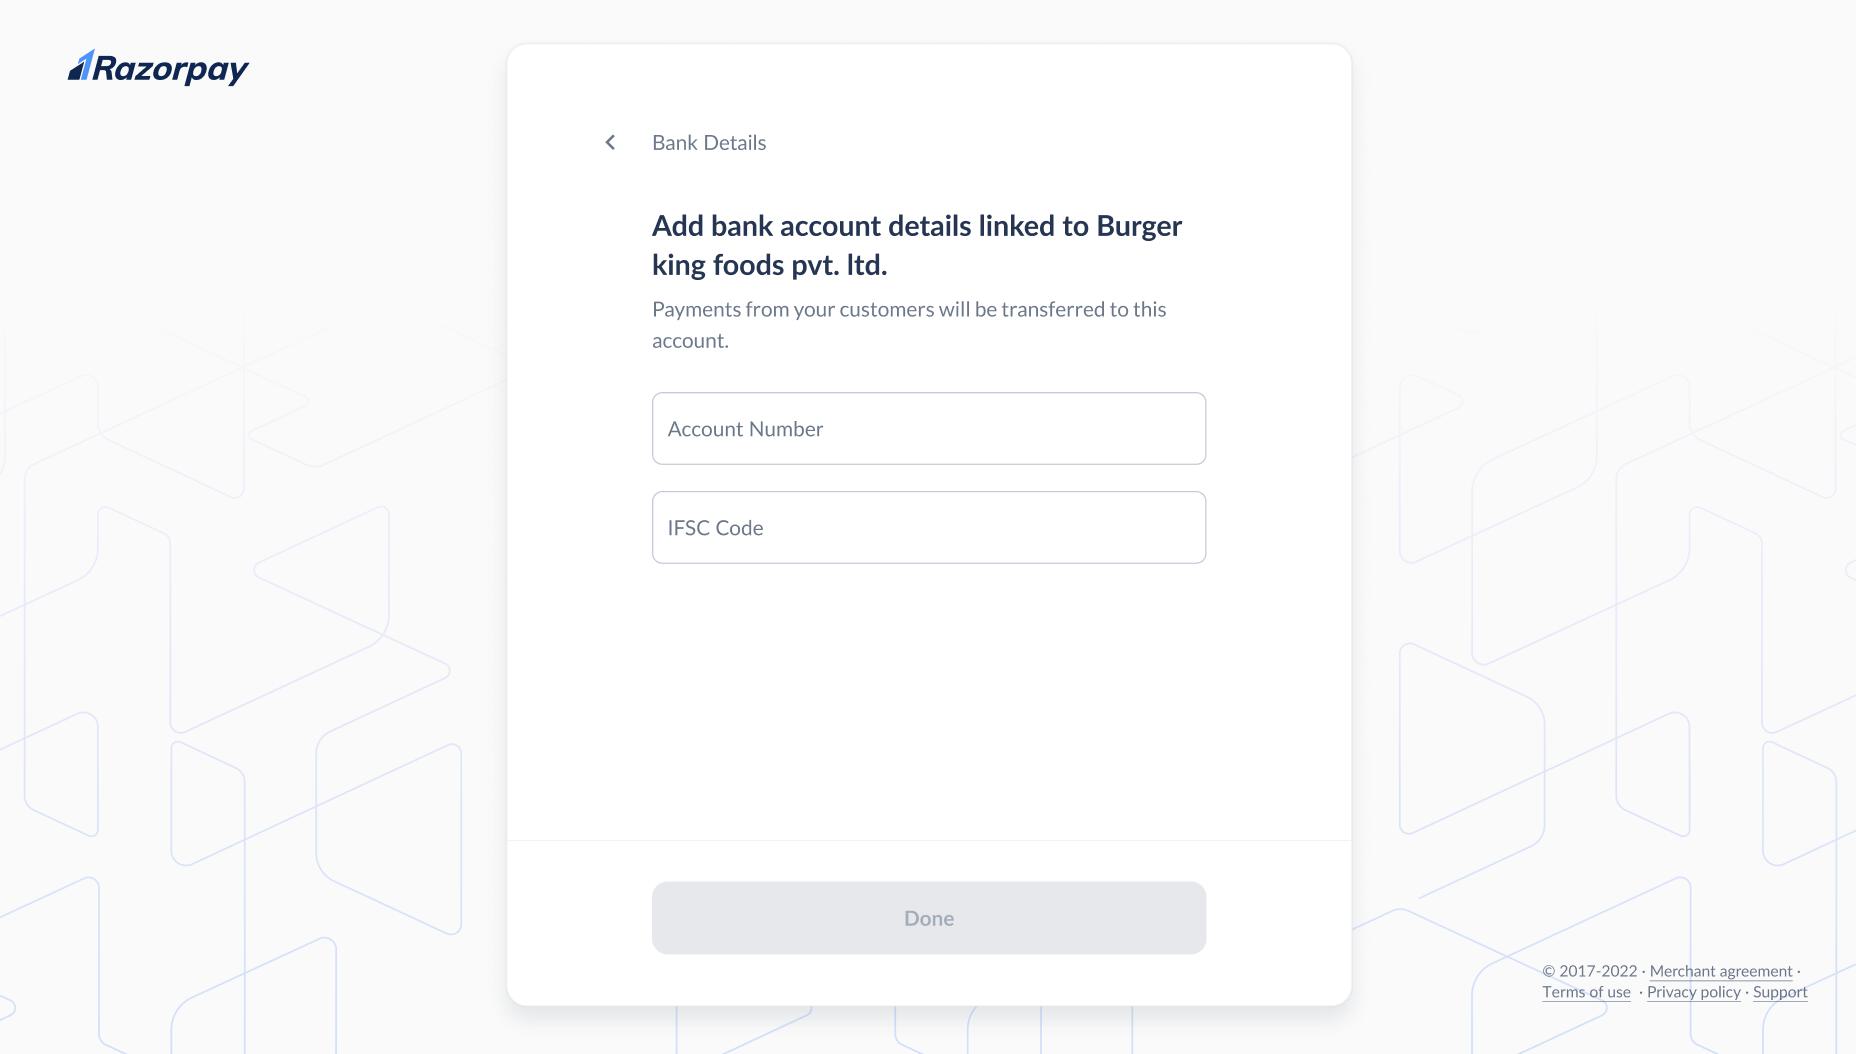
Follow the steps given below to activate your account:- Bank Details: Fill in your bank account details such as Account Number and IFSC Code. This is the account to which Razorpay will settle your funds. . Click Done.
- GST Details: This will be auto-filled if your PAN verification is successful. If not, add your GST details for taxation and compliance. Select the check box if you do not have a GSTIN. Click Done.
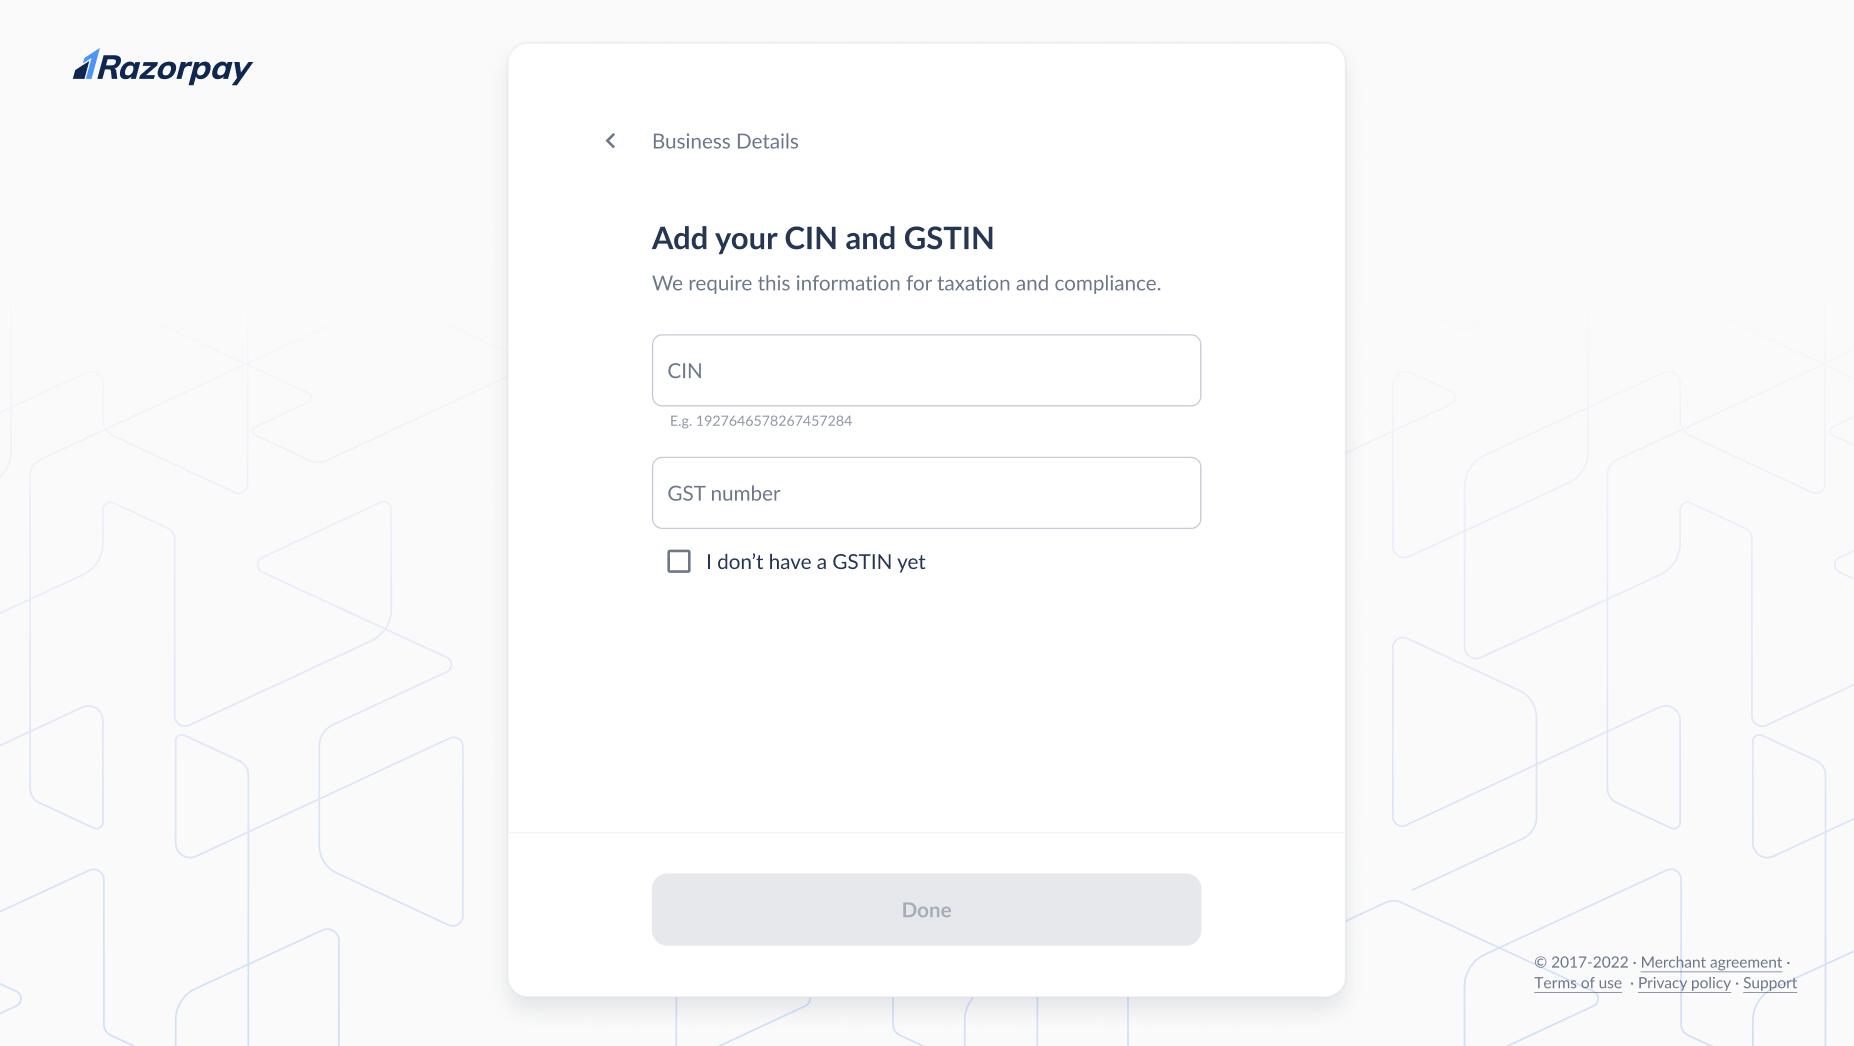
Handy TipsExtra fields may appear based on your business type.
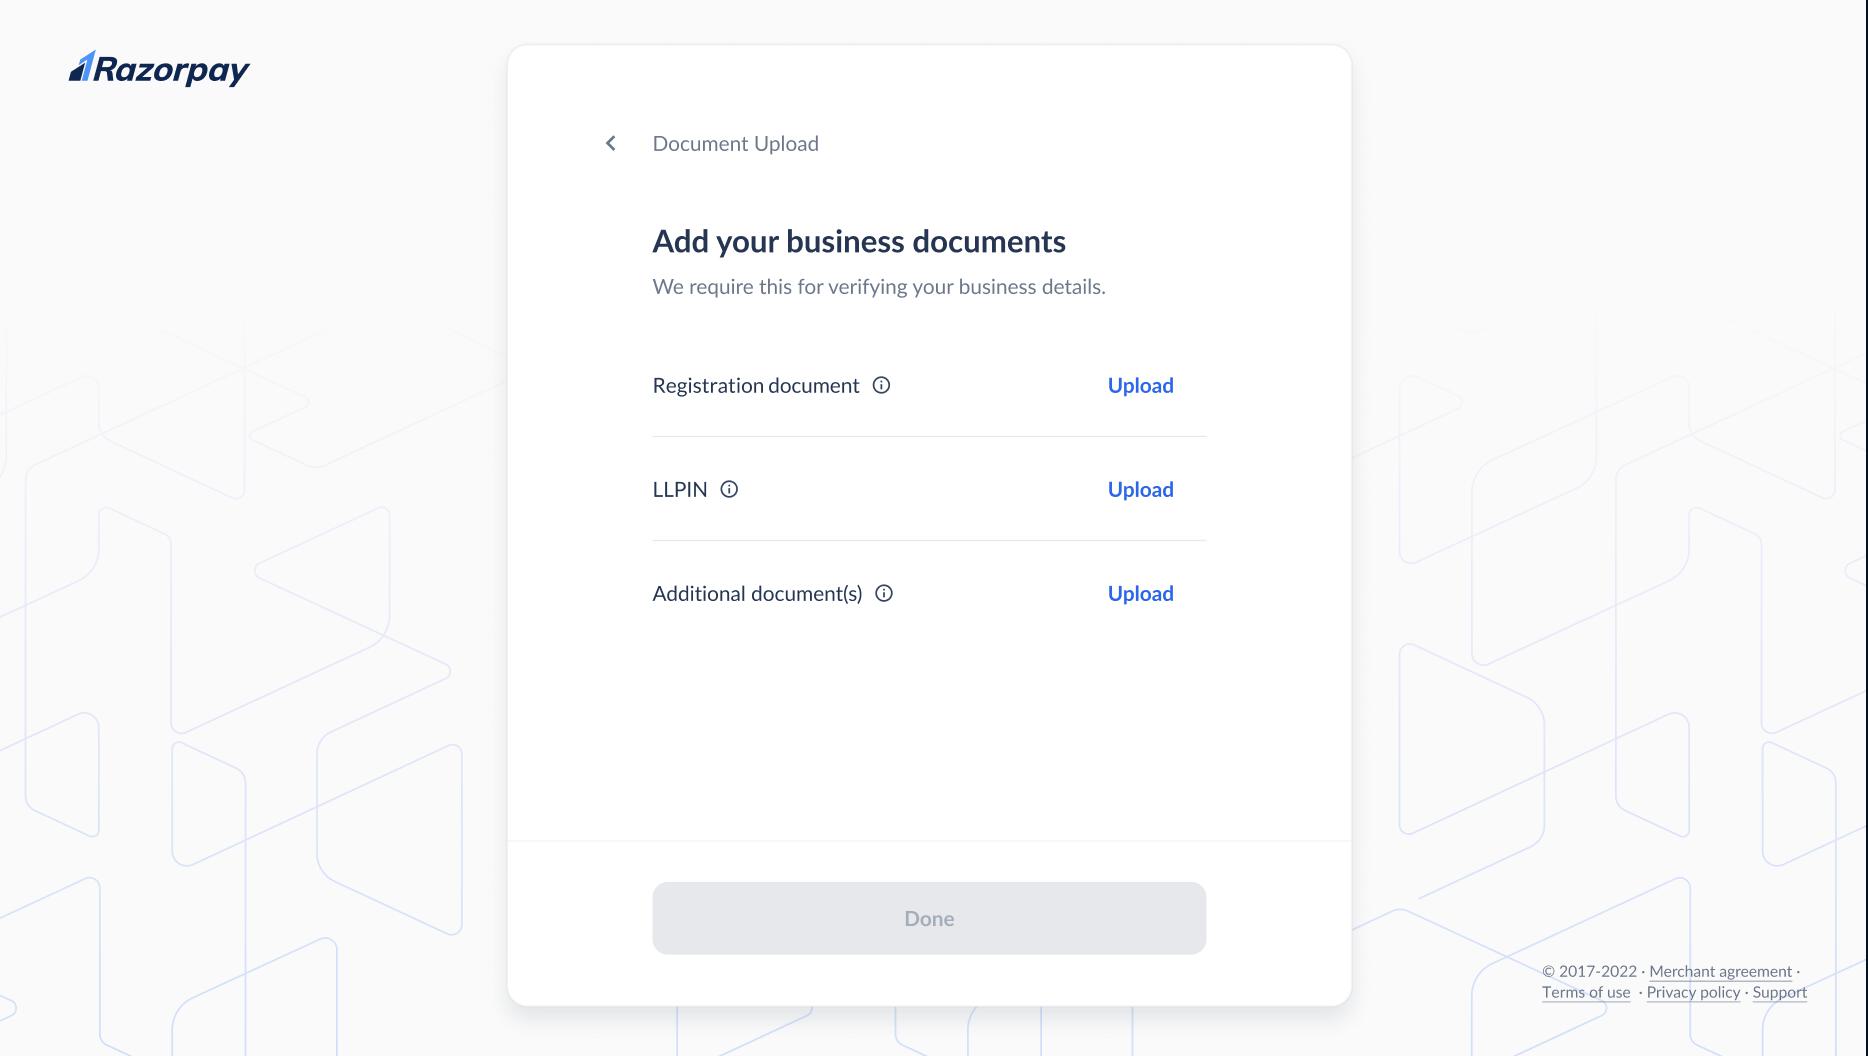
- For LLP: LLPIN (Limited Liability Partnership Identification Number)
- For Public and Private Ltd: CIN (Corporate Identification Number)
- Identity Proof or Address Proof: You can scan and upload your Aadhaar, Passport or Voter ID as proof of identity or address.
-
Business Documents: Upload the relevant business documents based on your business type.
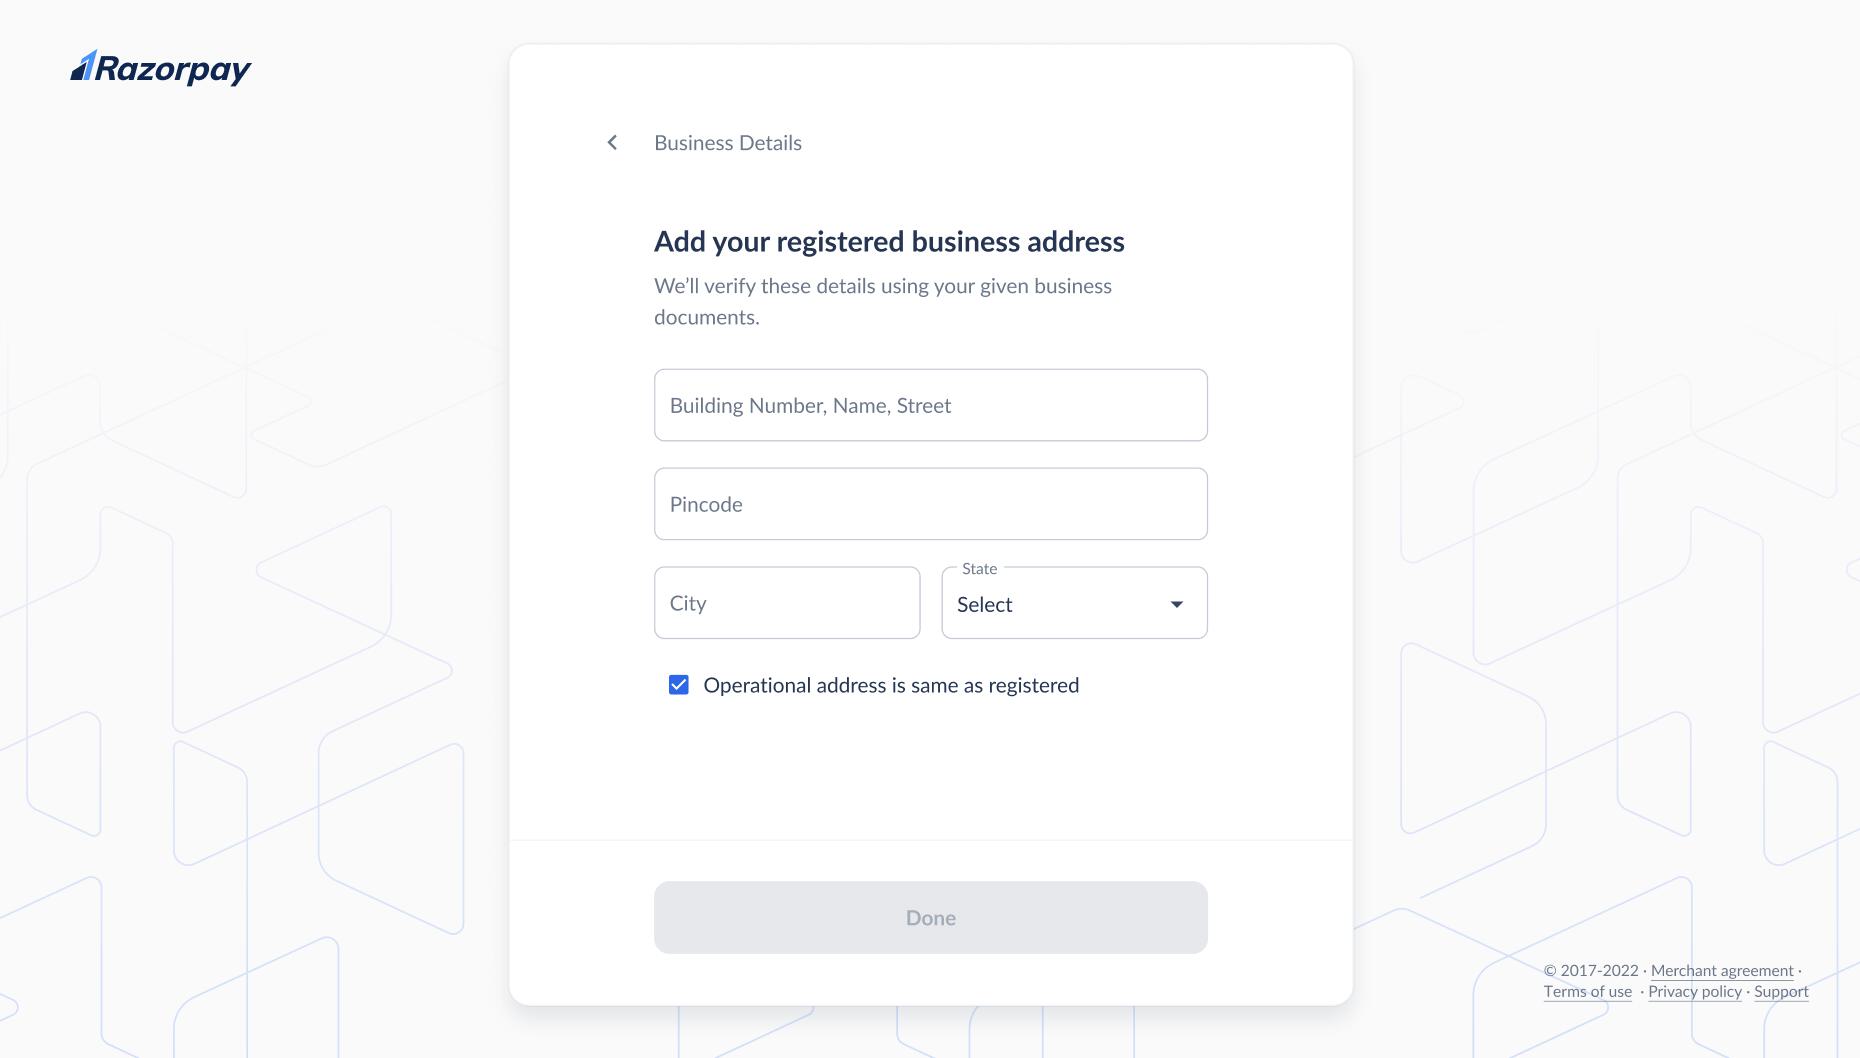
- Business Address: Add your business address. Select the check box if your Operational address is same as your Business address. This will be verified against your business documents.
Handy TipsOperational Address is the current address from where you are operating your business. On the other hand, a Business Address is the address you register while starting your business.
- Click Done.
- Click Submit KYC after providing all the required verification details.