Available in🇮🇳 India🇸🇬 Singapore🇺🇸 United States
Given below are steps to use Razorpay Payment Pages when you:
Do Not Have a Website
Have a Website
How Payment Pages Work When You Do Not Have a Website
You can create a Payment Page from your Dashboard and share the page link with your customers to start accepting online payments.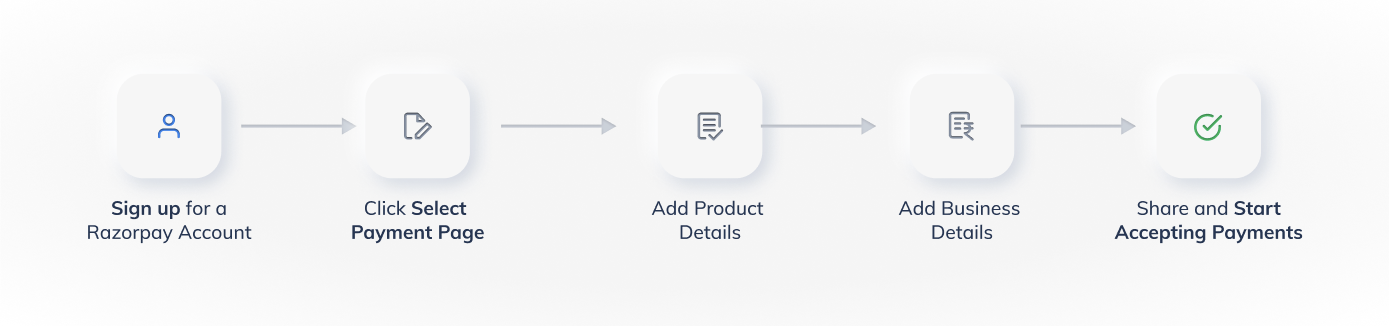
1. Sign Up for a Razorpay Account
Set up your Razorpay account. If you already have an account, log in to the Dashboard and click Payment Pages.2. Select Payment Page
Click Create a Payment Page and then, click Select Payment page. Know how to select Payment Page.3. Add Business Details
Add your business details. For example, you can add business contact information, terms and conditions and so on. Know more about adding business details.4. Add Payment Details
Configure the amount and input fields. For example, you can add quantity details, add a name field and so on. Know more about adding payment details.5. Share and Start Accepting Payments
Publish the page and share the URL with your customers. The customers visit this page, fill in the details, select a payment method and complete the payment. Know more about publishing a page and sharing it with customers.How Payment Pages Work When You Have a Website
You can create a Payment Page from your Dashboard and embed it onto your site without any development effort from your end.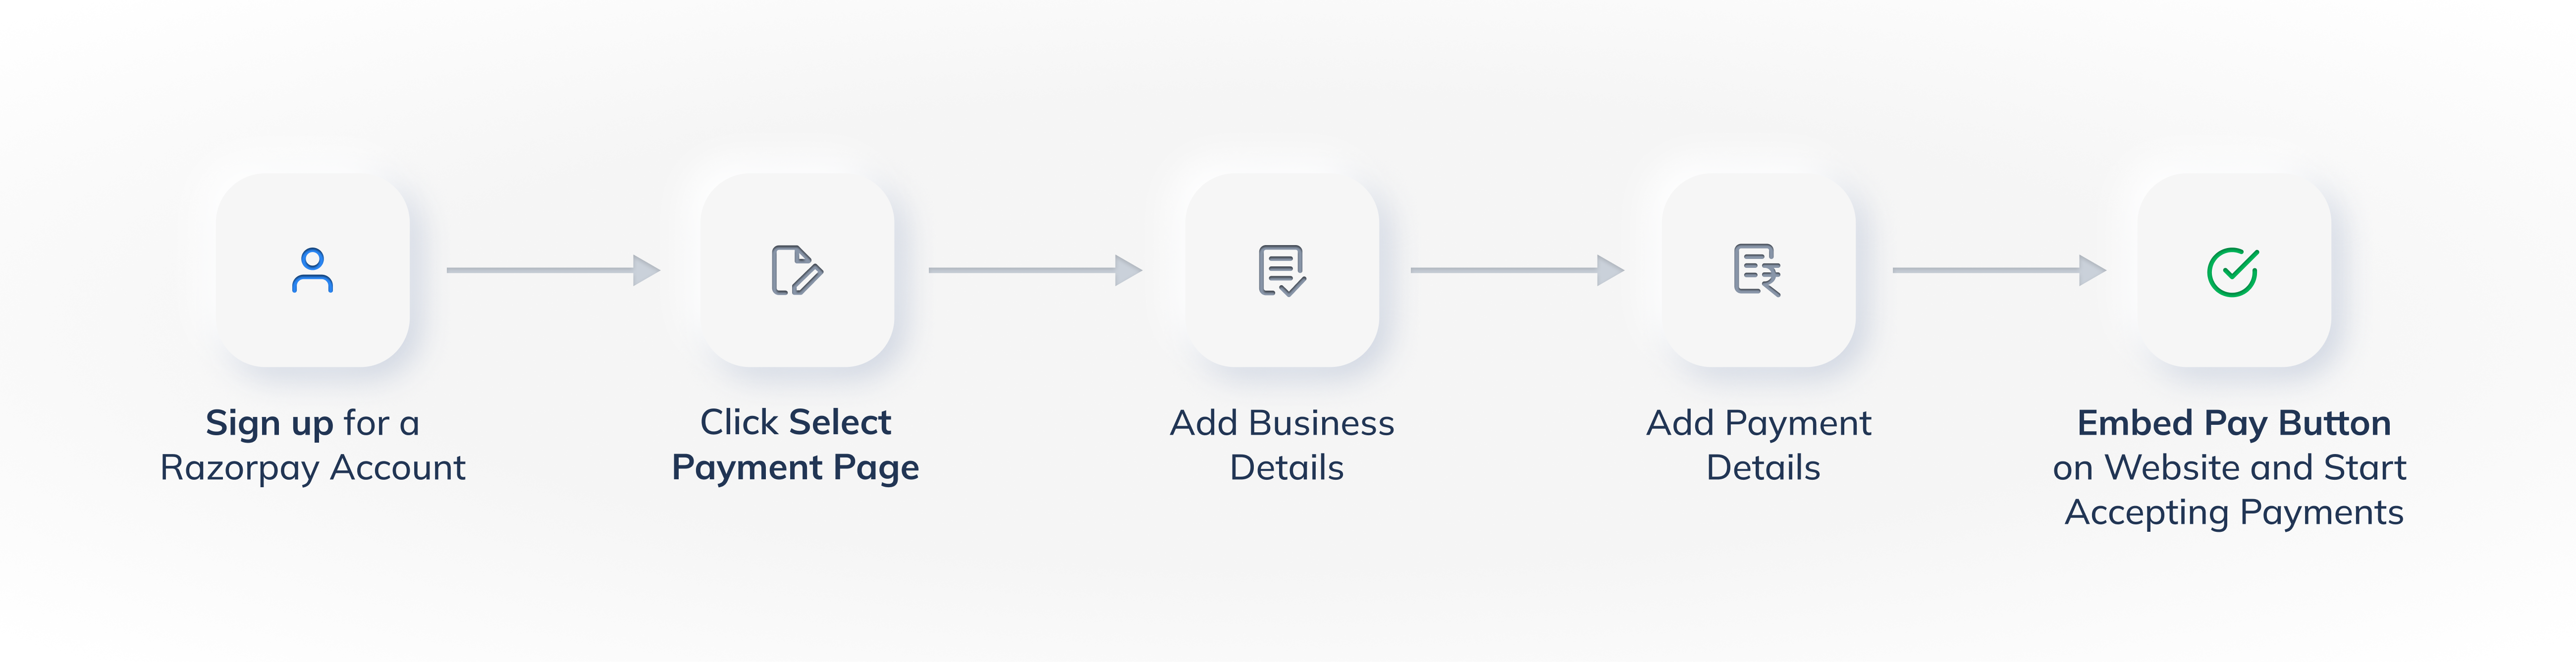
1. Sign Up for a Razorpay Account
Set up your Razorpay account. If you already have an account, log in to the Dashboard and click Payment Pages.2. Select Payment Page
Click Create a Payment Page and then, click Select Payment page. Know more about how to select Payment Page.3. Add Business Details
Add the business details. For example, you can add business contact information, terms and conditions and so on. Know more about adding business details.4. Add Payment Details
Configure the amount and input fields. For example, you can add quantity details, add a name field and so on. Know more about adding payment details.Add the hyperlink to your website. When customers click on the Pay button, they will be redirected to the Razorpay Payment Page to complete the payment. Know more about publishing a page and sharing it with customers.
