Available in🇮🇳 India🇸🇬 Singapore🇺🇸 United States
You must sign up for a Razorpay account to use the Razorpay Payments products, access the Dashboard and accept payments from customers.
1. Sign Up
Set up an account to use Razorpay products to accept customer payments.
You can also set up multiple accounts with the same mobile number and email id.
You can also set up multiple accounts with the same mobile number and email id.
2. Submit KYC
Submit your KYC documents to get your account verified and get the payments settled in your account.
Fast-Track Onboarding with Central KYC (CKYC) - Effective January 1, 2026Streamline your onboarding with instant CKYC verification.Razorpay now offers immediate identity validation for businesses with existing Central KYC records. This enables full account activation in minutes by removing the necessity for Video KYC and manual document uploads.Know more about CKYC and Traditional KYC.Key Benefits
- Instant Verification: If you have existing CKYC records (from bank, mutual fund, insurance), verification happens in seconds.
- No Document Uploads: Many required documents are auto-fetched from CKYC.
- Skip Video KYC: Businesses can bypass Video KYC completely.
- Faster Activation: Complete onboarding in minutes instead of days.
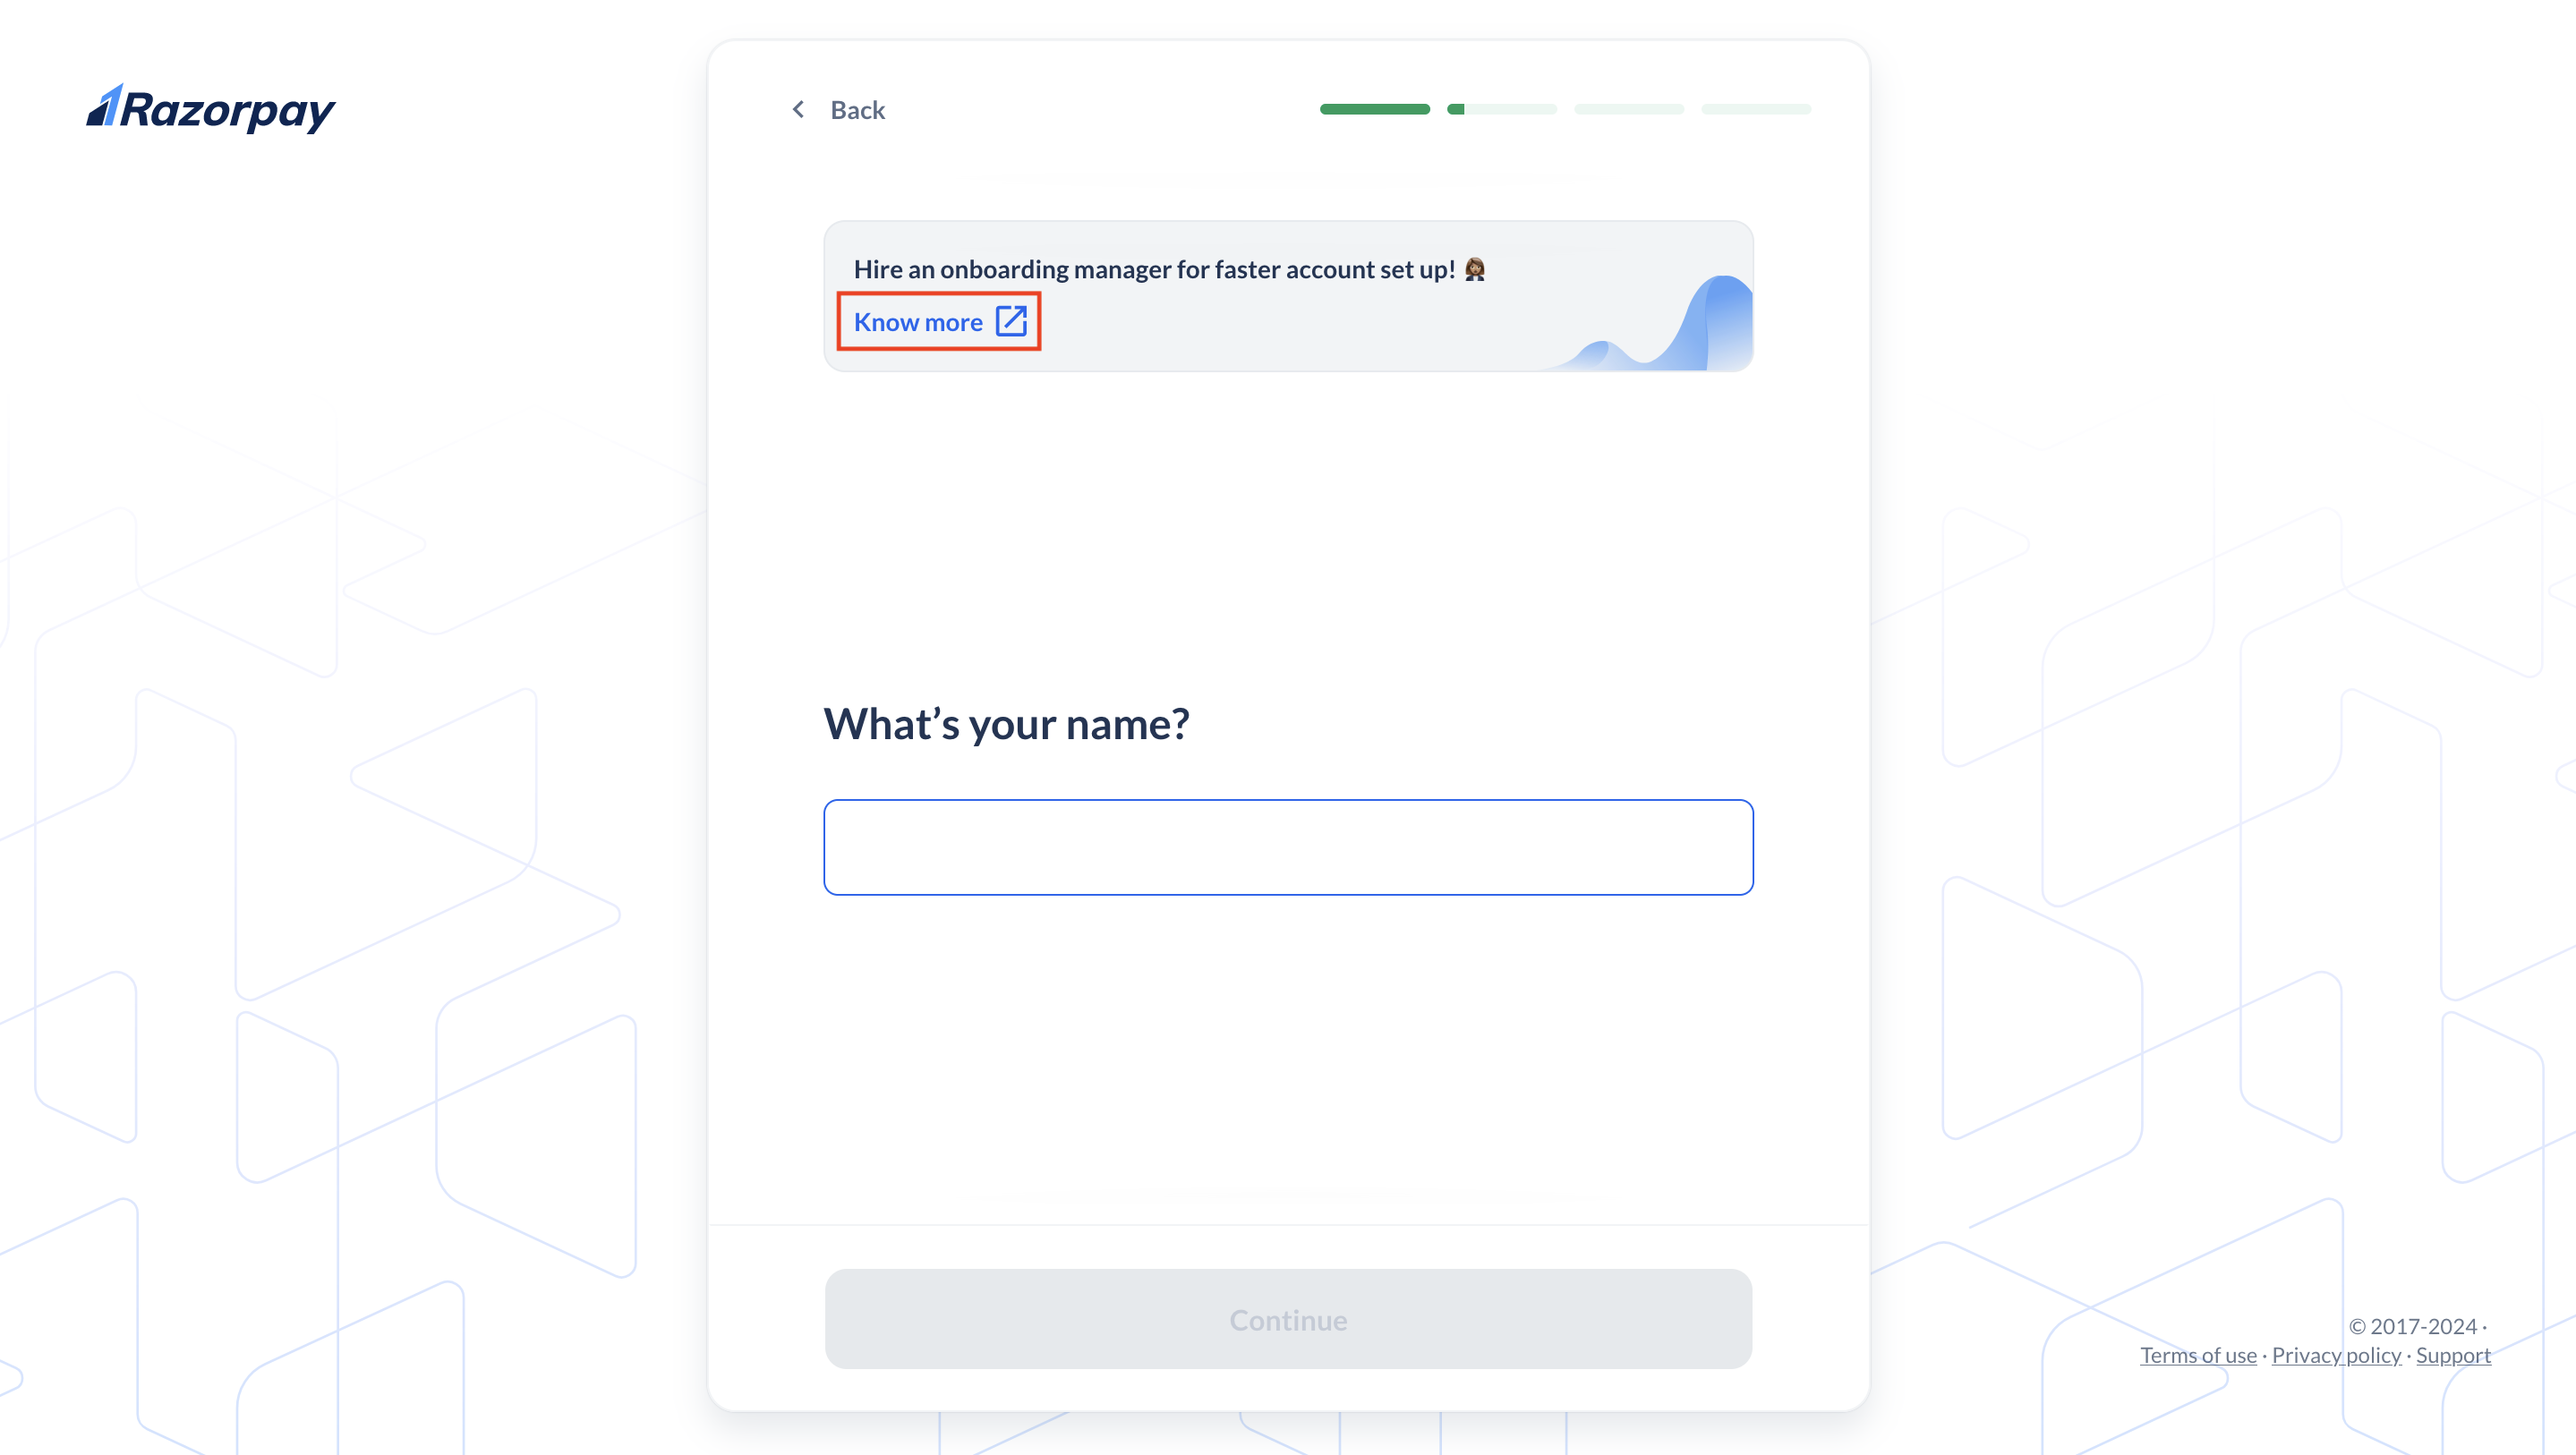
Assisted OnboardingHire a dedicated onboarding manager for an additional fee to assist you through your onboarding journey. The onboarding manager will provide end-to-end assistance, from sign-up and KYC document submission to verification and account activation. Know more about Assisted Onboarding.
Set Up a Razorpay Account and Complete KYC
To set up a Razorpay Account, go to the Razorpay website and click Sign Up. Follow these steps for a smooth sign up process:Set Up Account
Set Up Account
Provide your contact details to get started:
- Enter an email address or 10-digit phone number.
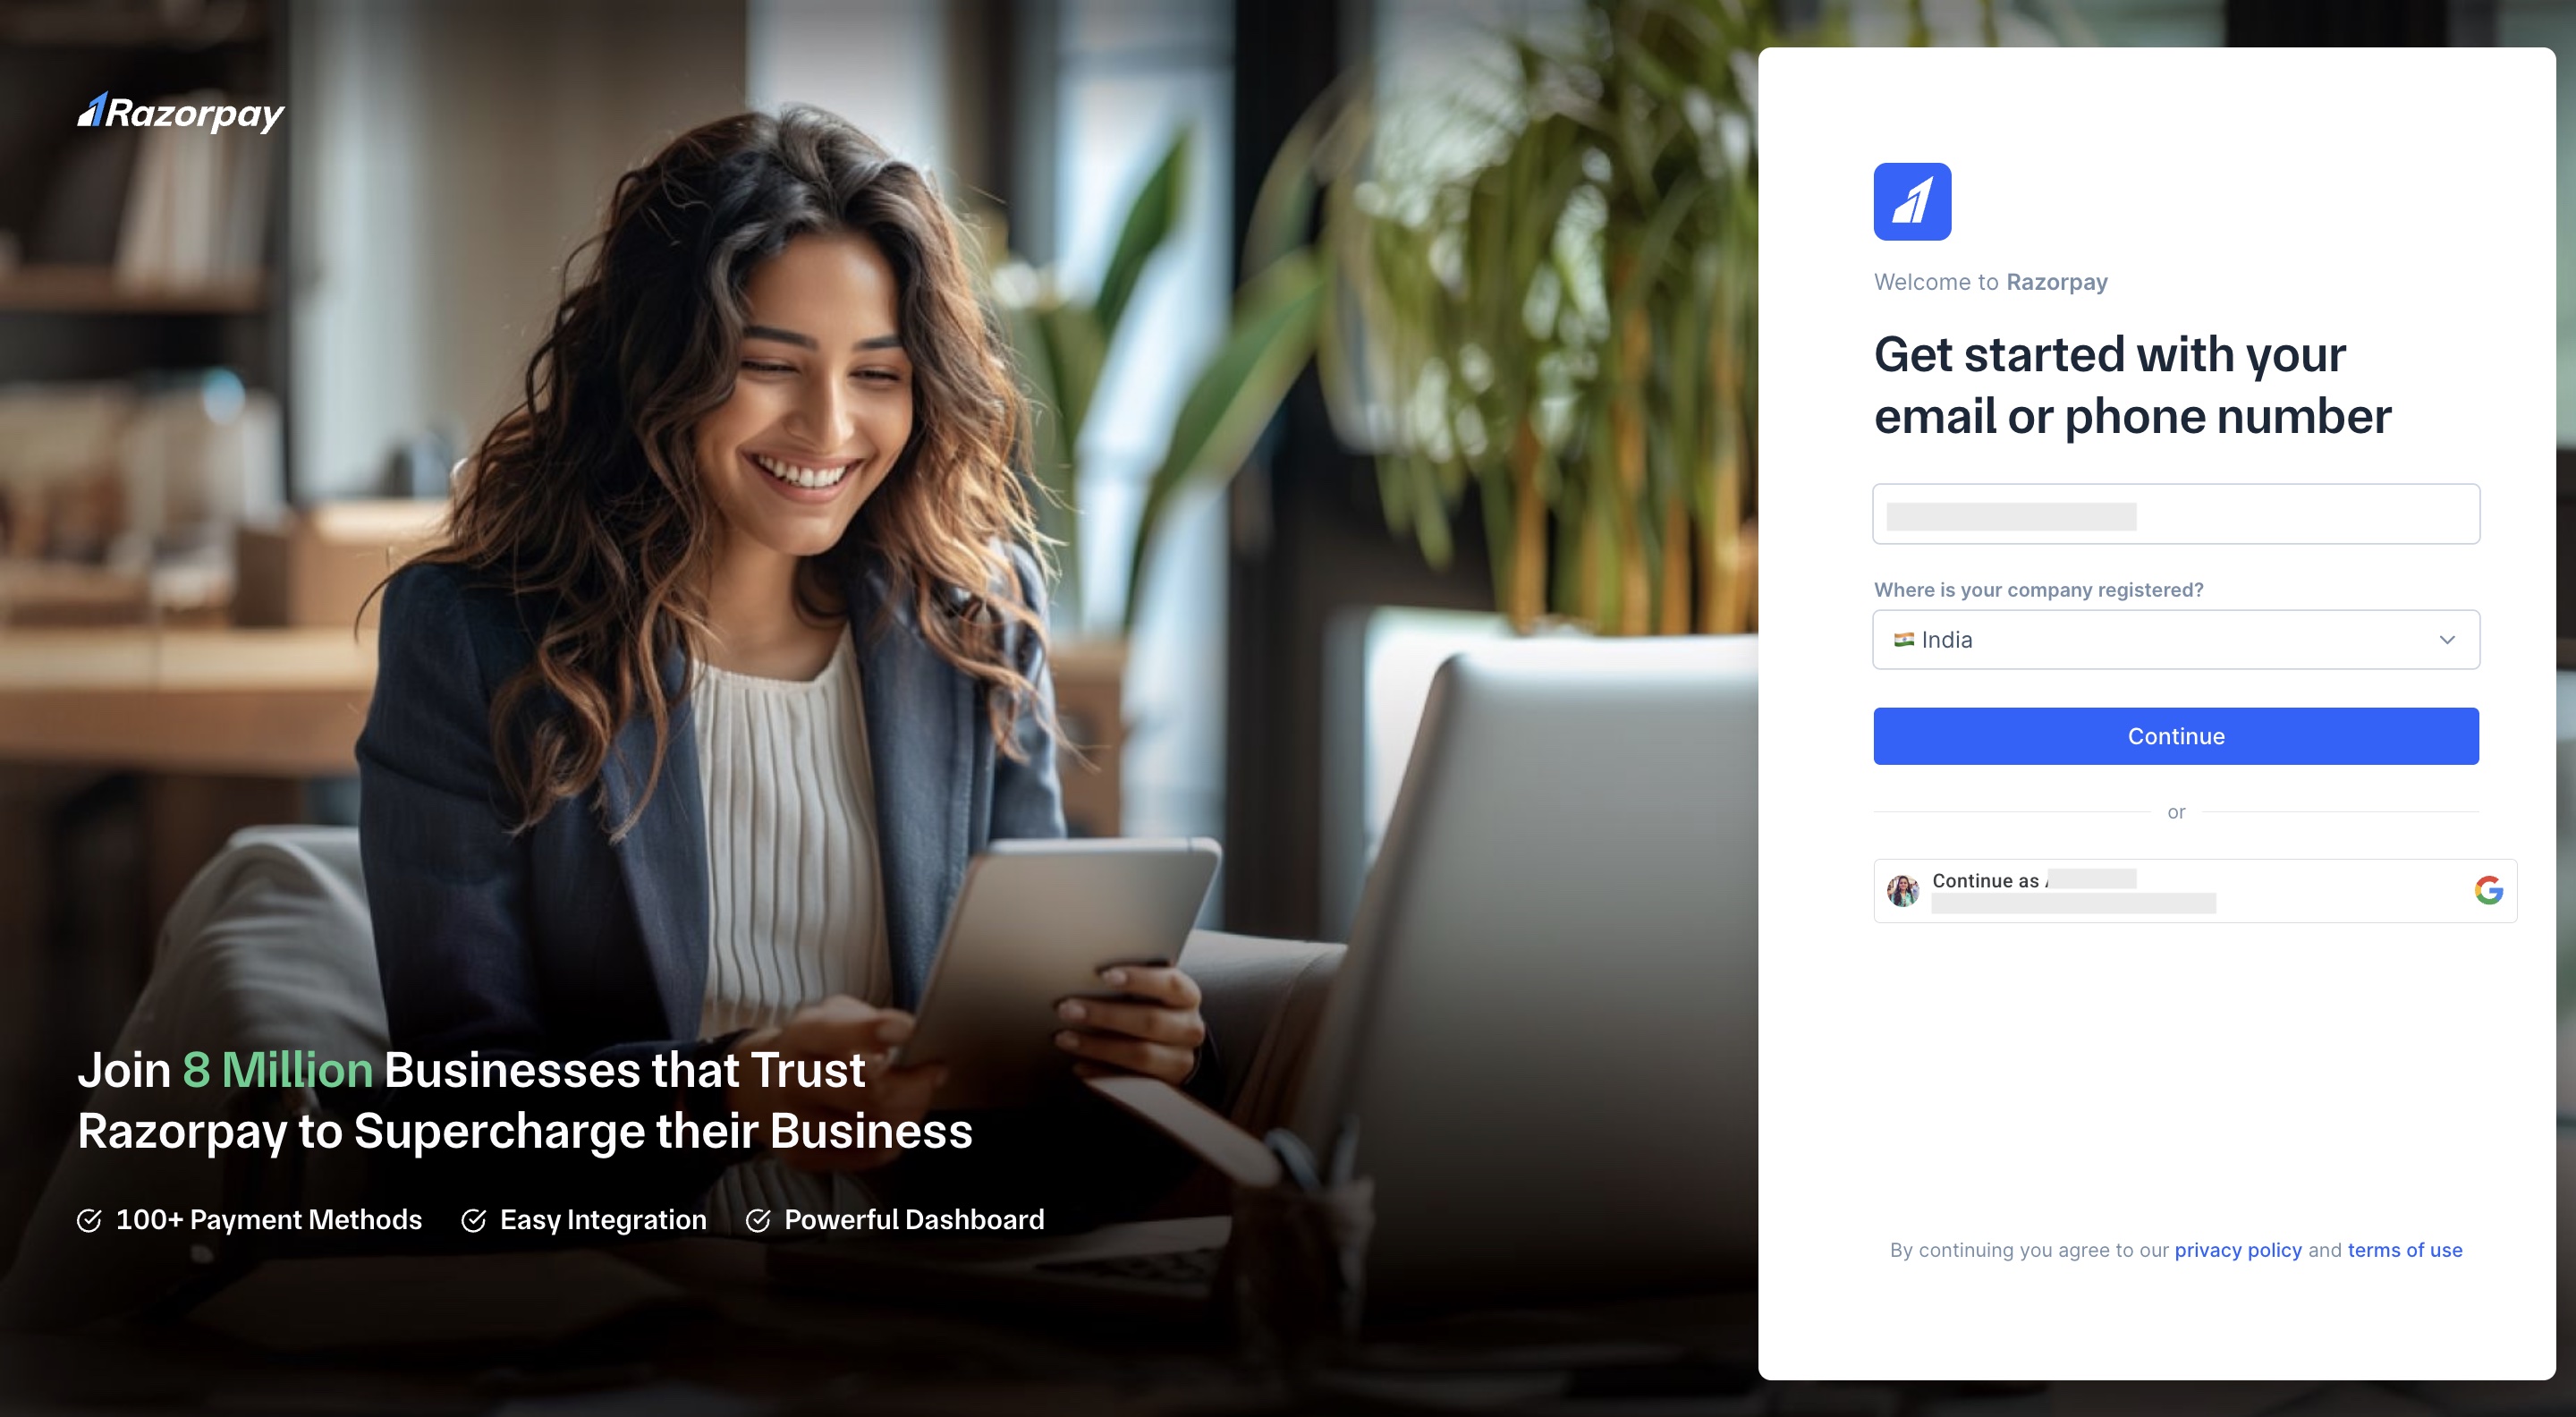
- Create a password. Ensure that the criteria is fulfilled.
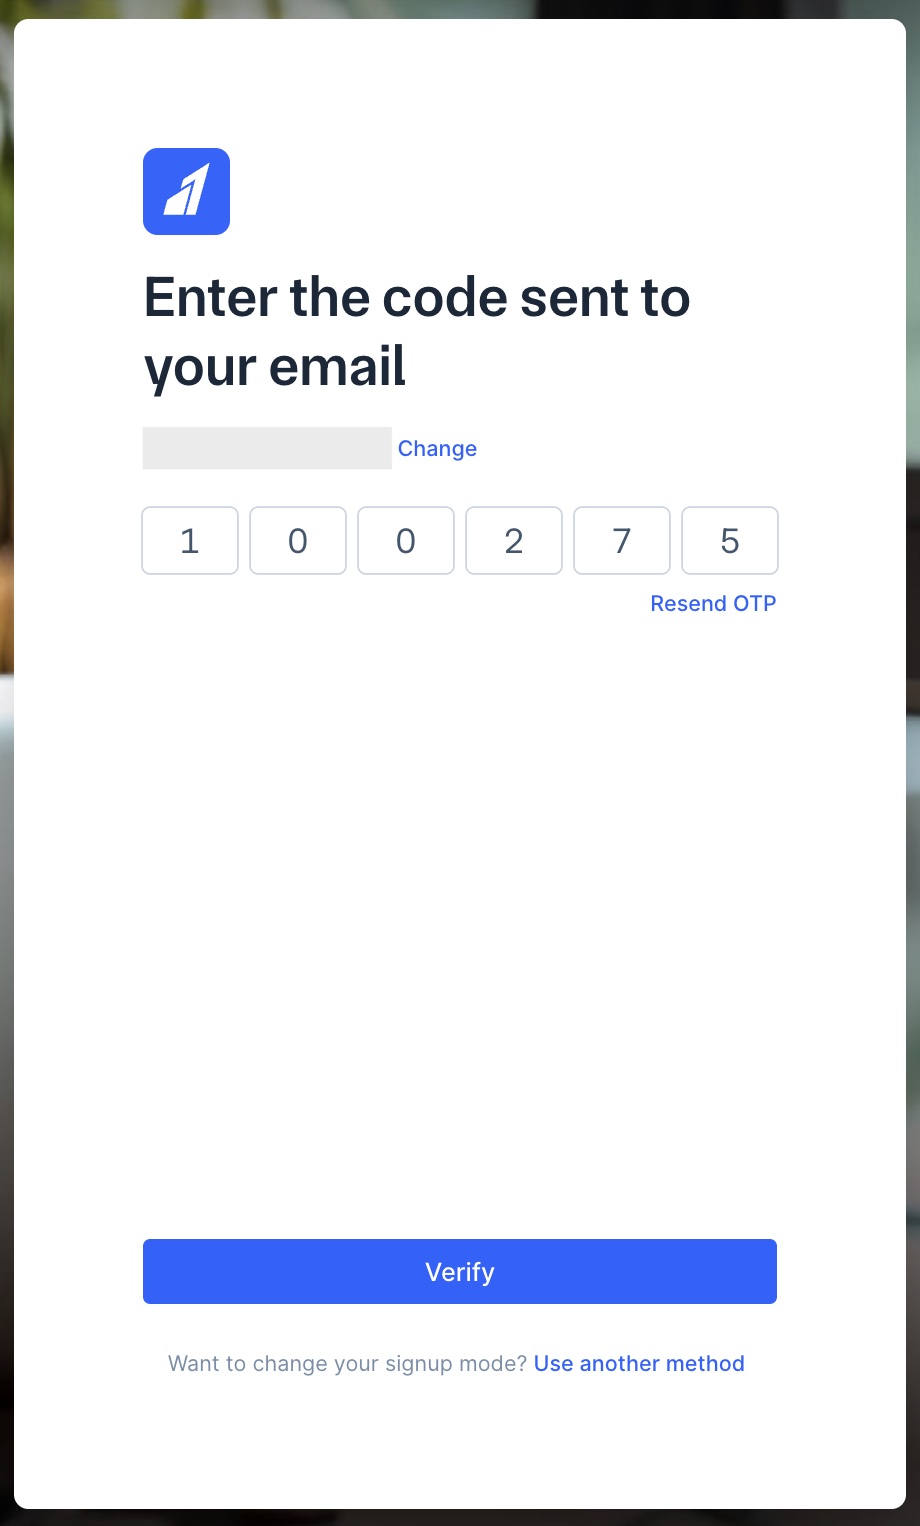
- Enter the OTP sent to your email address or phone number. Click Verify. If you did not receive the OTP, click Resend OTP.
- Click Submit OTP.
- Select business type. Click Proceed.
Basic Details
Basic Details
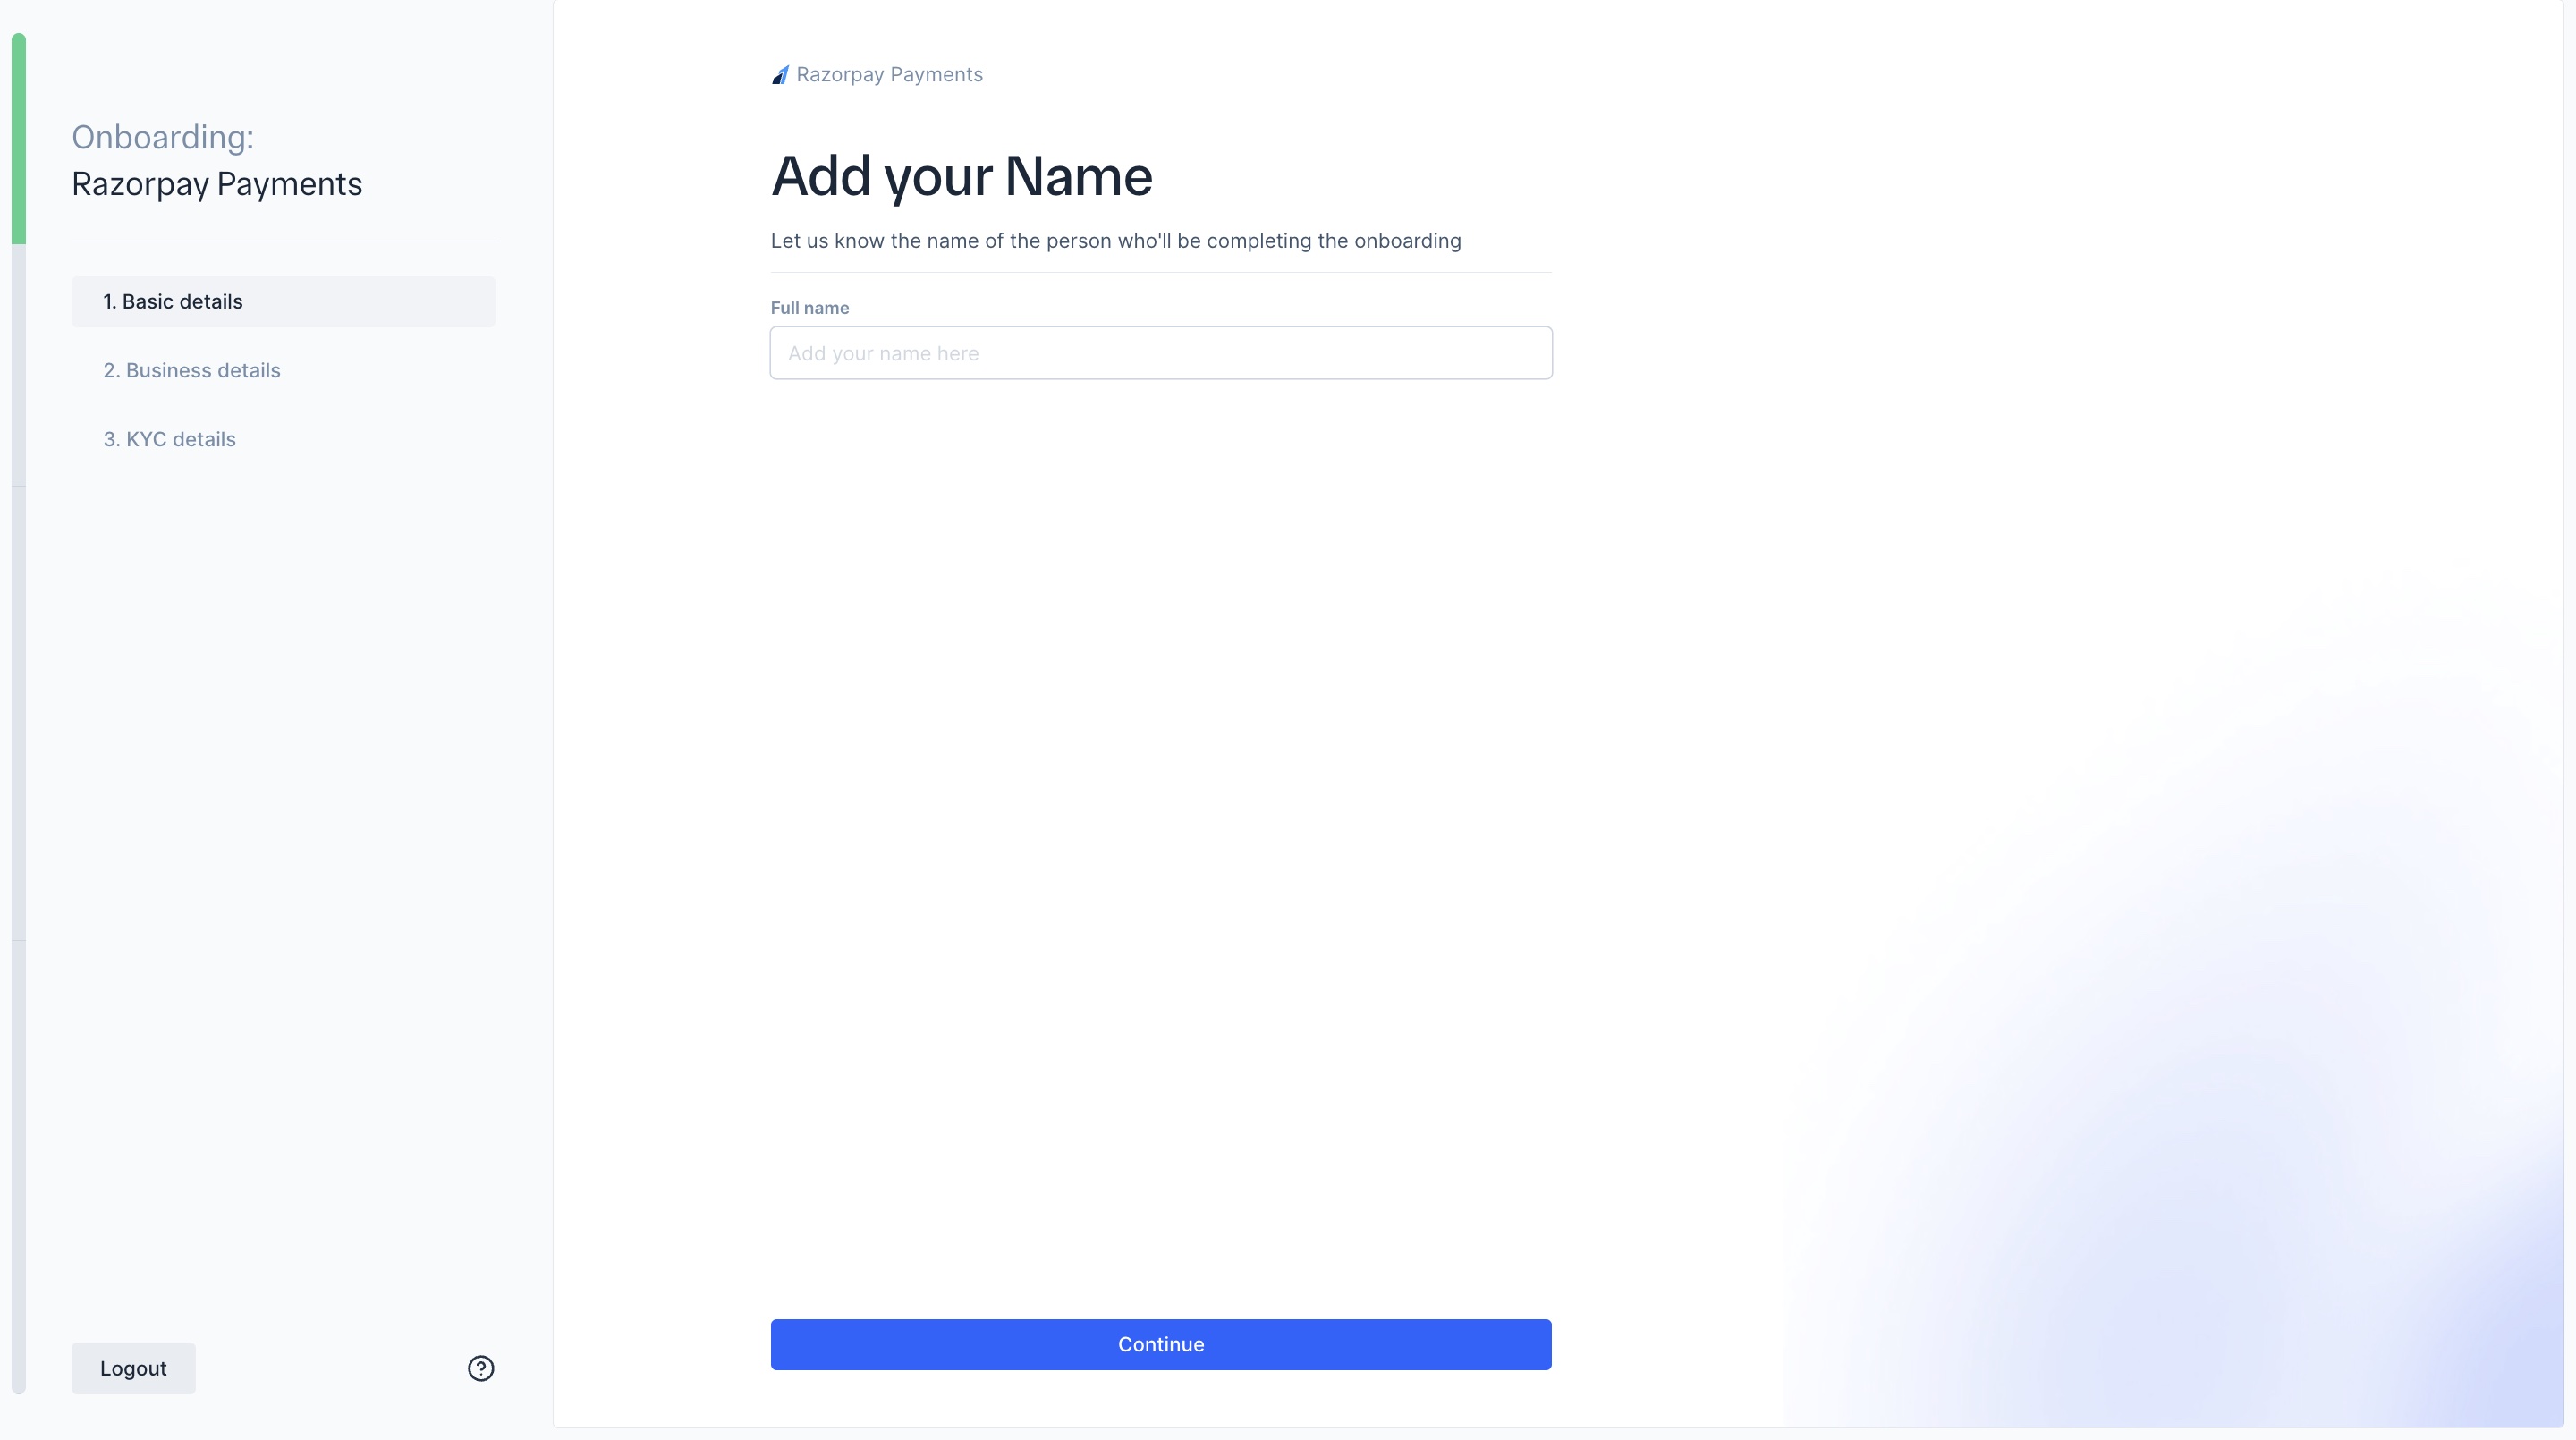
Provide your basic details to set up your account.
- Enter your Full name. This name must be of the person who will be completing the onboarding. Click Continue.
- Enter your Mobile number. Click Continue.
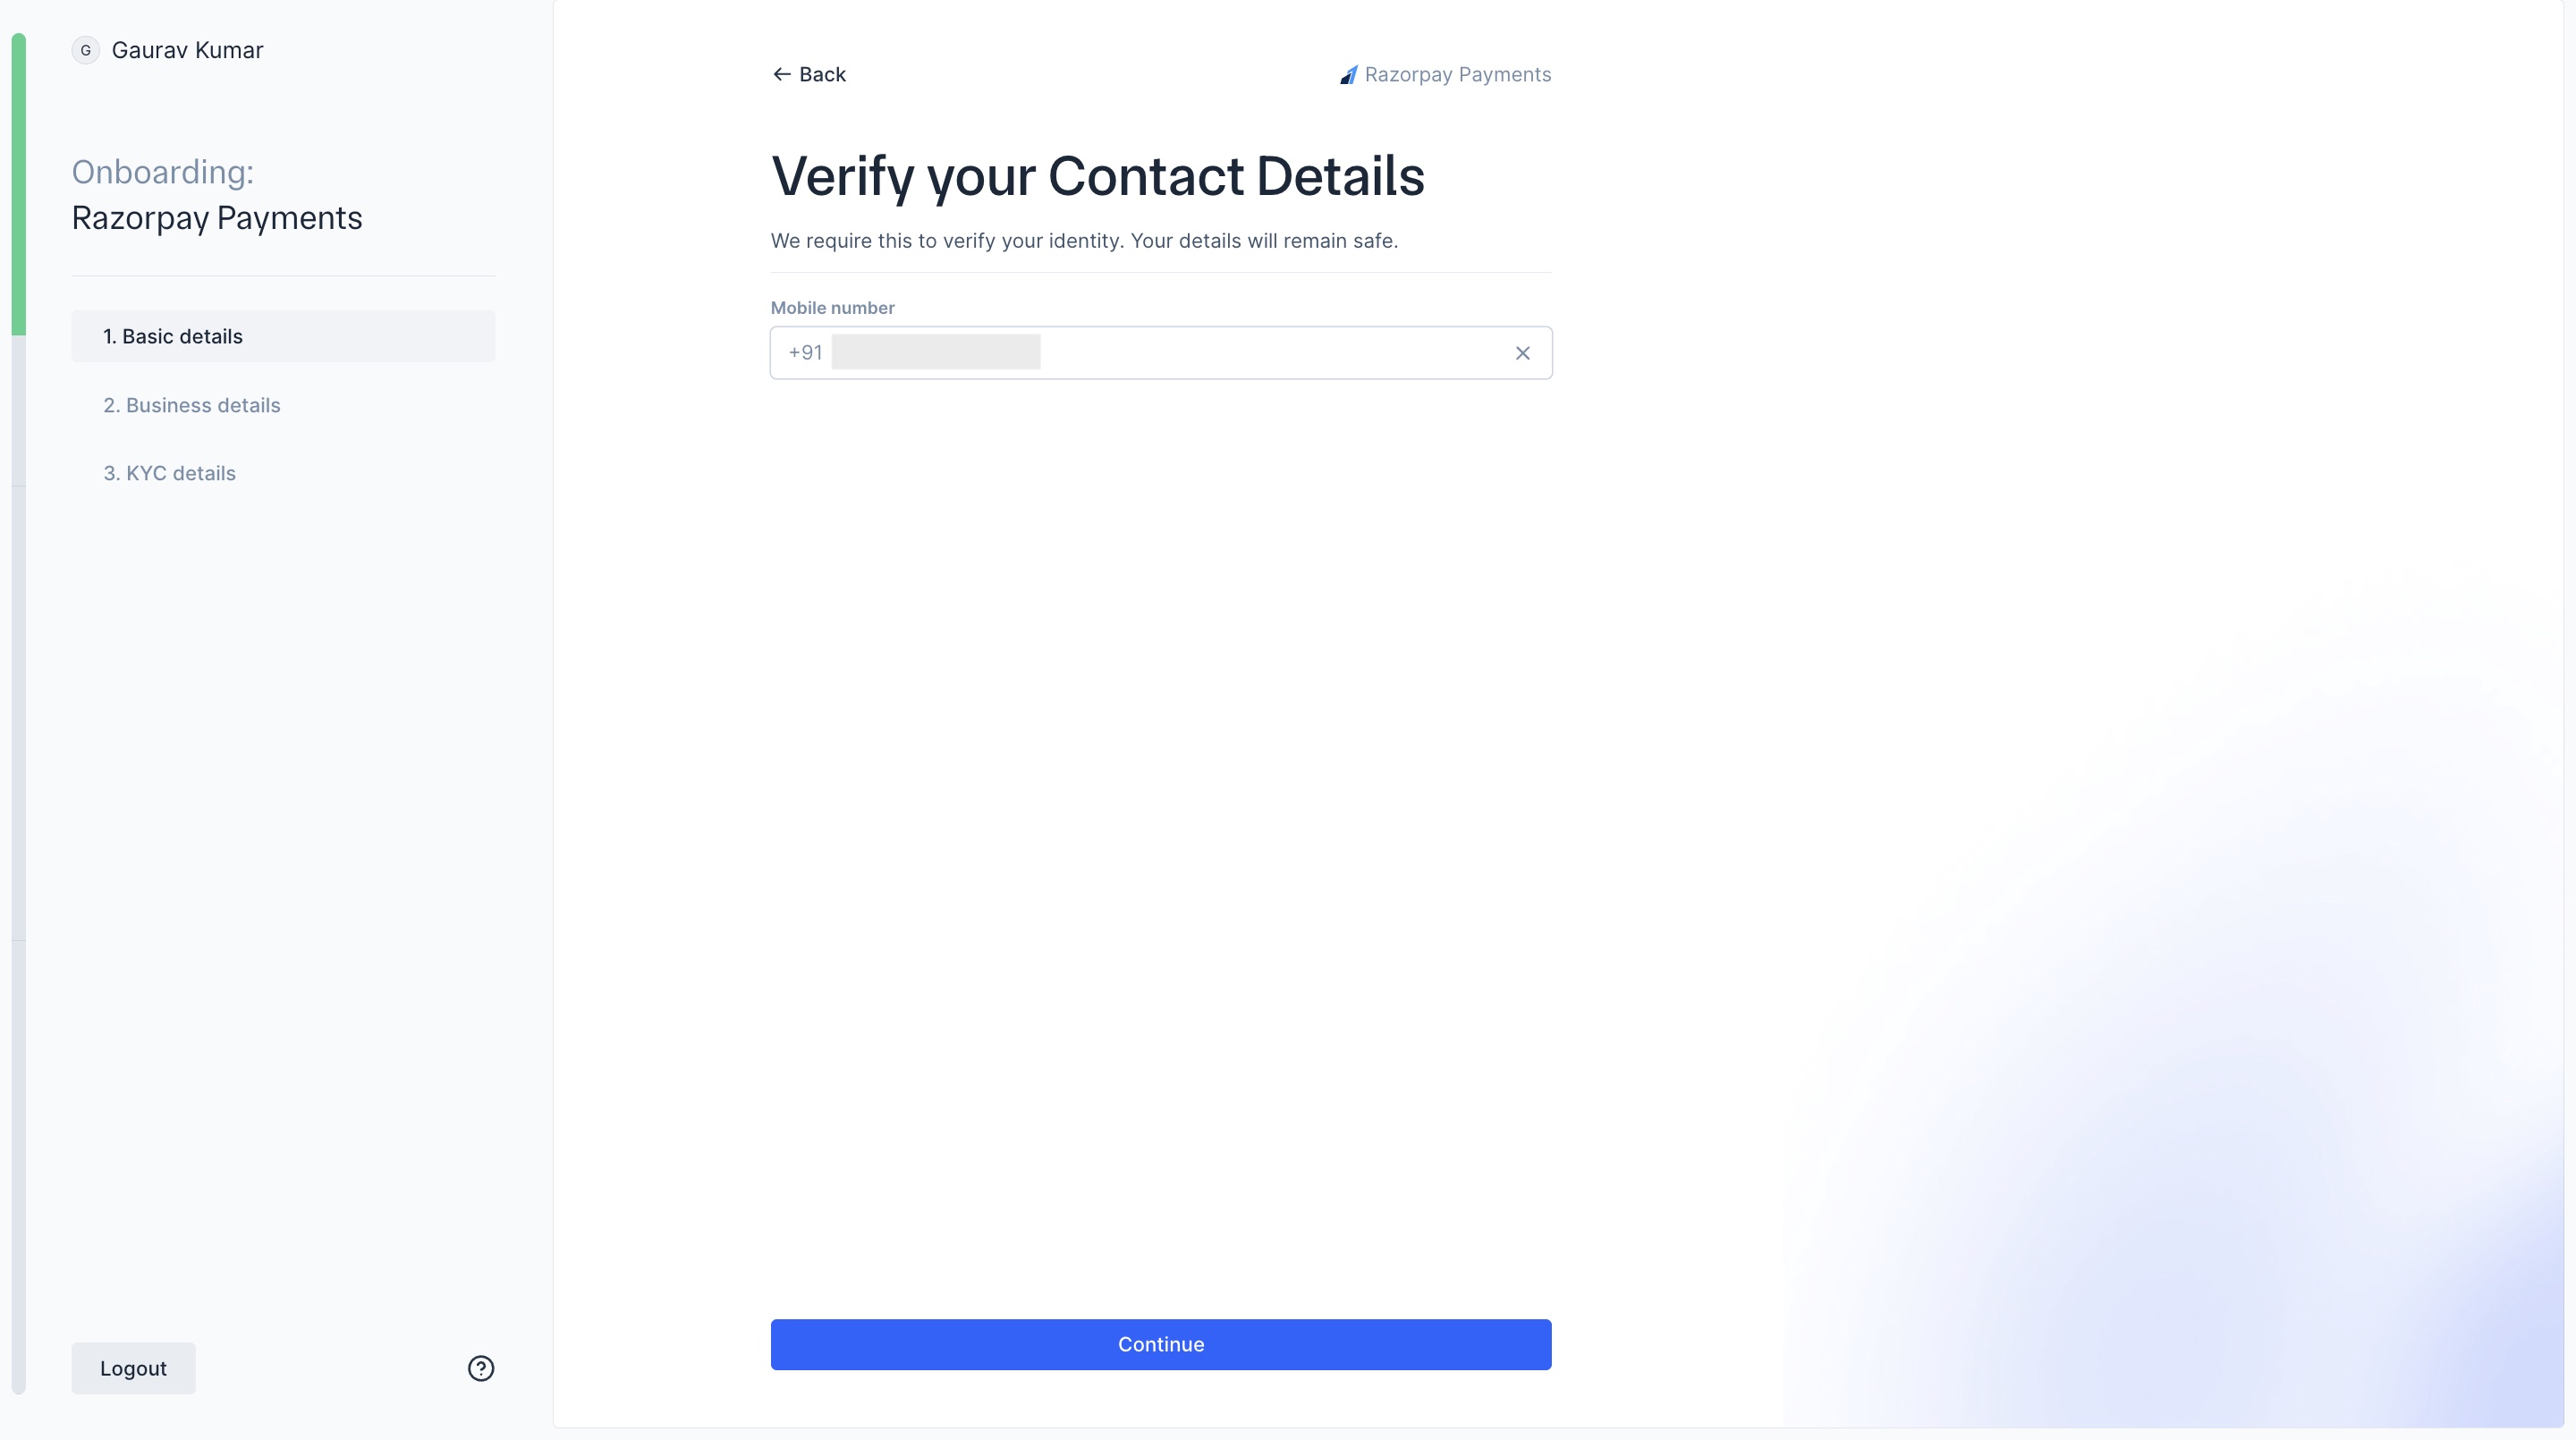
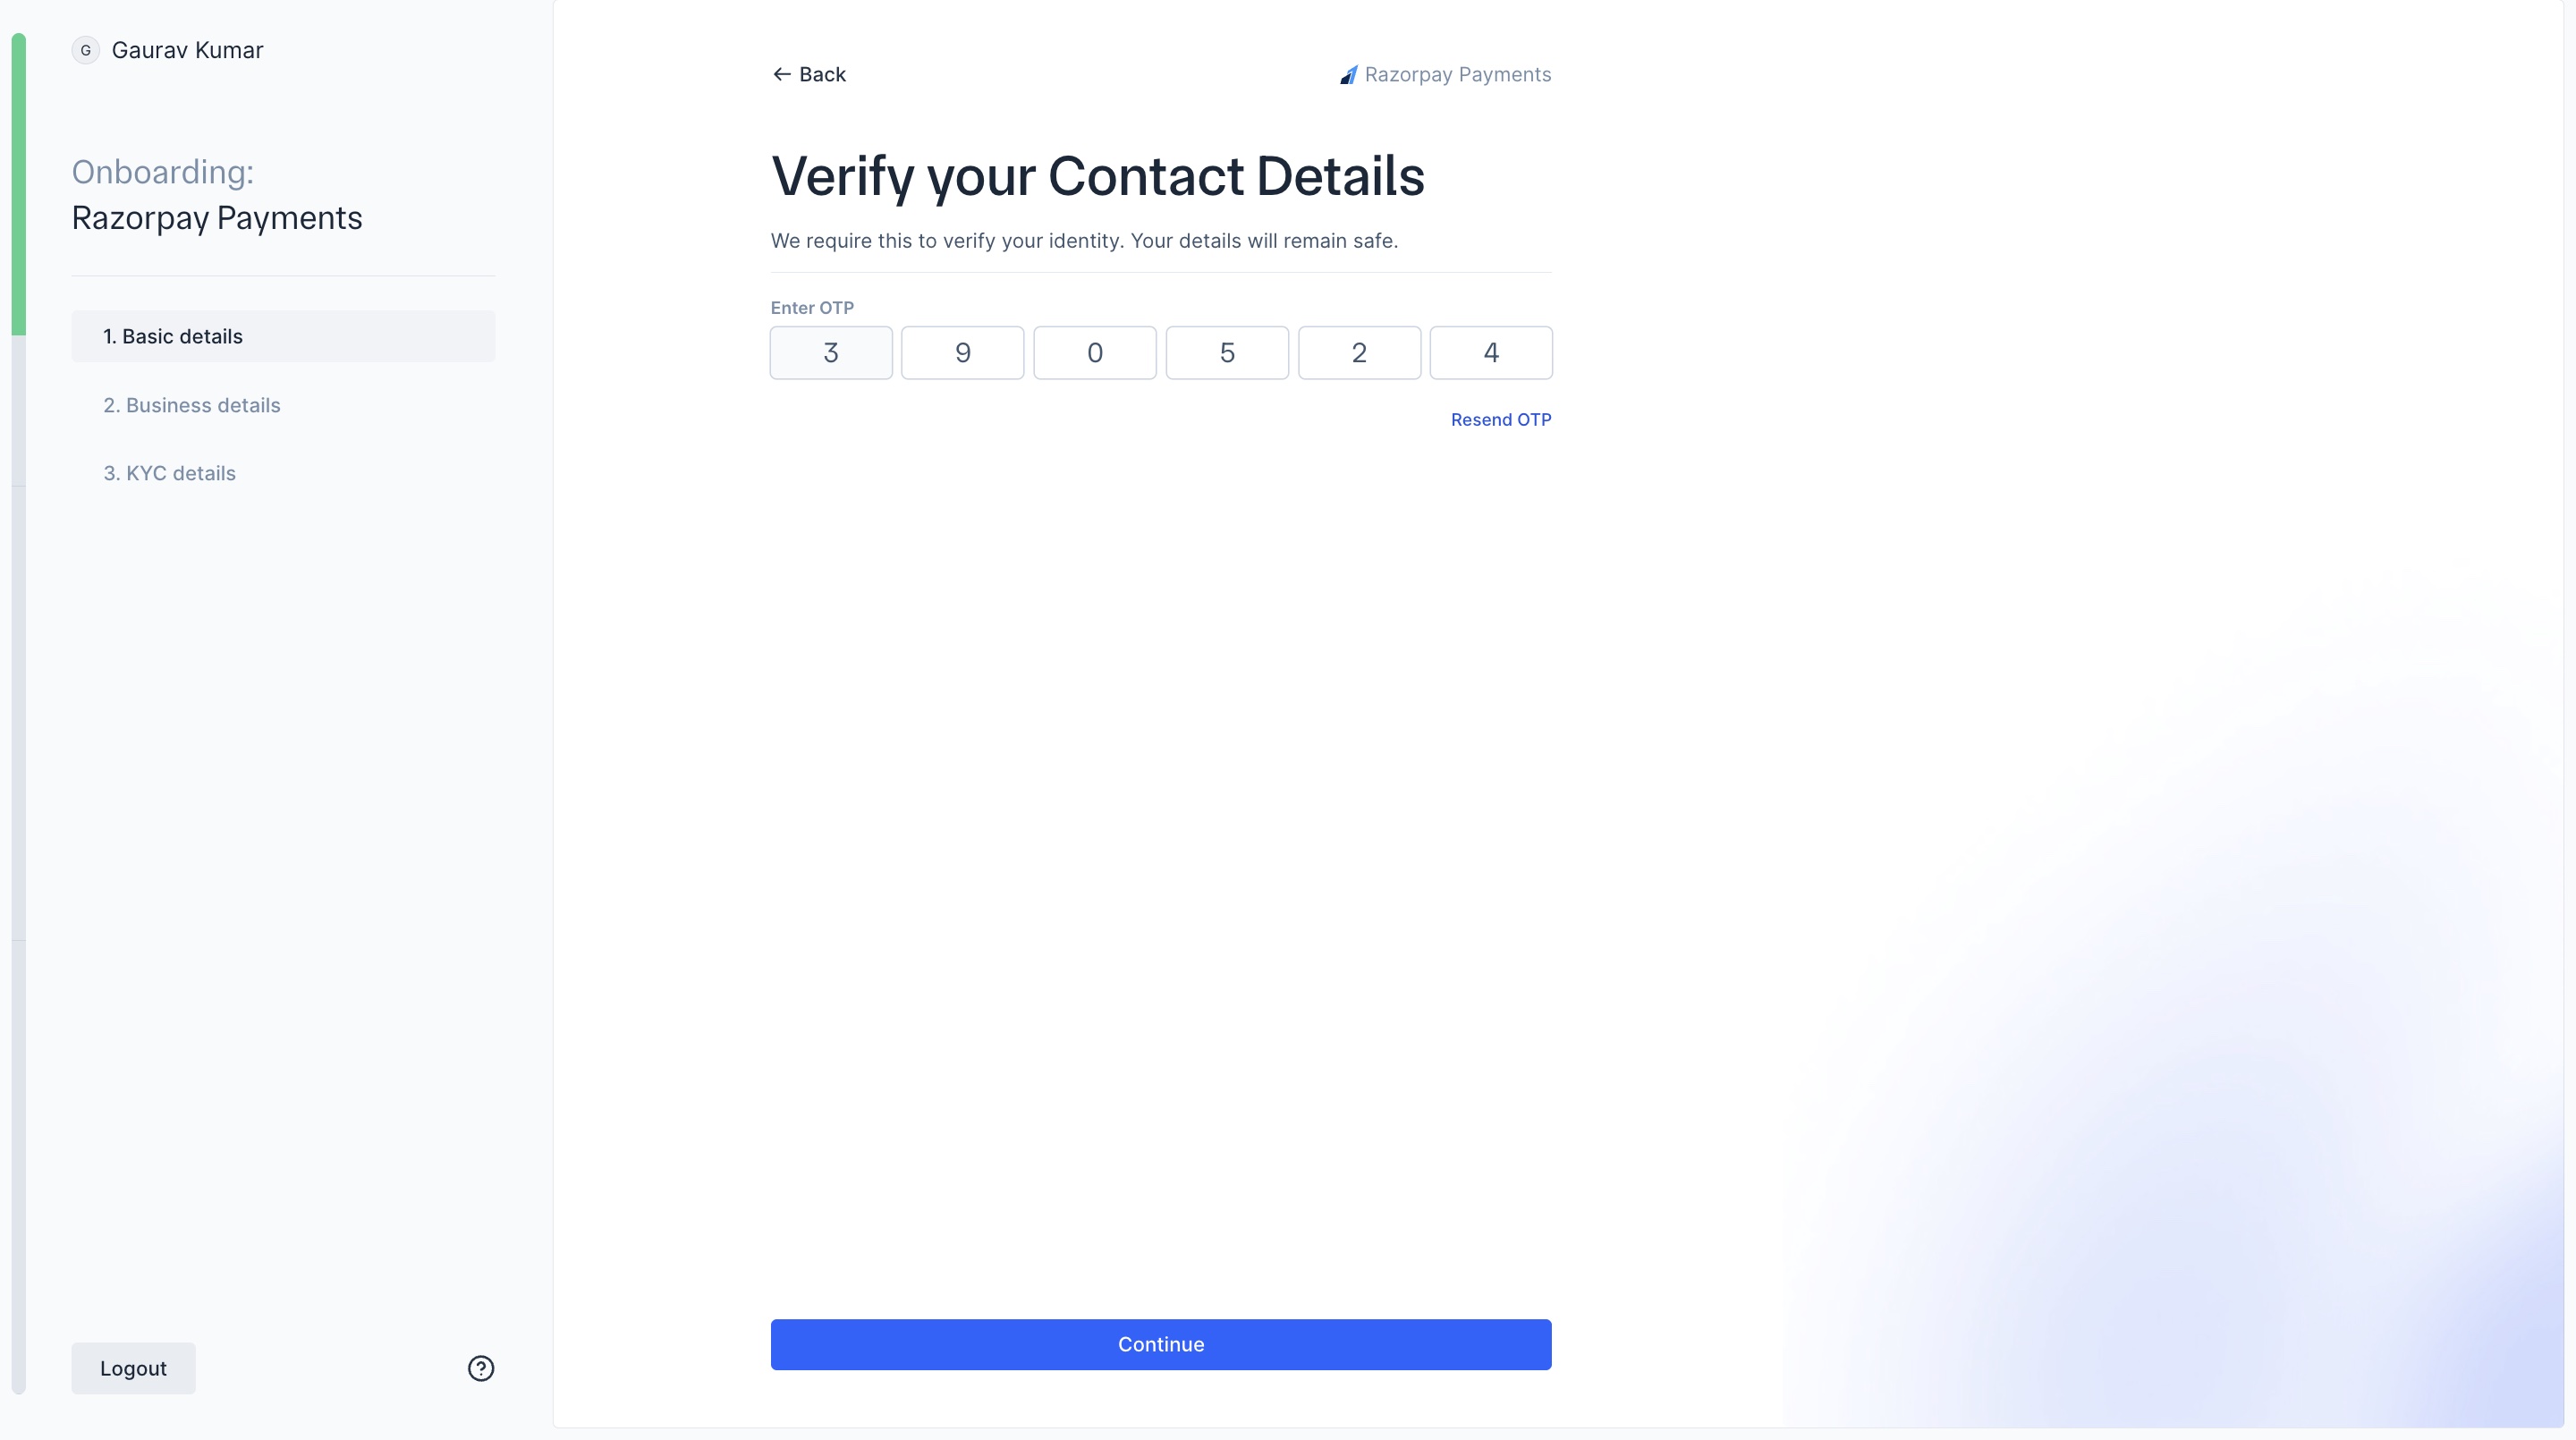
- Enter the OTP sent to your mobile number. Click Continue.
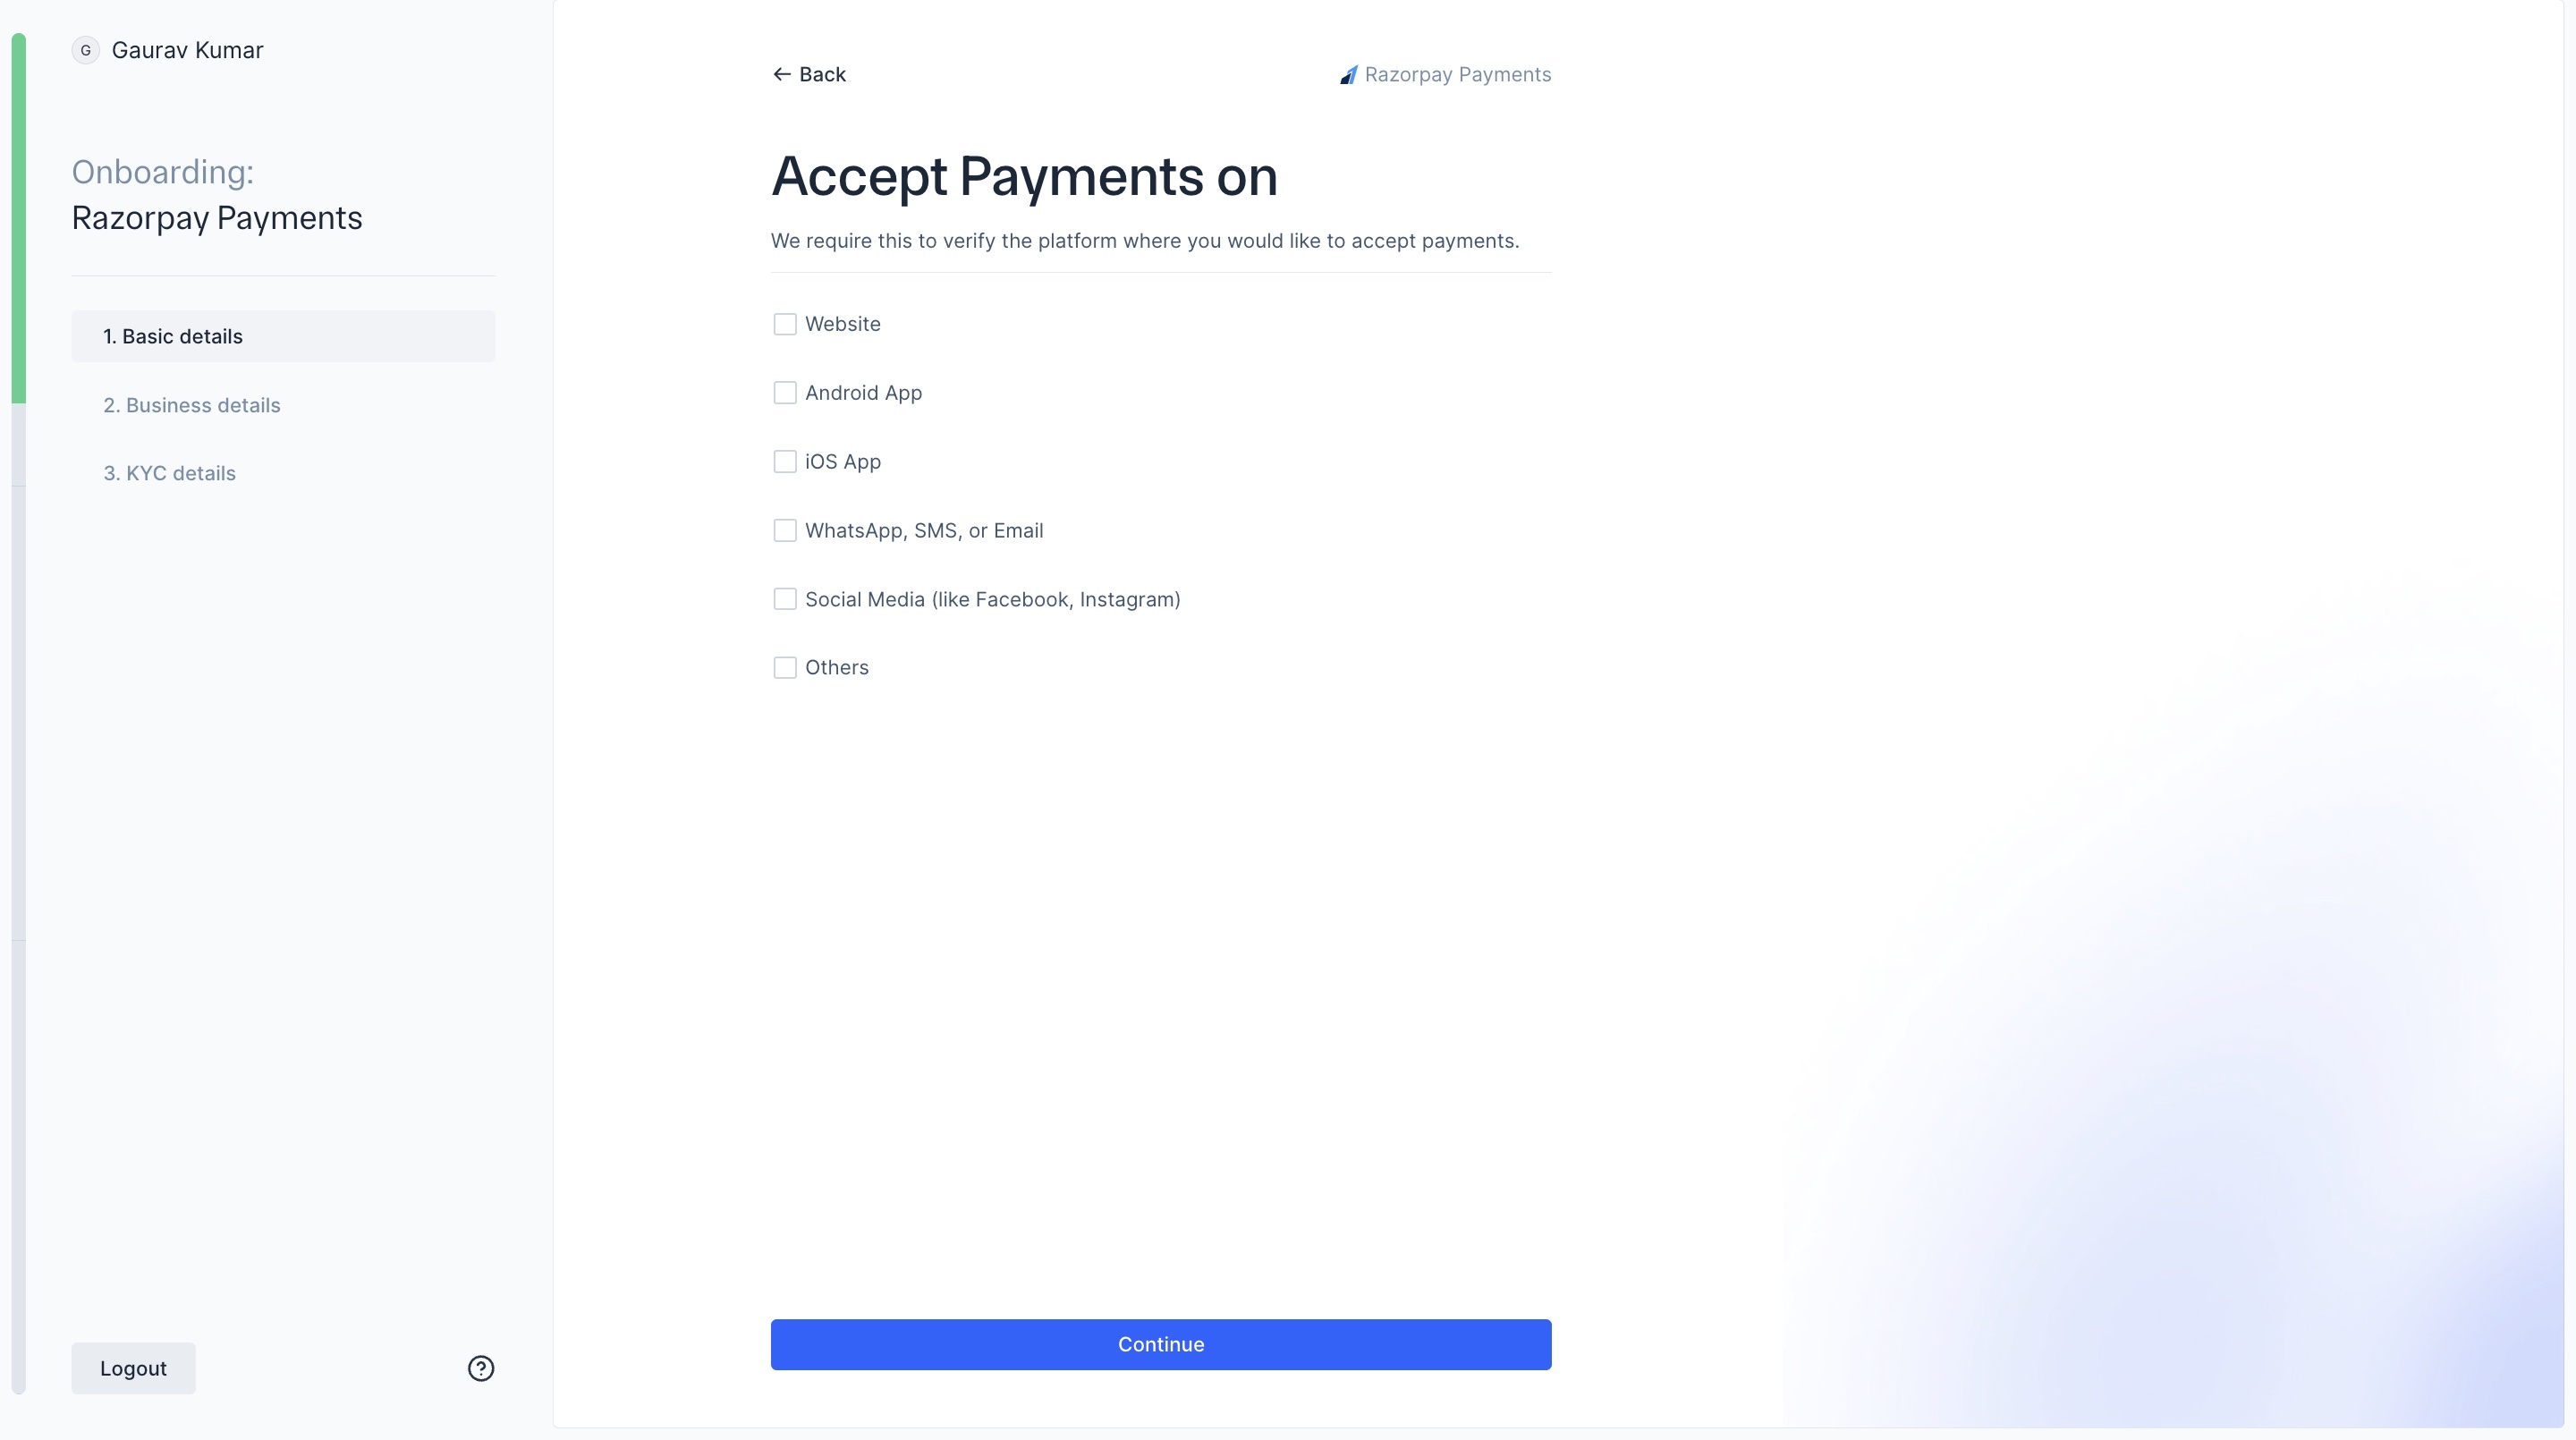
- Select the platforms where you would like to accept payments. Click Continue.
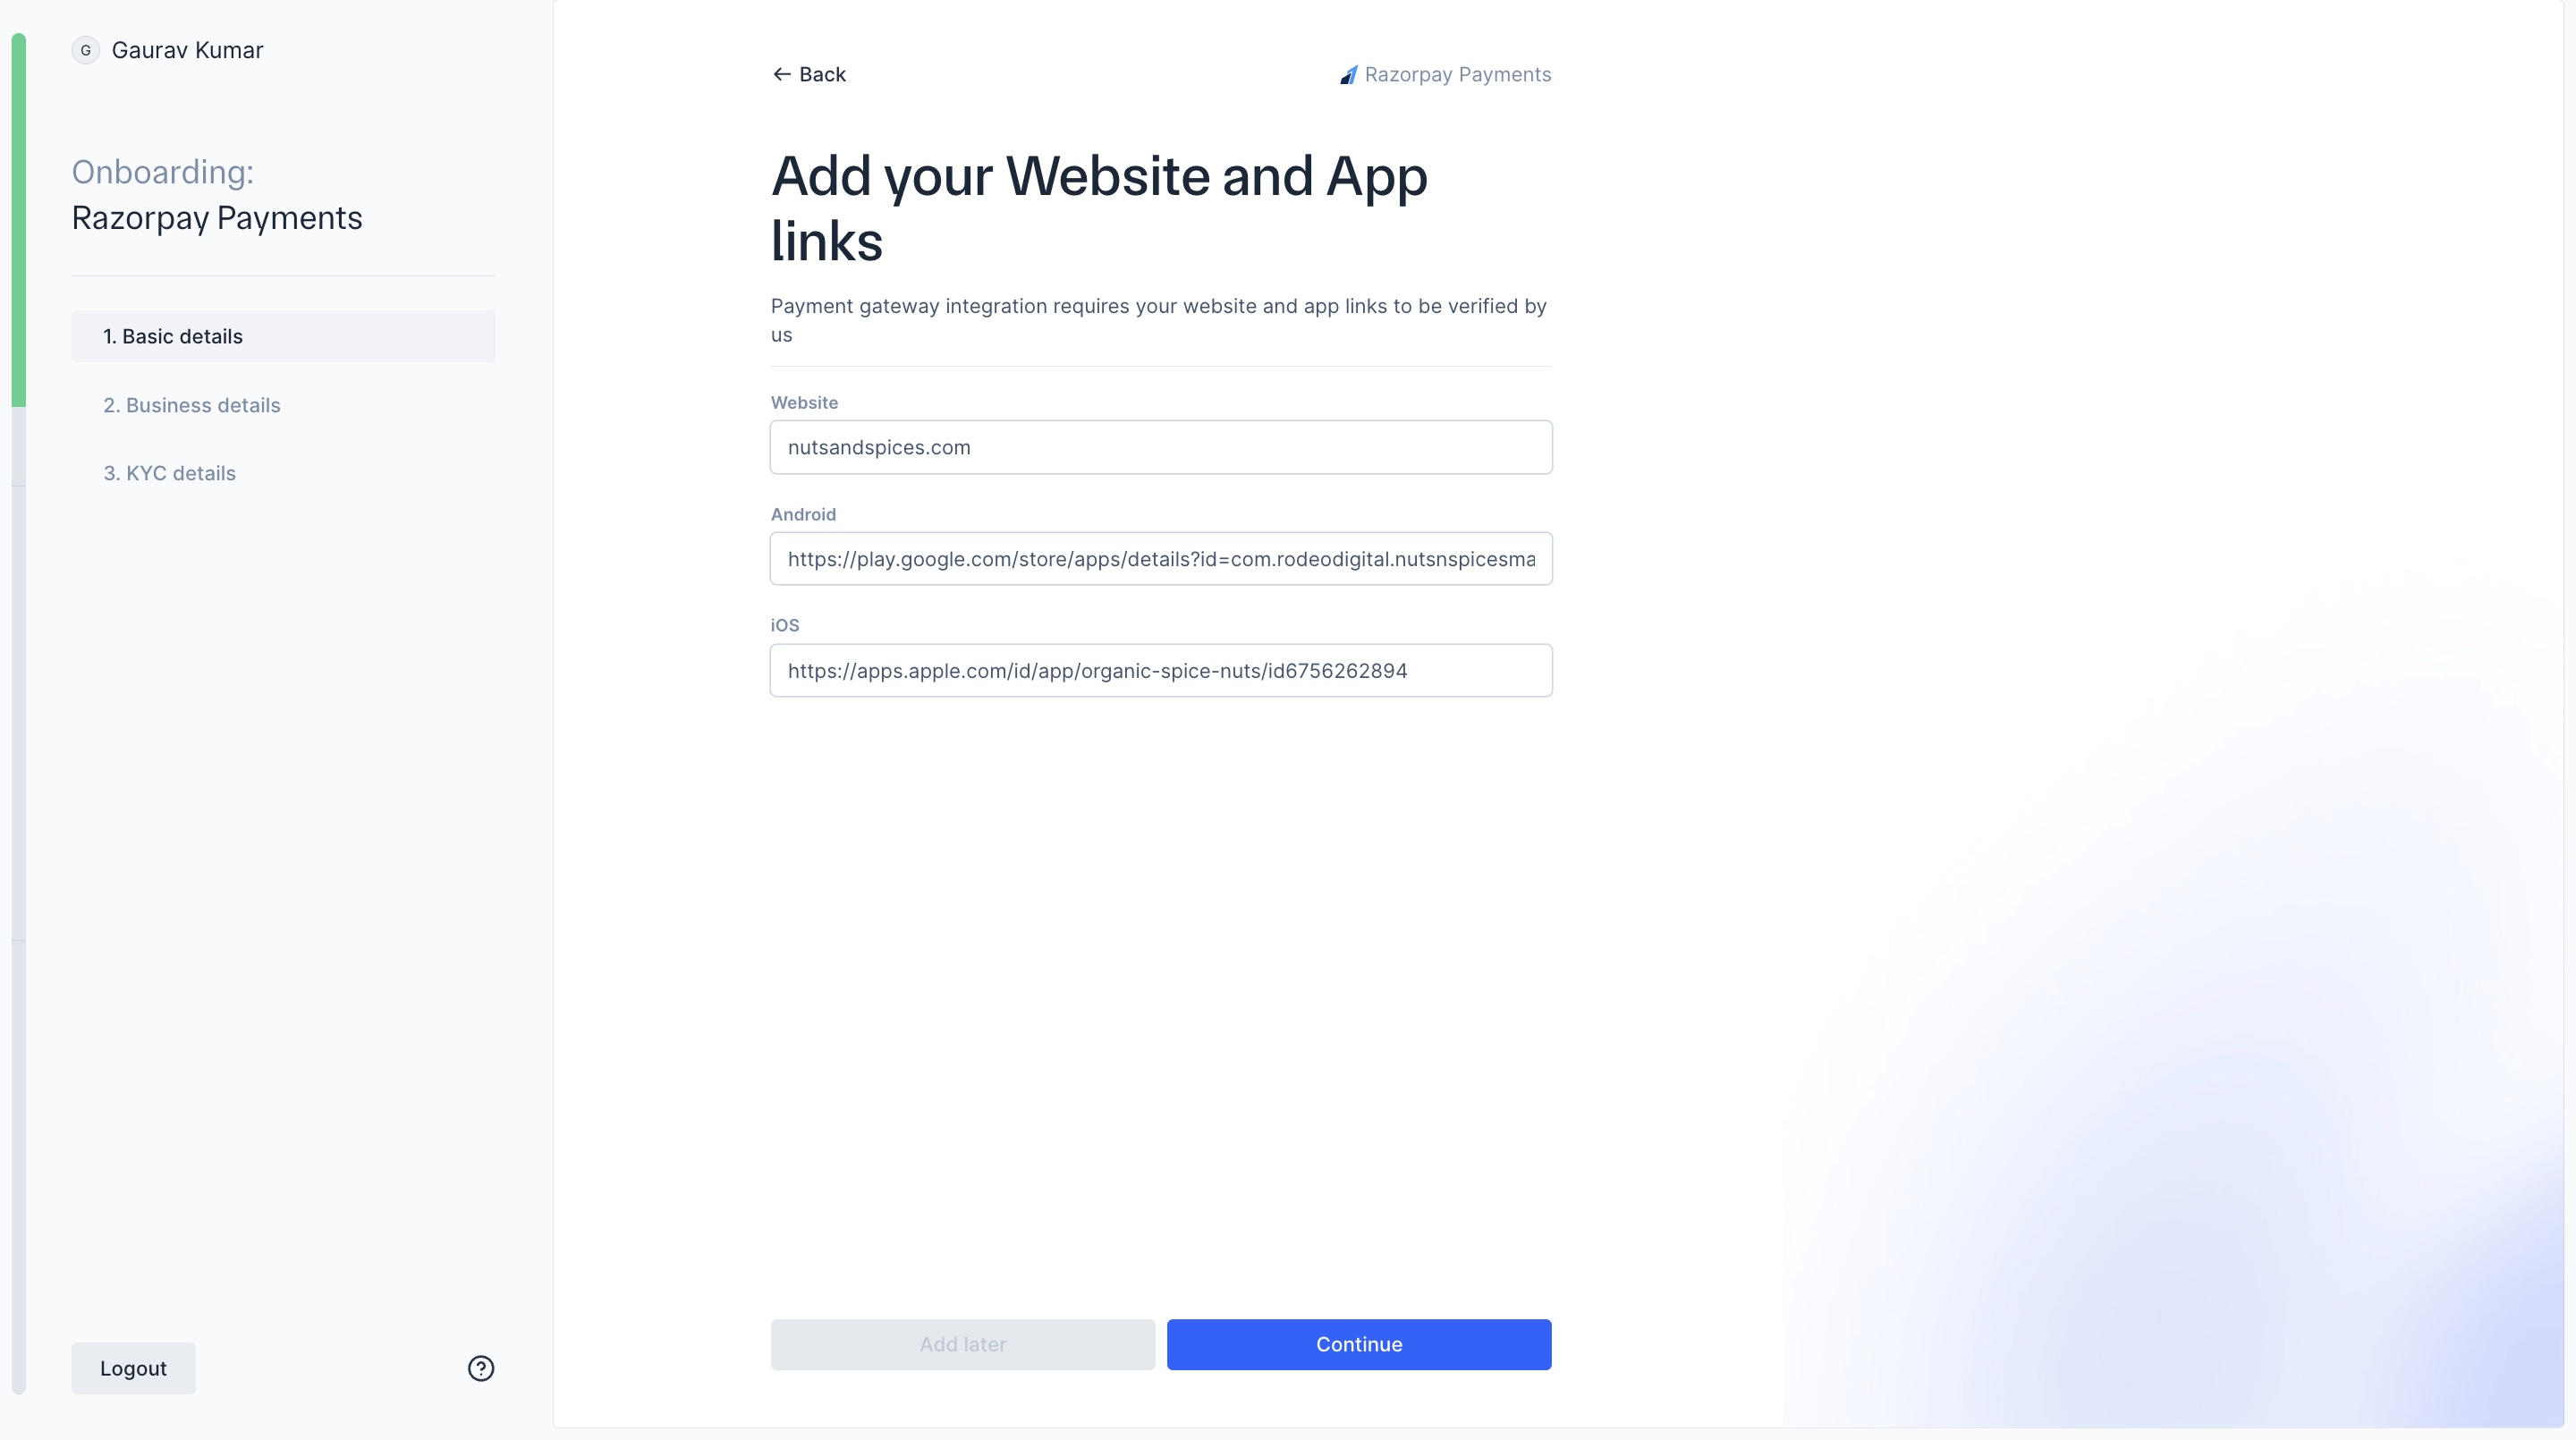
- Add website or application links. Click Continue. If you wish to add these later, click Add later.
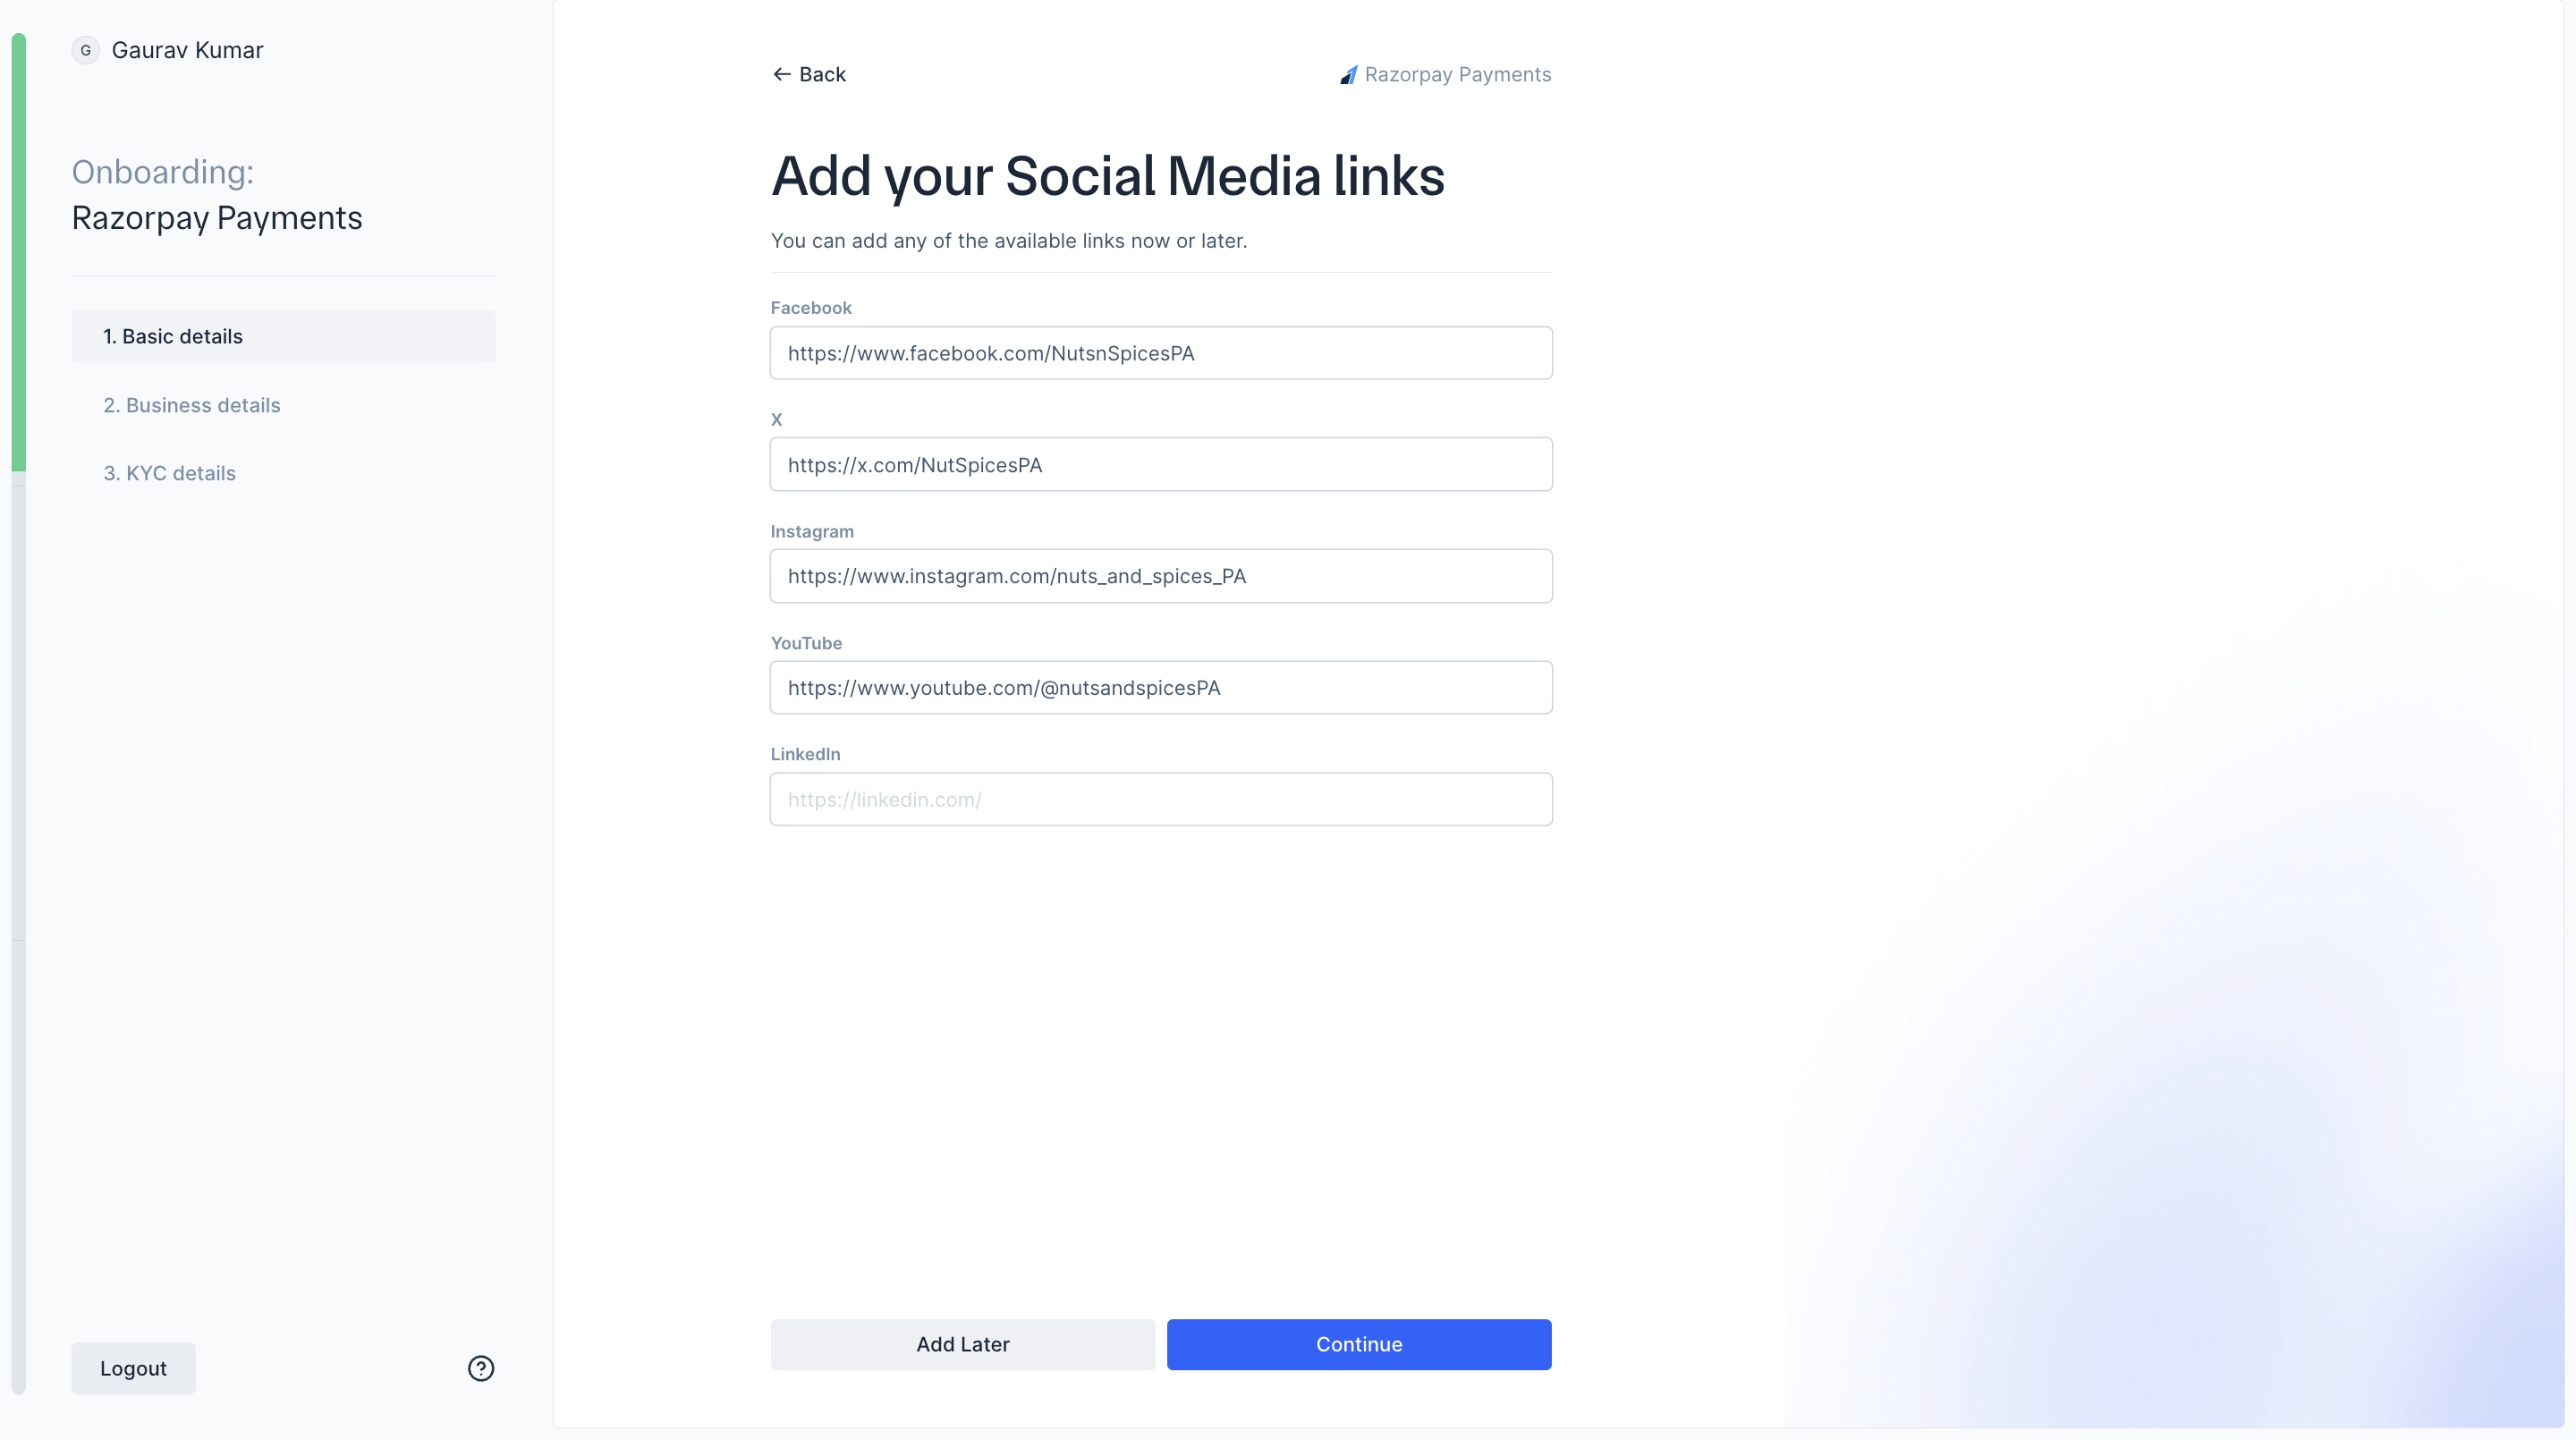
- Add the Social media links that are available. Click Continue. If you wish to add these later, click Add later.
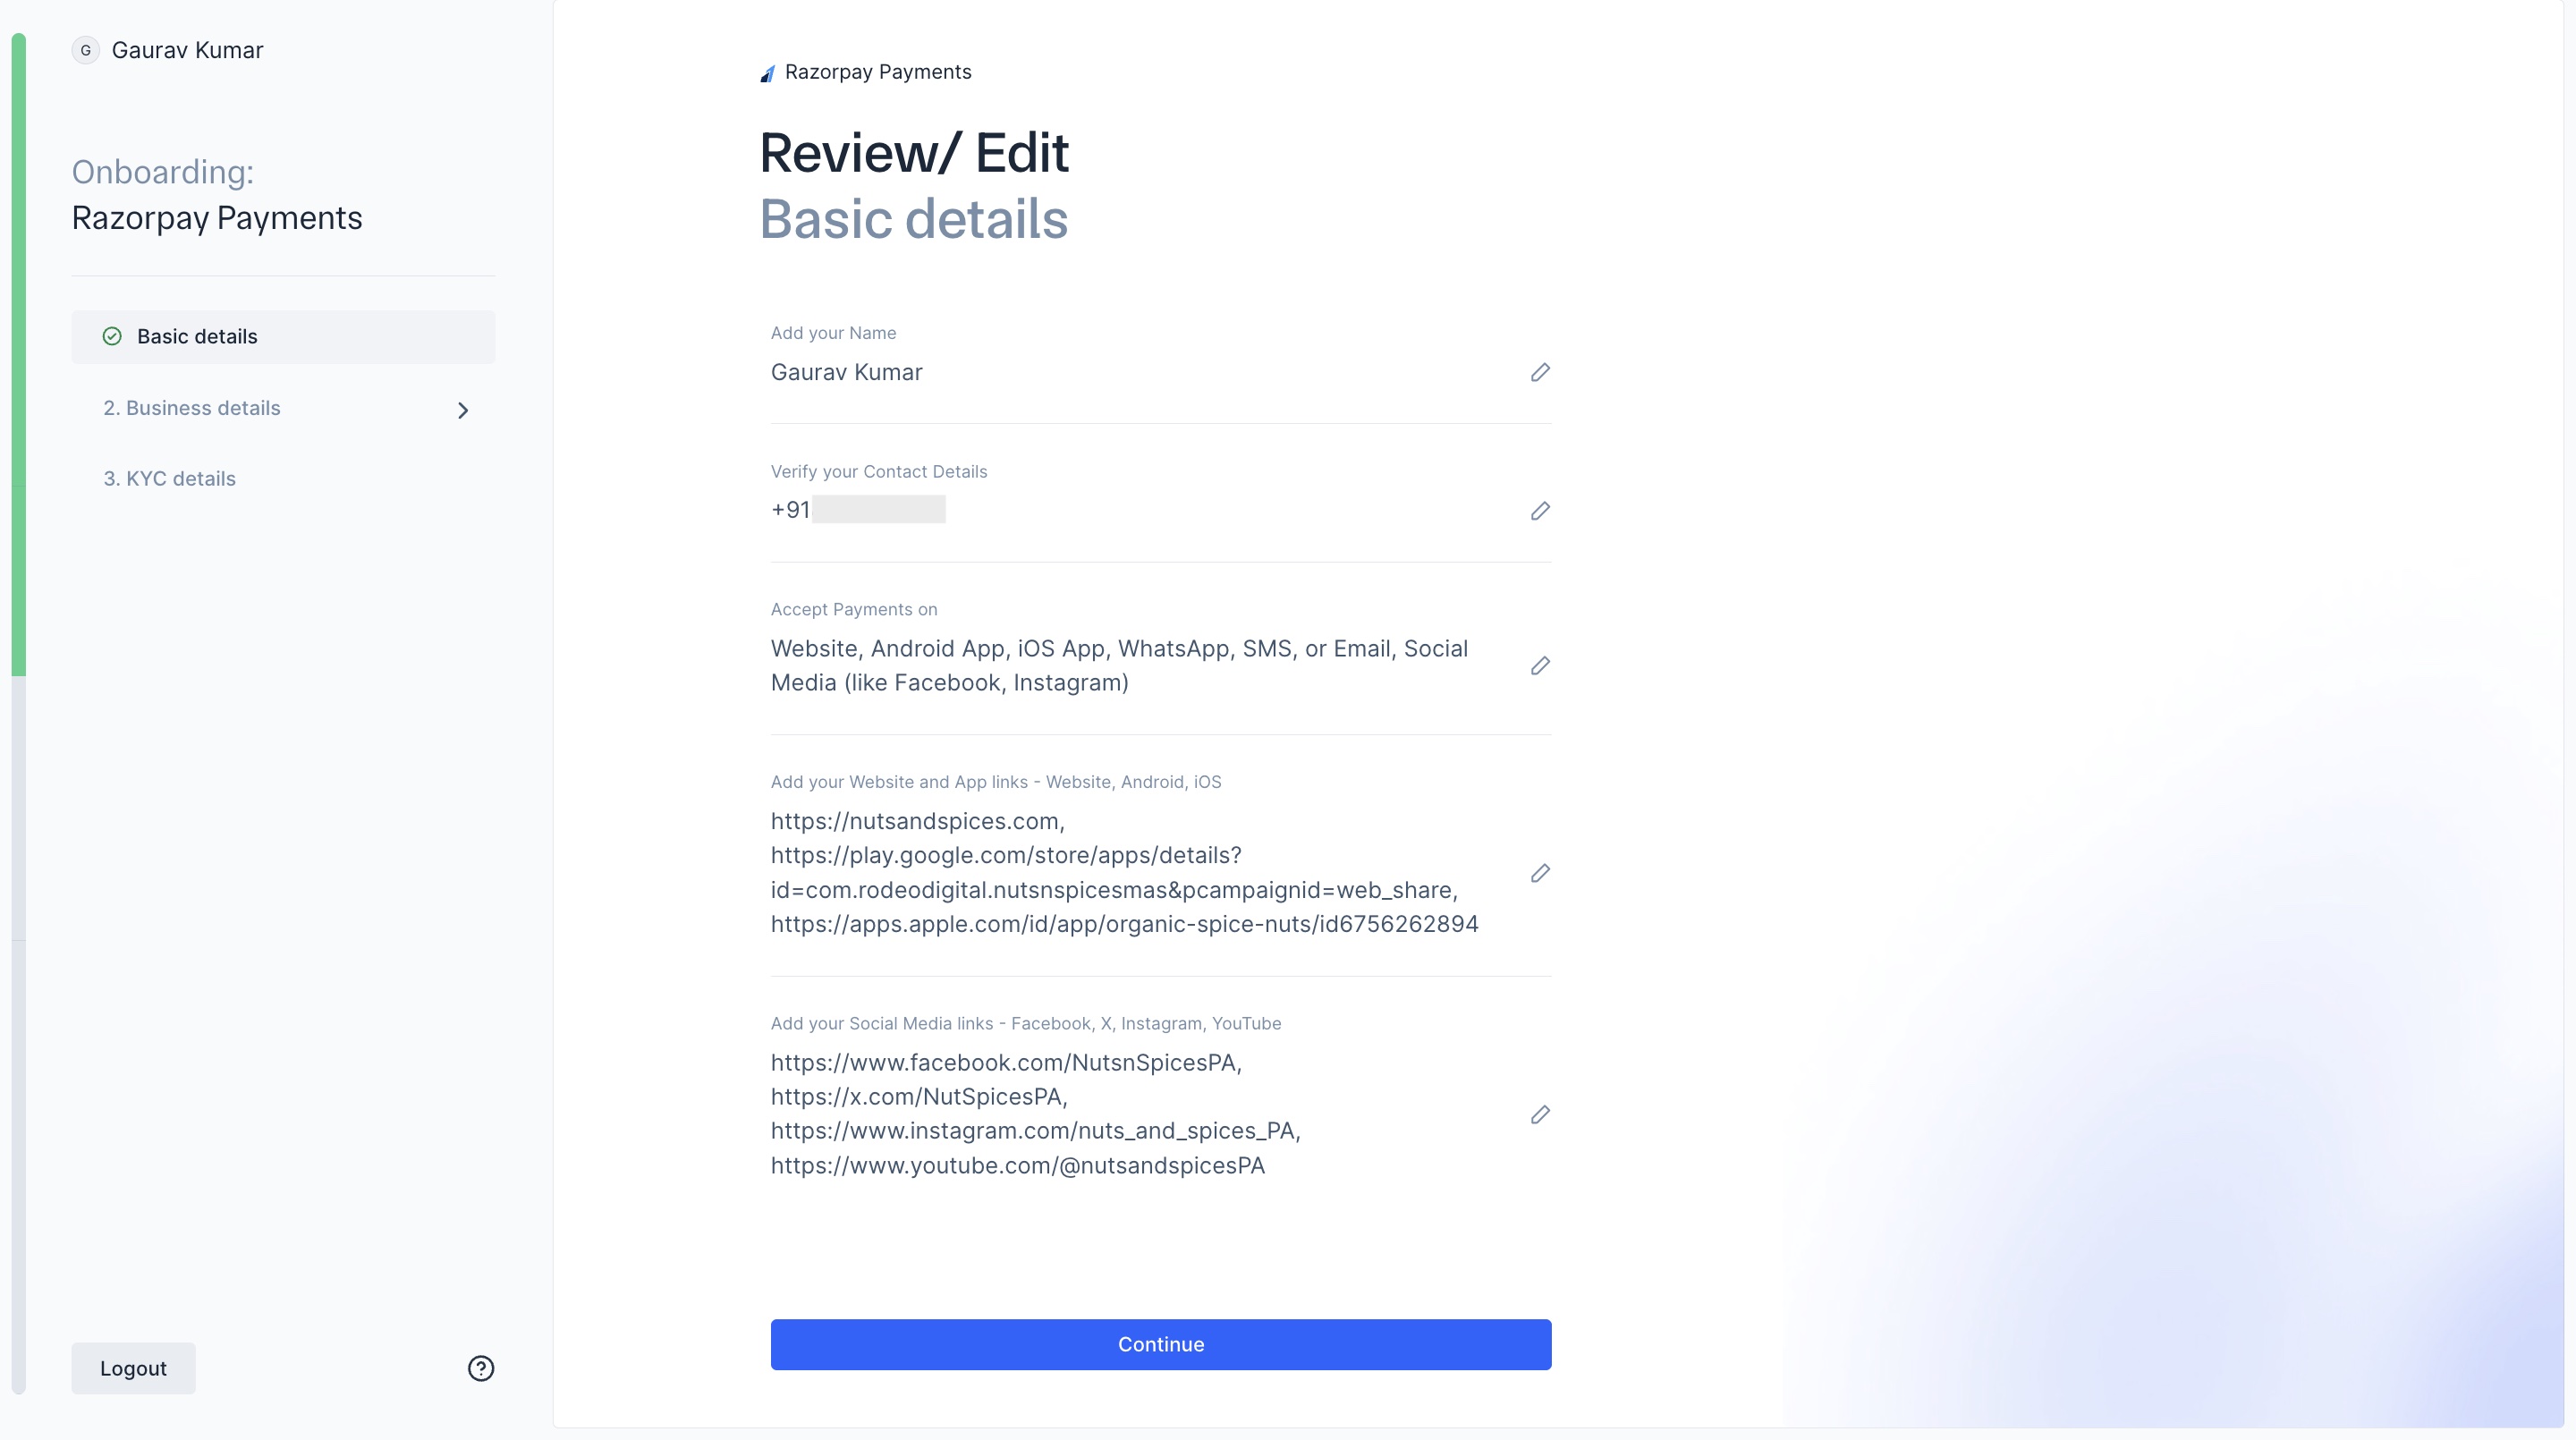
- Review the basic details you entered. Click Continue after verifying the information.
Business Details
Business Details
Provide your business details.
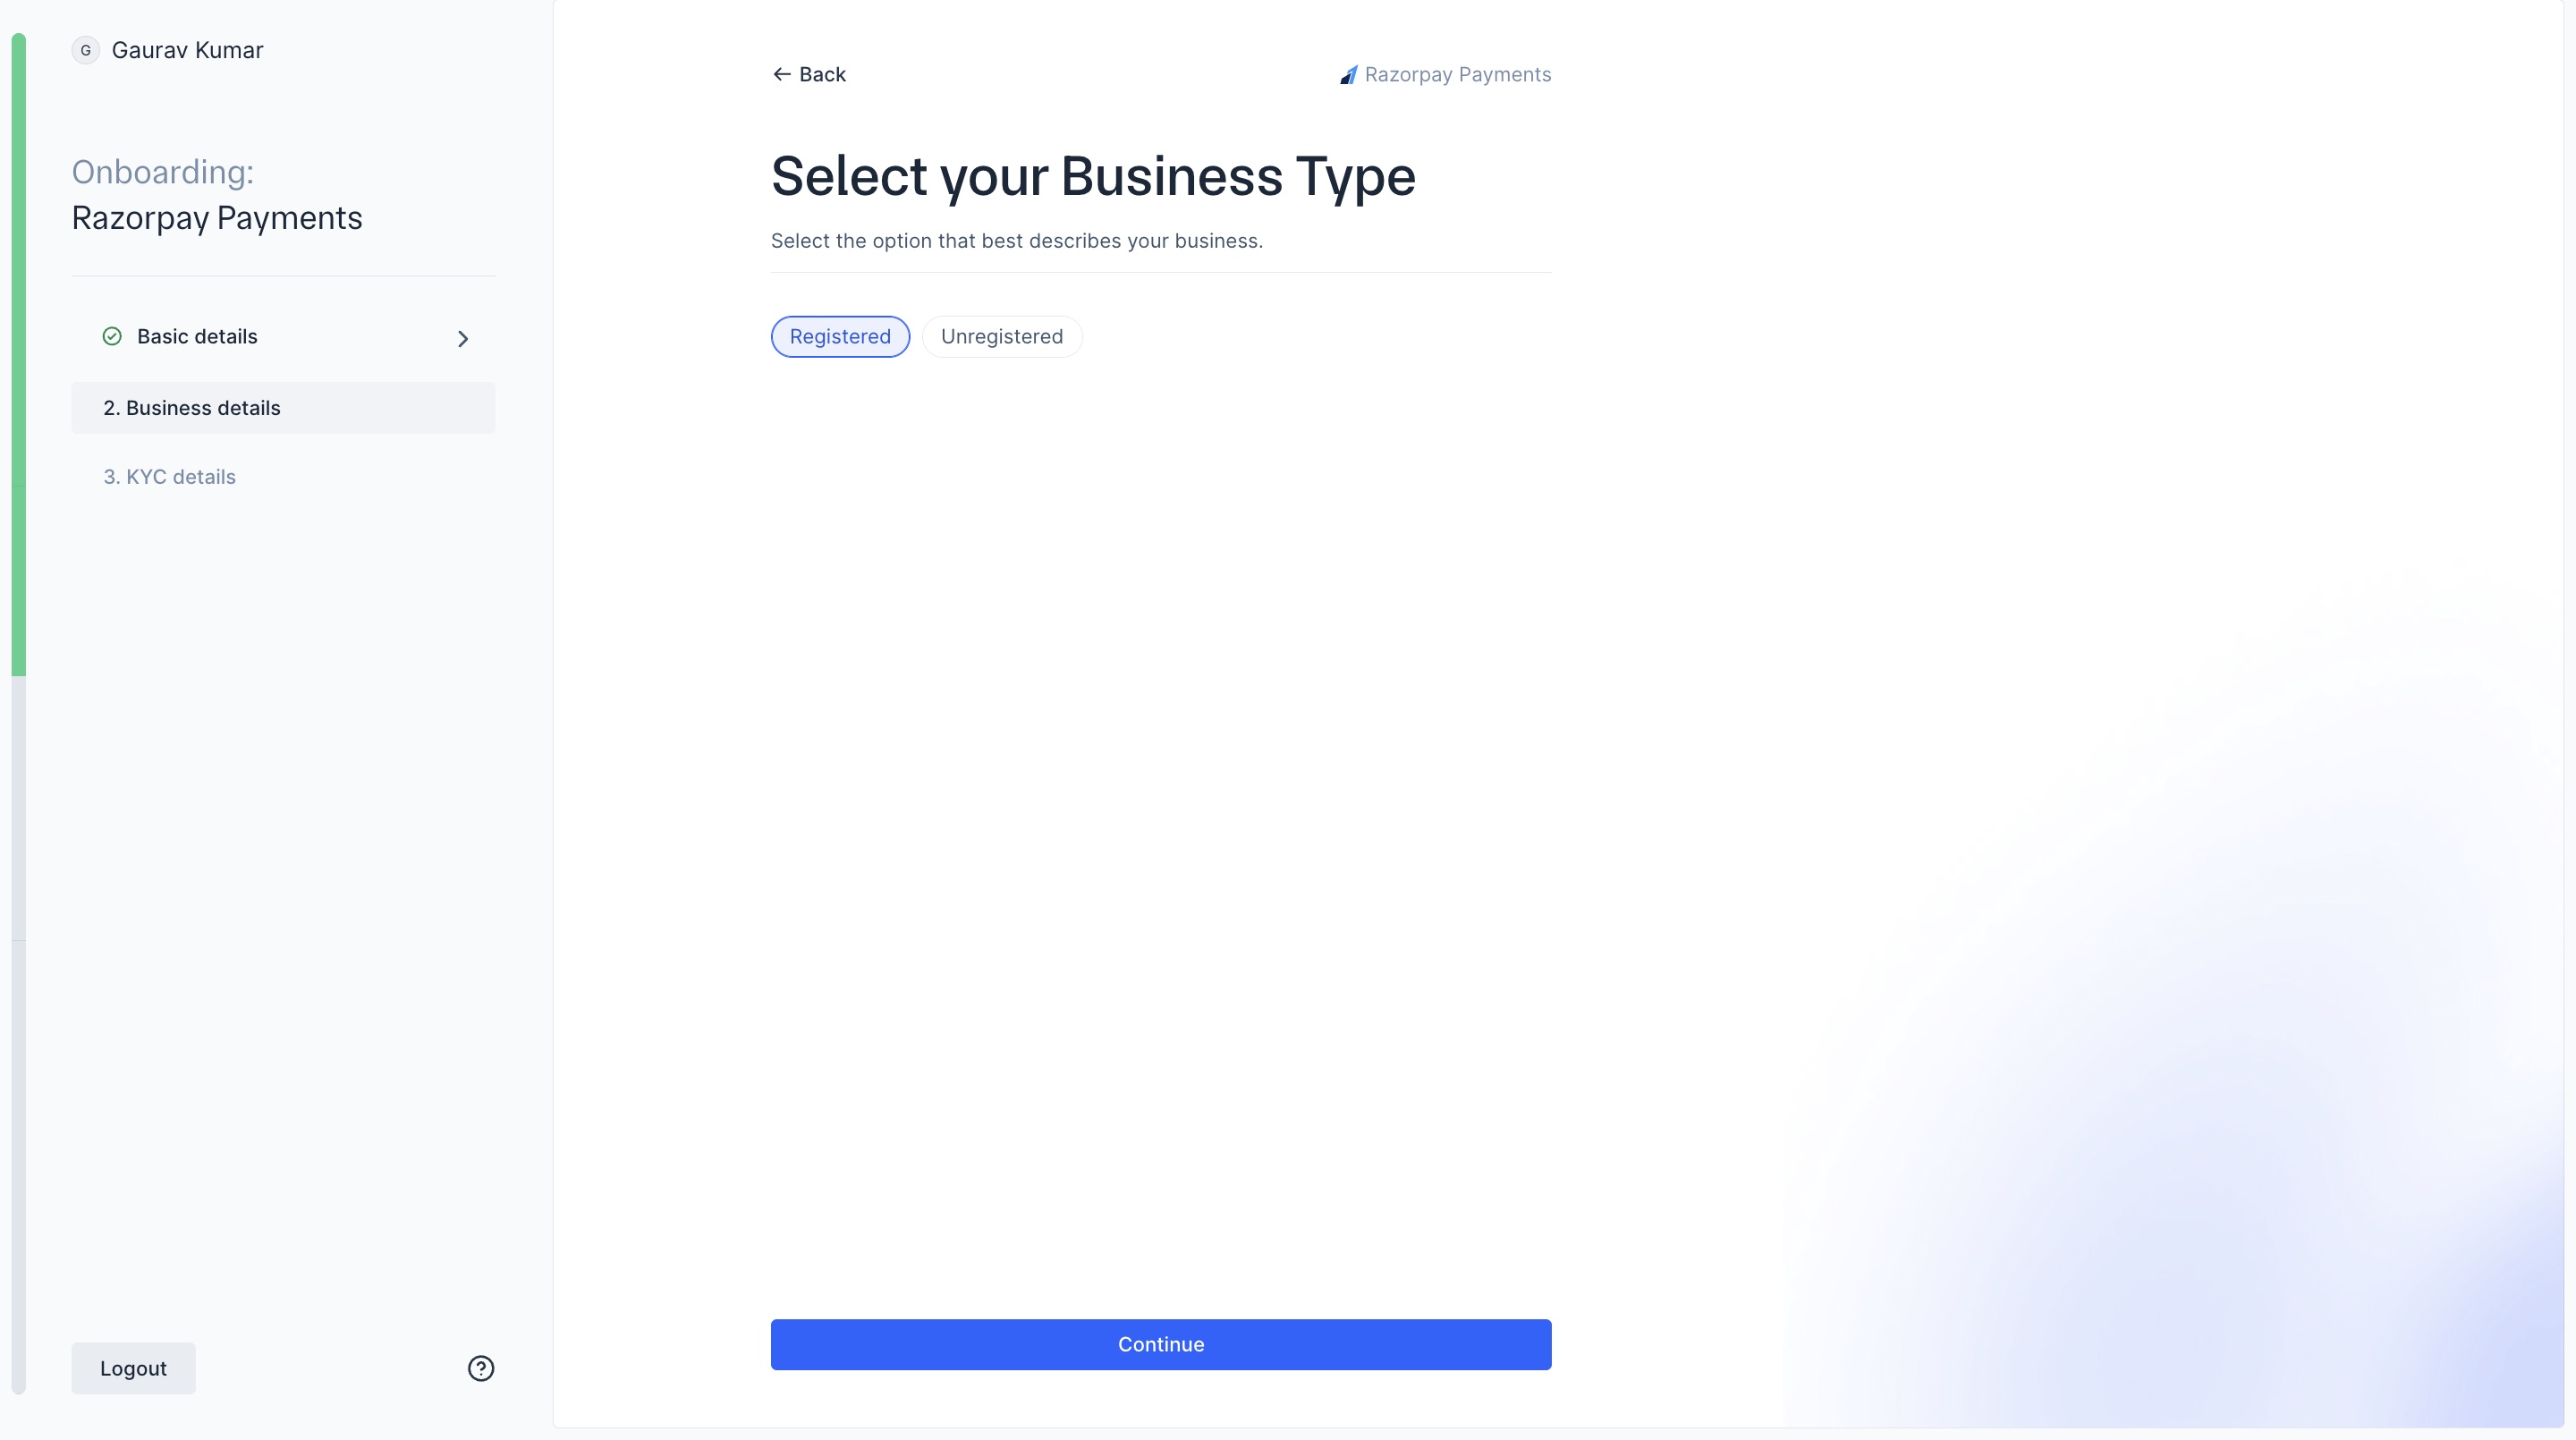
- Select your business type: Registered or Unregistered. Click Continue.
- Select your business sub-type based on the available options. Click Continue.
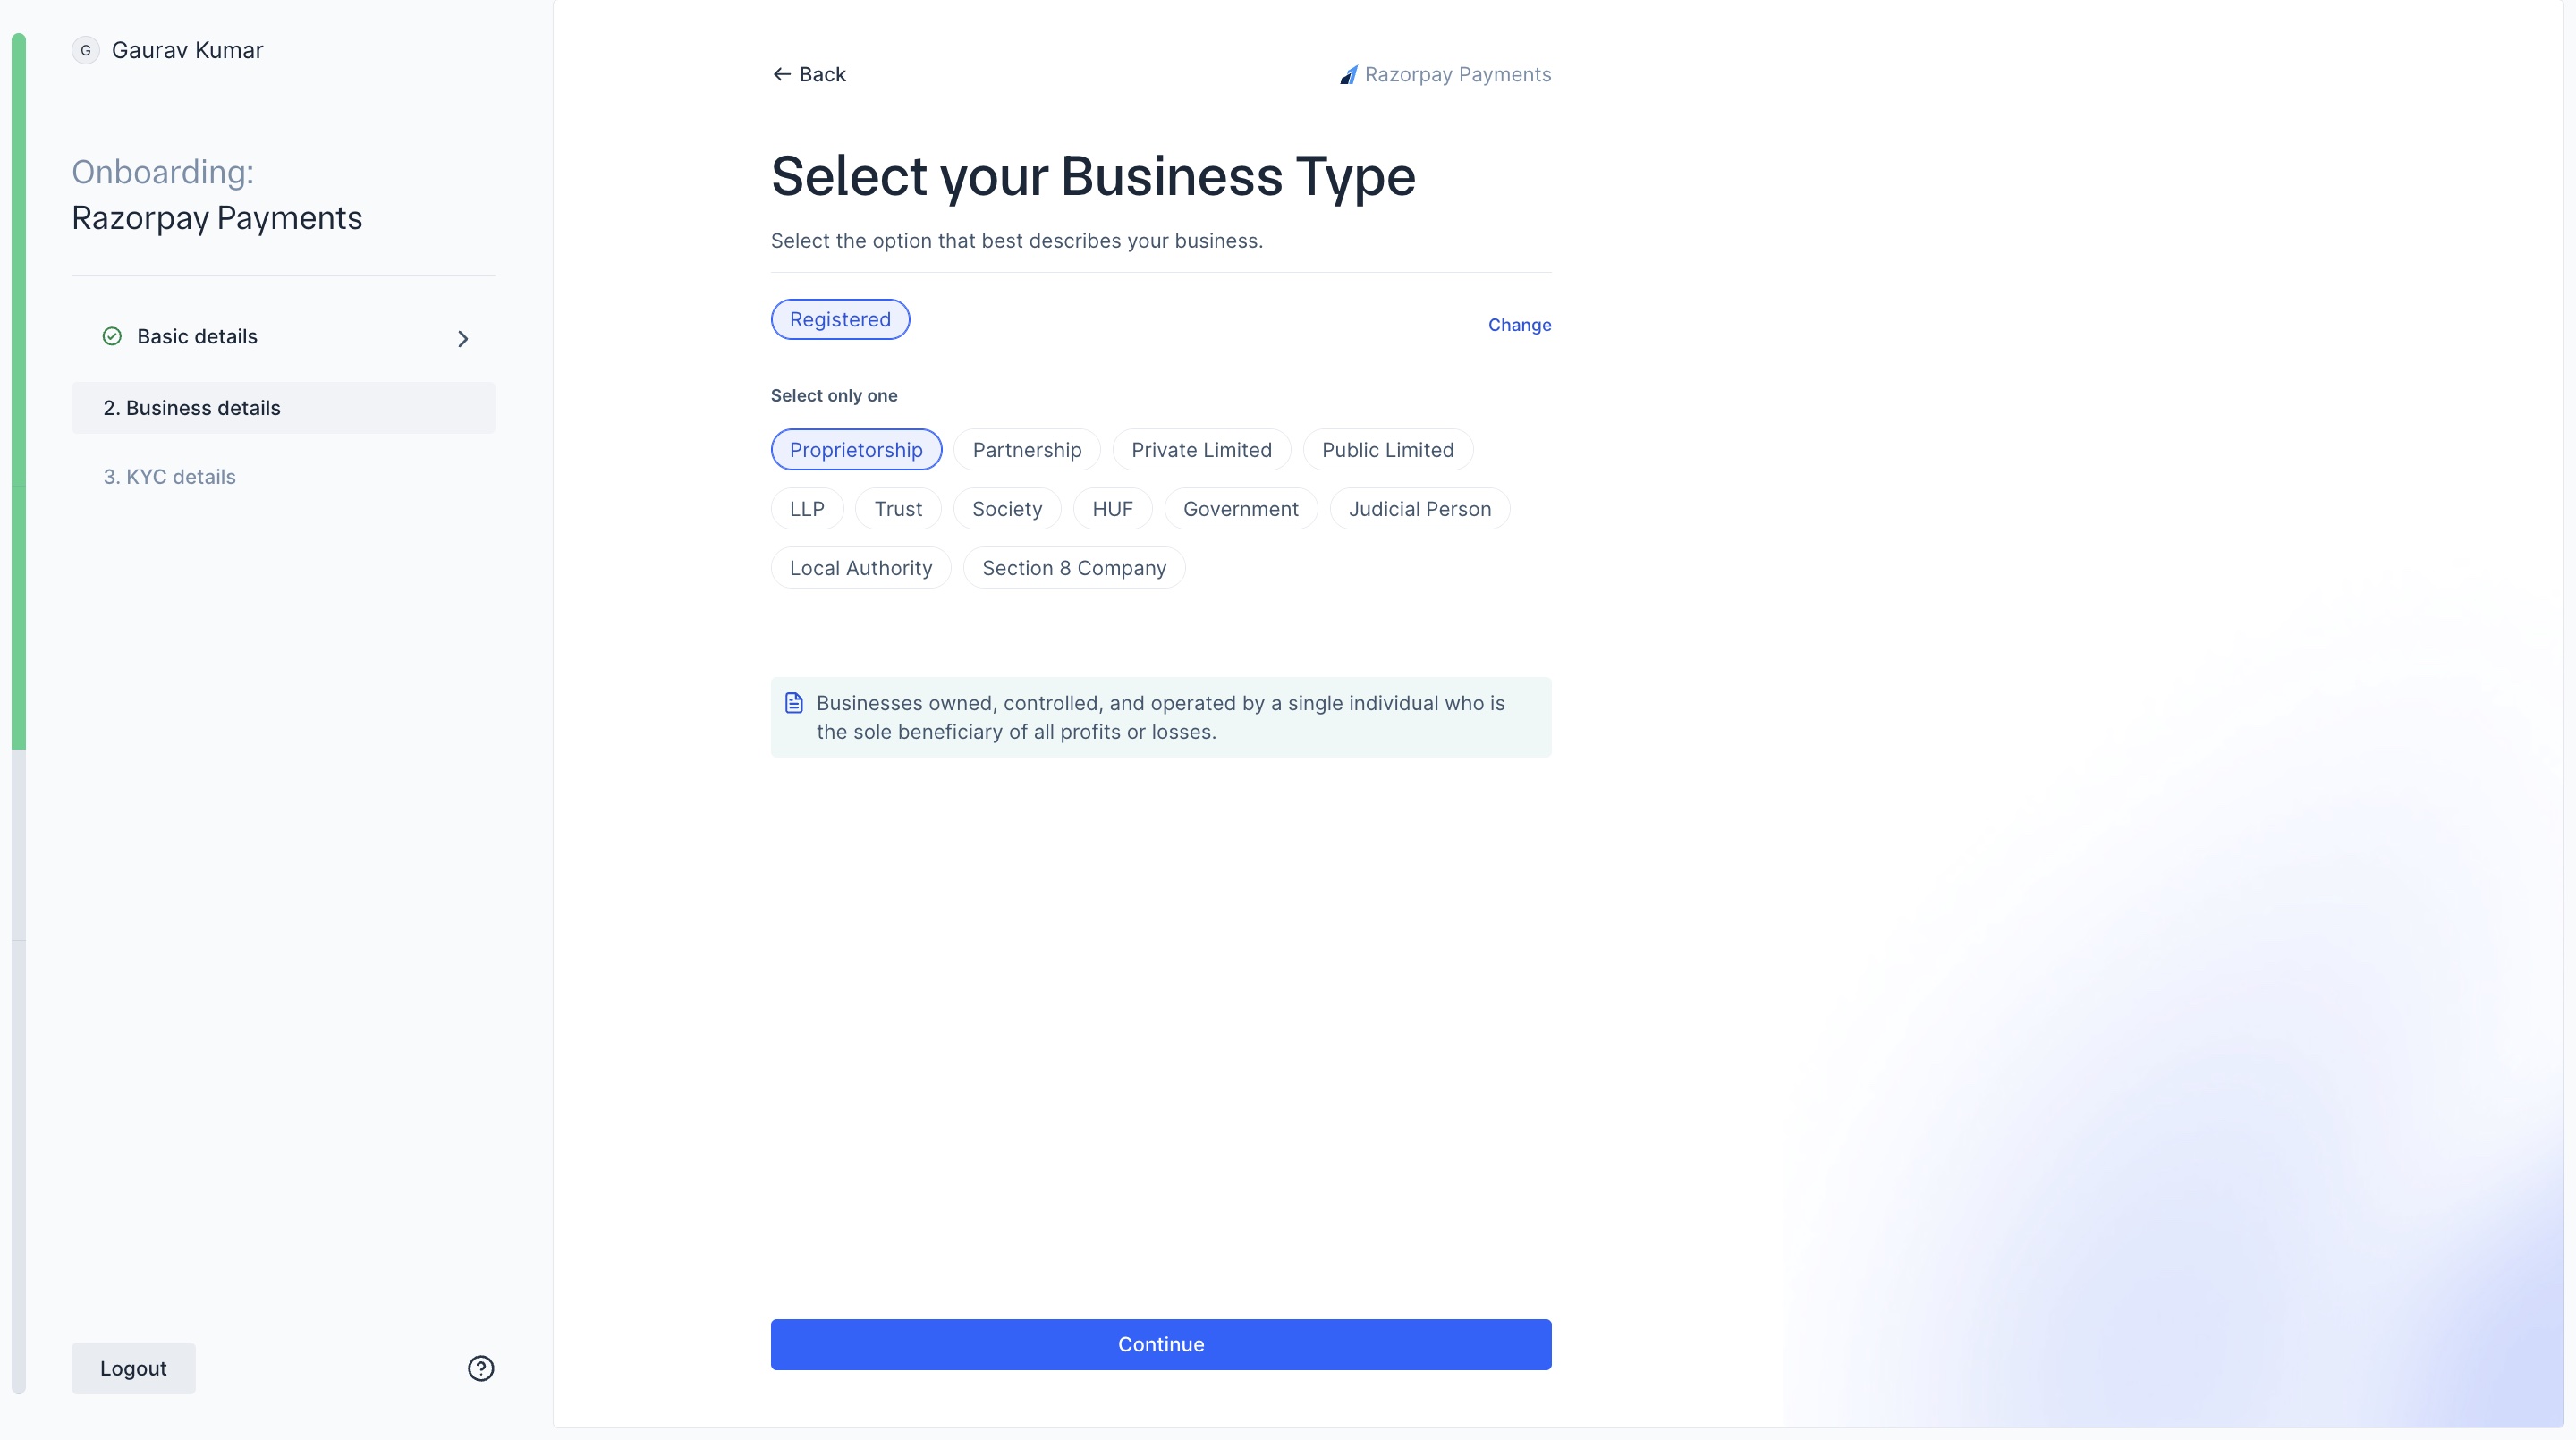
Handy TipsAdditional PAN may be required based on your business type:
- Individuals: Business Owner’s PAN
- Registered Business: Business PAN (Company PAN) and Authorised Signatory PAN (Director/Partner)
- Proprietorship: Authorised Signatory/Proprietor’s PAN
If you are an unregistered Individual business:
If you are an unregistered Individual business:
-
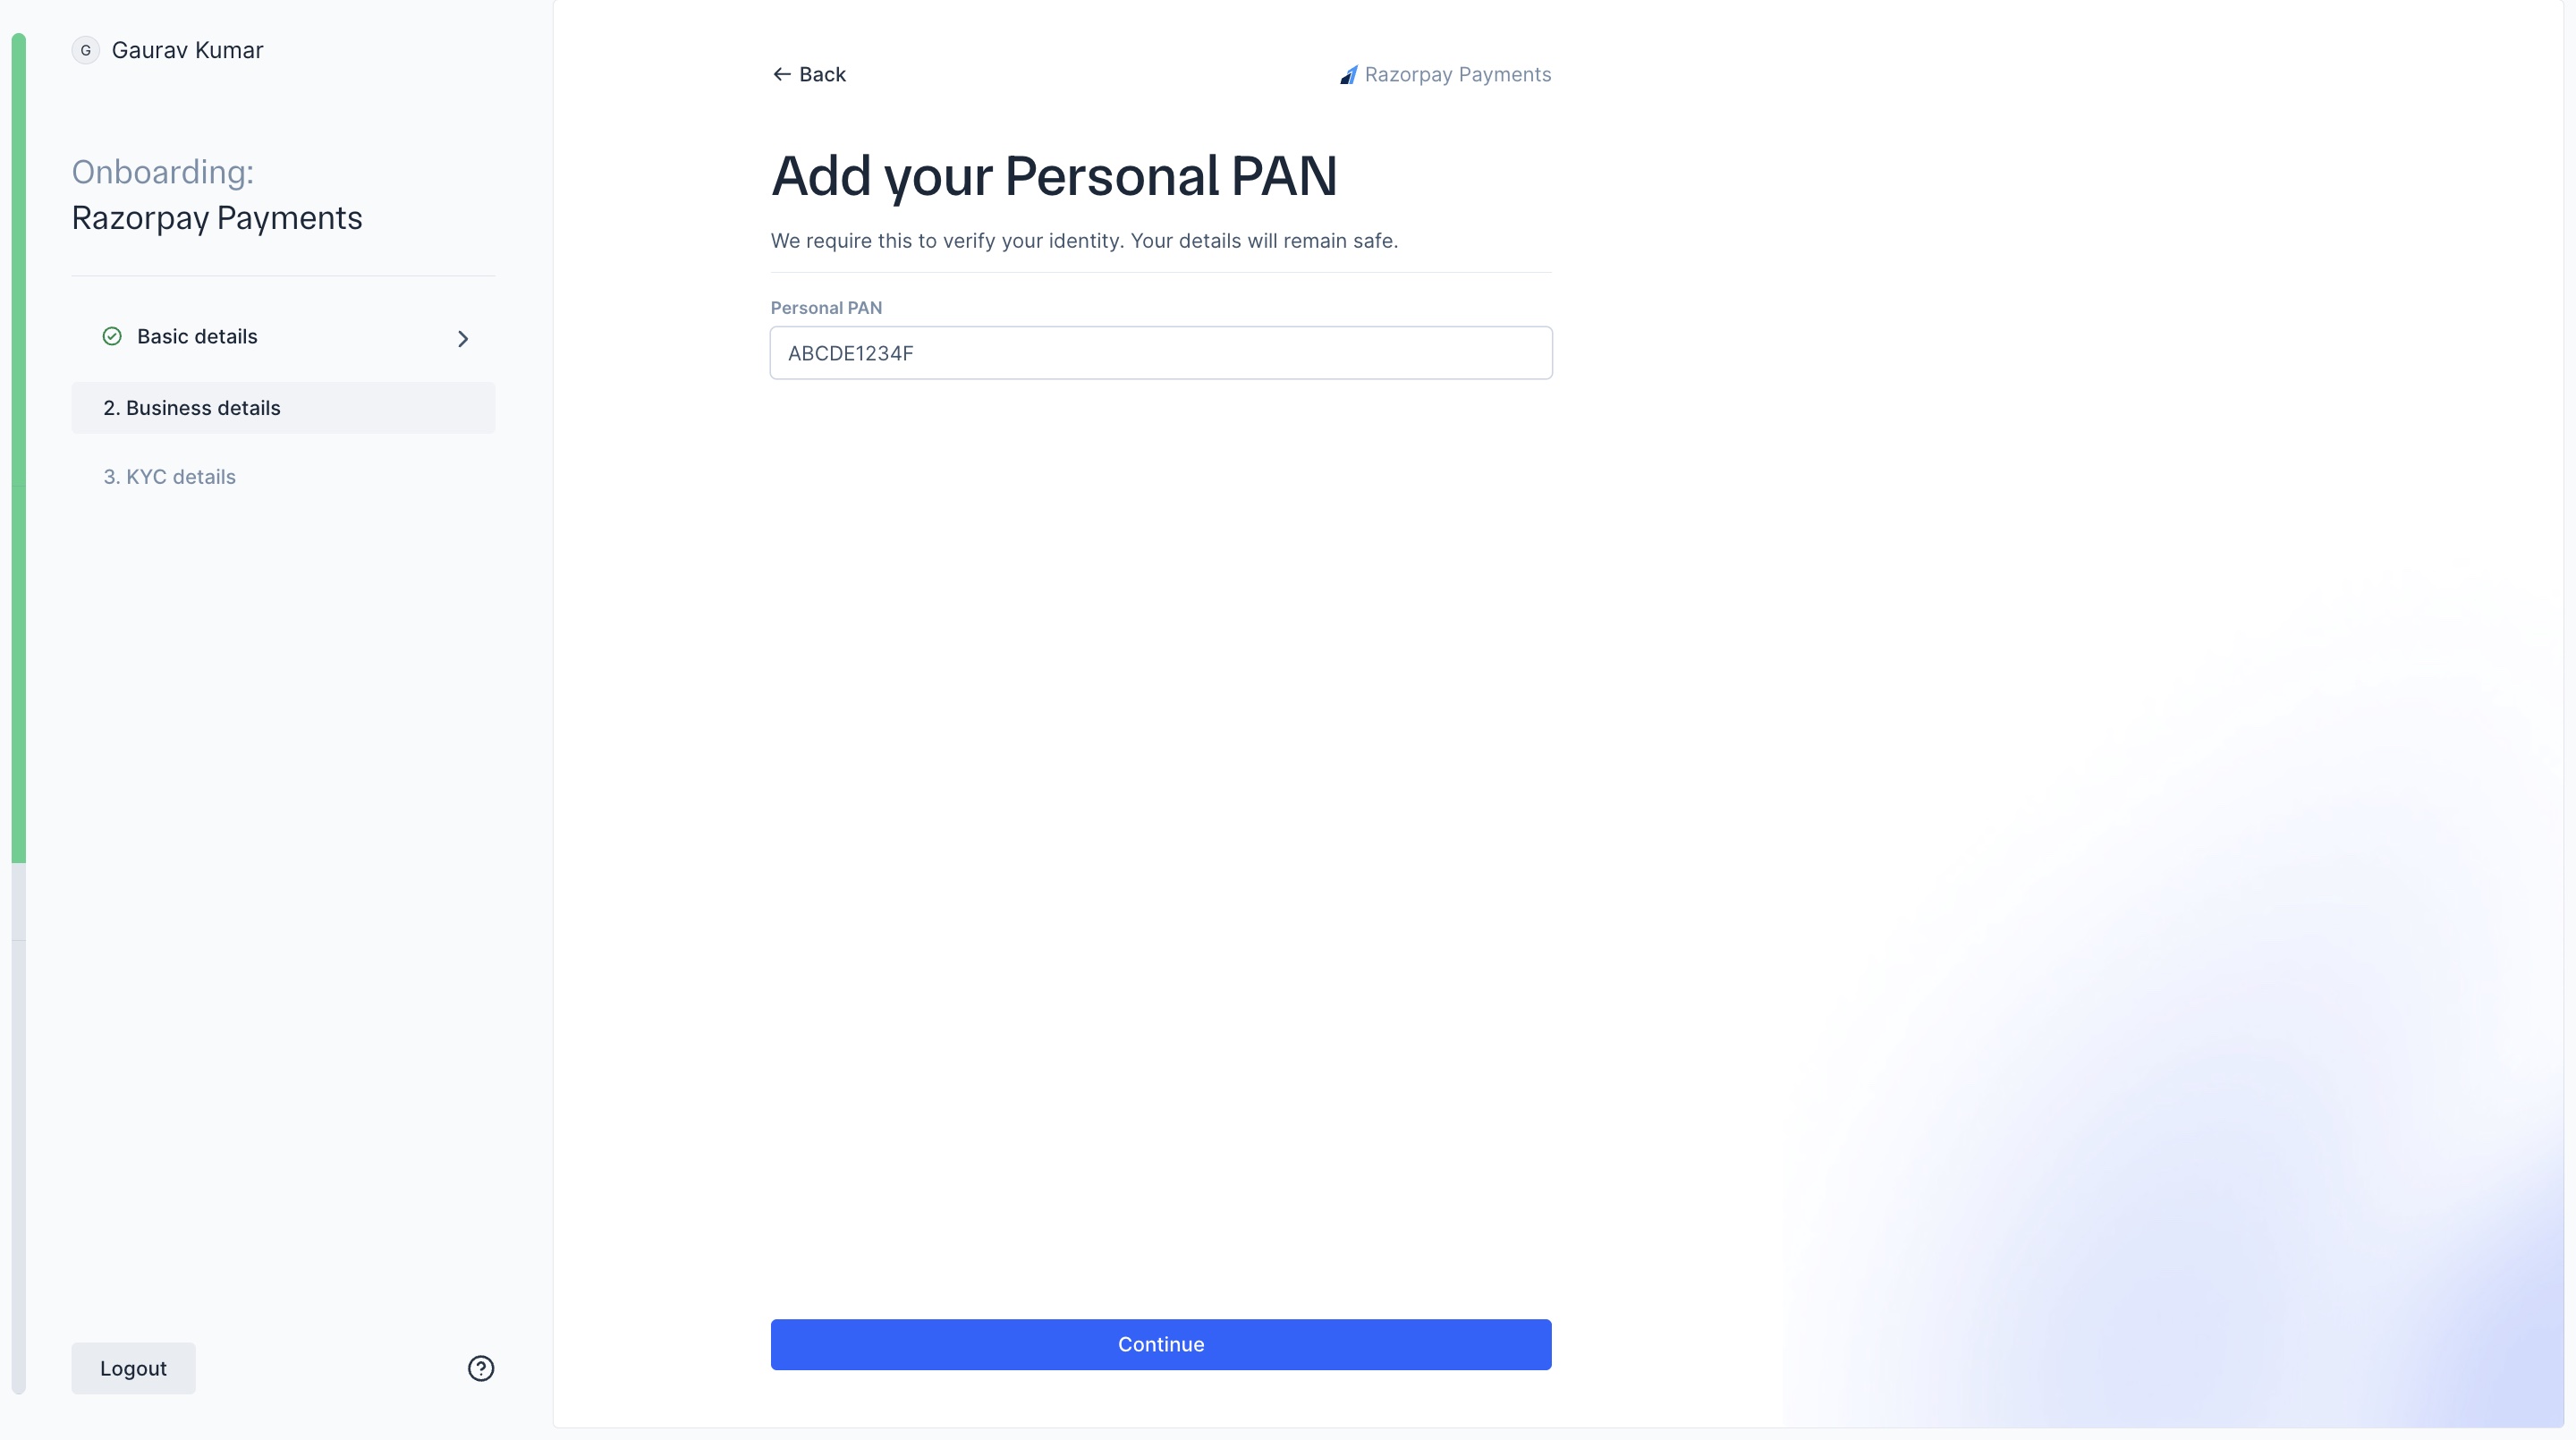
Enter your personal PAN number. Click Continue.
-
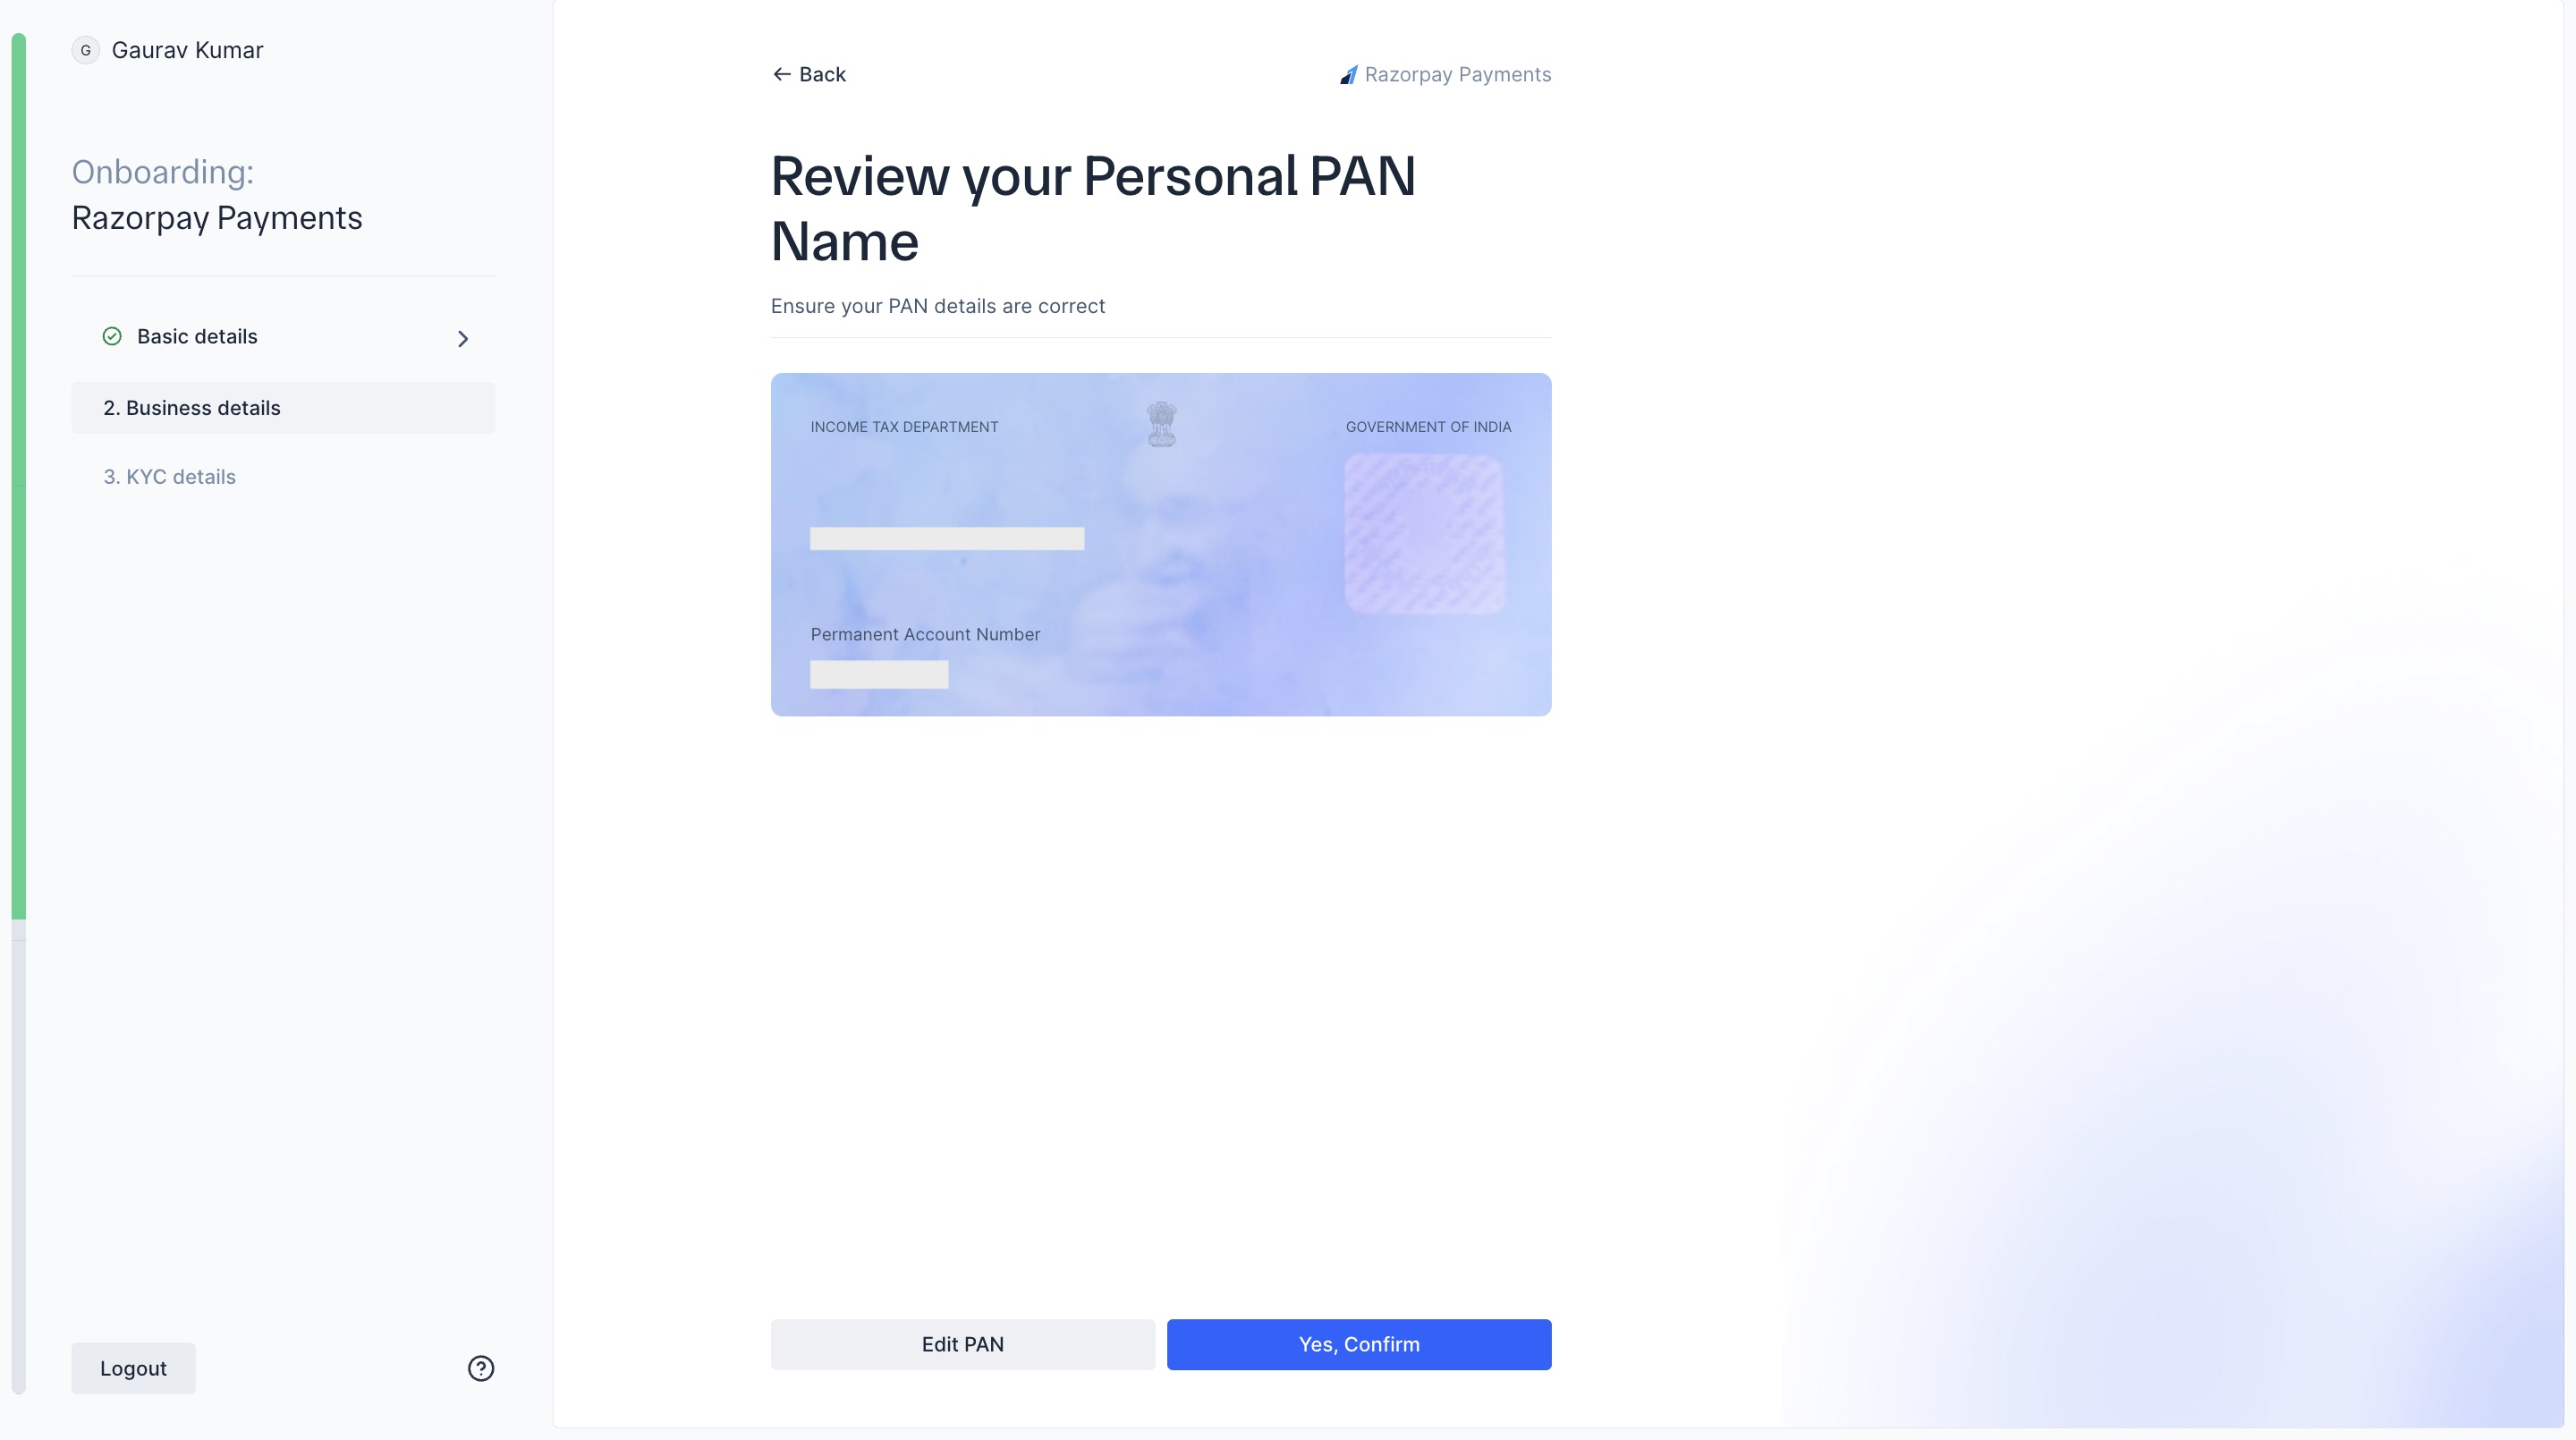
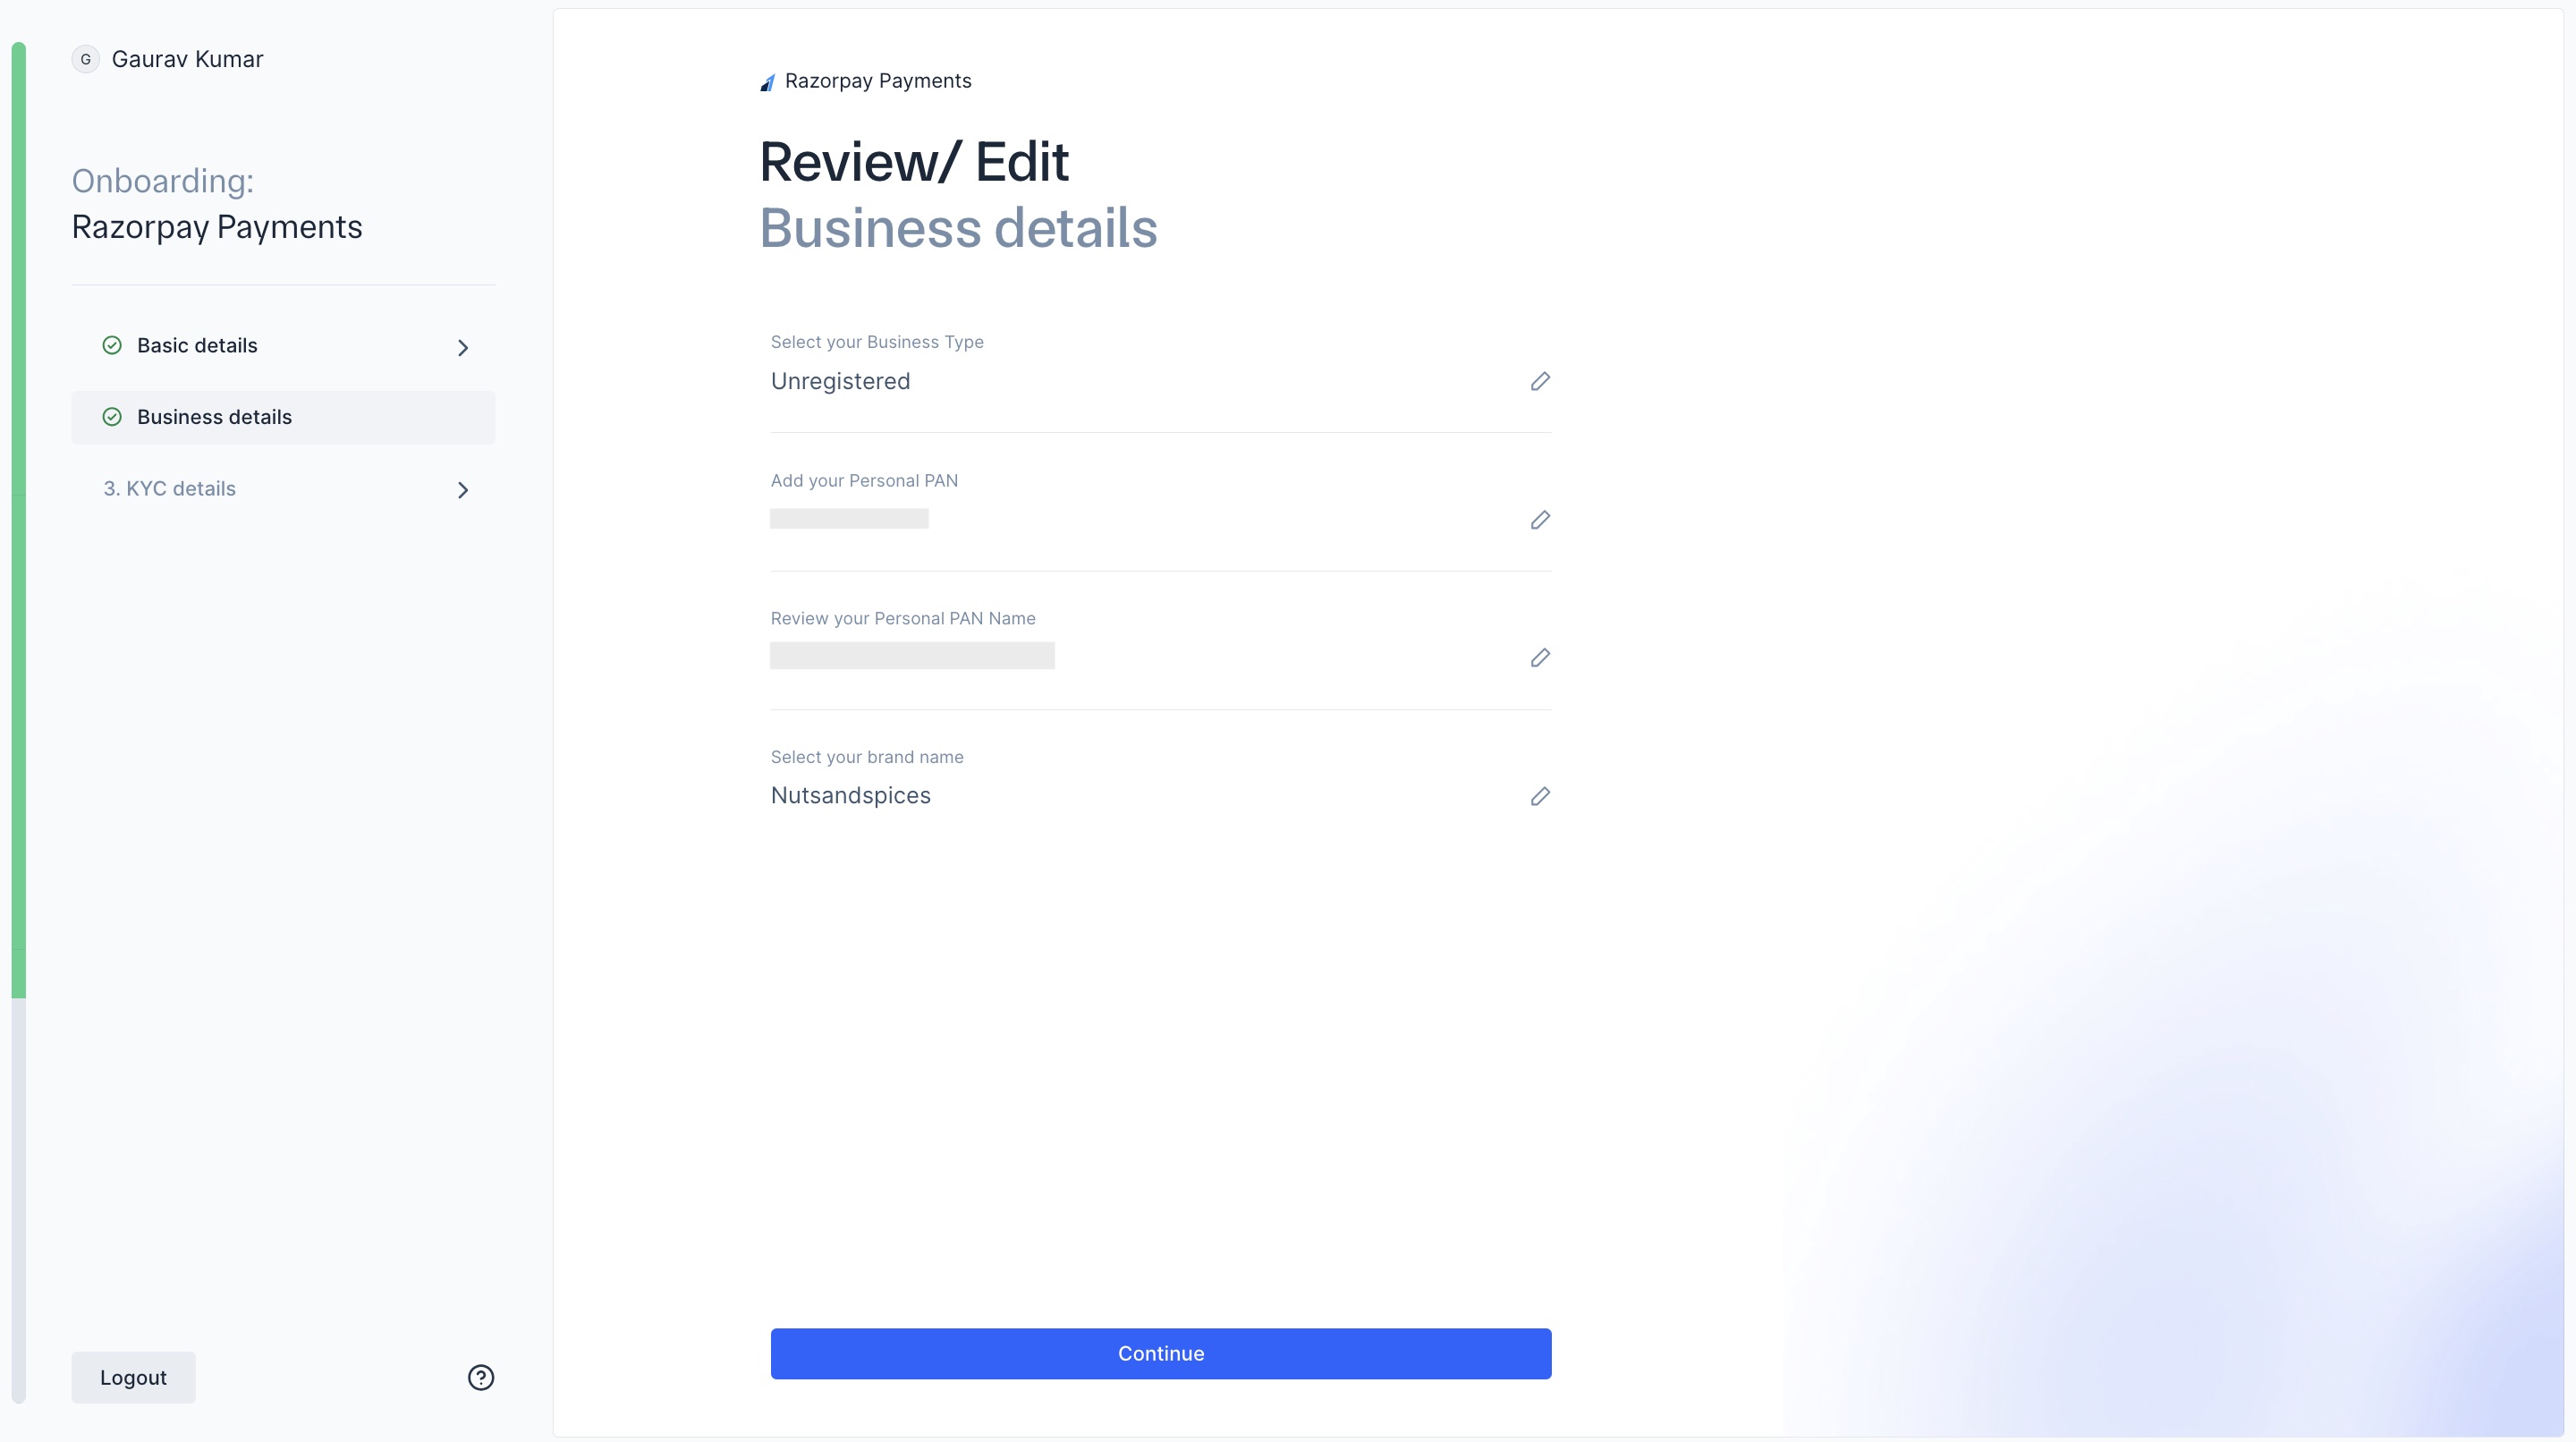
Razorpay will automatically capture your details based on your PAN number. Review your PAN.
If the details are correct, click Yes, confirm. Or, click Edit PAN.
-
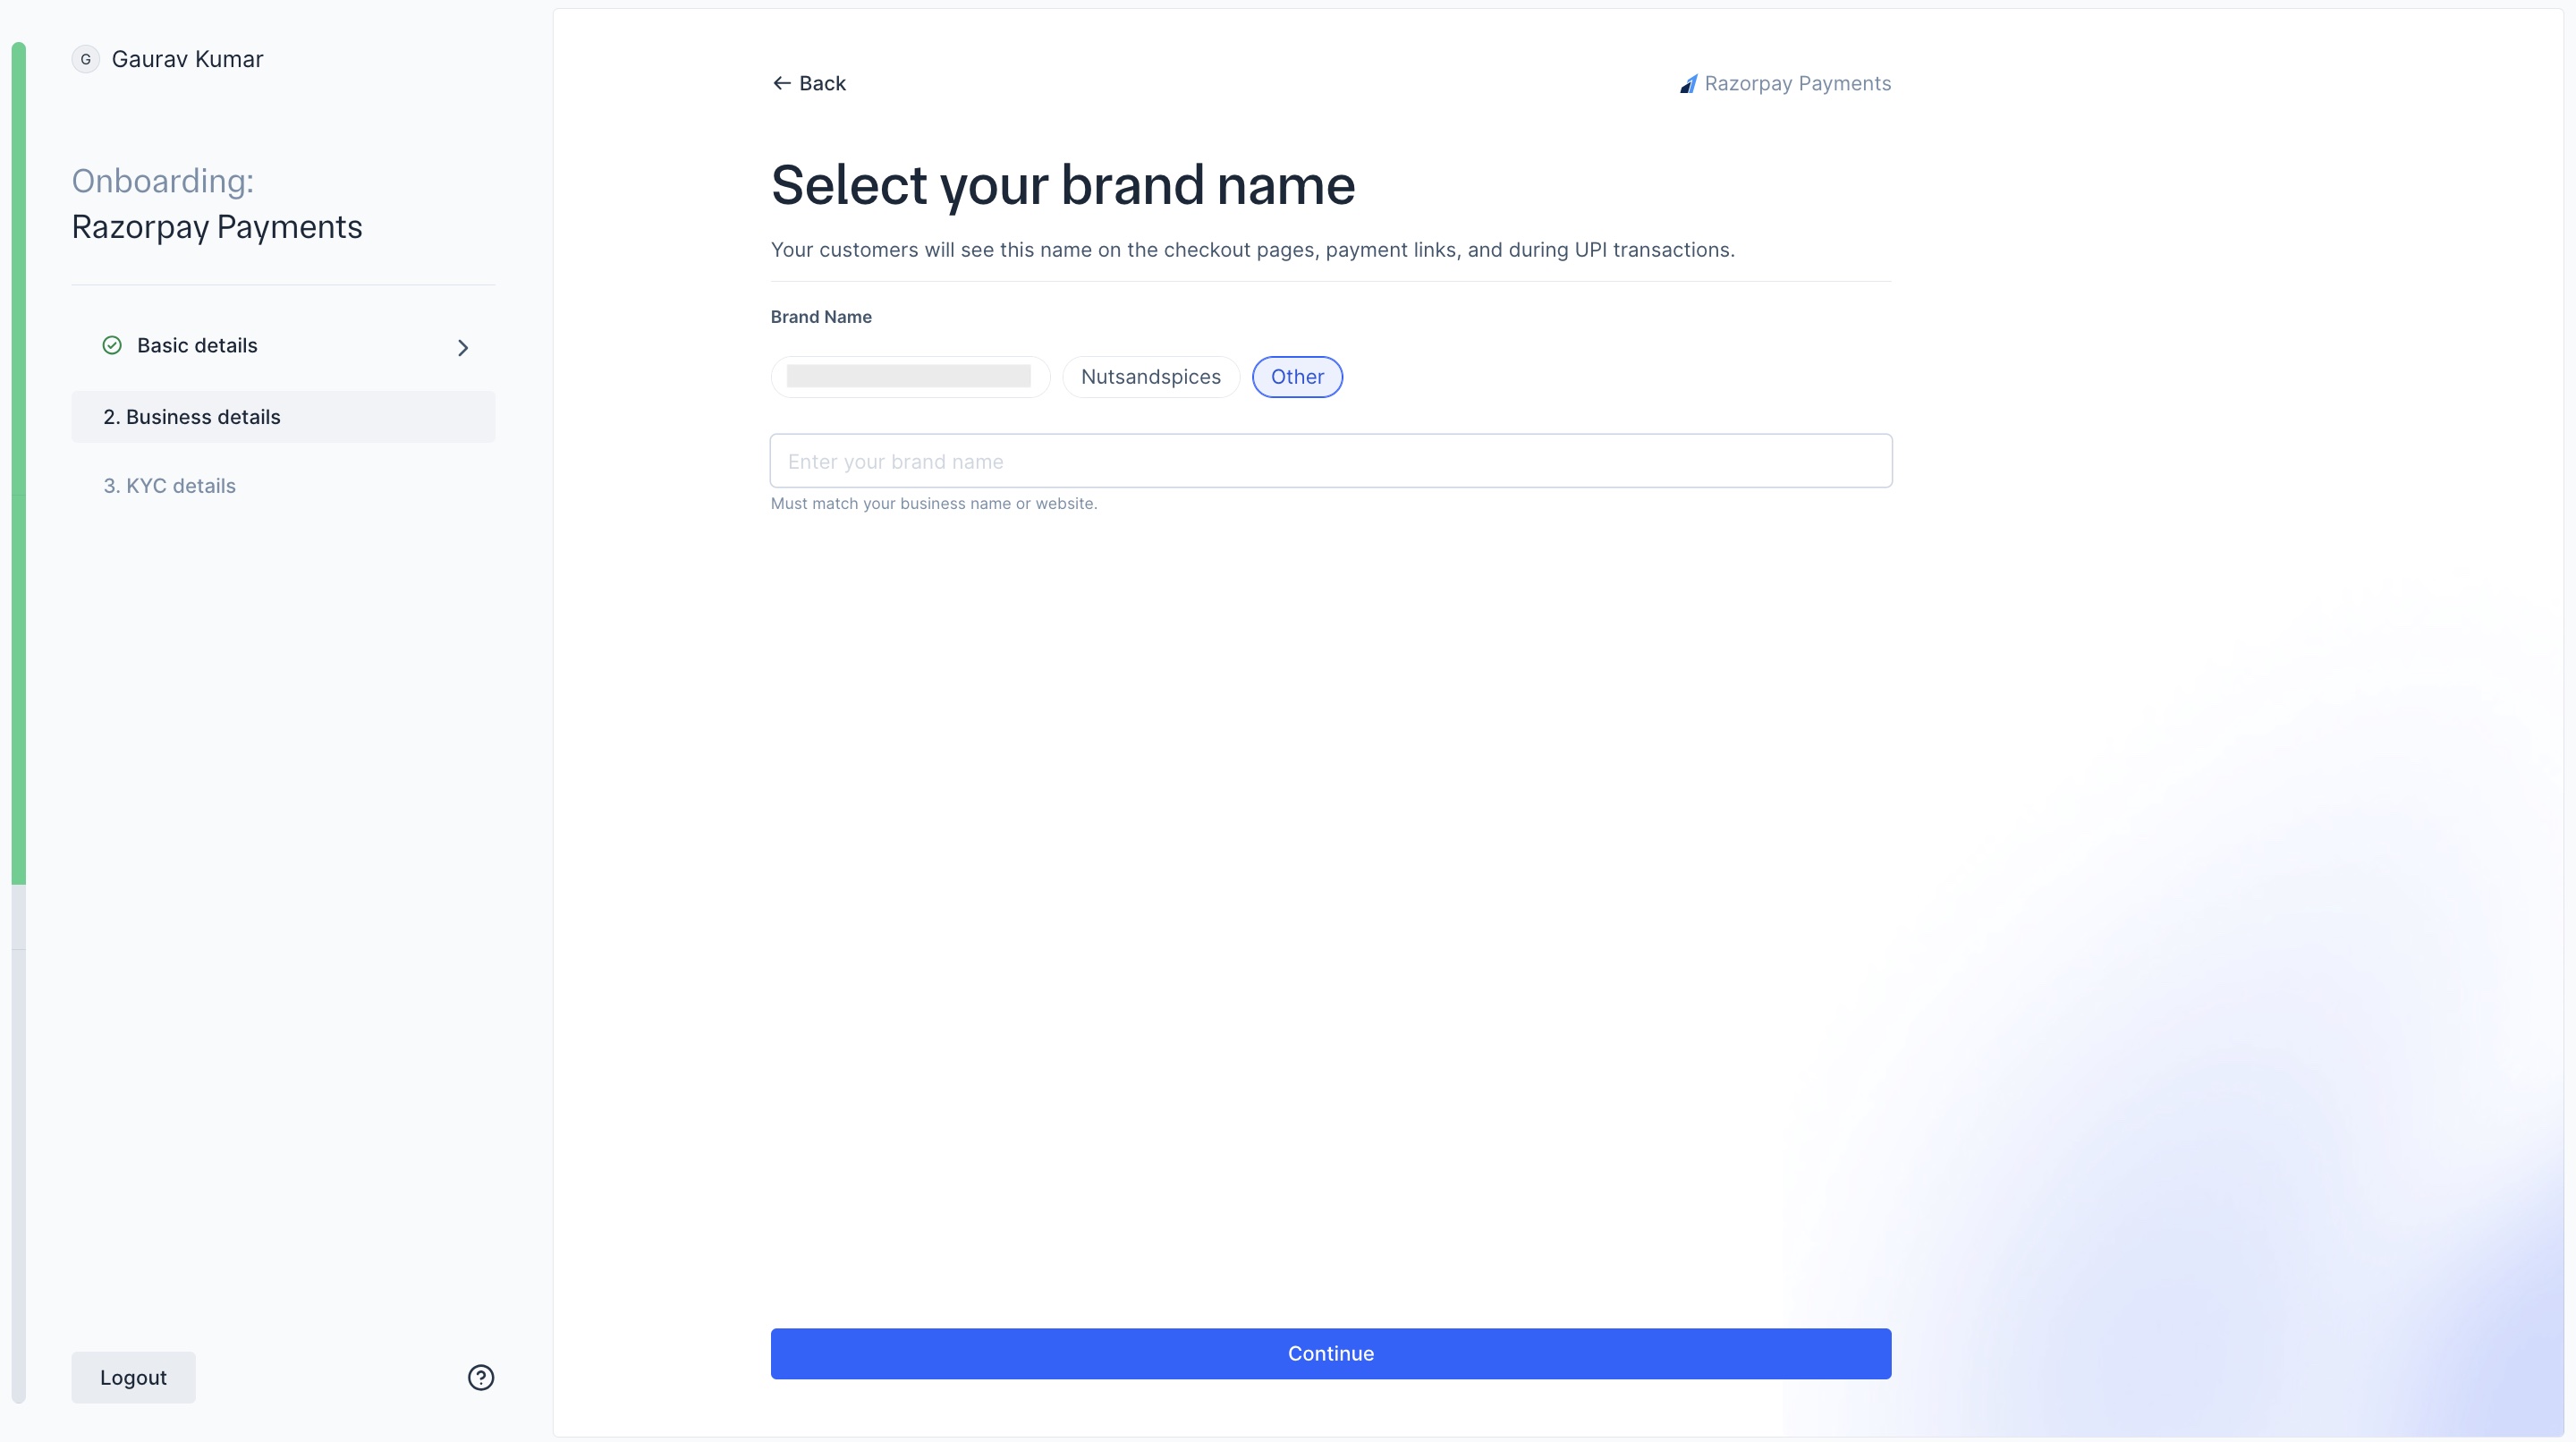
Select your brand name. If the available options do not match your brand name, click Other and enter your brand name. Click Continue.
-
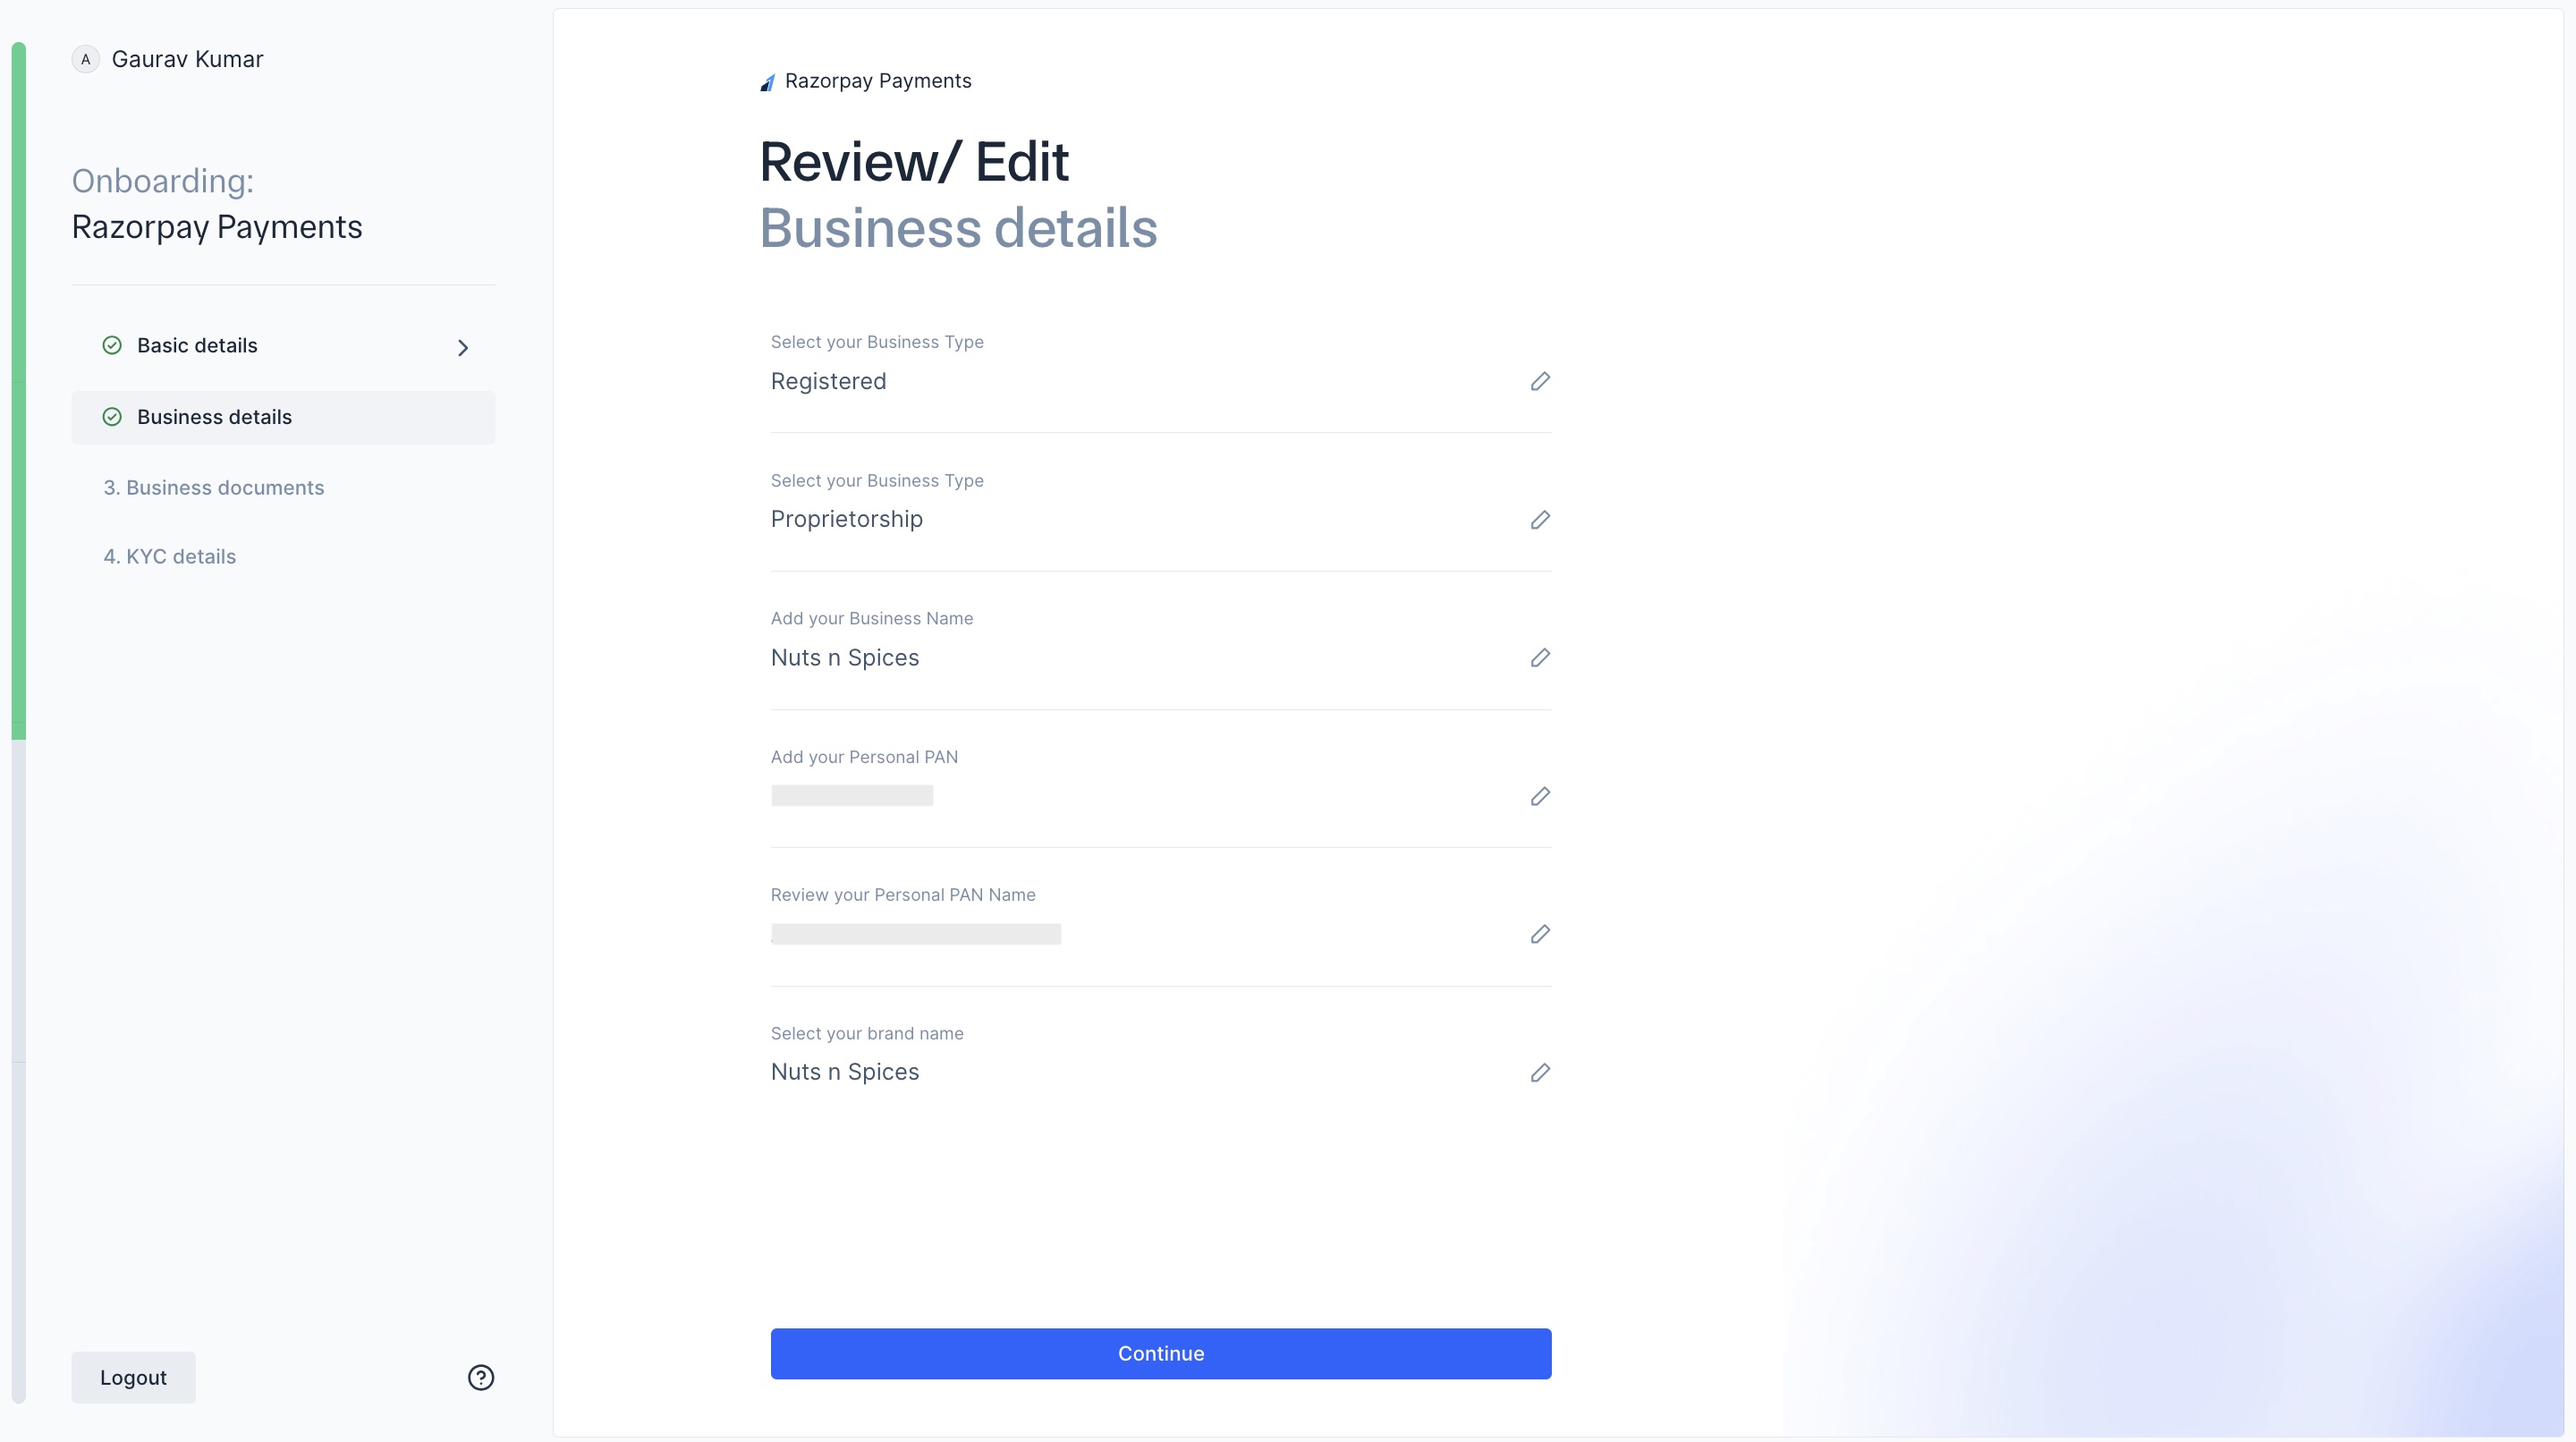
Review the business details you entered. Click Continue after verifying the information.
If you are a registered business:
If you are a registered business:
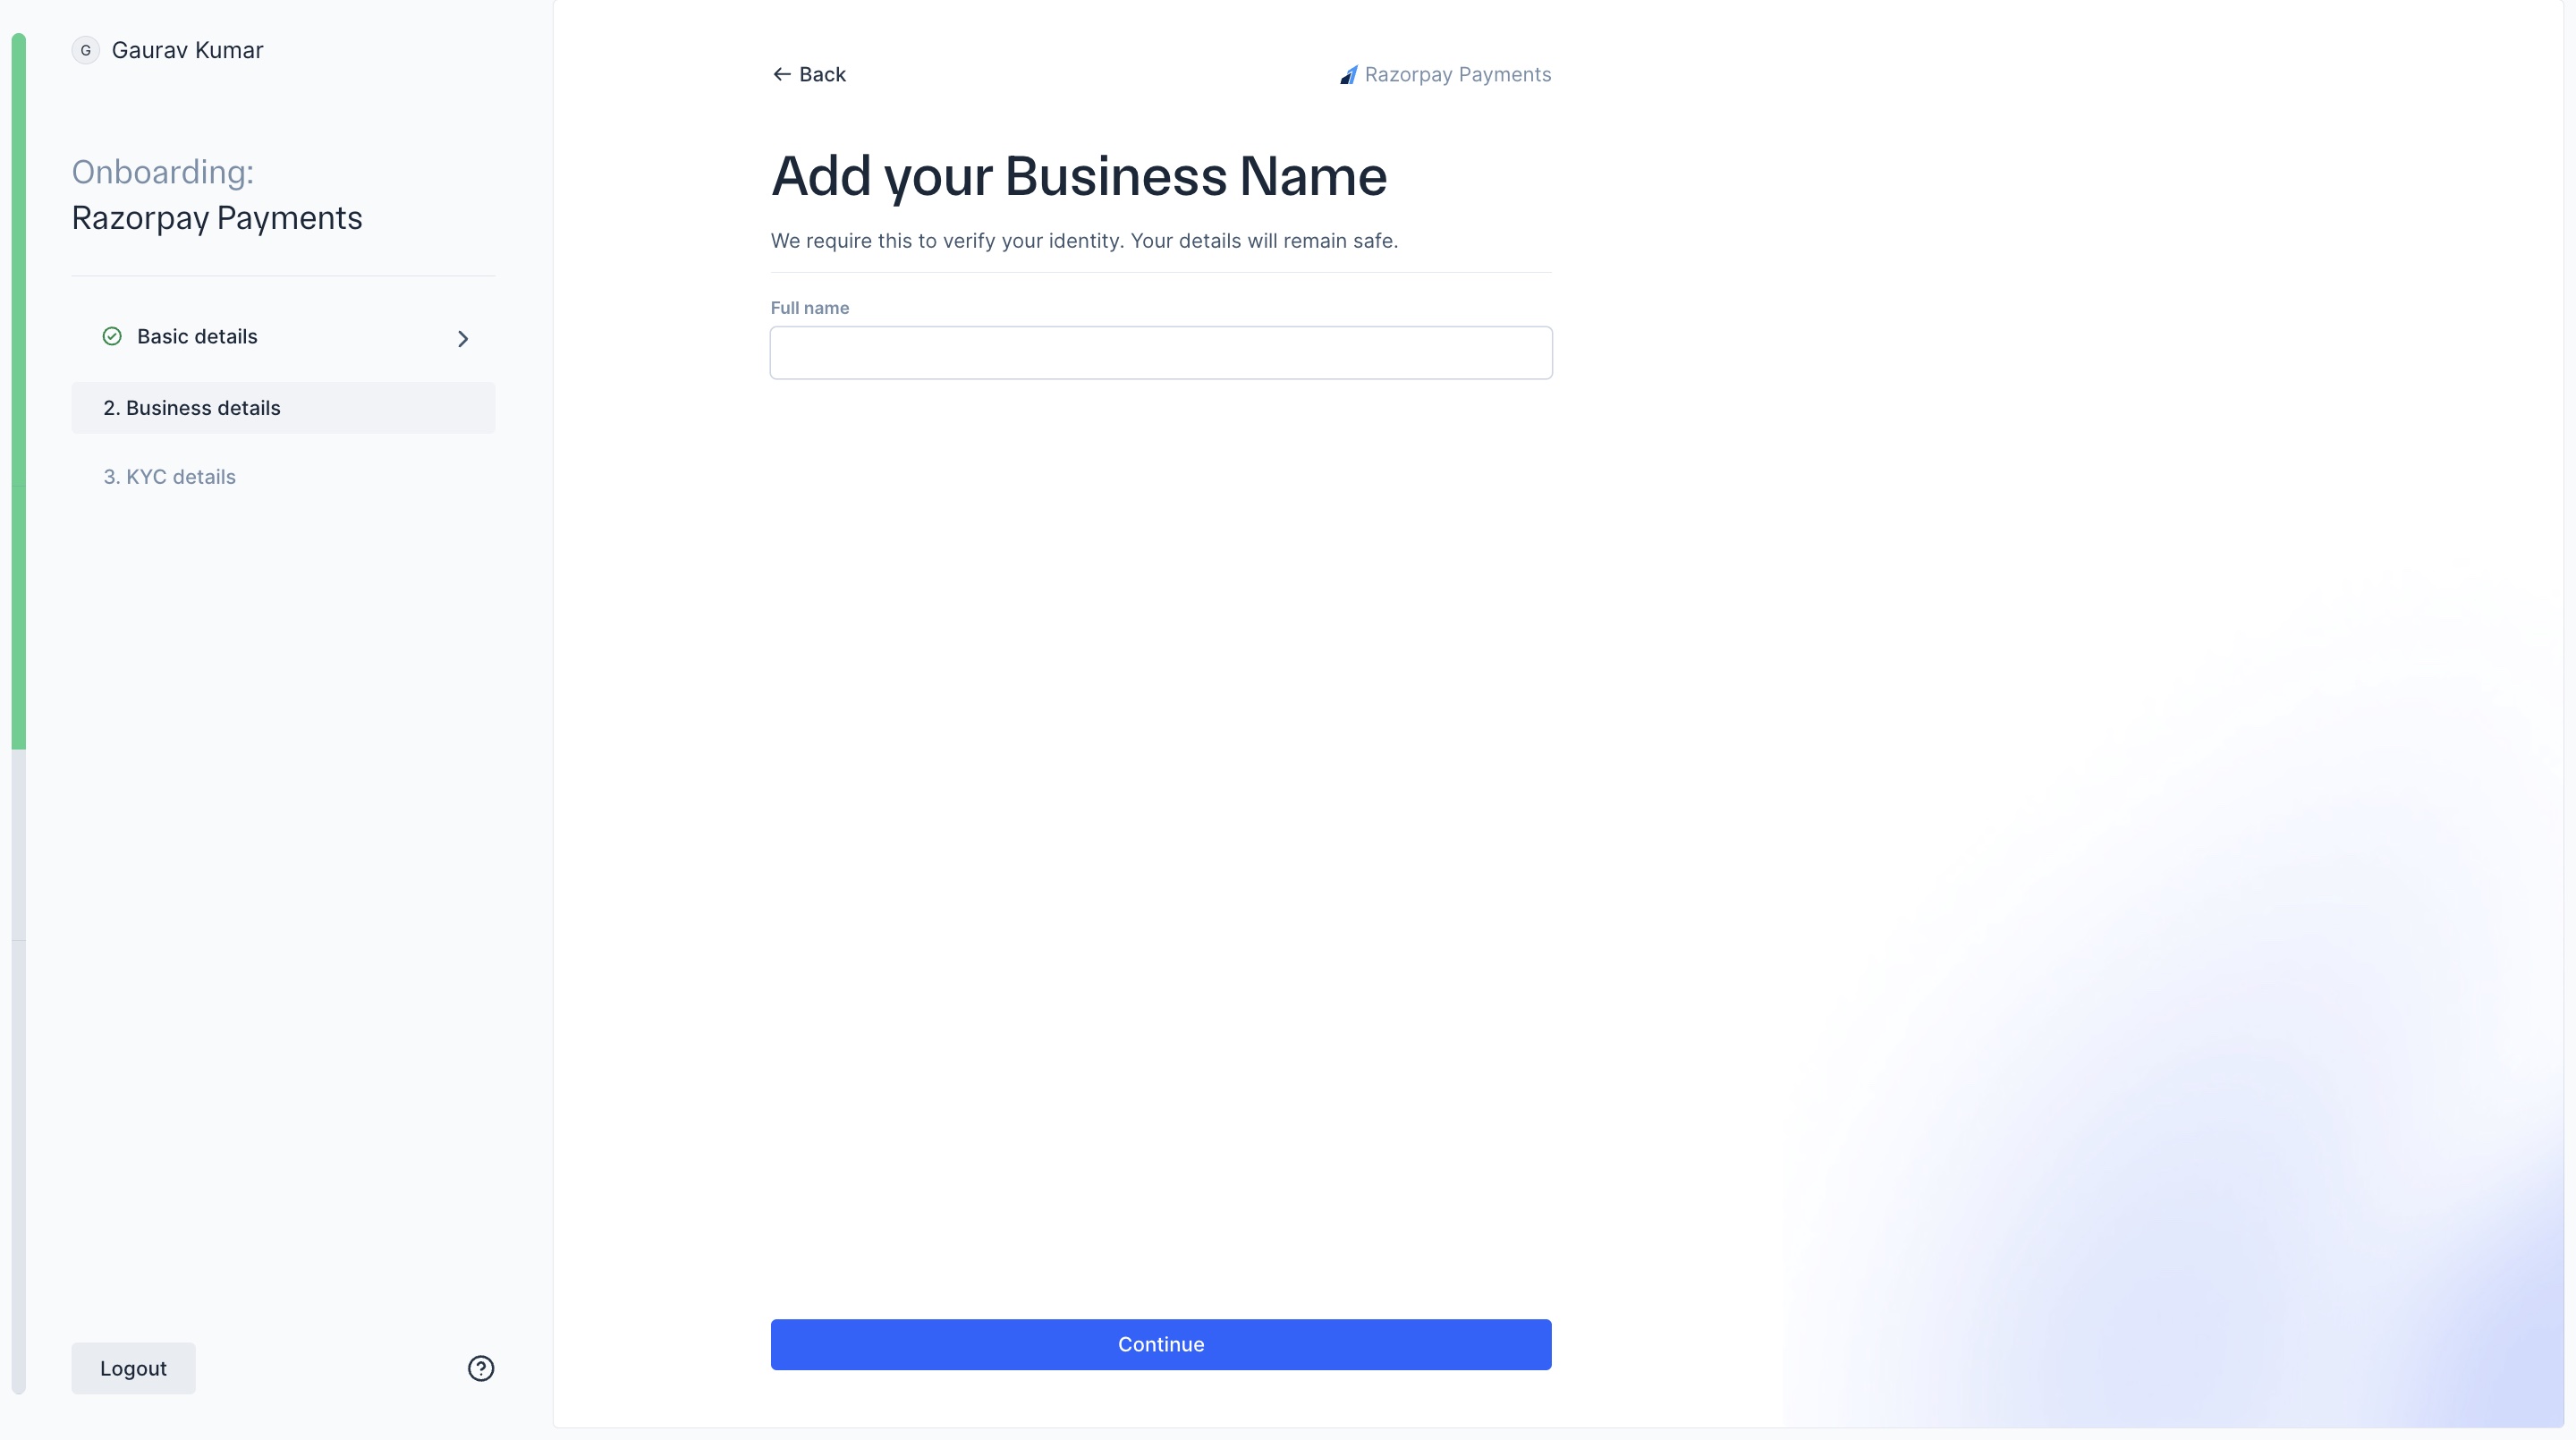
- Enter the full name of your business name. Ensure you do not use any special characters. Click Continue.
- Enter your Personal PAN number.
- Select the Date of Incorporation.
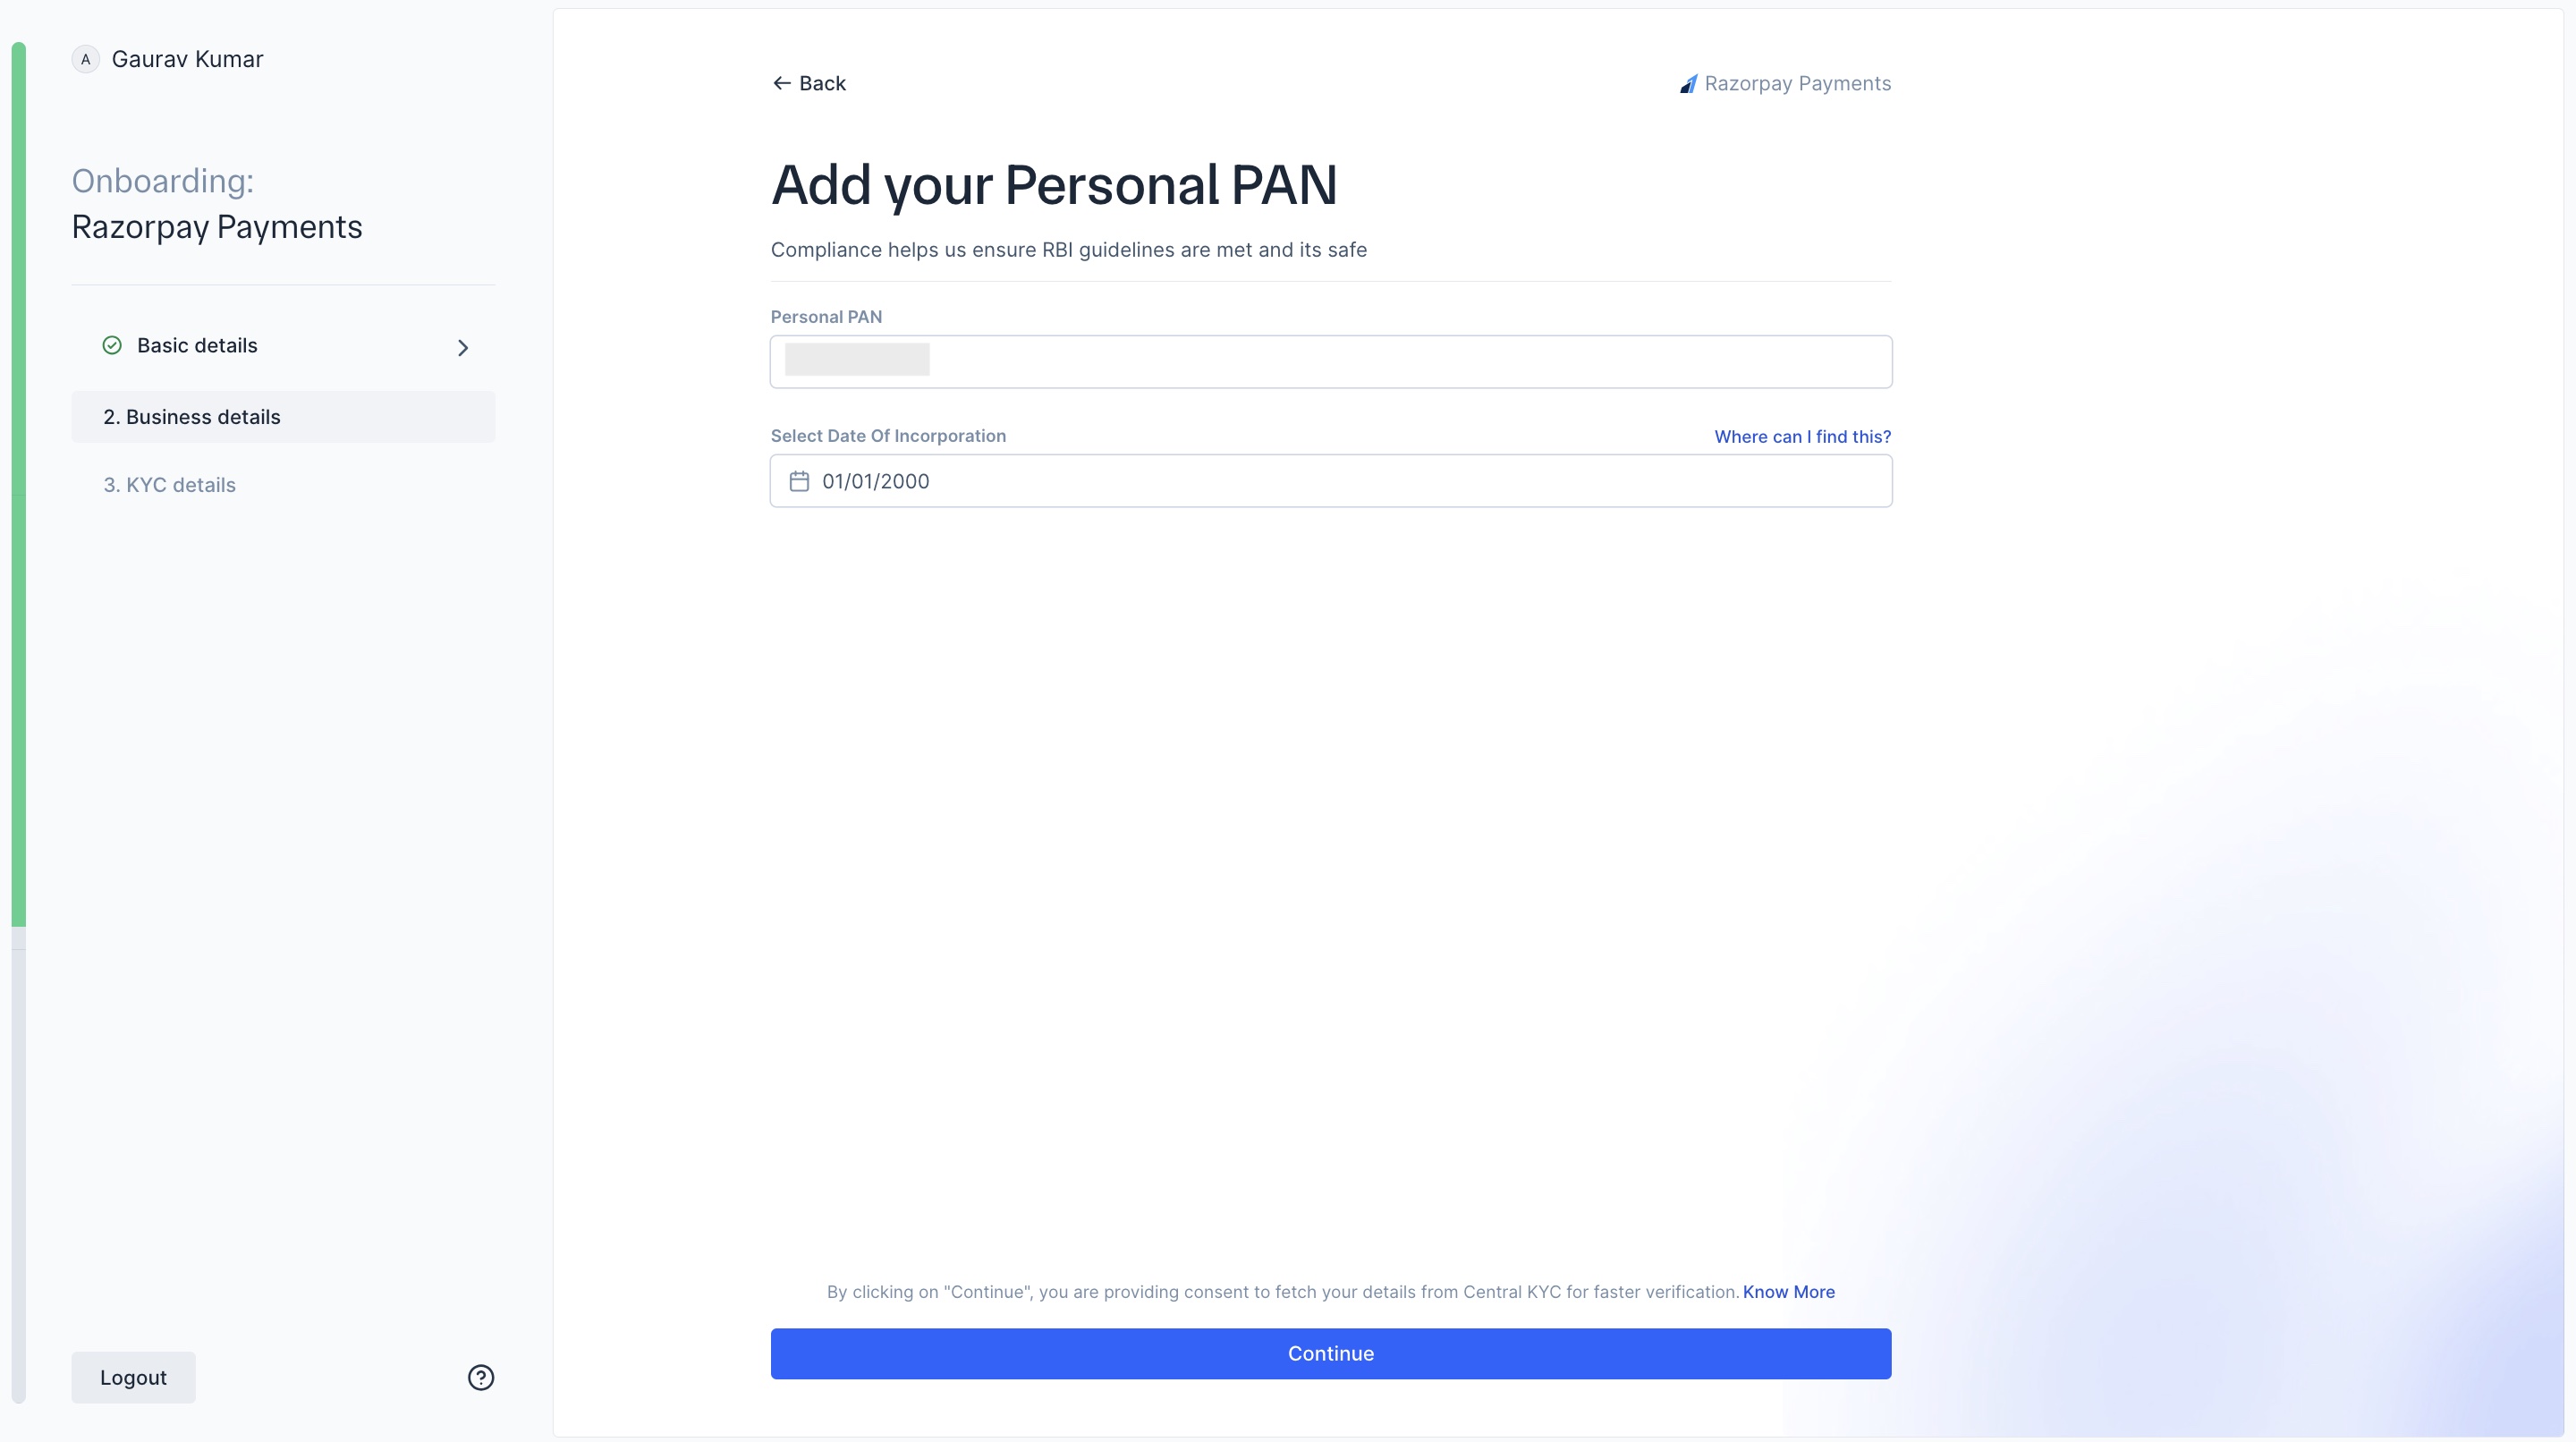
Handy TipsDate of incorporation can be found on your business GST Document or UDYAM (MSME) certificate.
-
Razorpay will automatically capture your details based on your PAN number. Review your PAN.
If the details are correct, click Yes, confirm. Or, click Edit PAN.
-
Select your brand name. If the available options do not match your brand name, click Other and enter your brand name. Click Continue.
- Review the business details you entered. Click Continue after verifying the information.
Business Documents (For Registered Businesses)
Business Documents (For Registered Businesses)
Provide your business documents to help us verify your business identity.You must provide at least 1 required document and 1 additional document. Below is the list of accepted required and additional documents:Required documents (Any 1):
- GST certificate
- MSME (UDYAM) Certificate
- Shop Establishment Certificate (SEC)
- Import Export Certificate (IEC)
- Mobile Postpaid Bill
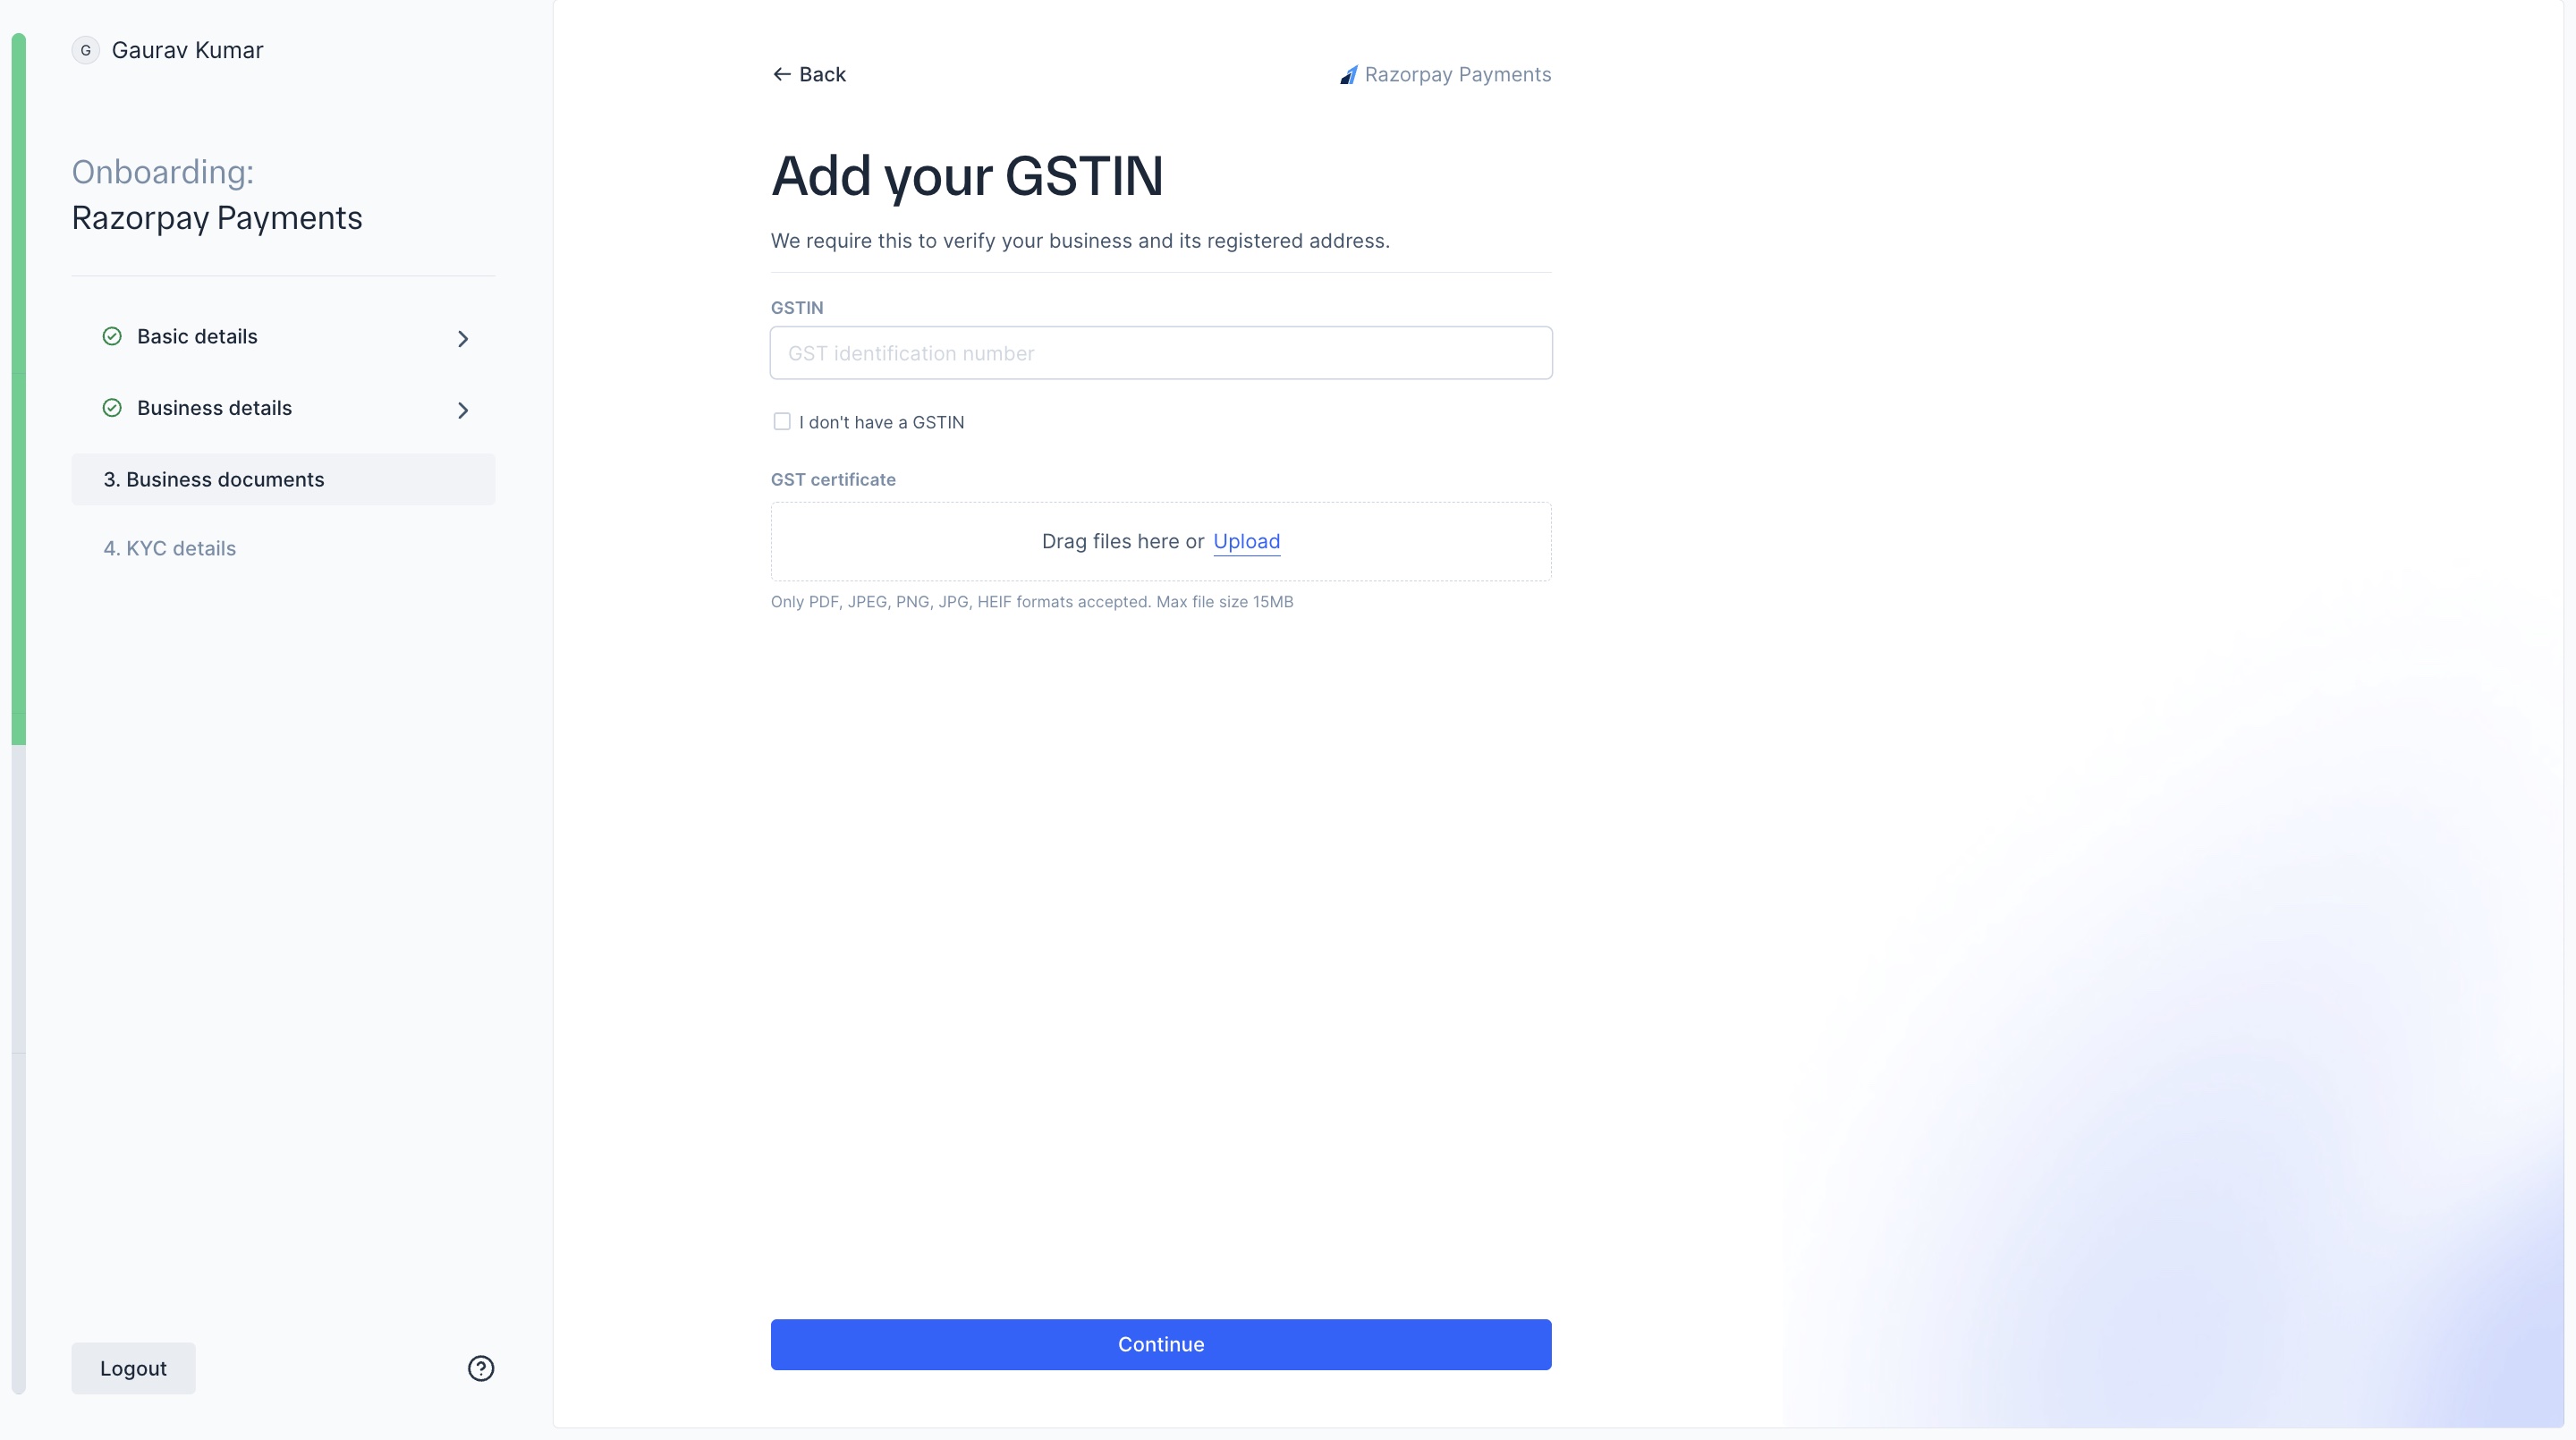
- Enter your GSTIN number. If you have a GSTIN, you must upload your GST certificate. If you do not, select the I don’t have a GSTIN option. Click Continue.
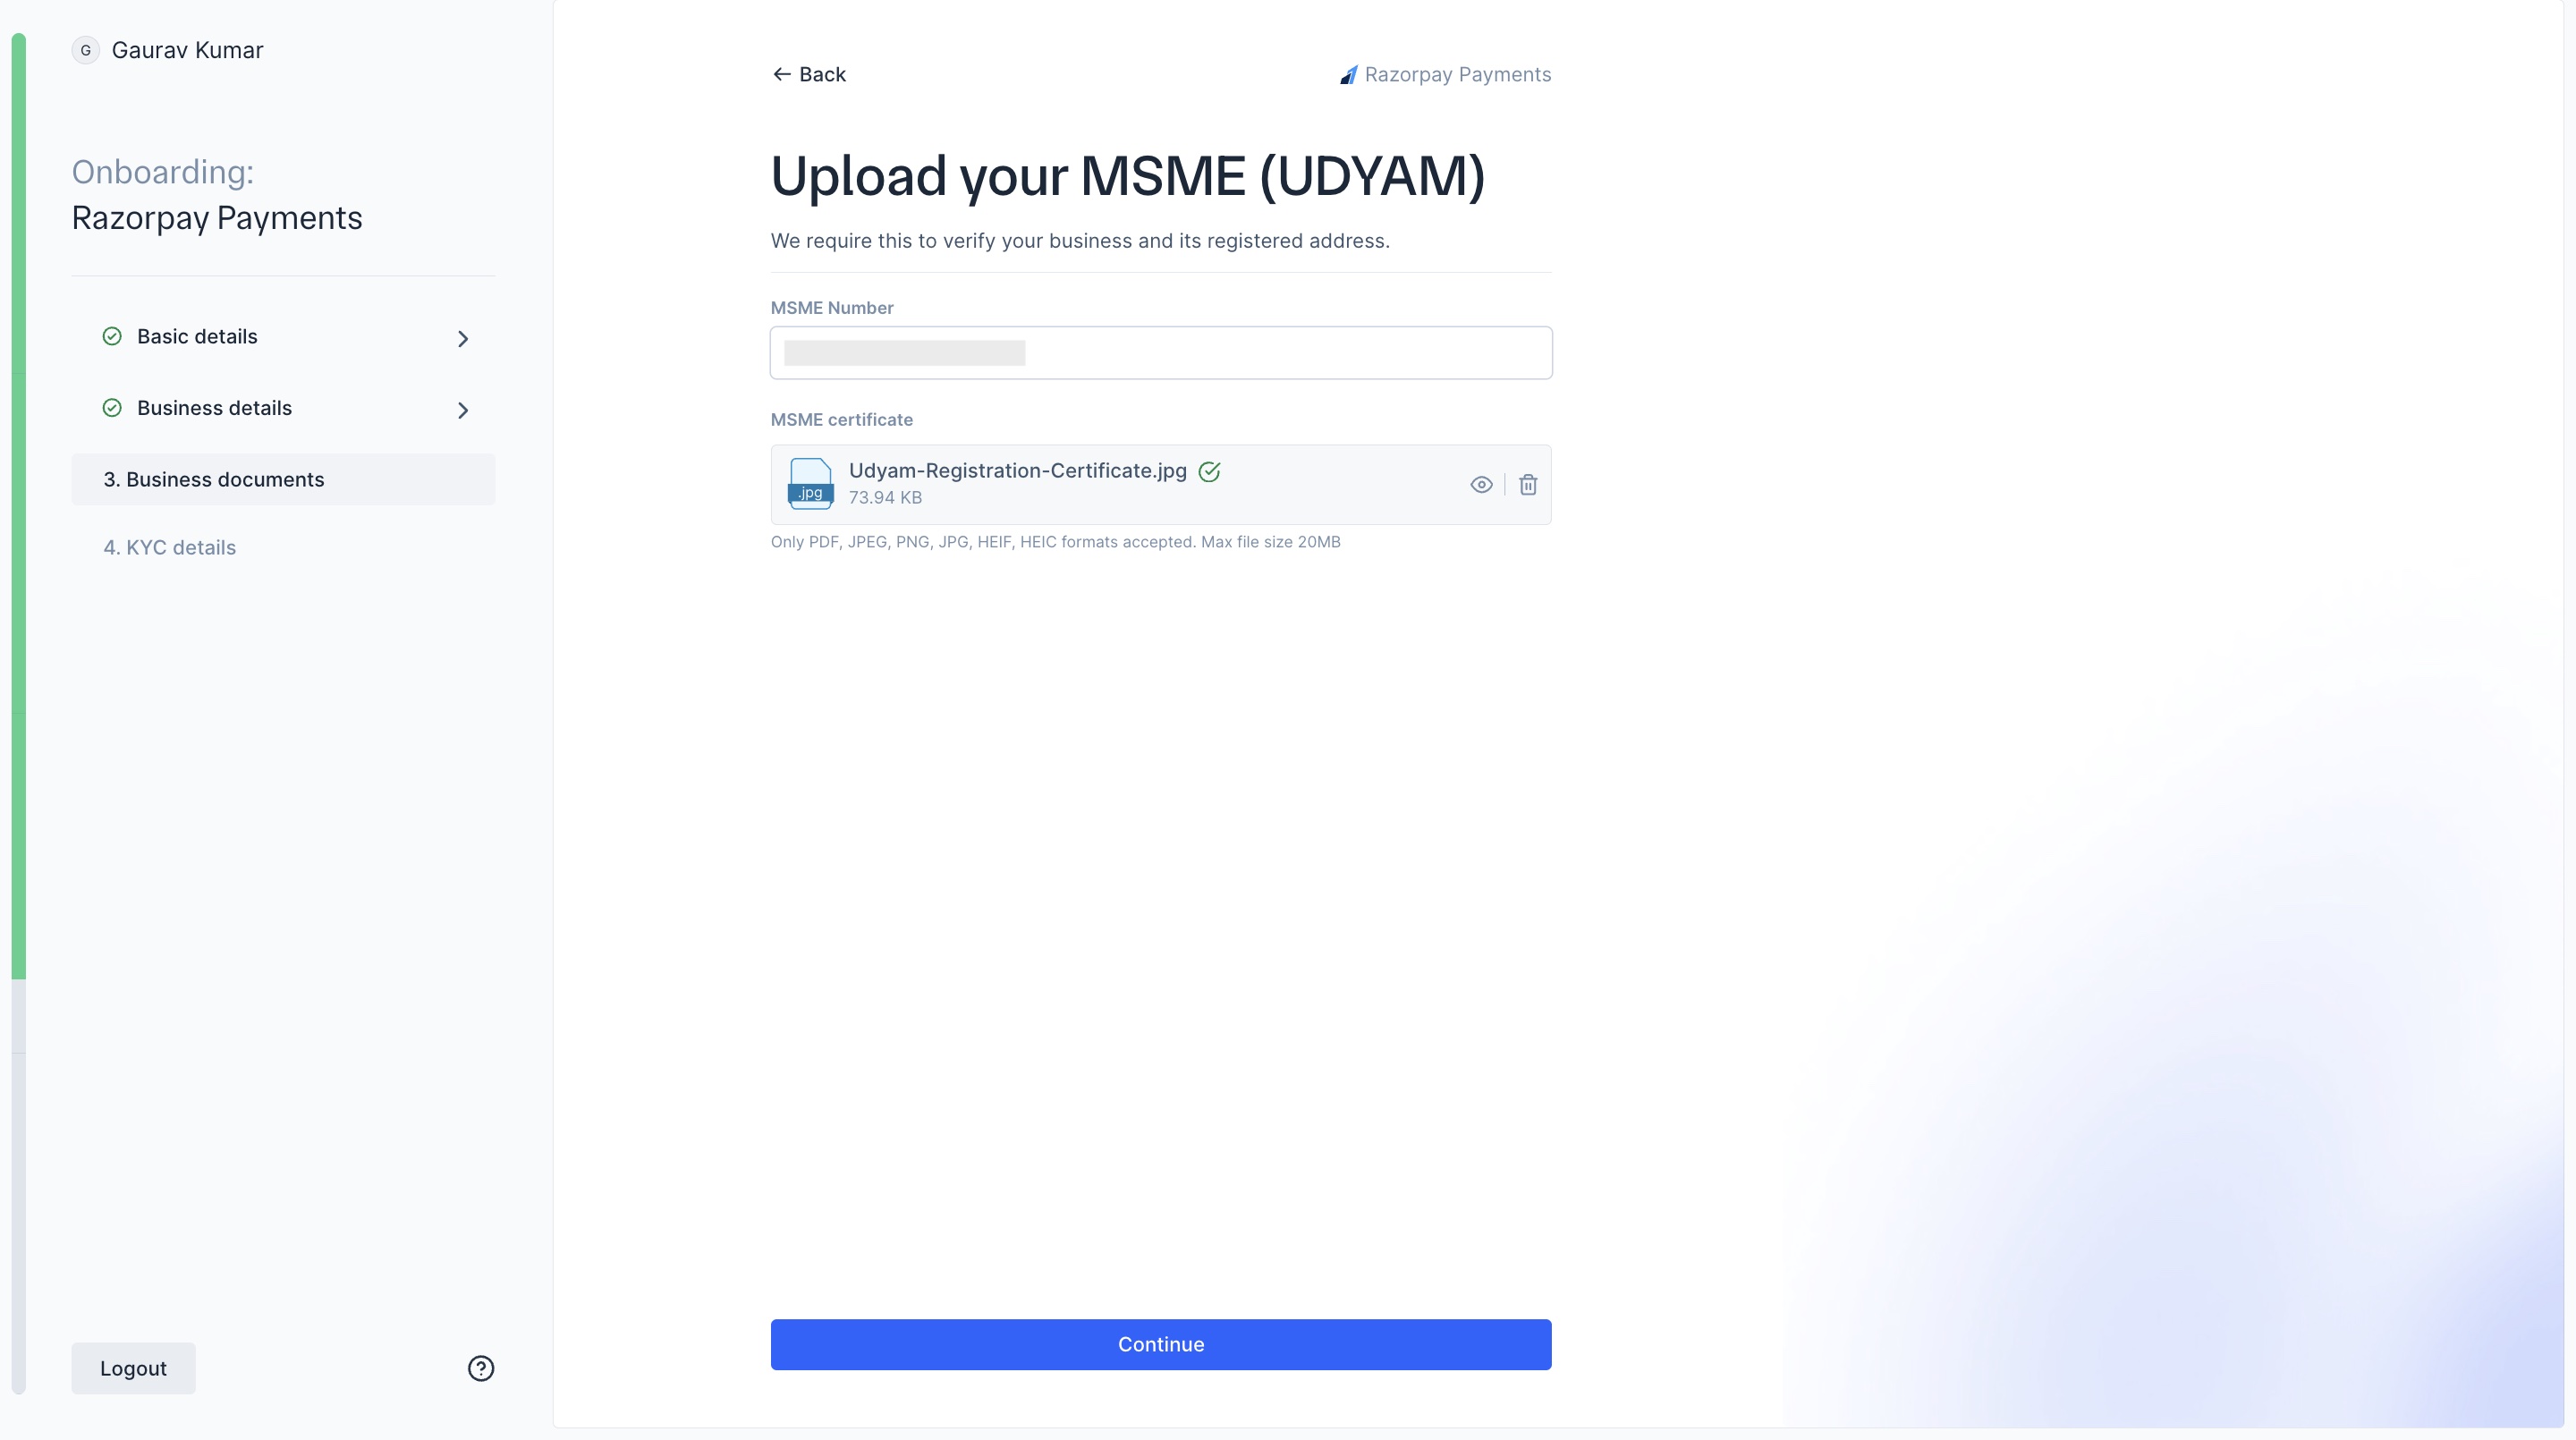
- Enter your UDYAM MSME number and upload the MSME certificate. Click Continue.
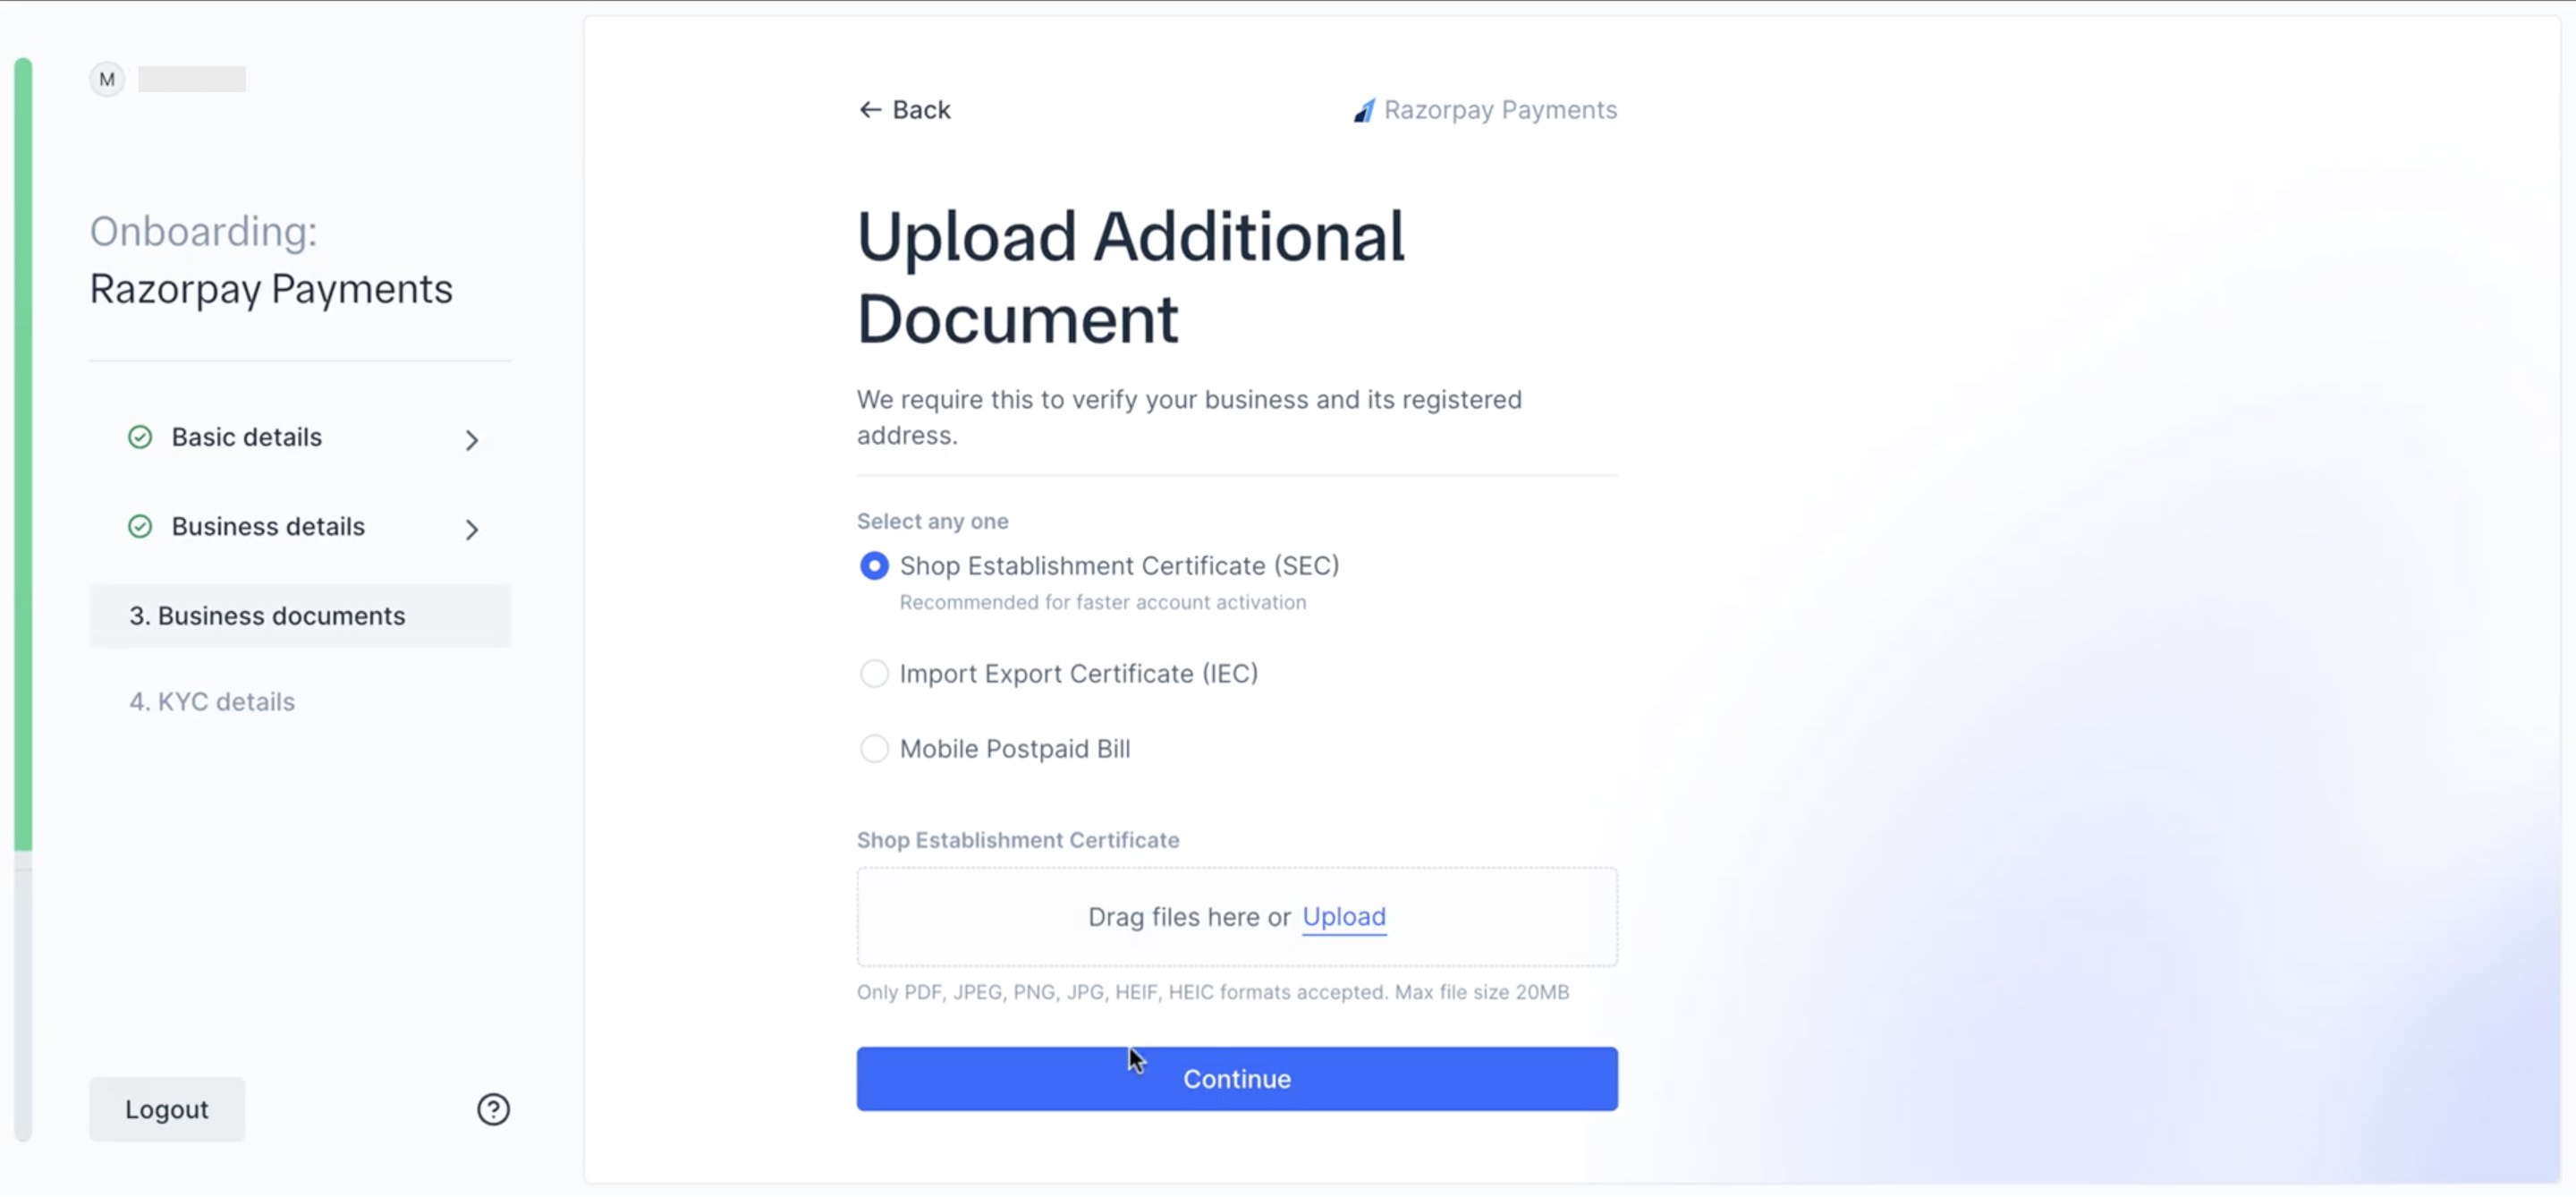
- Select an Additional document and upload it. Click Continue.
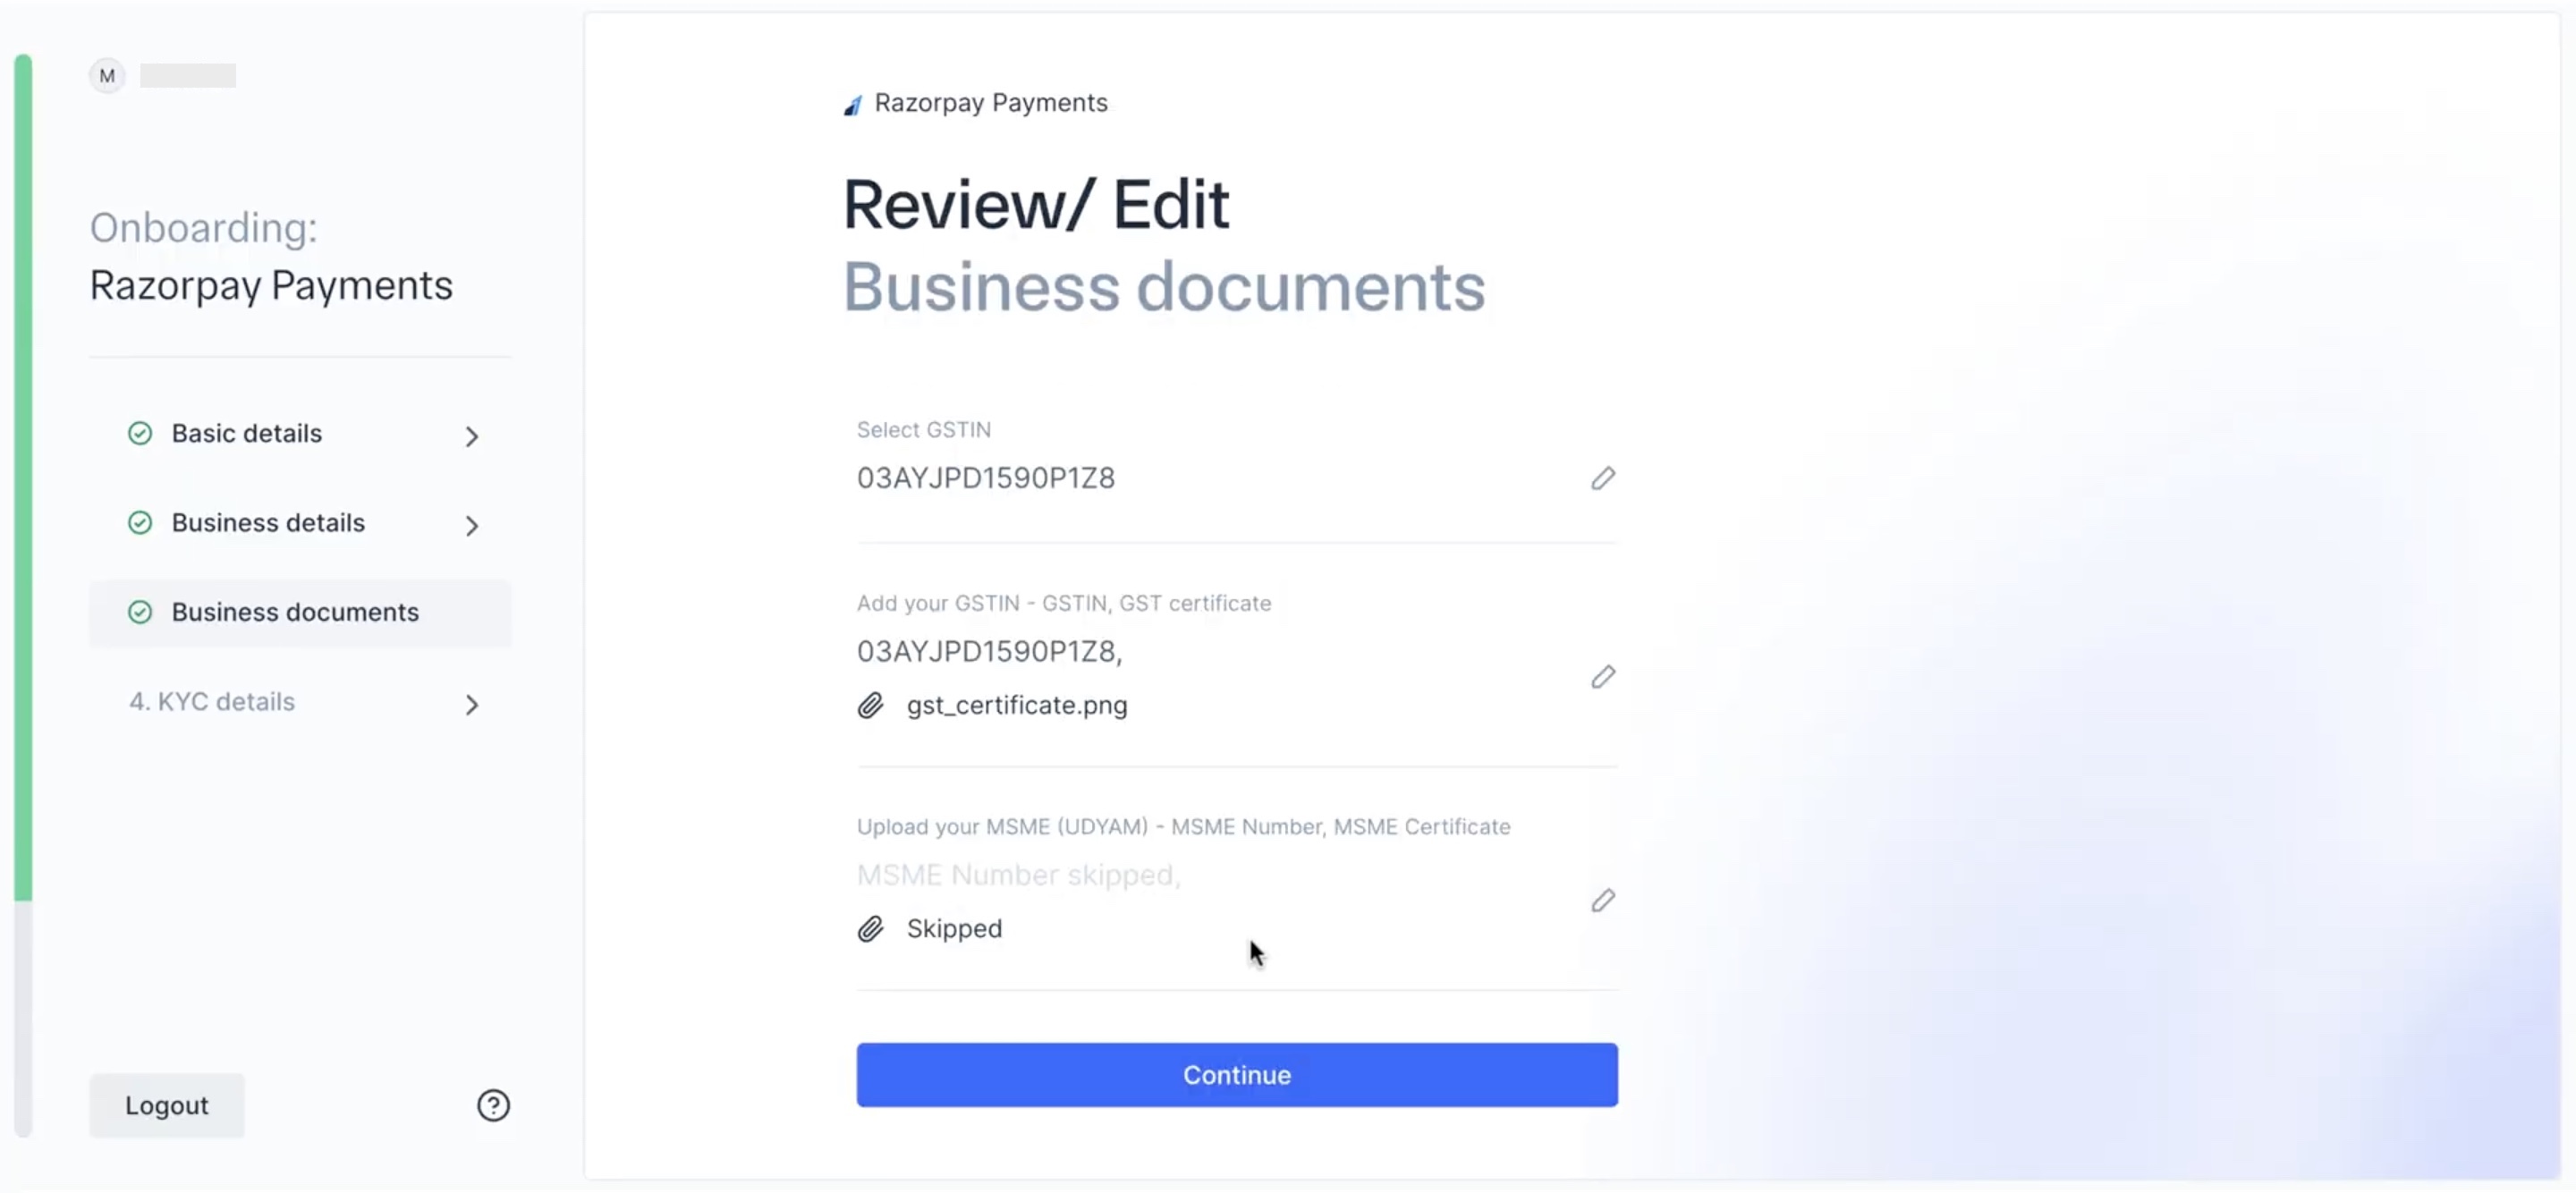
- Review the business documents you provided. Click Continue after verifying the information.
KYC Details
KYC Details
Complete your KYC to start accepting payments using Razorpay.
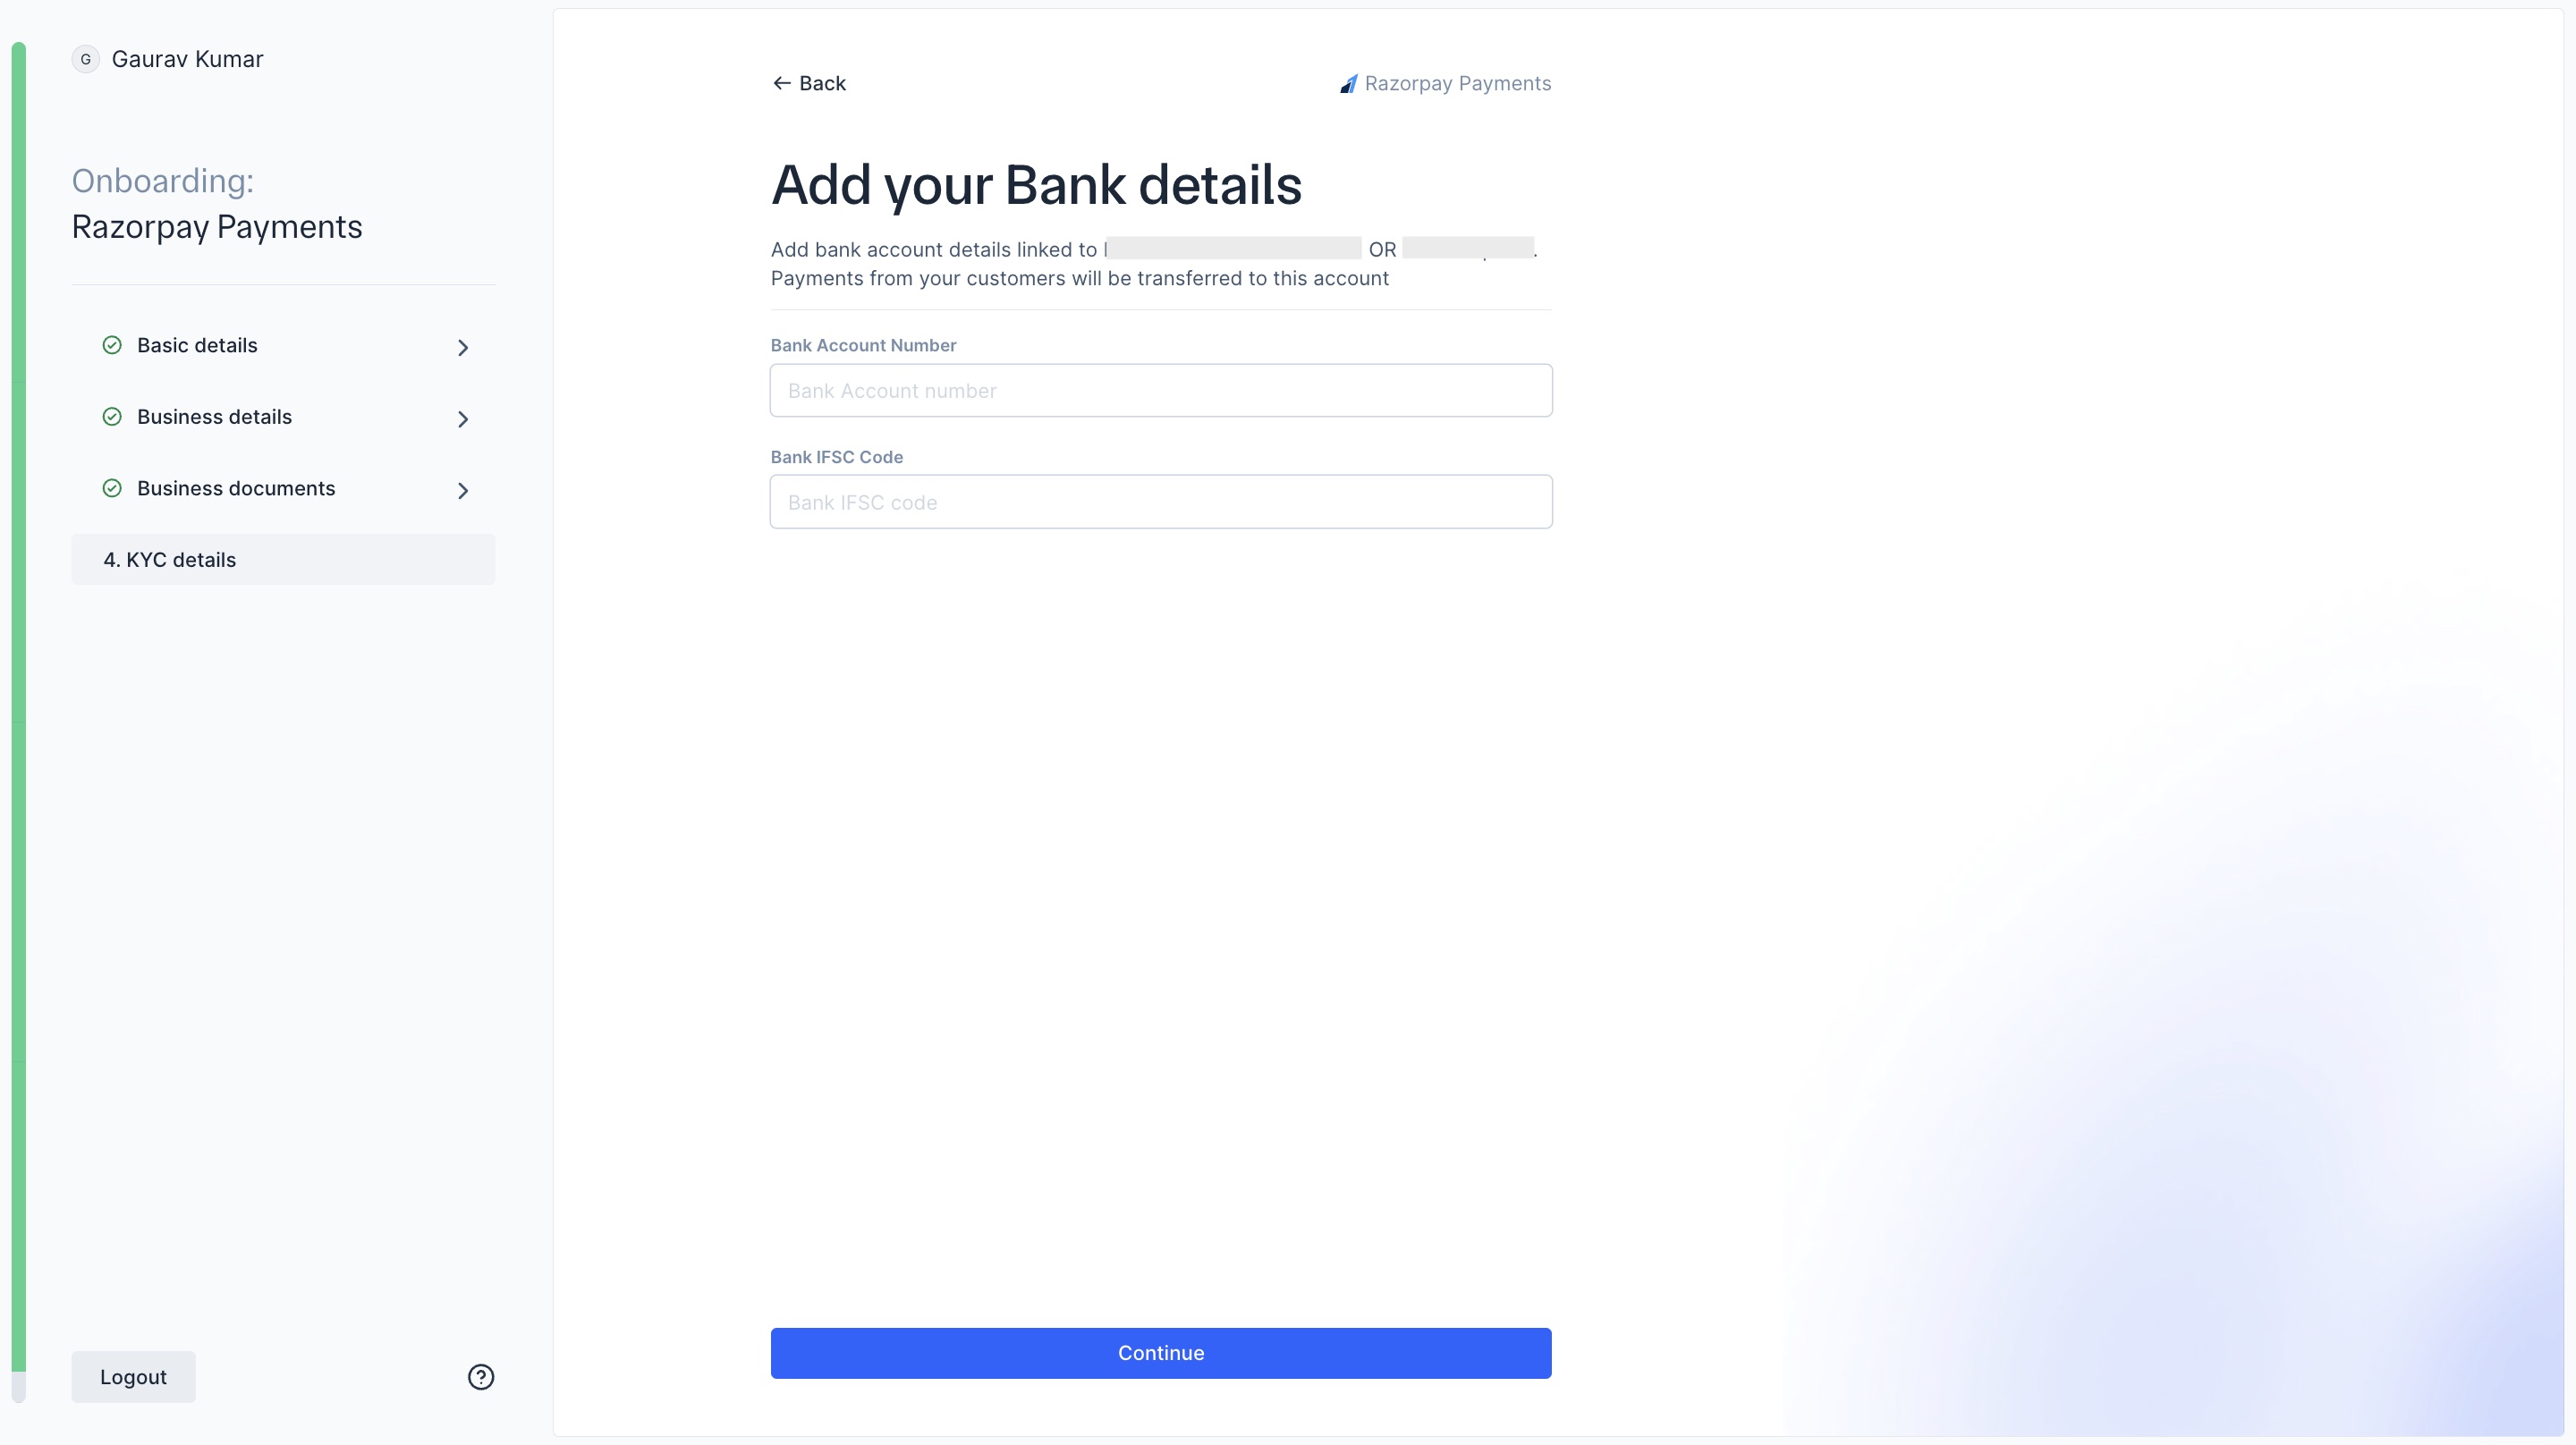 Razorpay will now deposit ₹1 to this account to verify. If the verification fails you must upload a proof of the bank account. Choose from the given options:
For unregistered Individual businesses:
For unregistered Individual businesses:
-
Enter your mobile number linked to your CKYC to avoid performing a video KYC. Click Generate OTP.
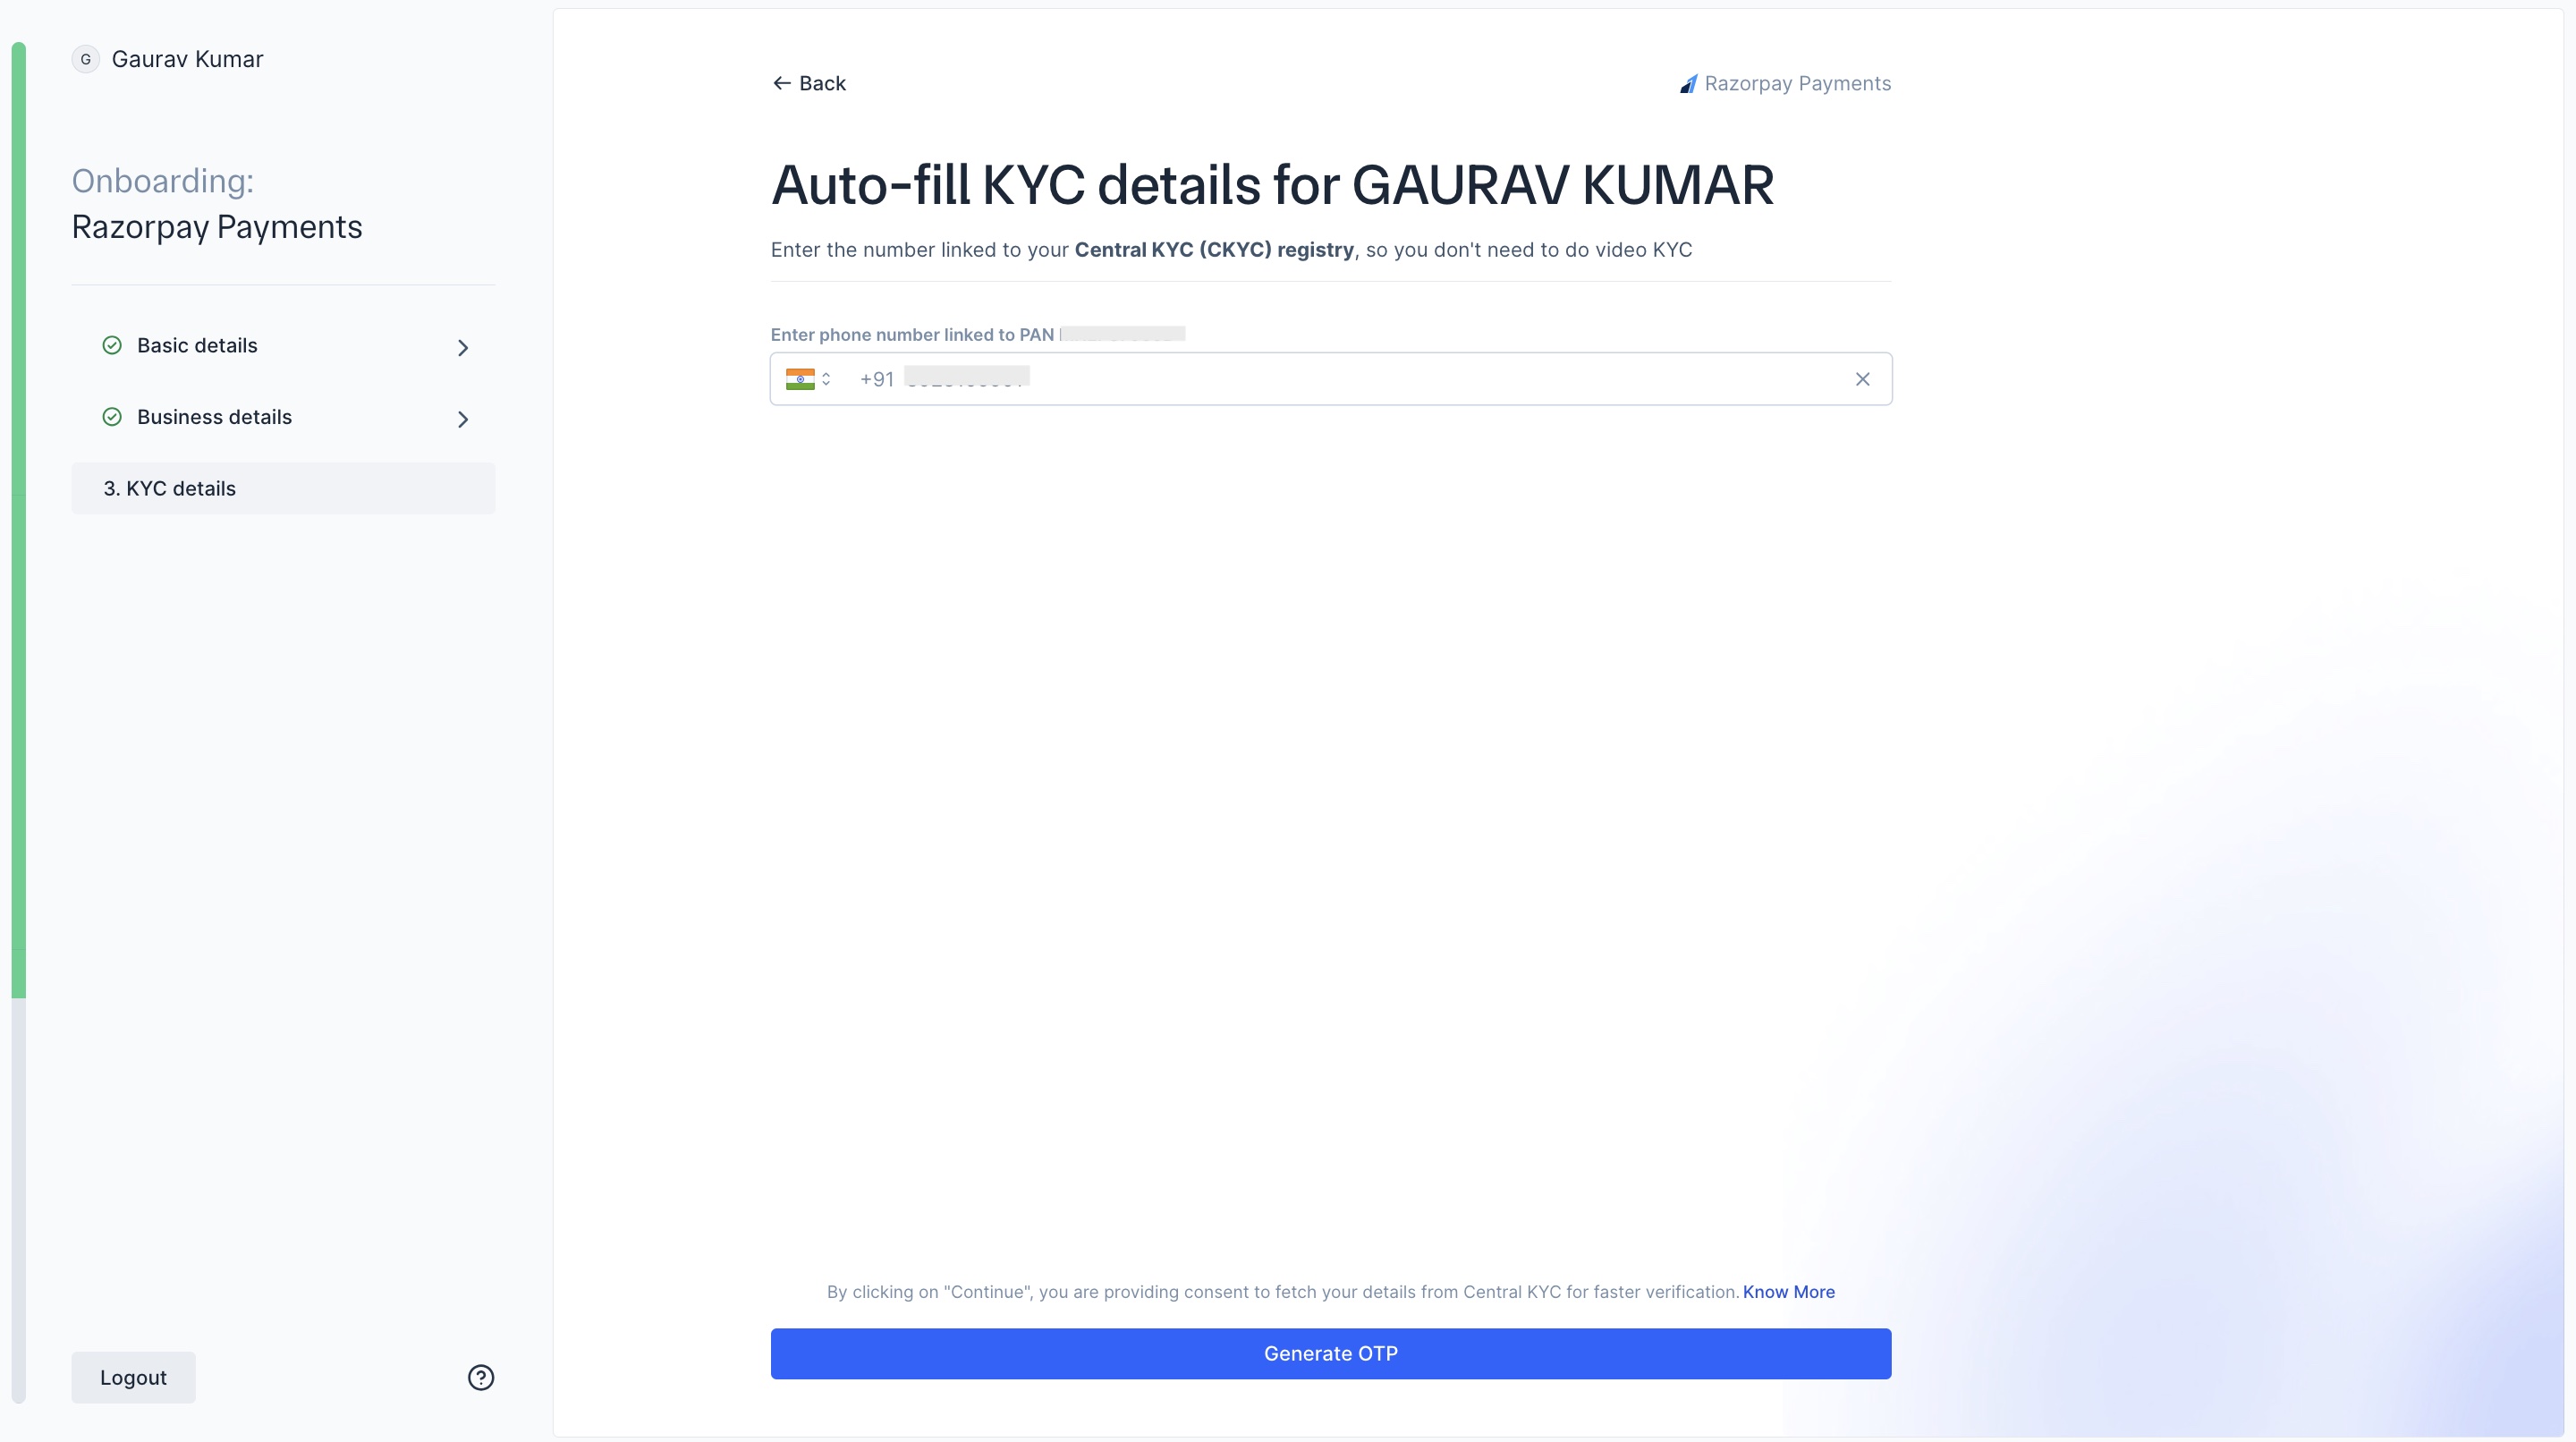
-
Enter the OTP. Click Verify OTP.
If your details are successfully fetched, the screen appears as shown:
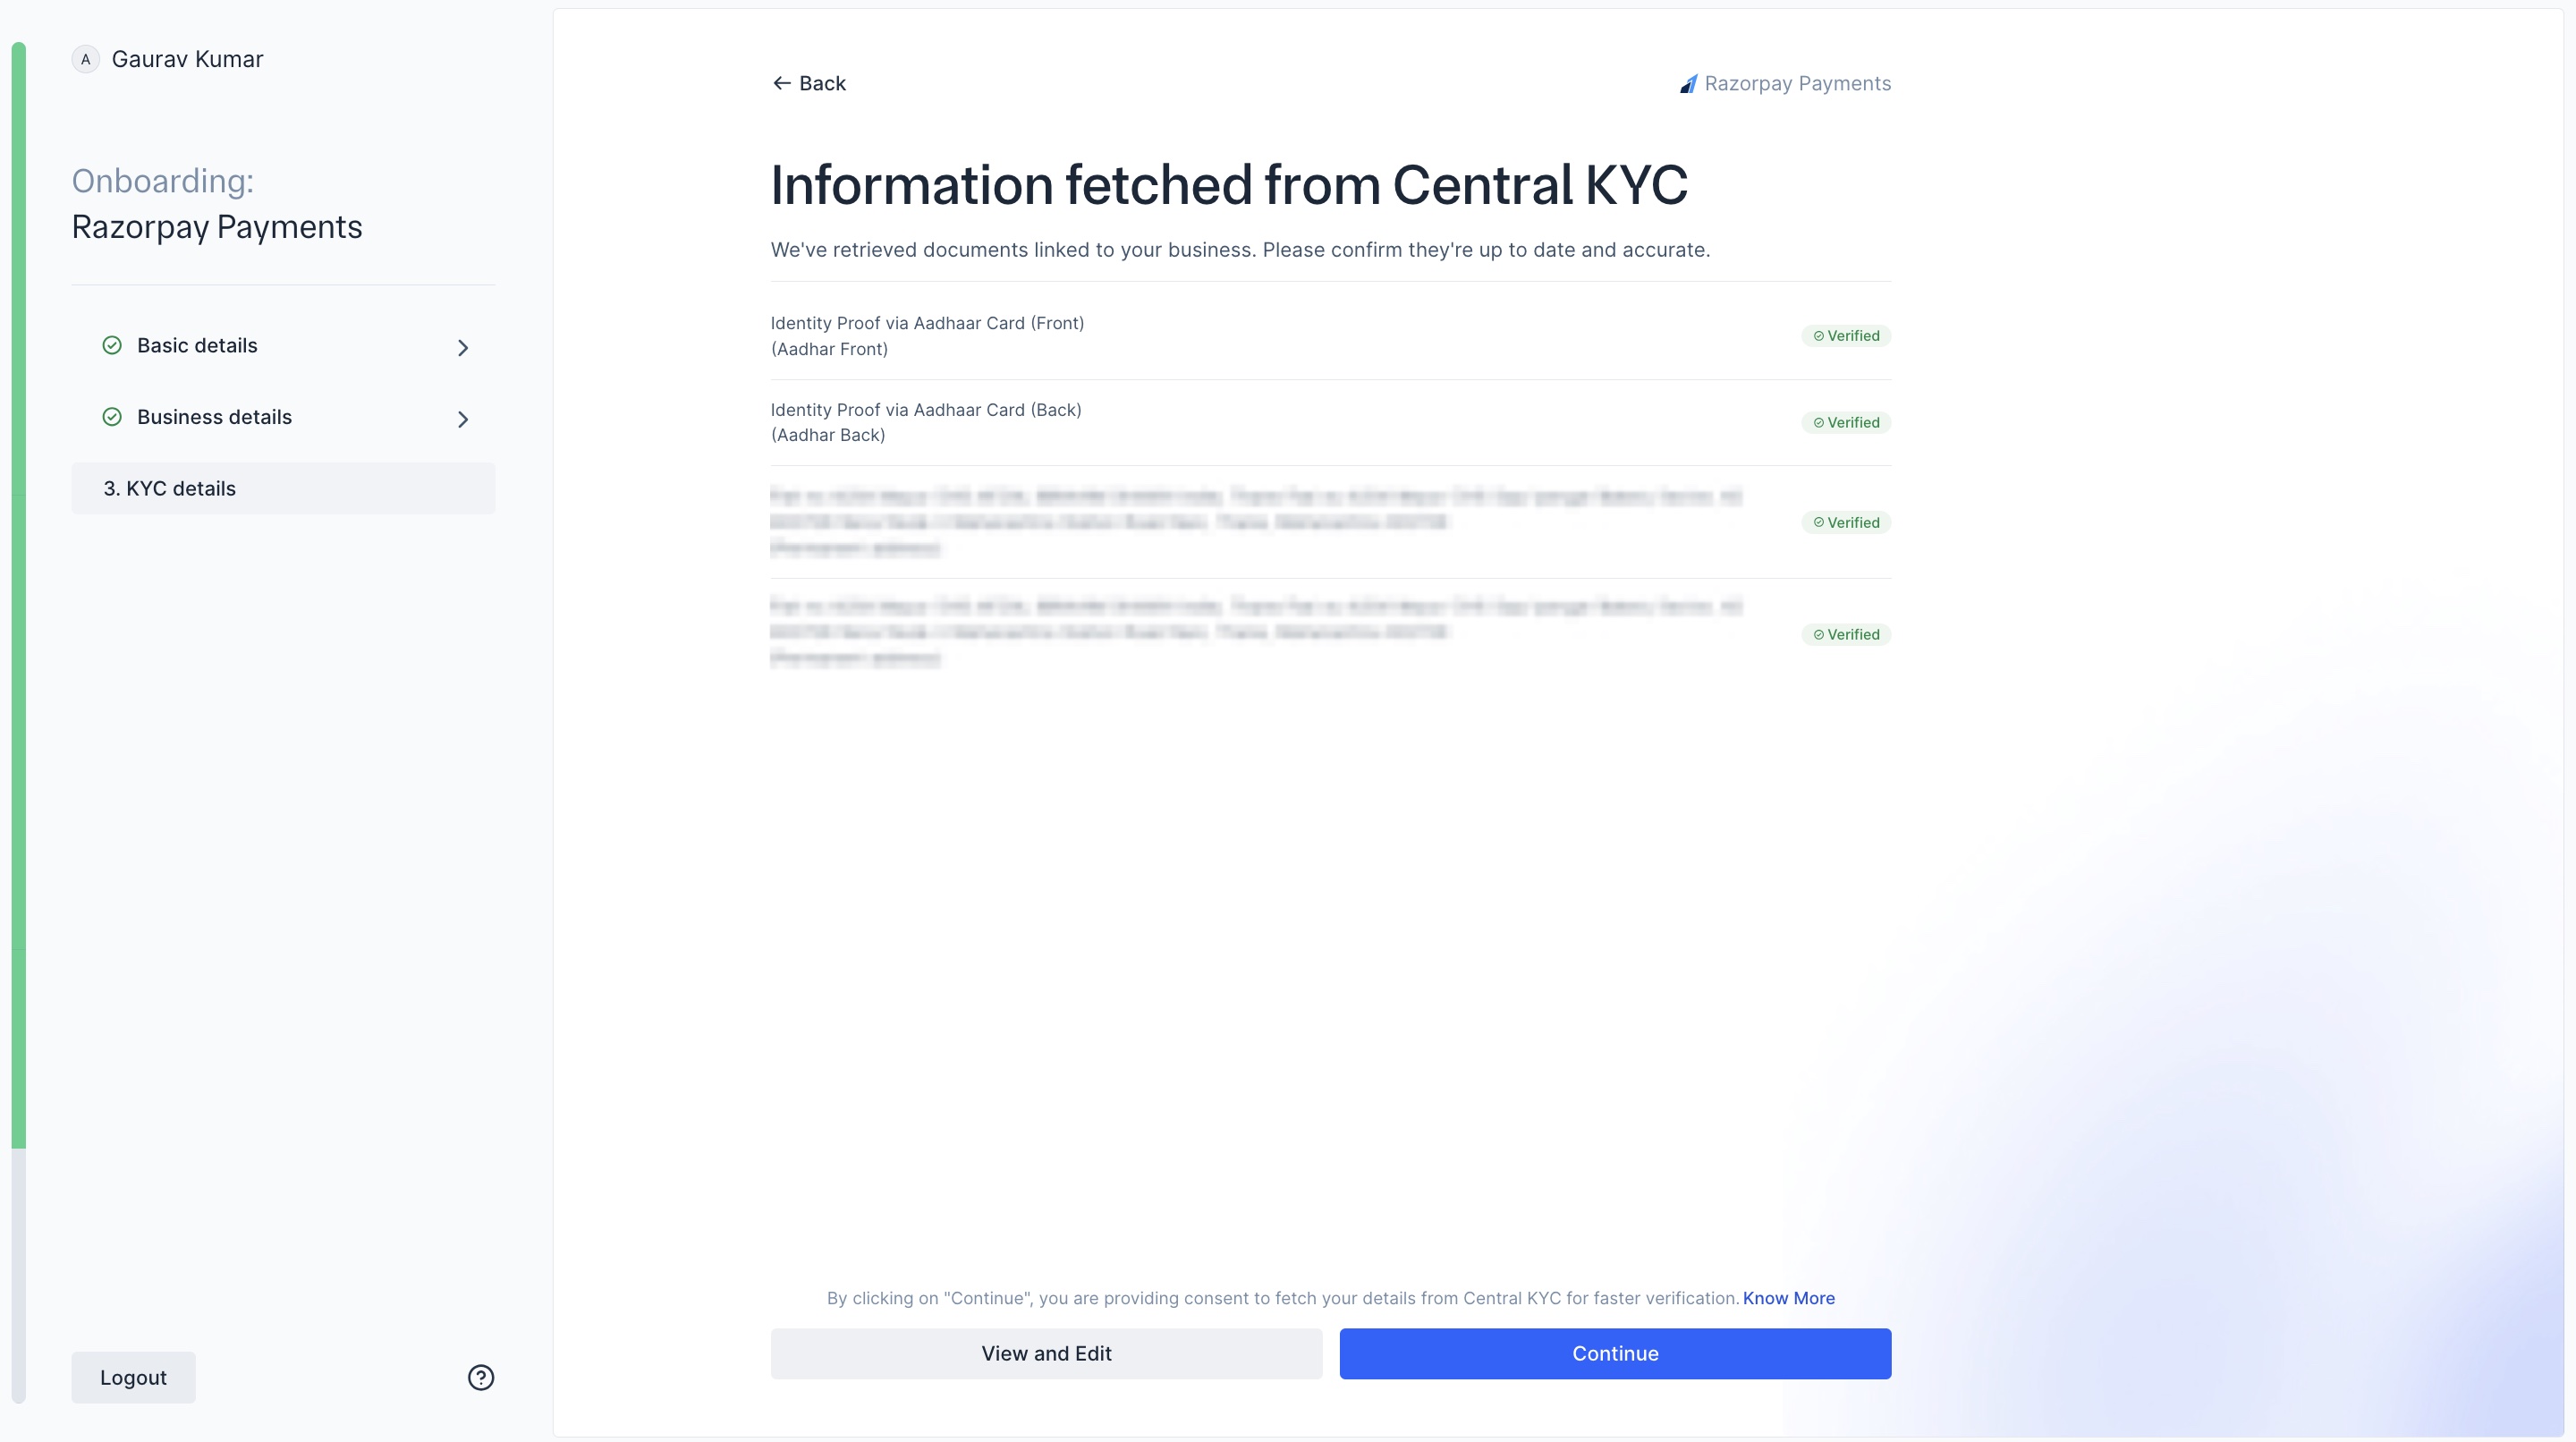 If your CKYC verification fails, follow the below steps to share your Aadhar details using Digilocker or upload manually.
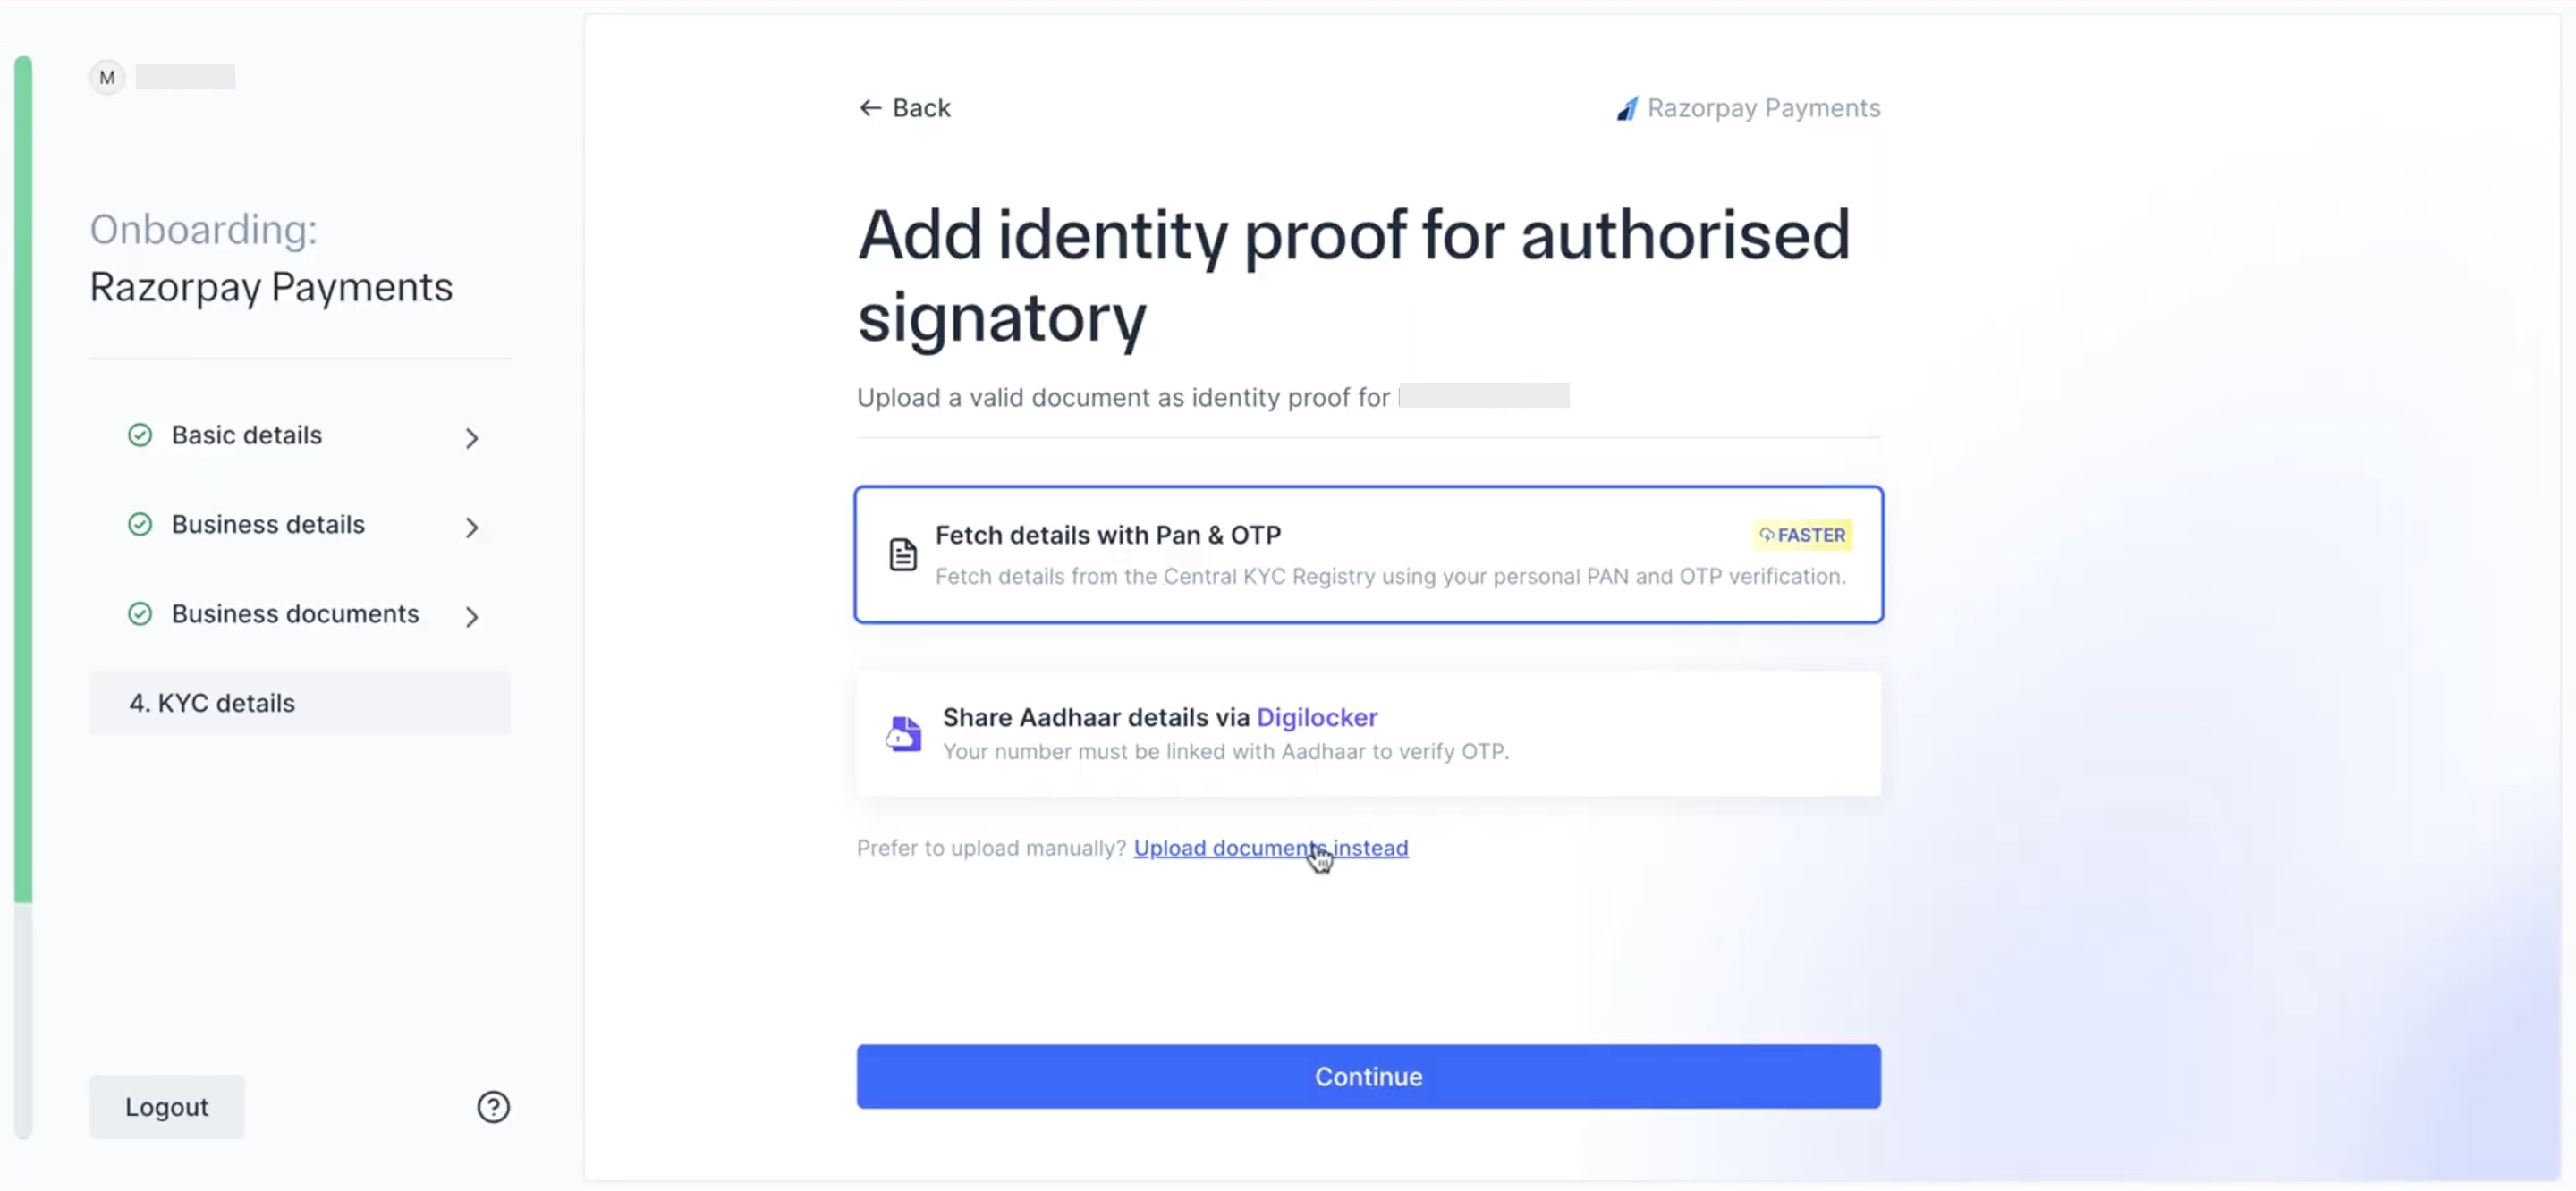
Submit id proof using Digilocker
Submit id proof using Digilocker
- Select Share Aadhar details via Digilocker. Ensure that your mobile number is linked with your Aadhar. Click Continue.
-
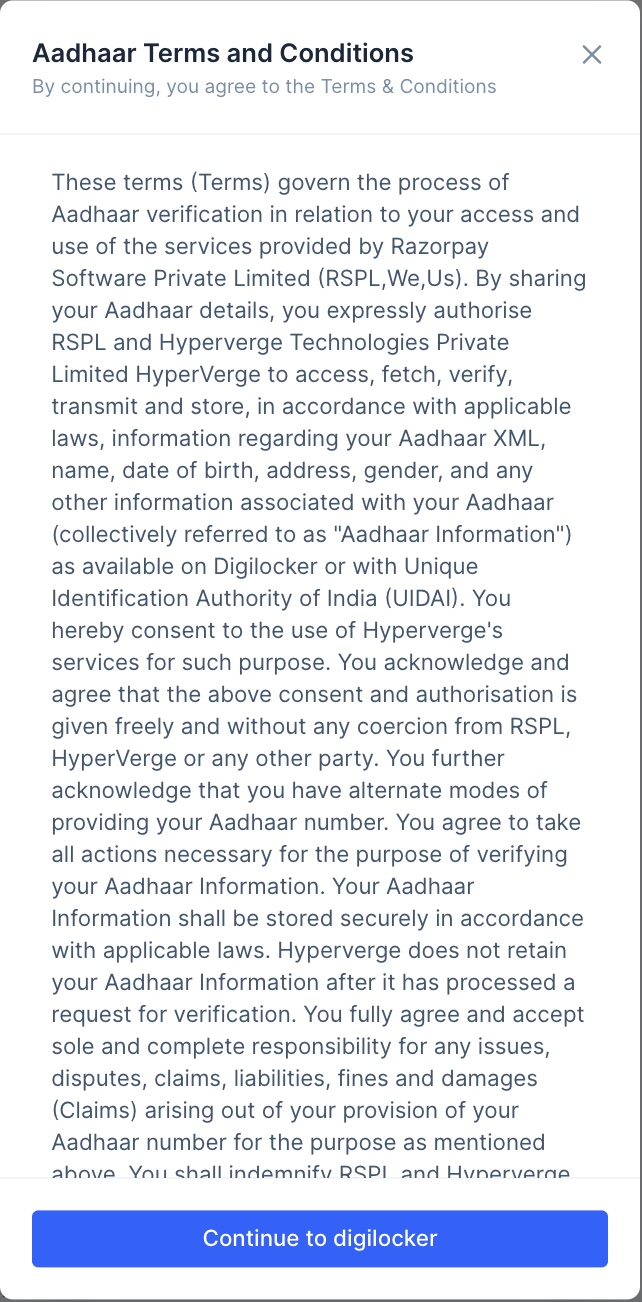
To accept Digilocker’s Aadhar terms and conditions, click Continue to digilocker.
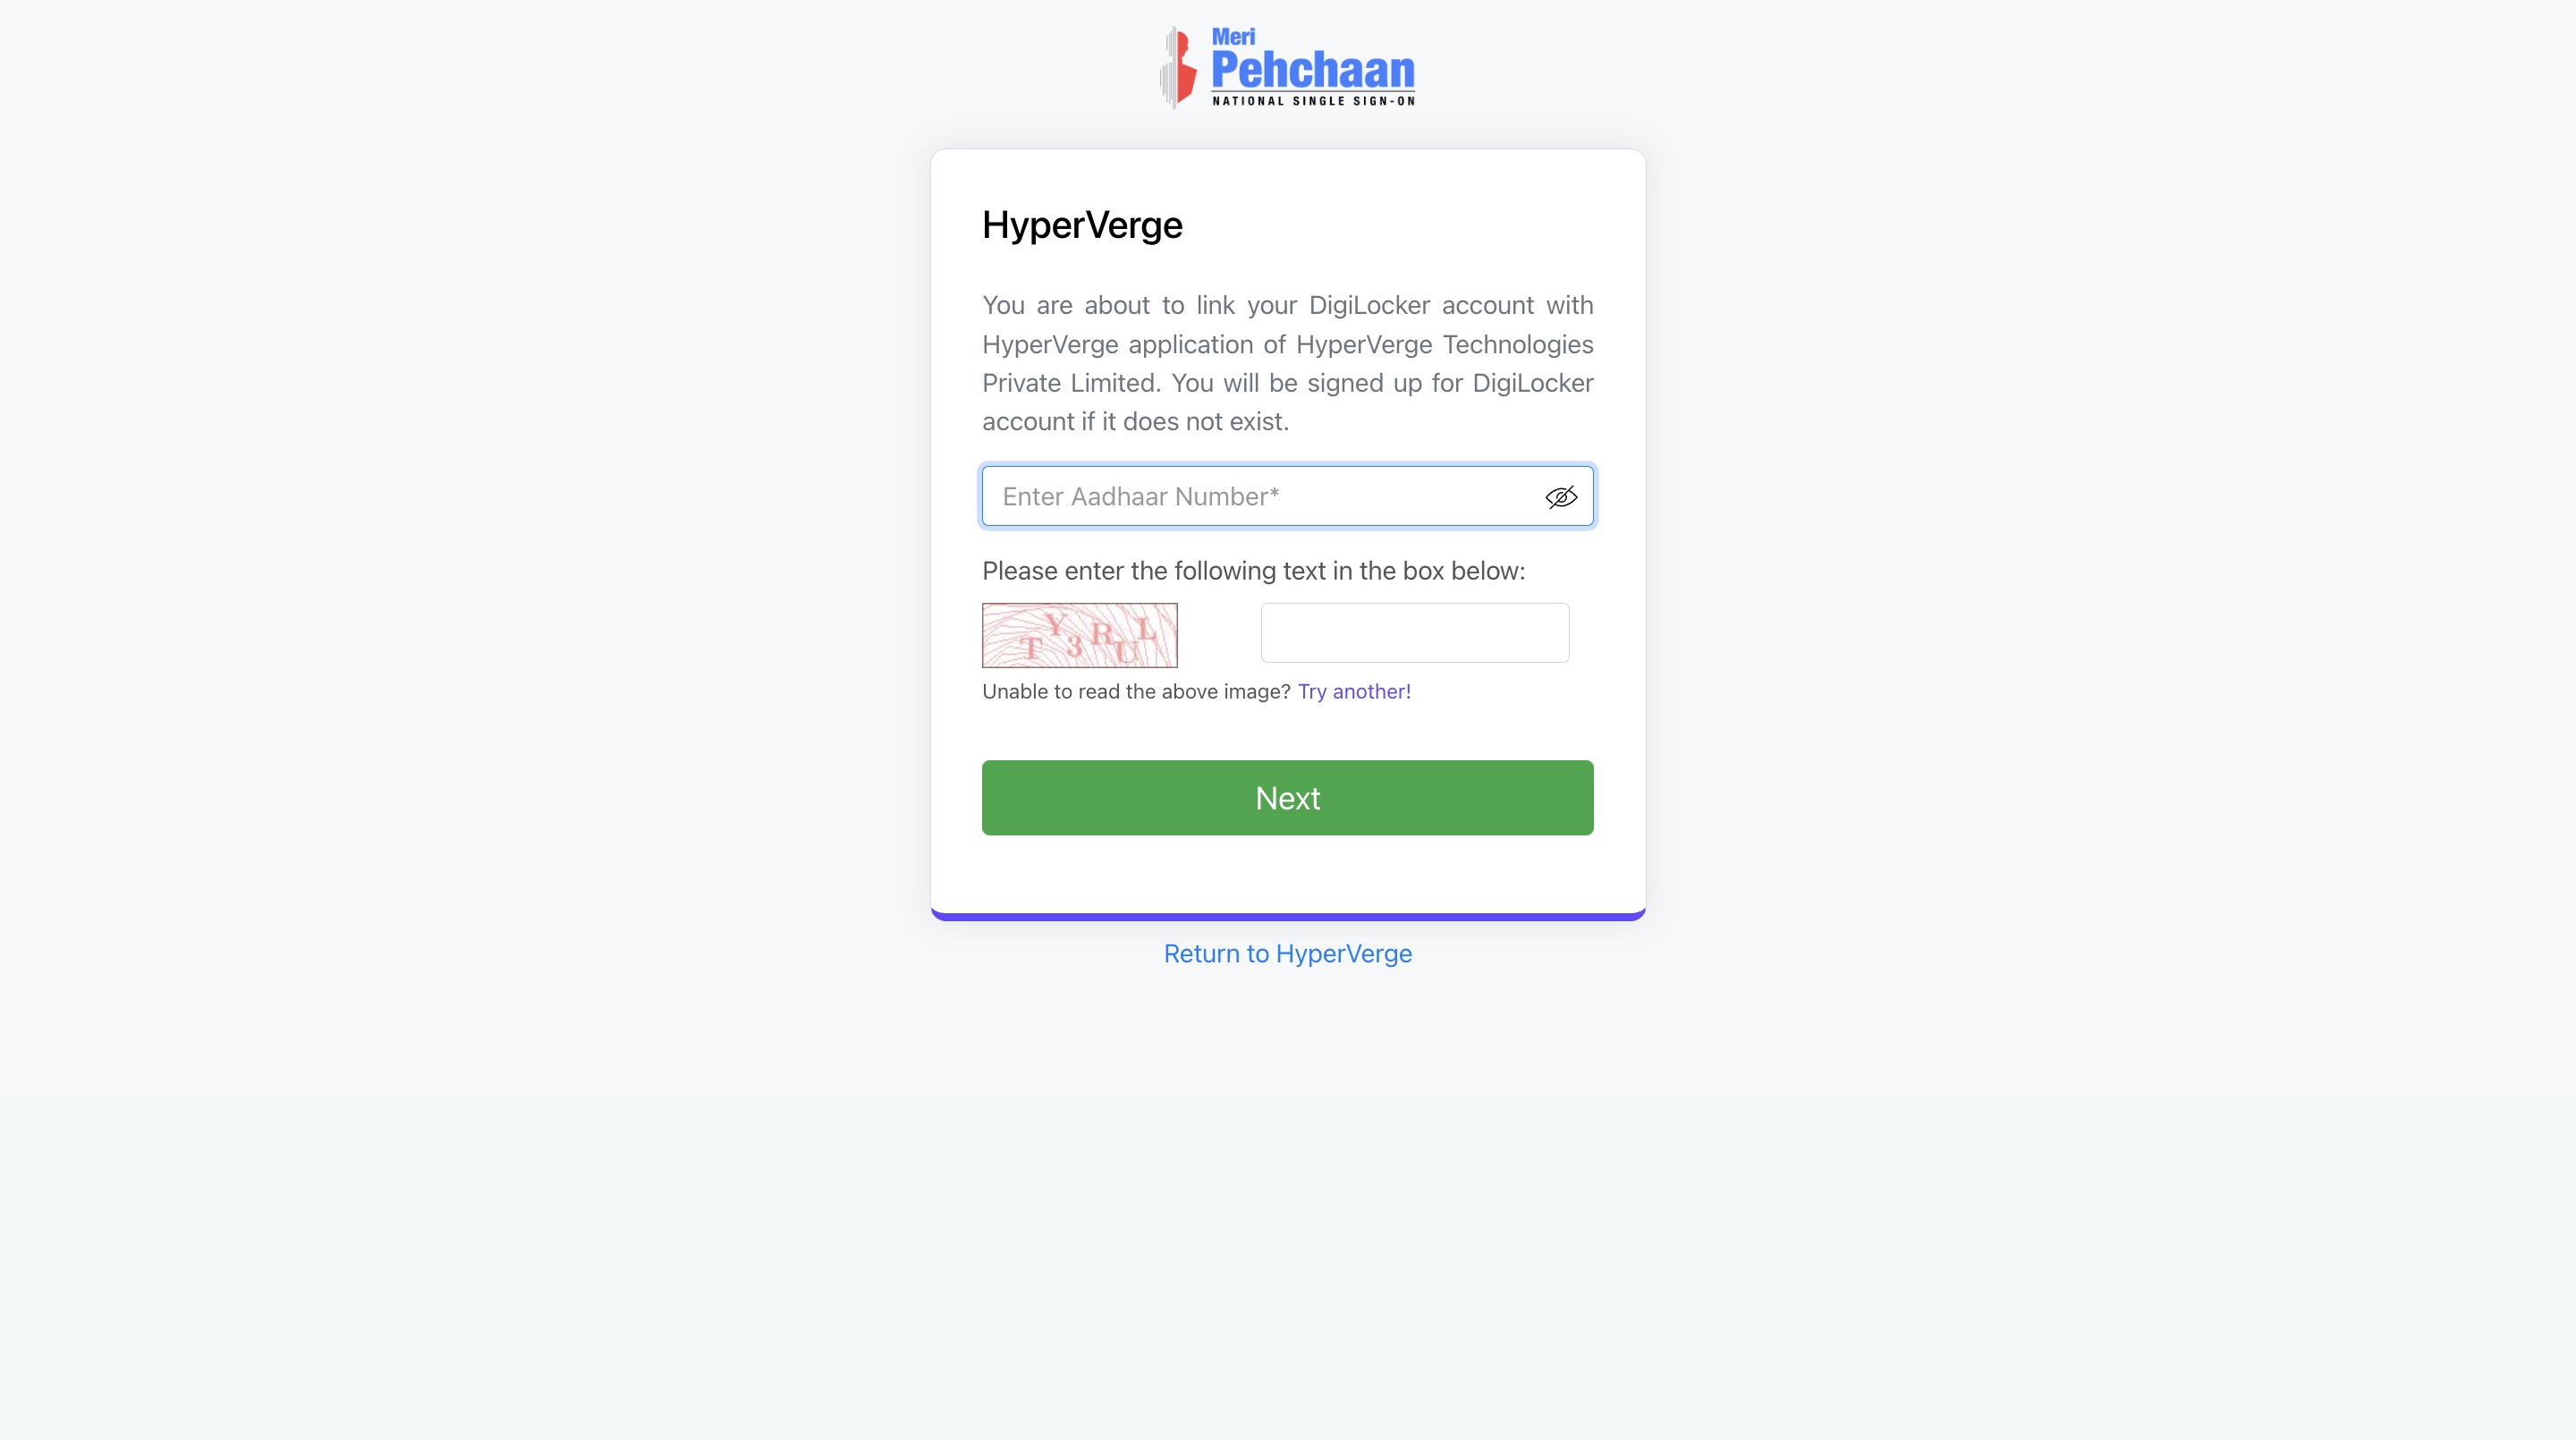
- Enter your Aadhar number. Click Next.
-
Enter the captcha text.
-
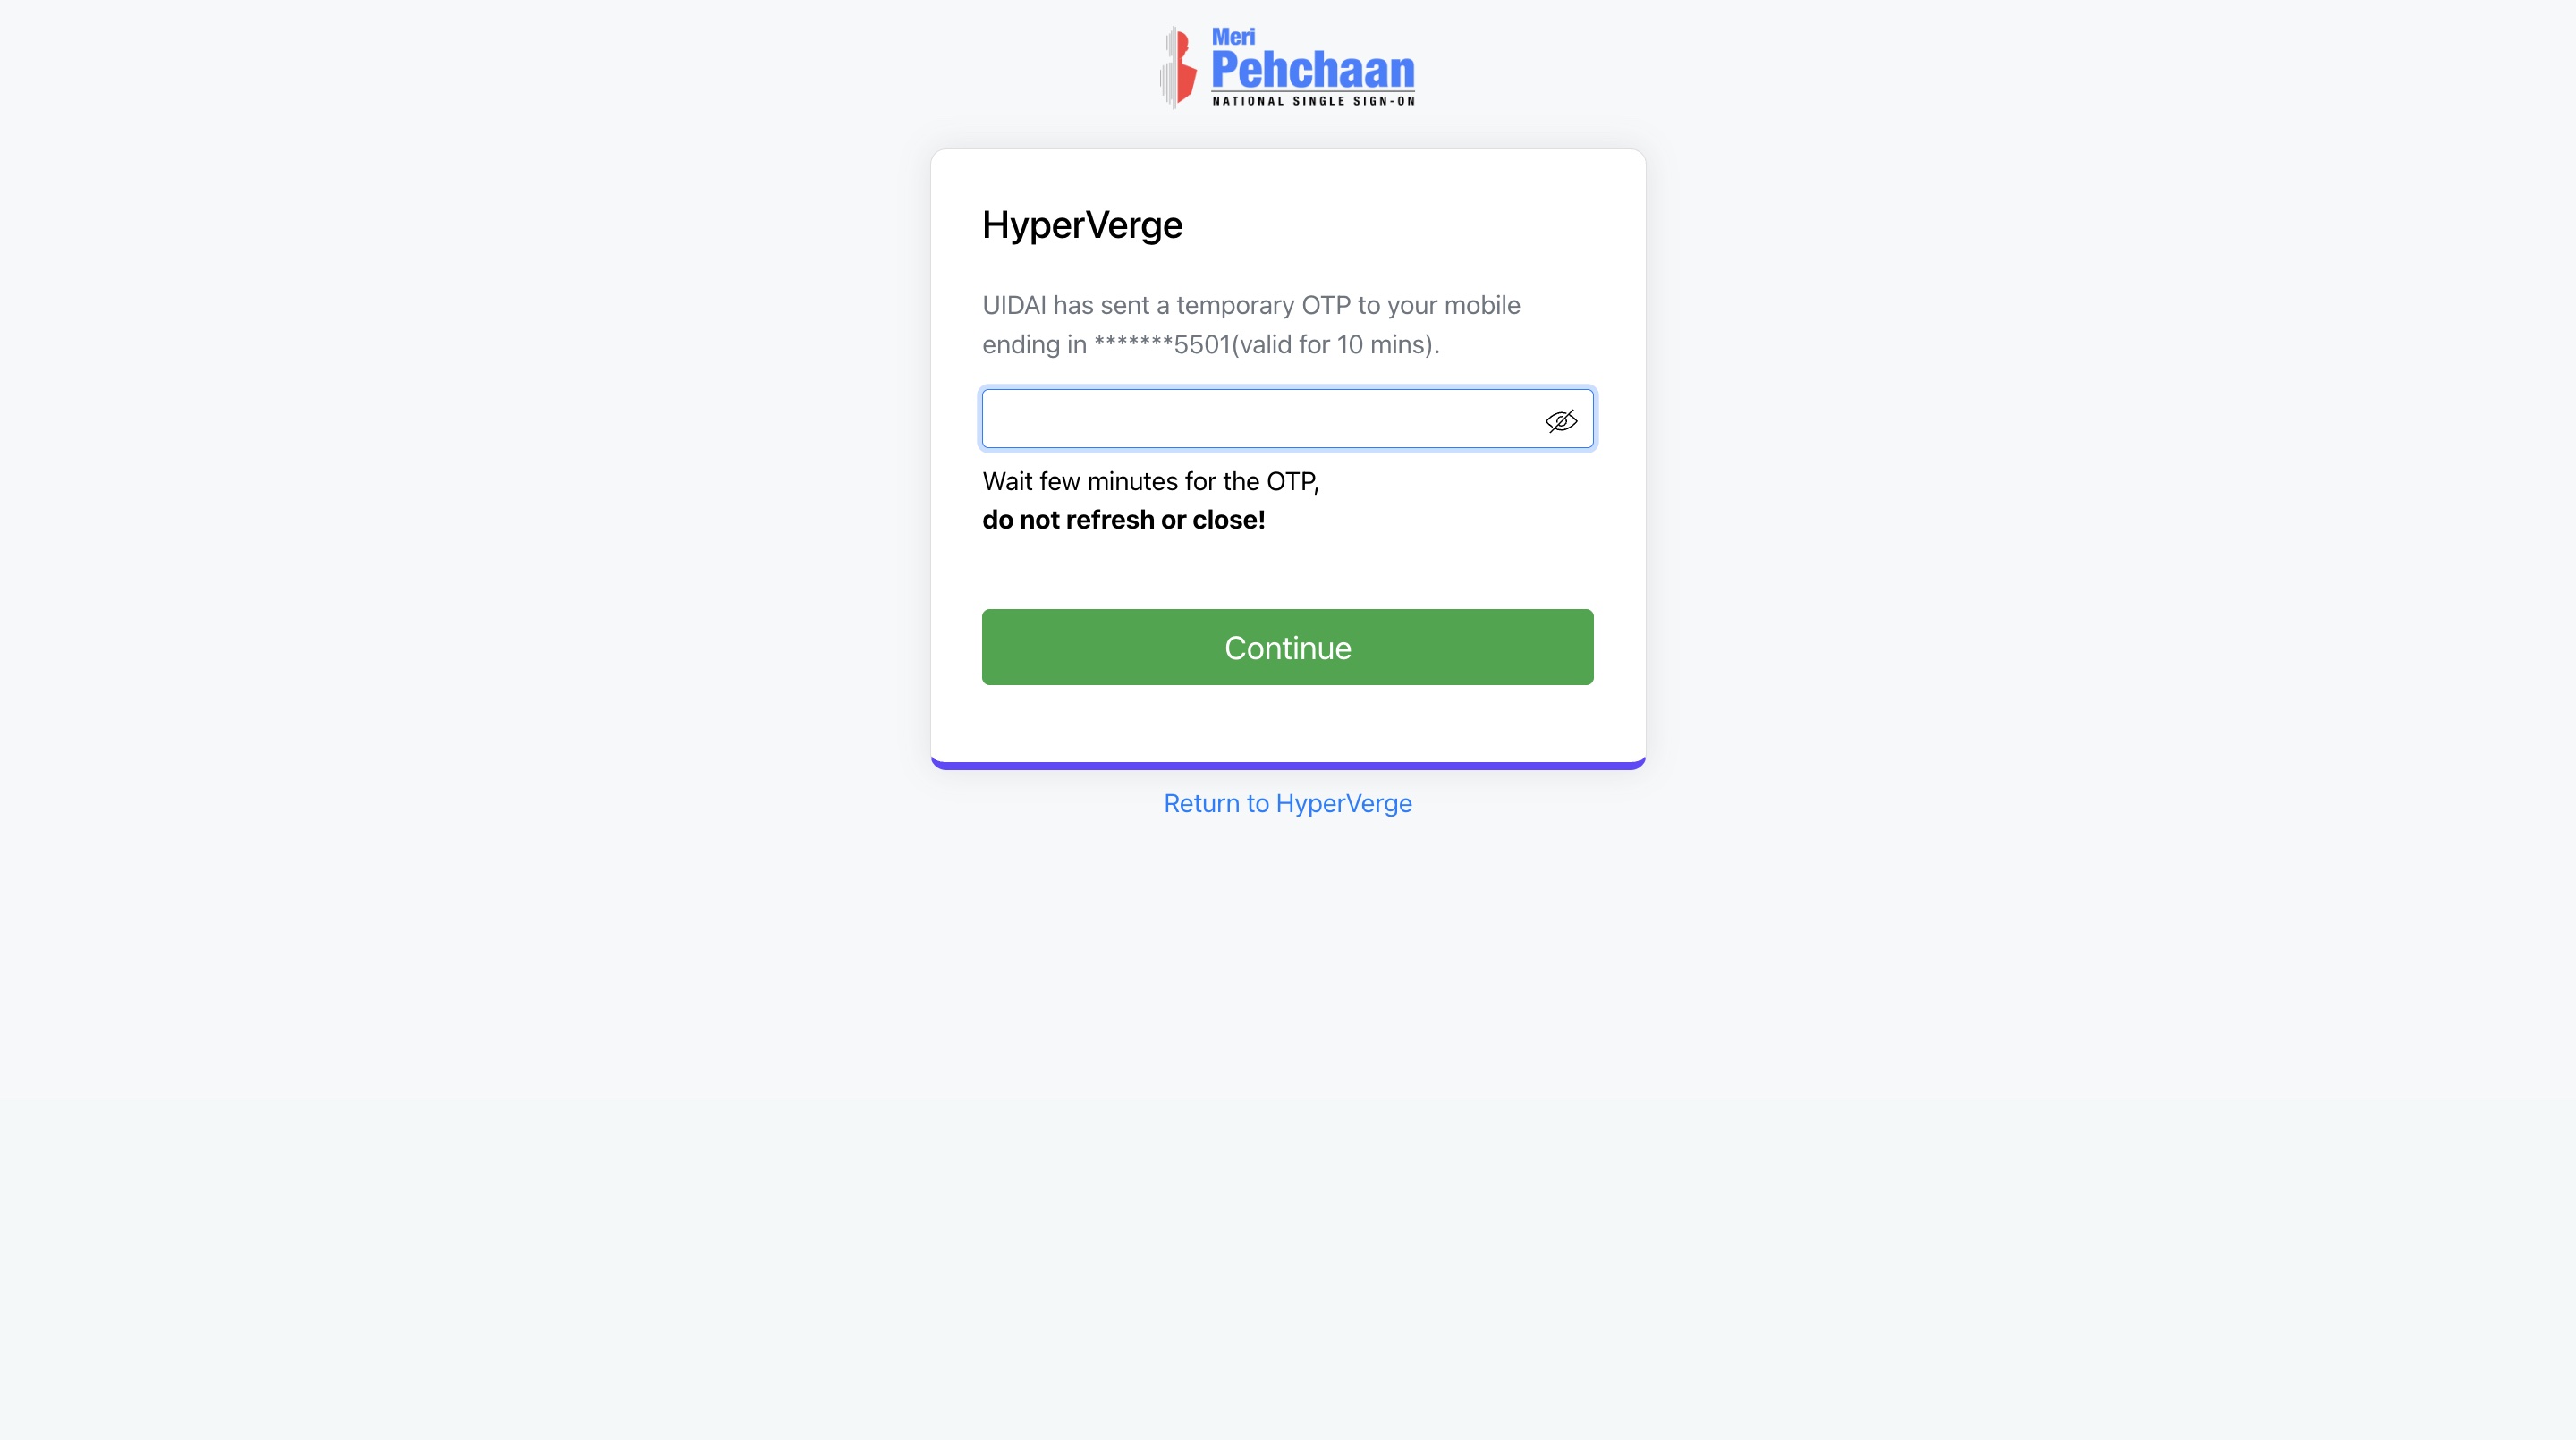
Enter the OTP sent to your linked mobile number. Click Continue.
-
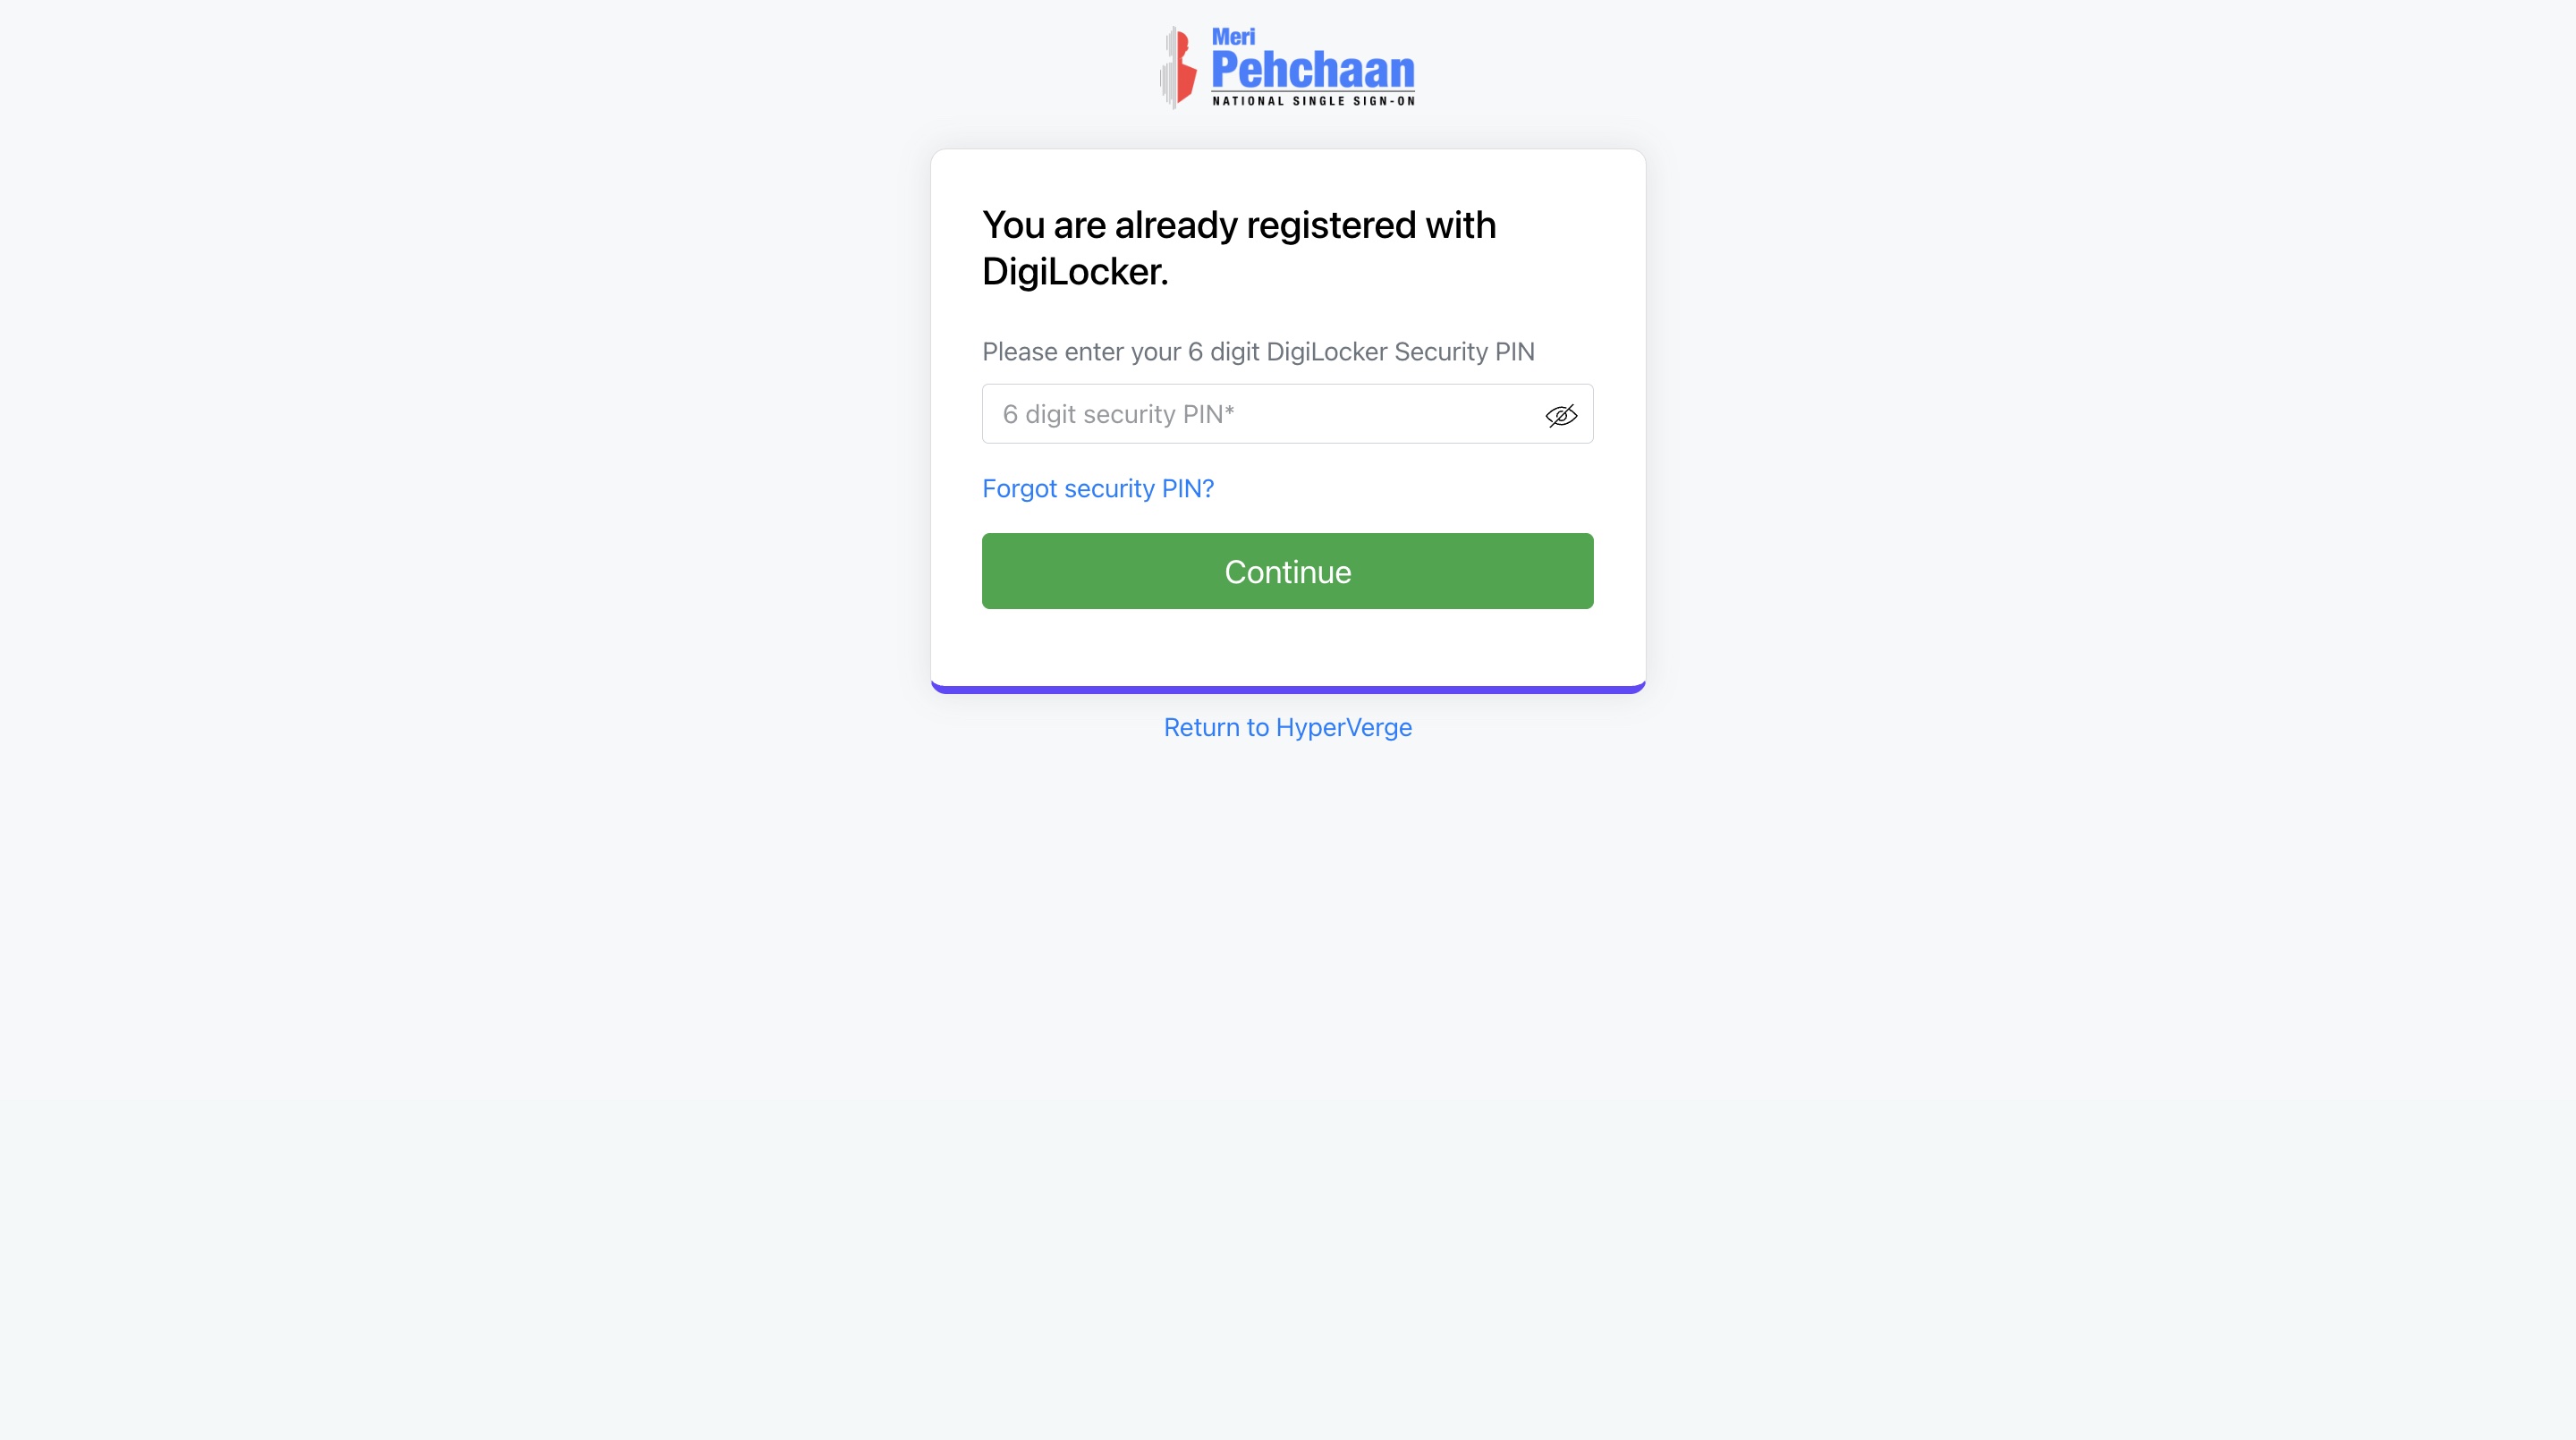
Enter your 6-digit Digilocker pin.
-
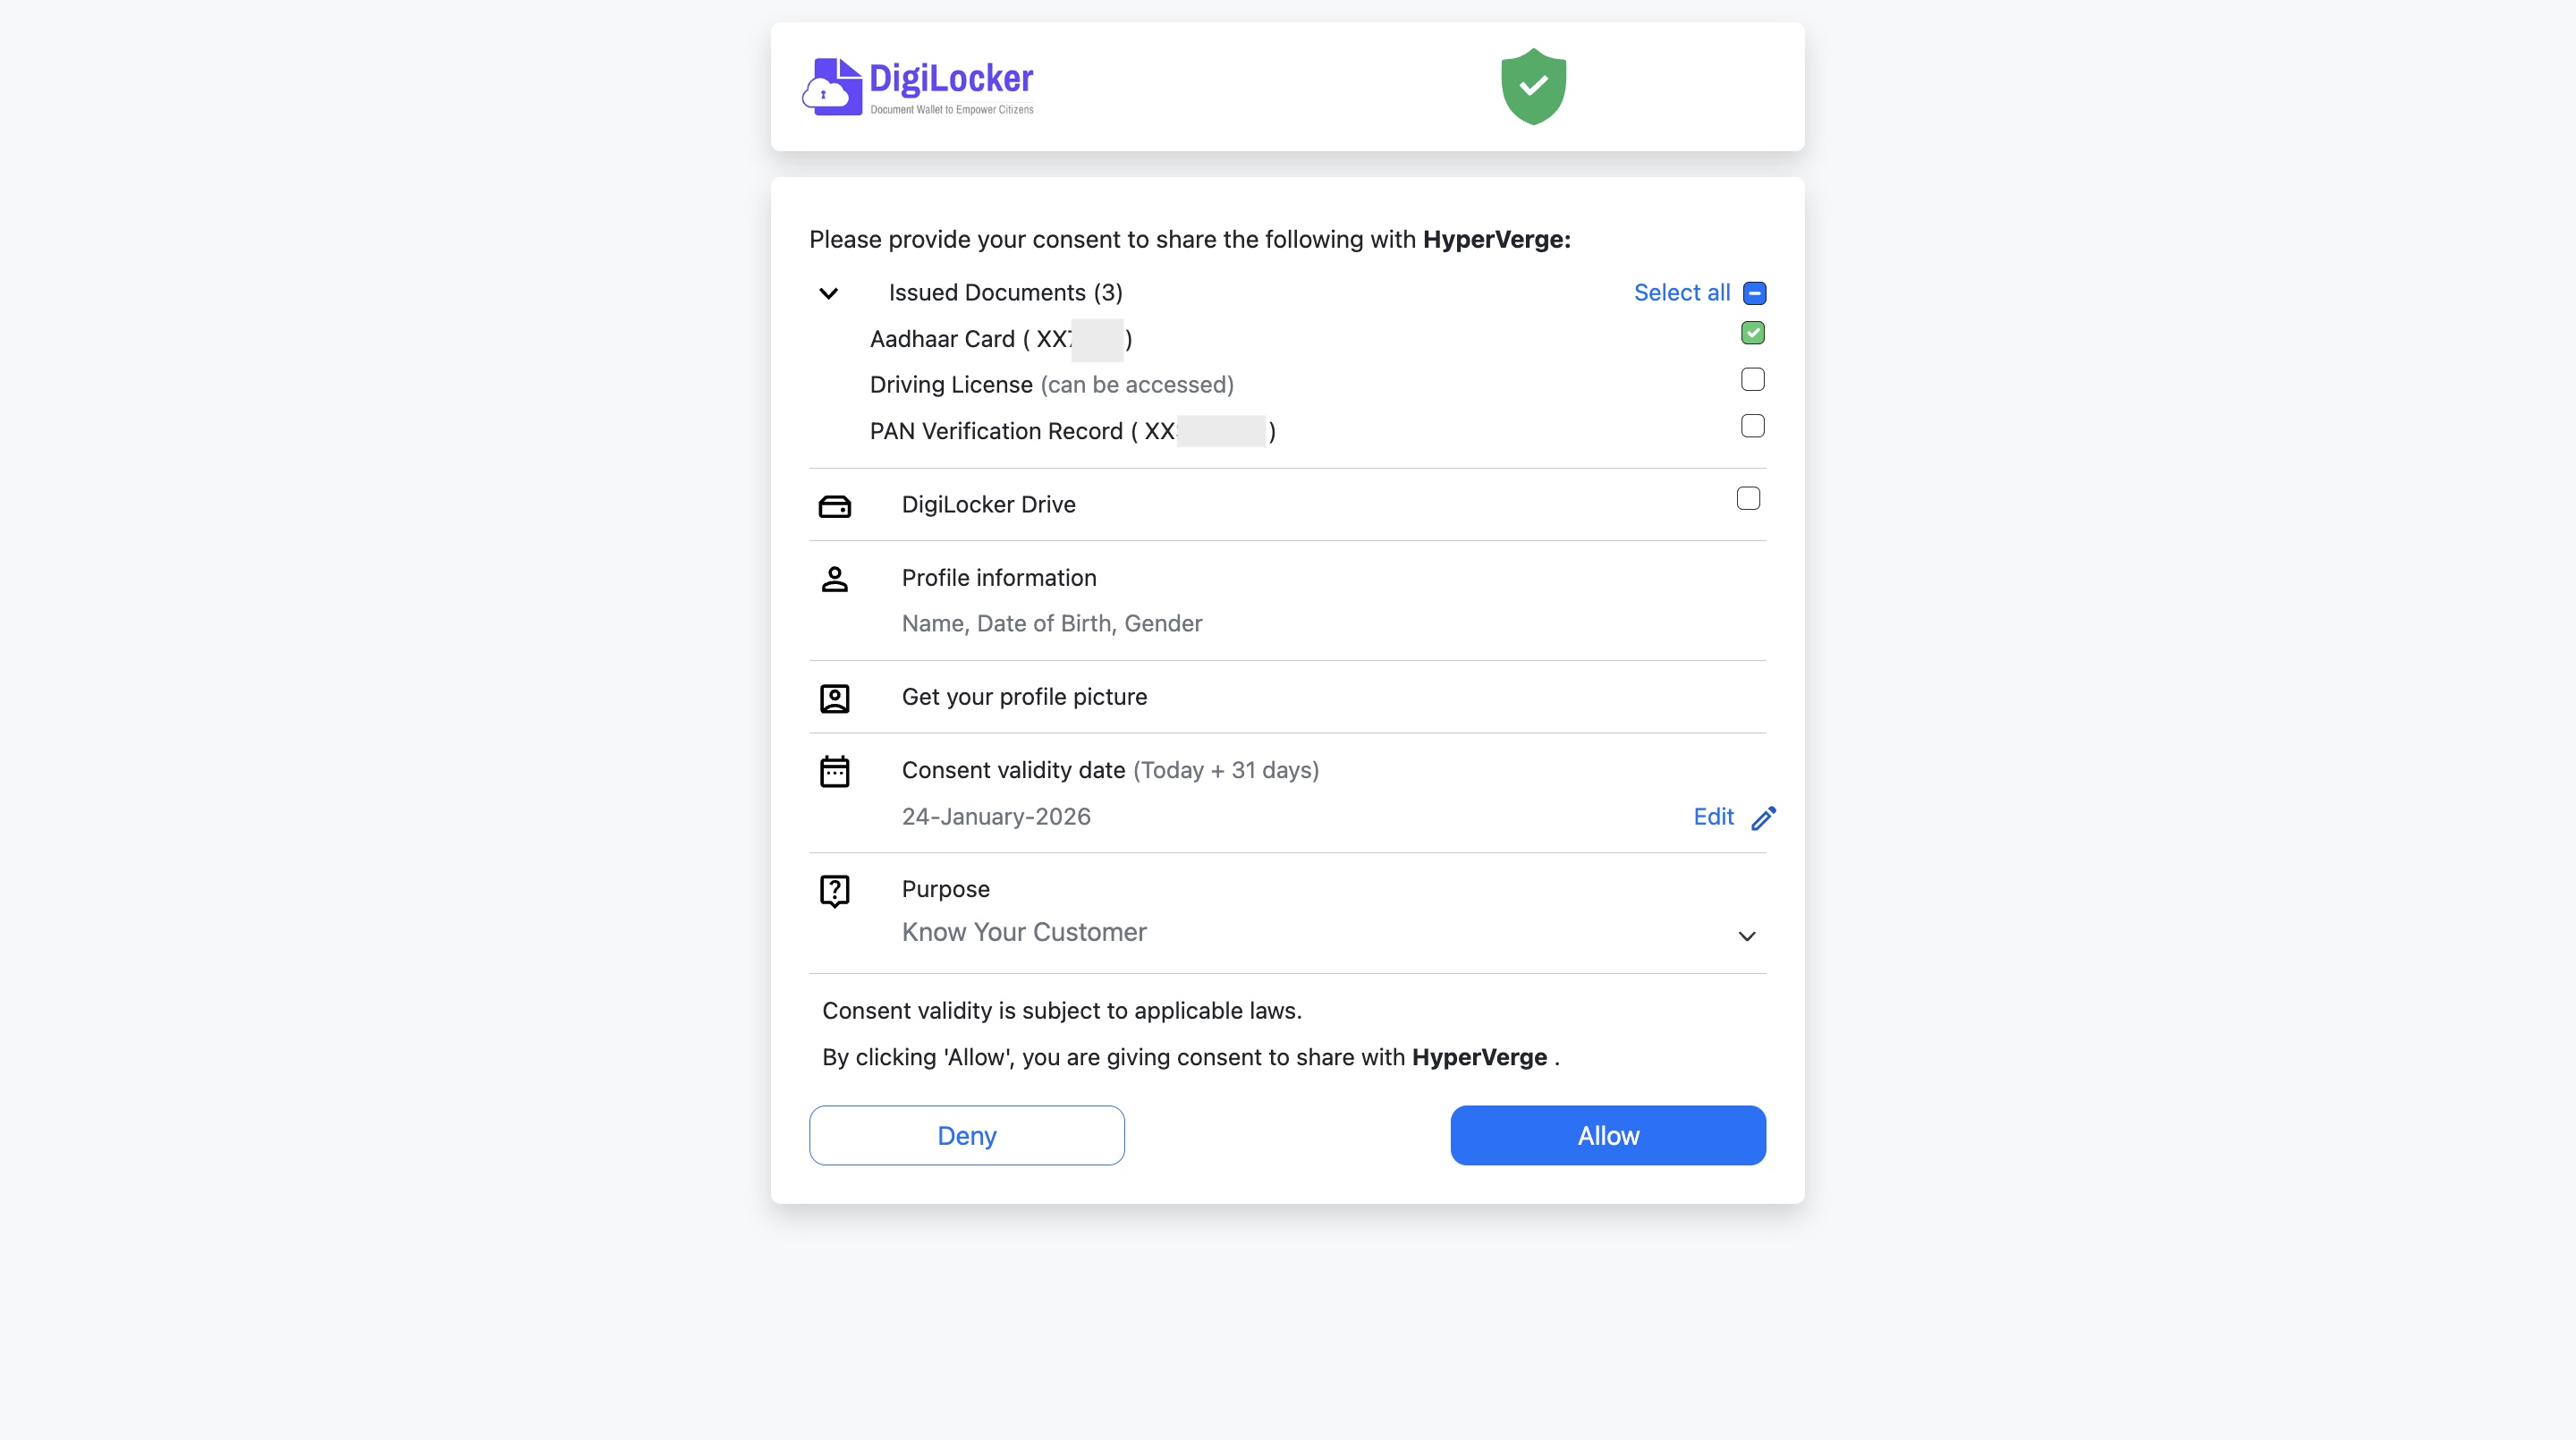
Provide consent to share any issued document for KYC purpose. Click Allow.
You will now be redirected back to Razorpay’s onboarding page. Once the verification is successful, you can continue with the remaining steps.
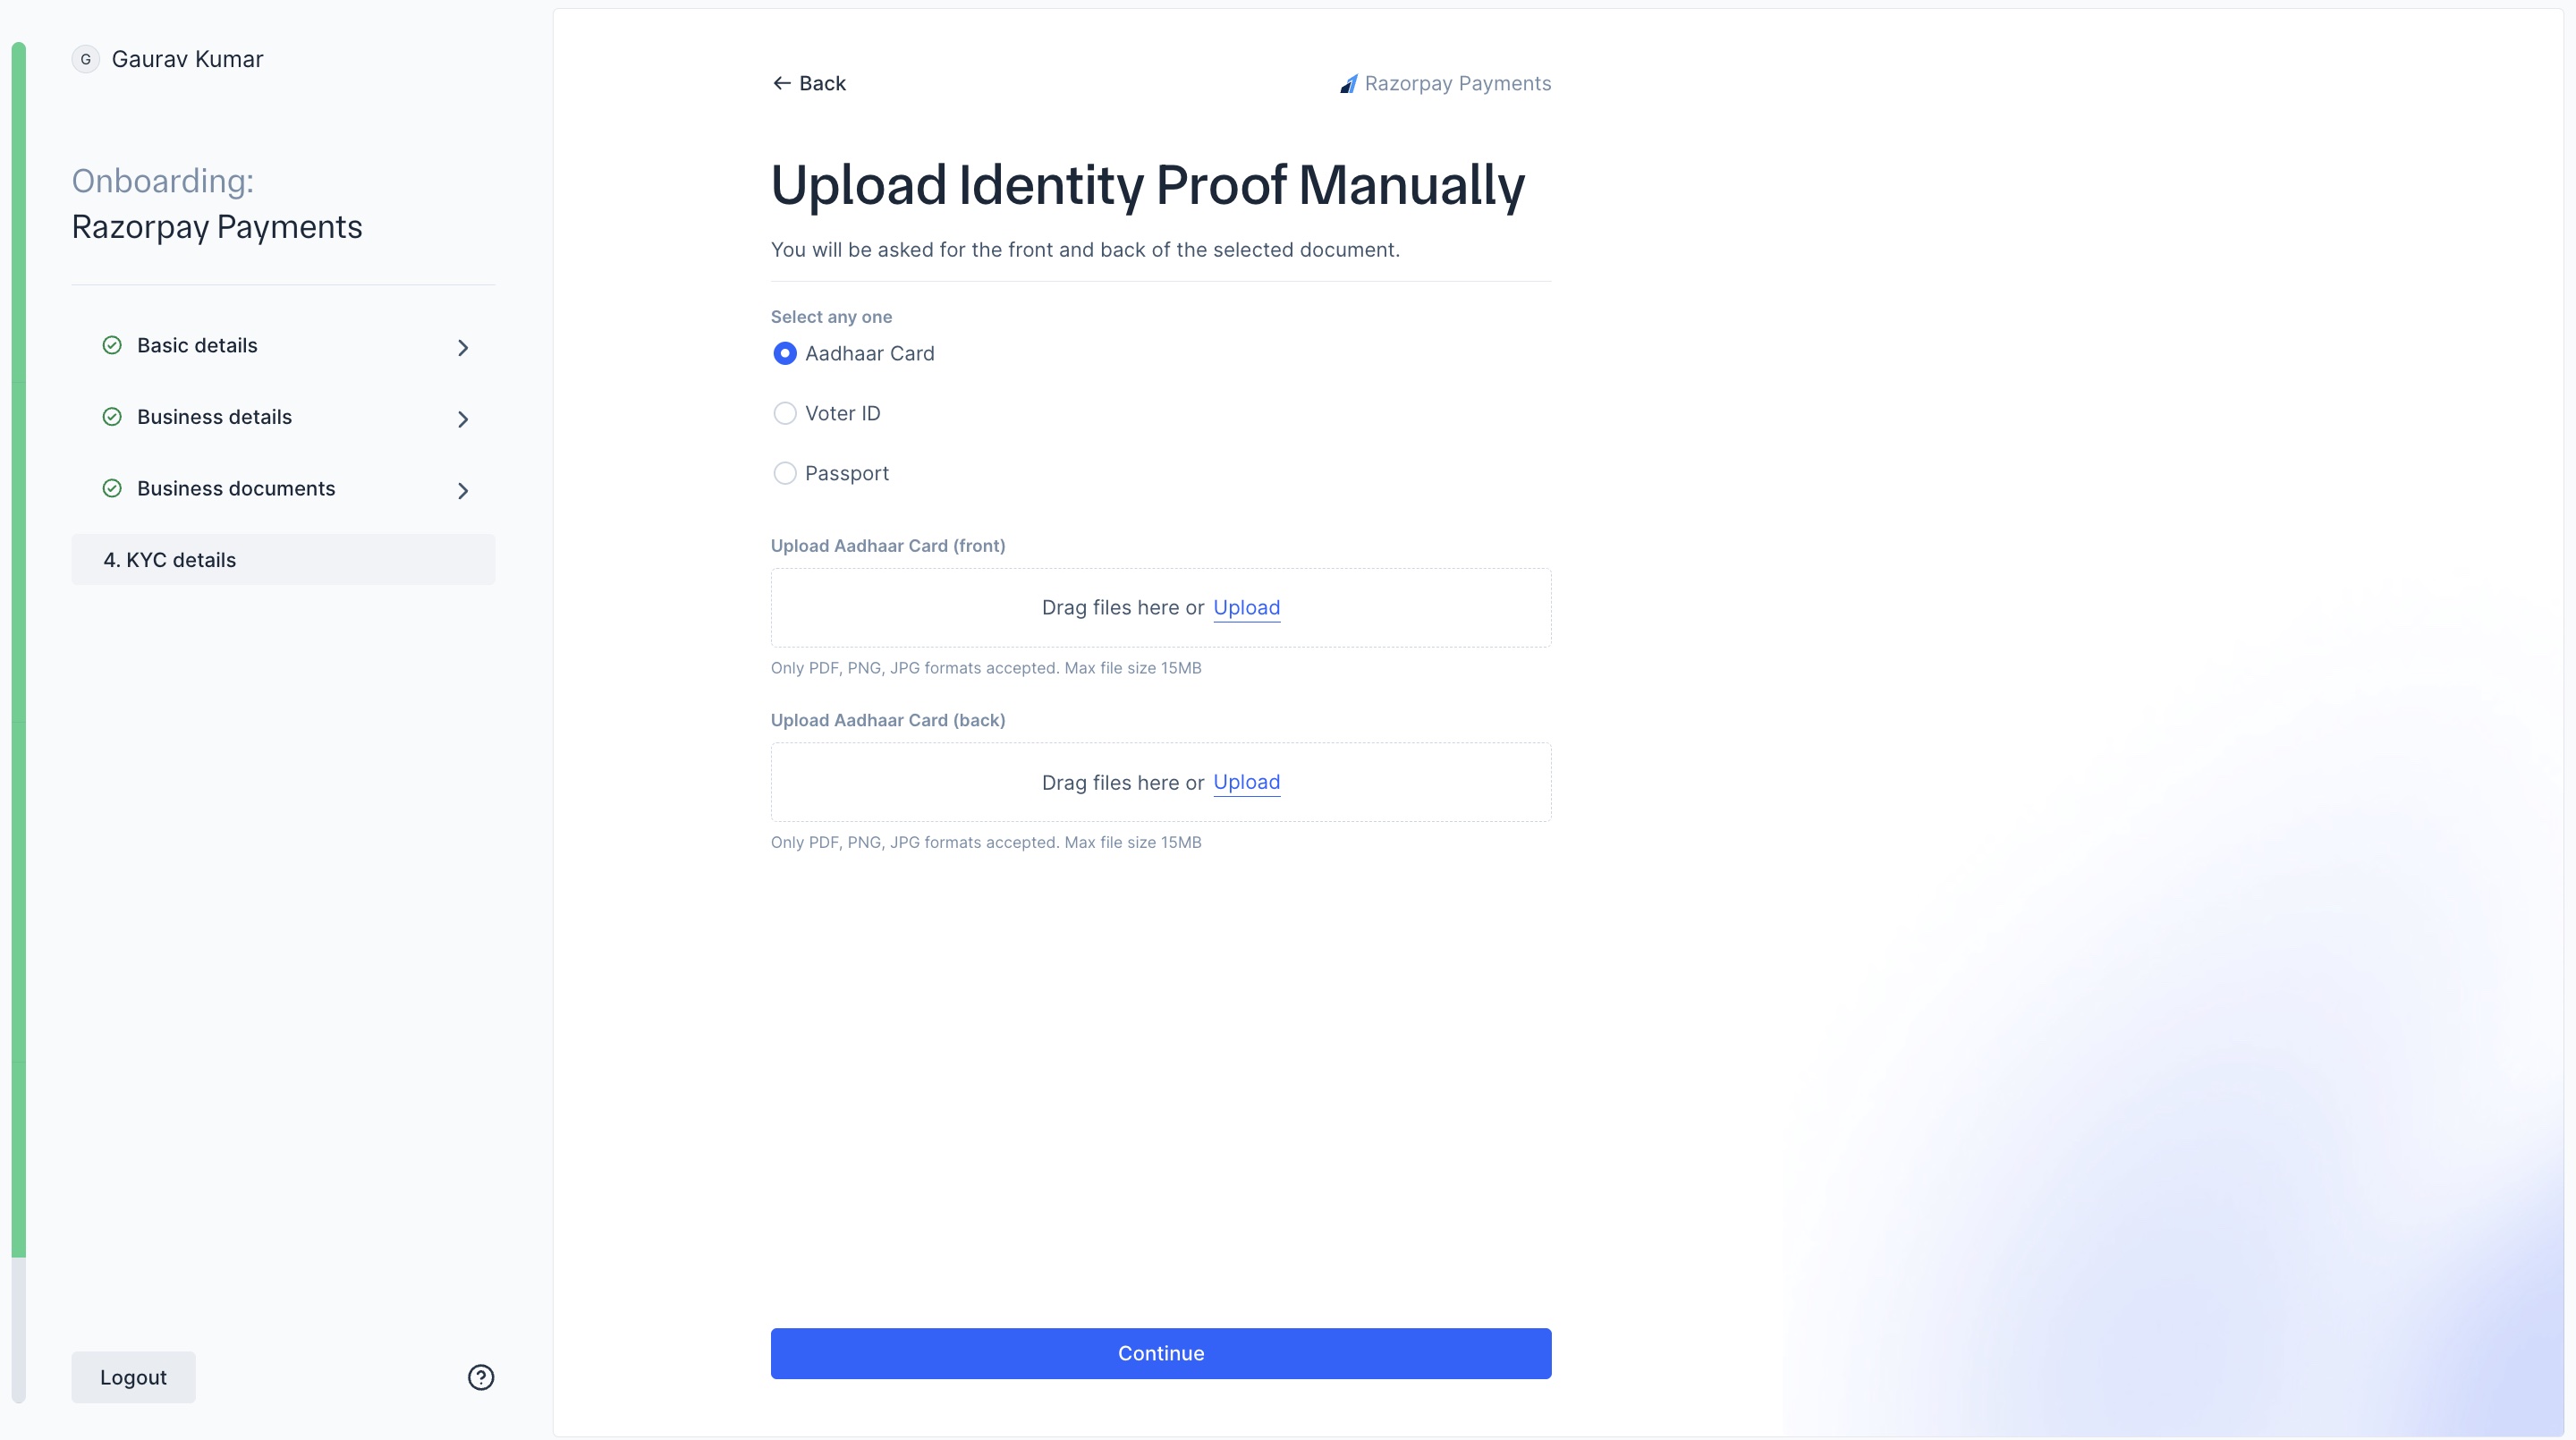
Upload id proof manually
Upload id proof manually
- Select Upload Identity Proof Manually. Click Continue.
- Select a document to upload manually. Click Continue:
- Aadhar Card
- Voter id
- Passport
-
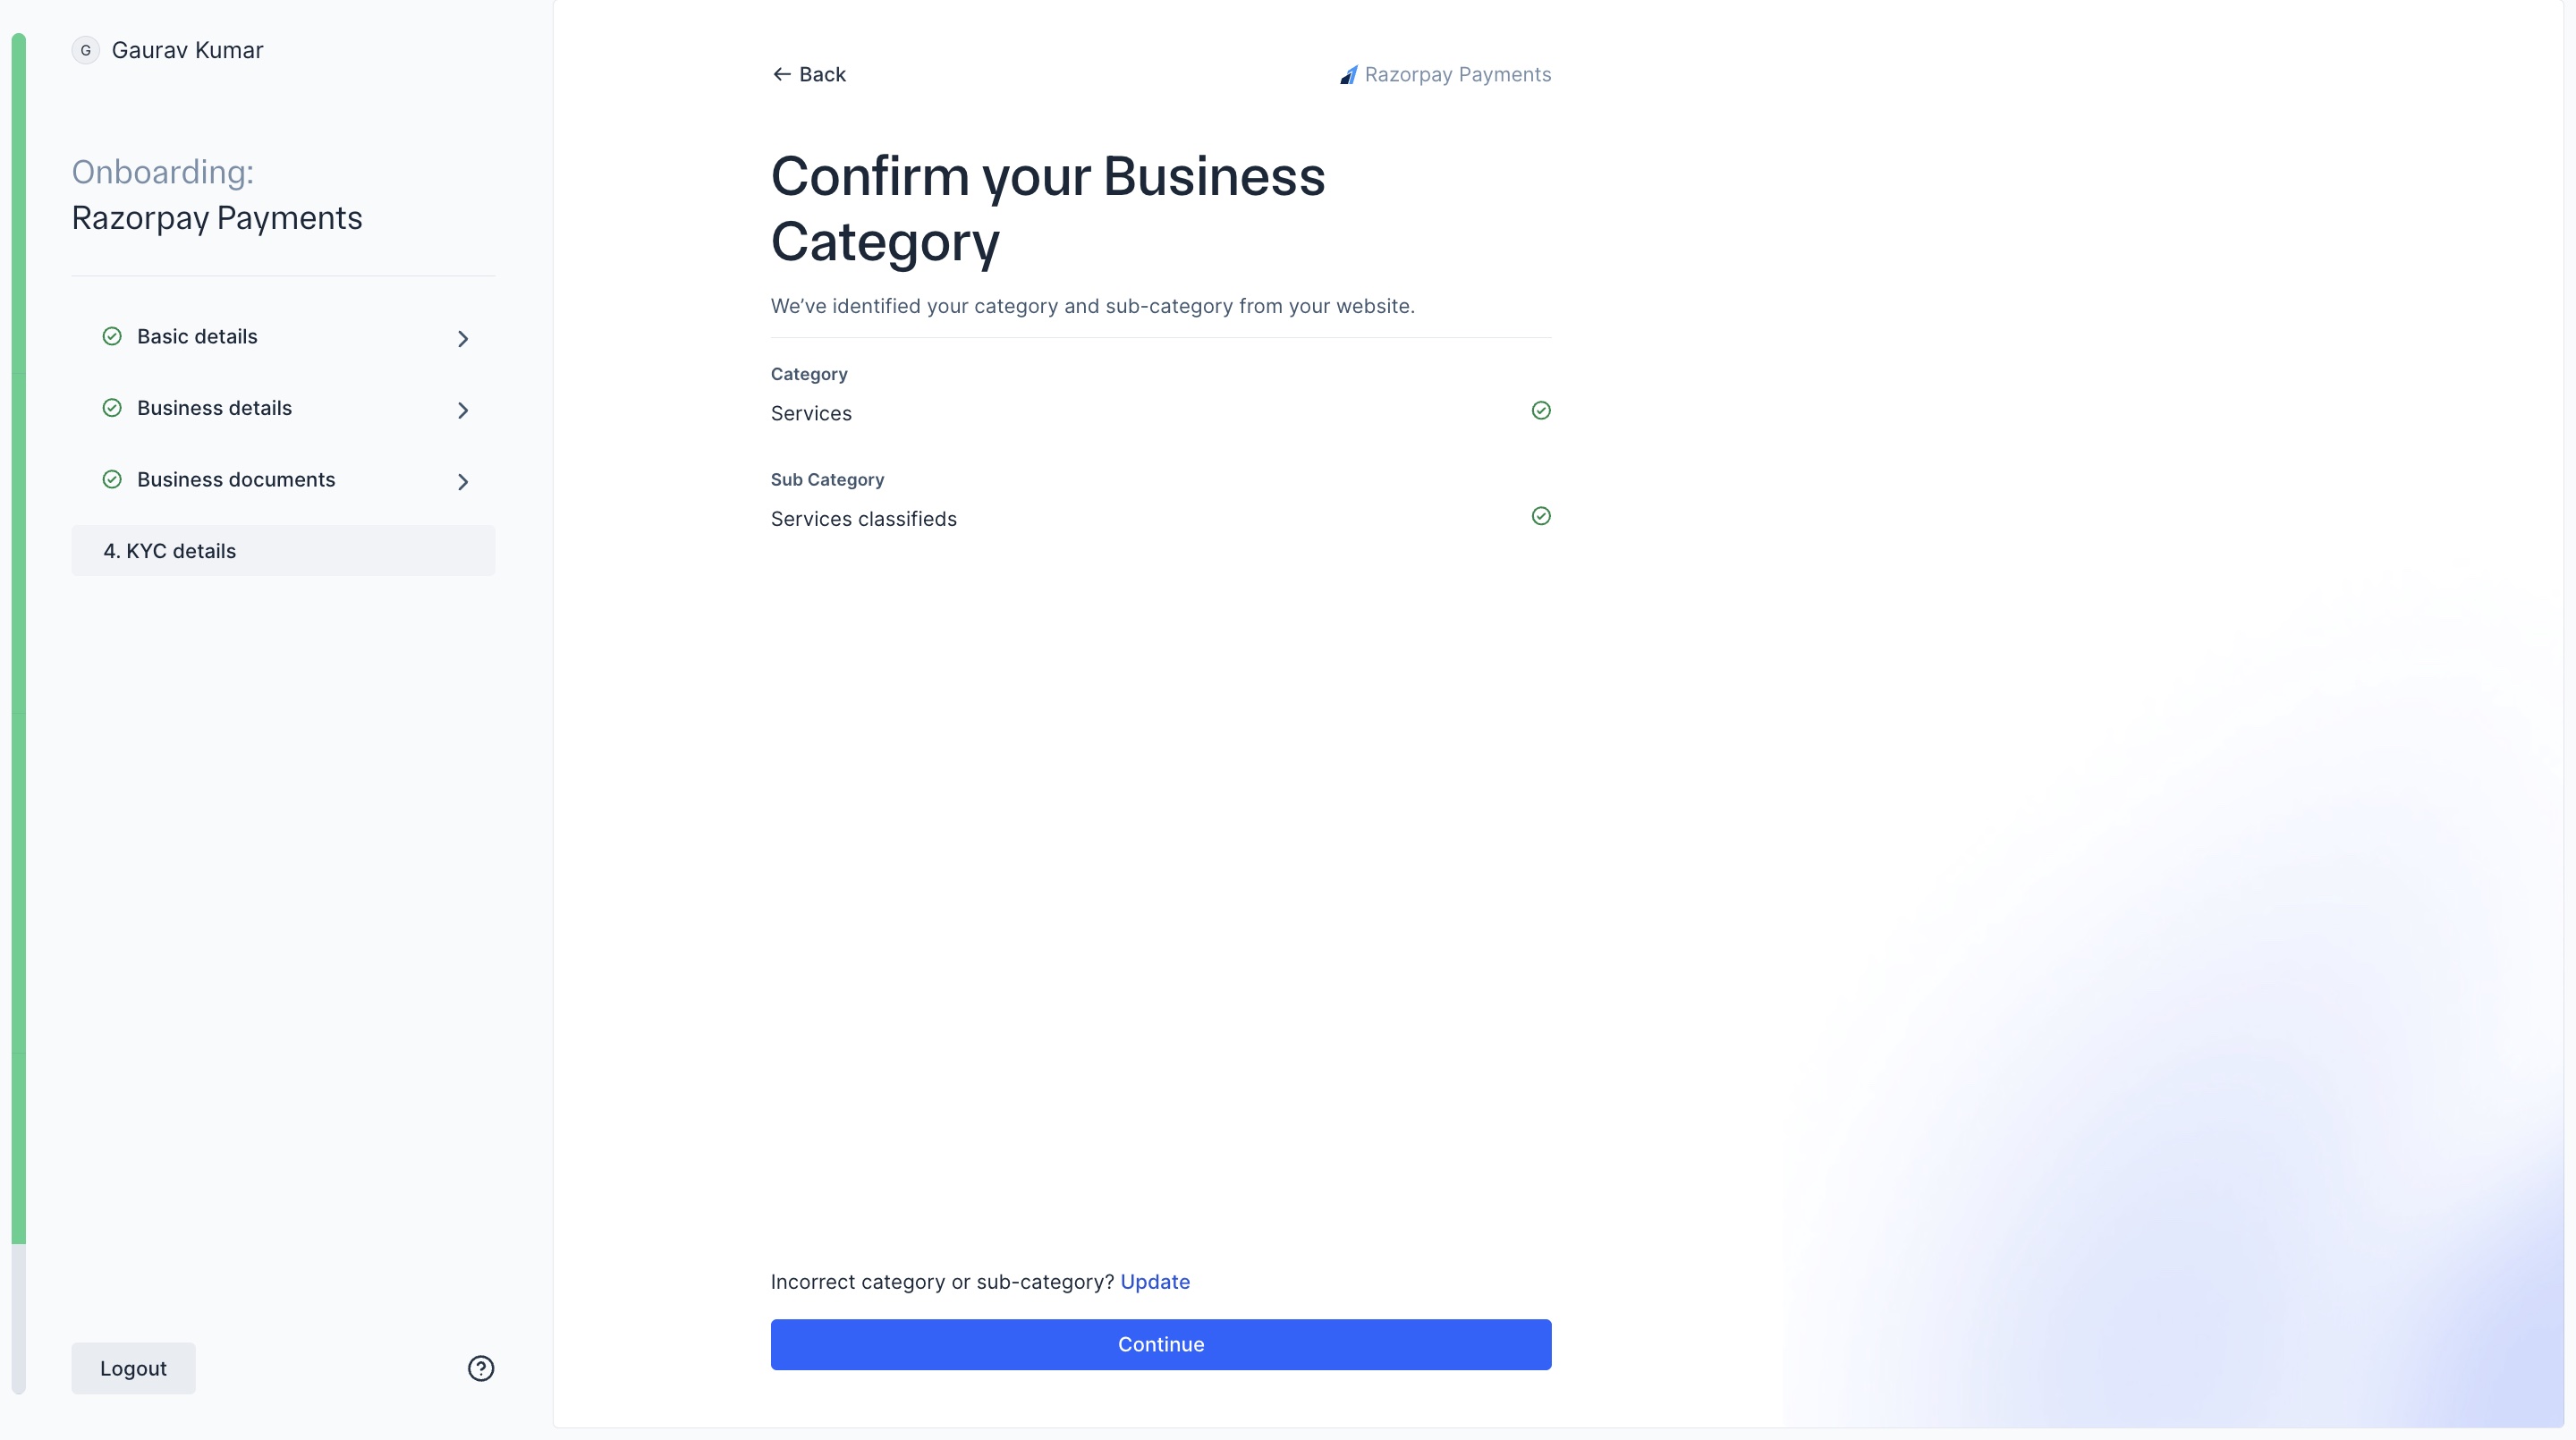
Select and confirm your business category and sub-category. Click Continue.
-
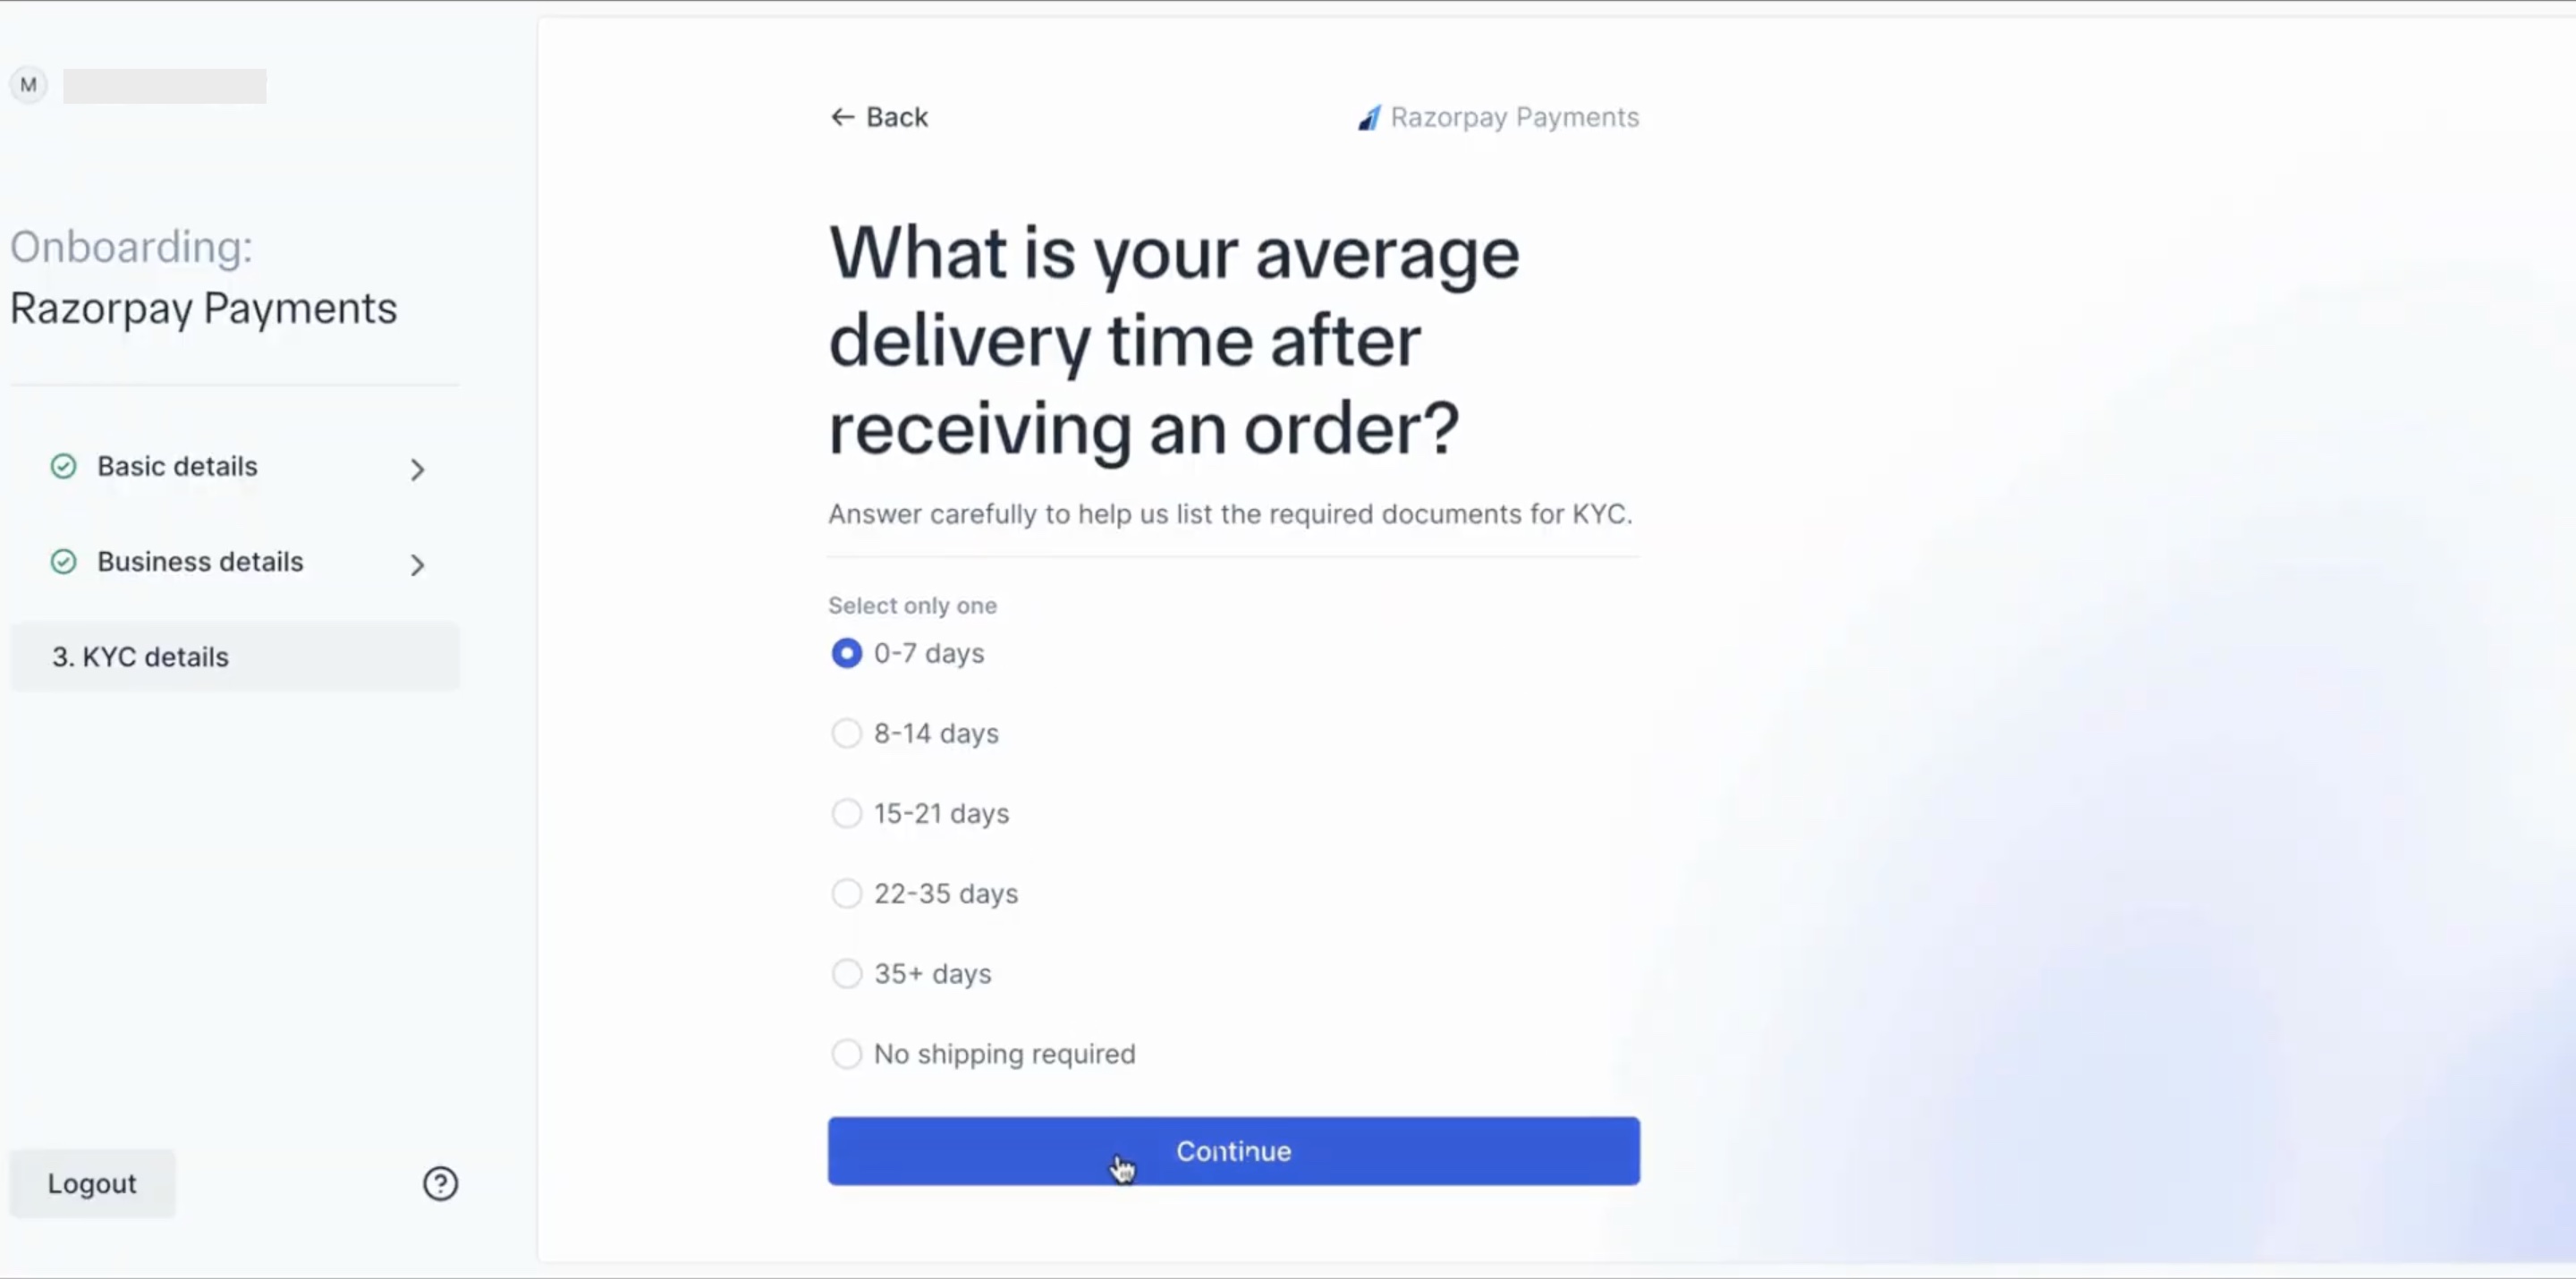
Select your Average delivery time after receiving an order. You will be asked for this information only if your CKYC failed.
-
Add your Bank details.
Razorpay will now deposit ₹1 to this account to verify. If the bank verification fails you must upload a proof of the bank account. Choose from the given options:
- Video of cancelled cheque
- Letter/email from Branch Manager confirming account
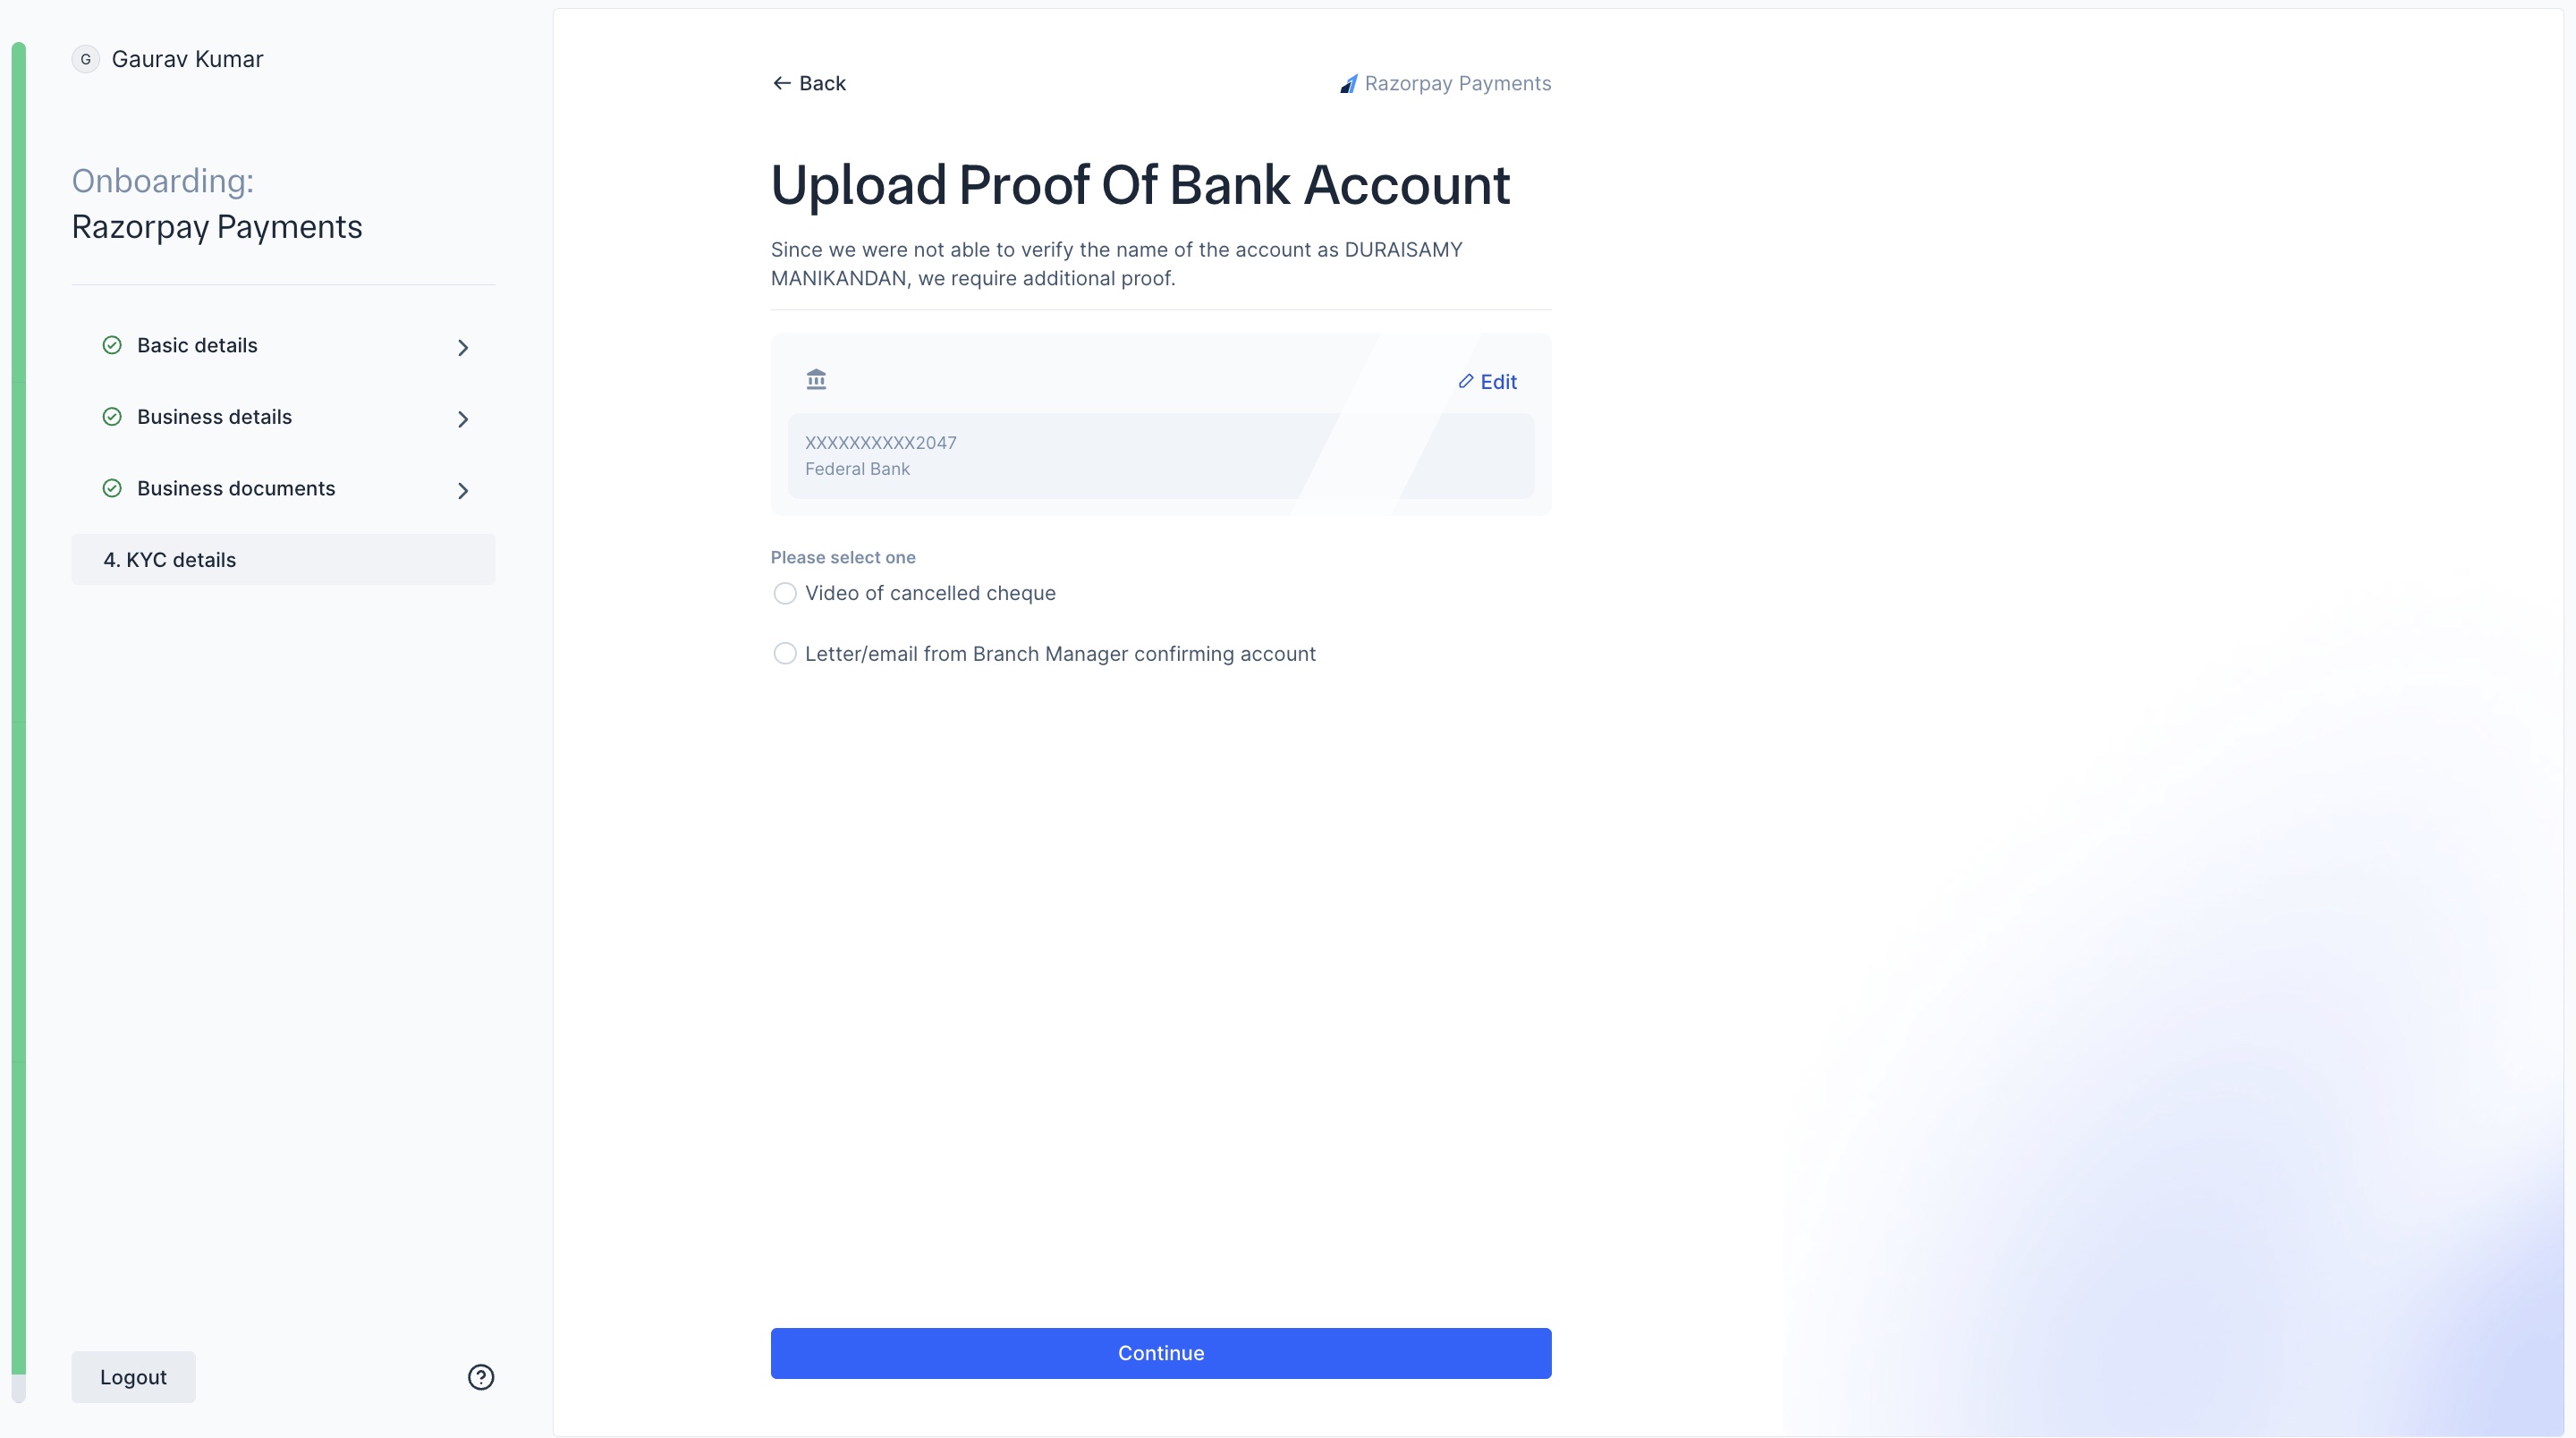
-
You are now ready to submit your application. Click Submit Application.
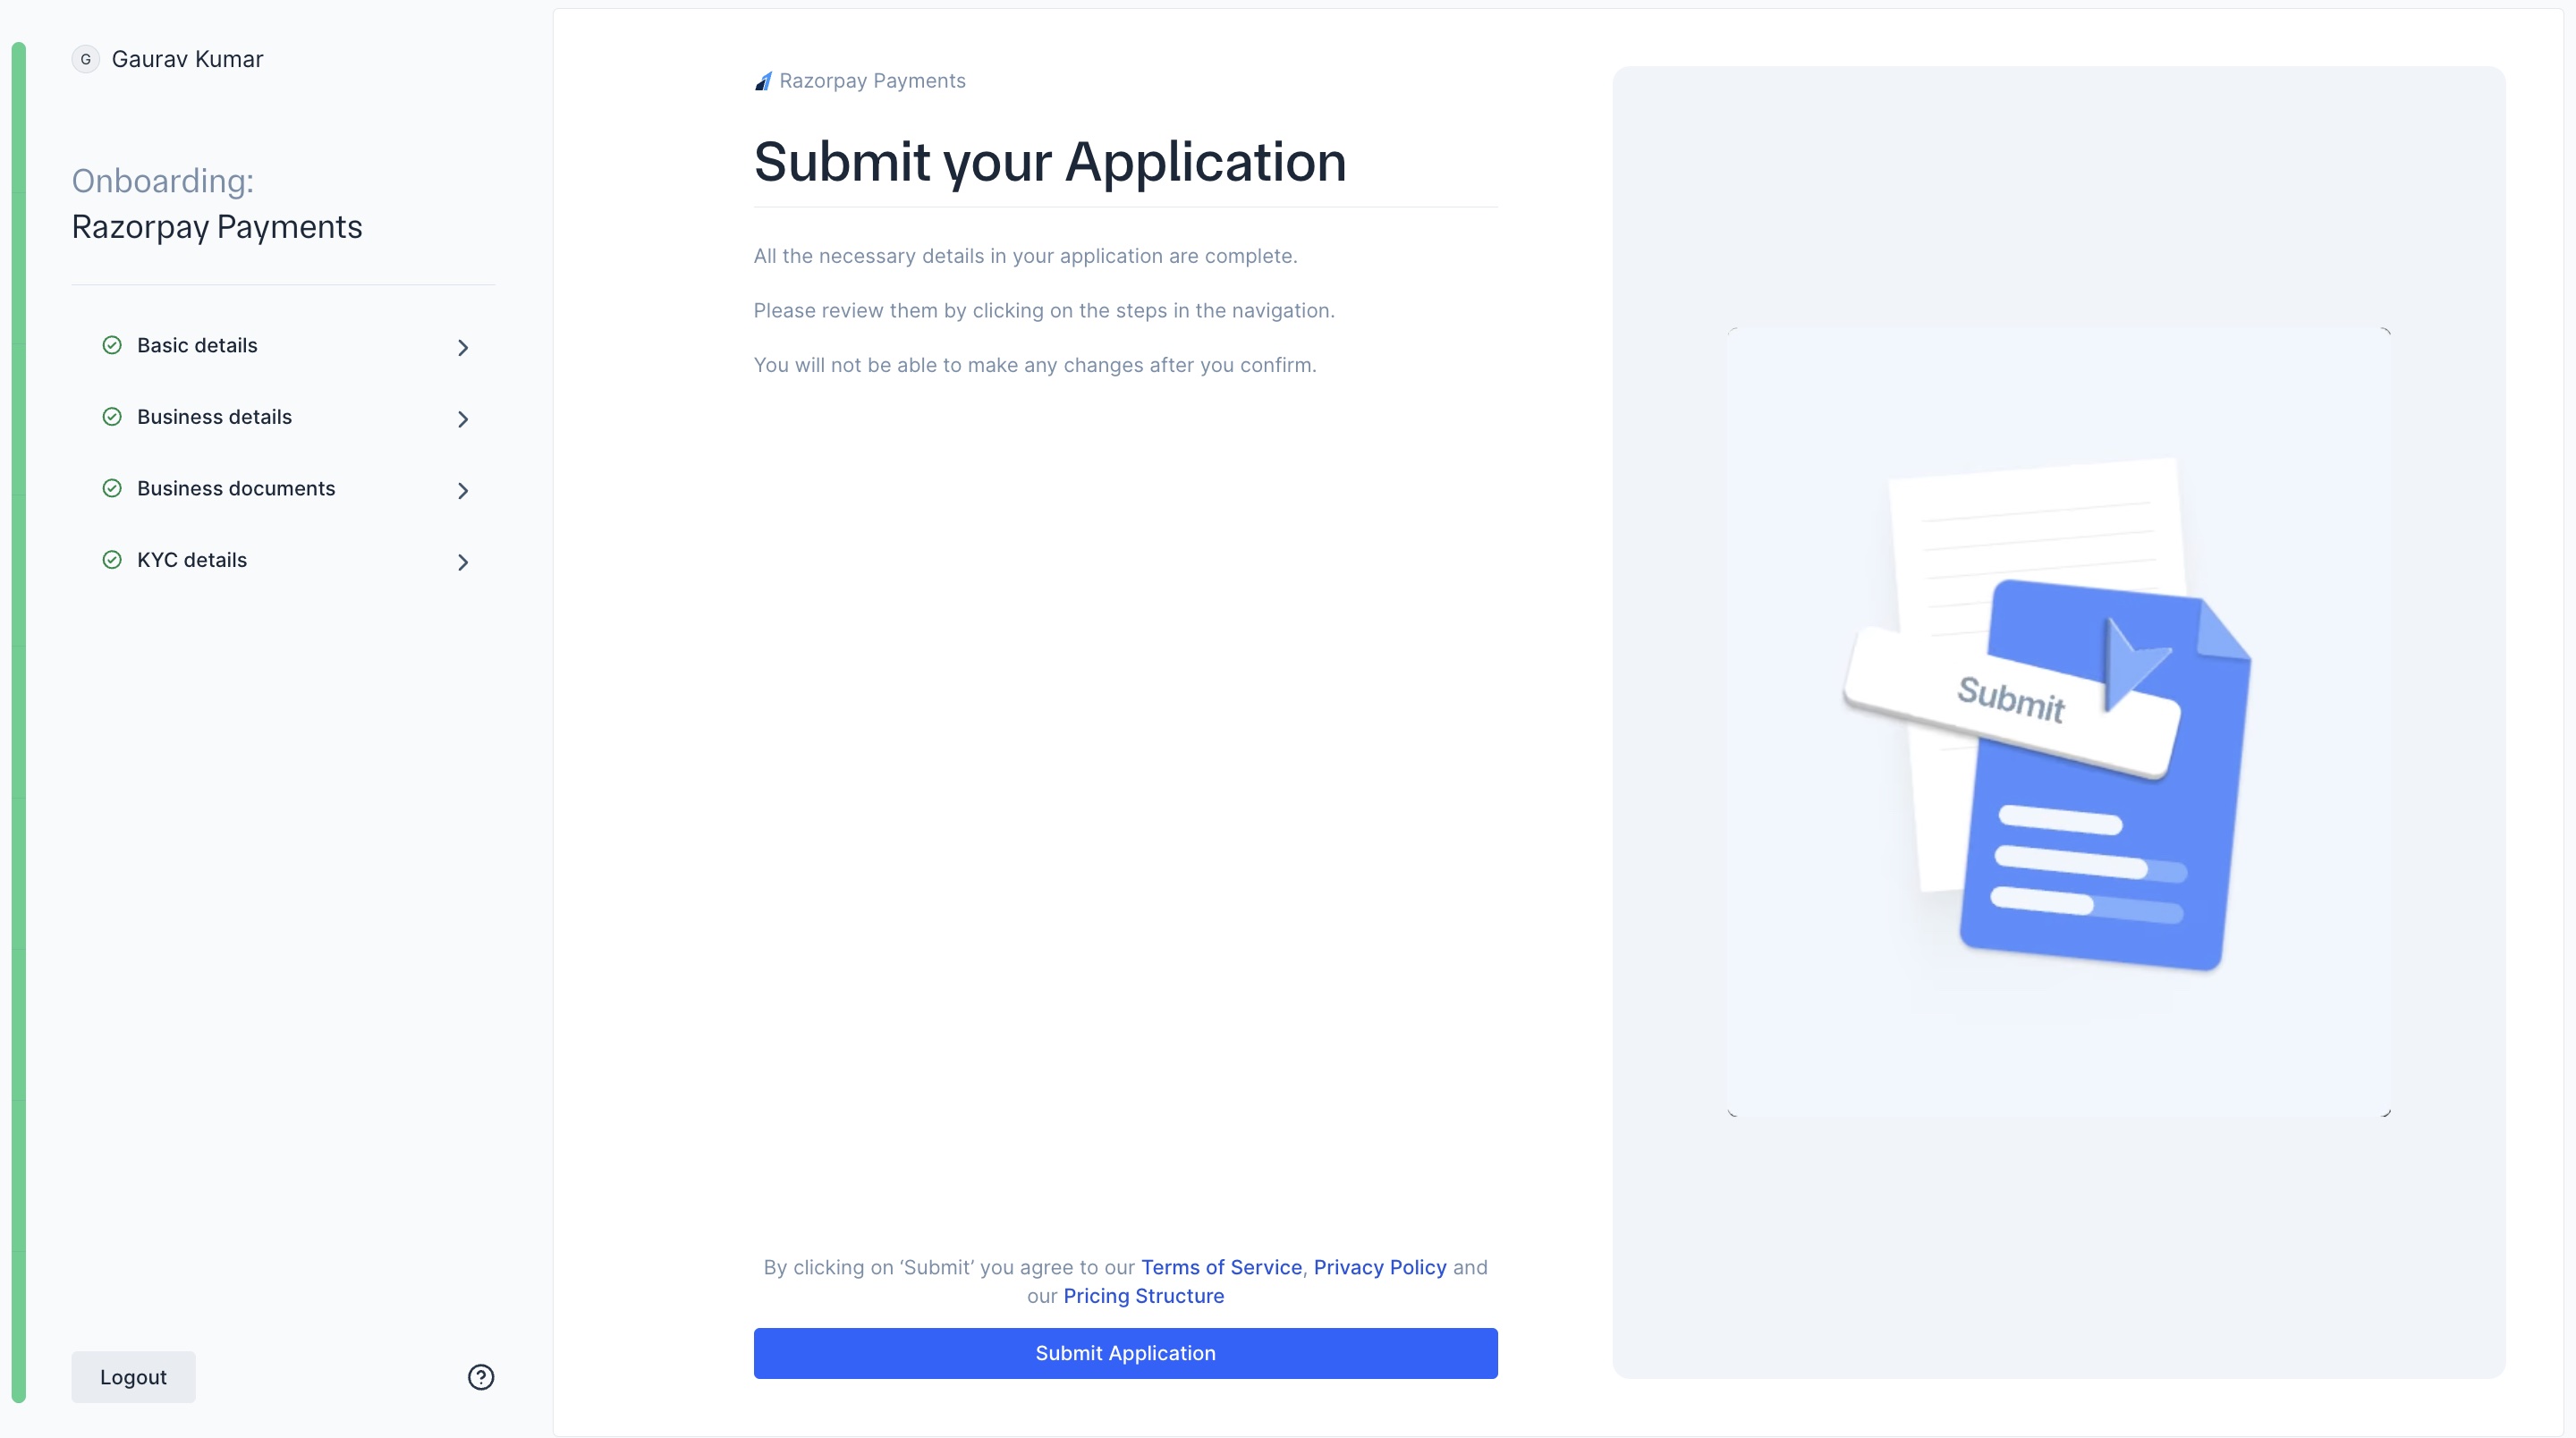 You can unlock international payments by clicking Unlock International. Know more about International Payments. Or you can proceed to explore your dashboard by clicking Explore Test Dashboard.
Once your details are verified by our team, Live mode will be enabled.
You can unlock international payments by clicking Unlock International. Know more about International Payments. Or you can proceed to explore your dashboard by clicking Explore Test Dashboard.
Once your details are verified by our team, Live mode will be enabled.
For registered businesses:
For registered businesses:
-
Select how you want us to collect your KYC details. You can:
- Fetch details with PAN & OTP
- Share Aadhaar details via Digilocker
- Upload documents manually
If your CKYC verification fails, follow the below steps to share your Aadhar details using Digilocker or upload manually.
Submit id proof using Digilocker
Submit id proof using Digilocker
- Select Share Aadhar details via Digilocker. Ensure that your mobile number is linked with your Aadhar. Click Continue.
-
To accept Digilocker’s Aadhar terms and conditions, click Continue to digilocker.
- Enter your Aadhar number. Click Next.
-
Enter the captcha text.
-
Enter the OTP sent to your linked mobile number. Click Continue.
-
Enter your 6-digit Digilocker pin.
-
Provide consent to share any issued document for KYC purpose. Click Allow.
You will now be redirected back to Razorpay’s onboarding page. Once the verification is successful, you can continue with the remaining steps.
Upload id proof manually
Upload id proof manually
- Select Upload Identity Proof Manually. Click Continue.
- Select a document to upload manually. Click Continue:
- Aadhar Card
- Voter id
- Passport
- Enter the Authorised Signatory’s name. Click Continue.
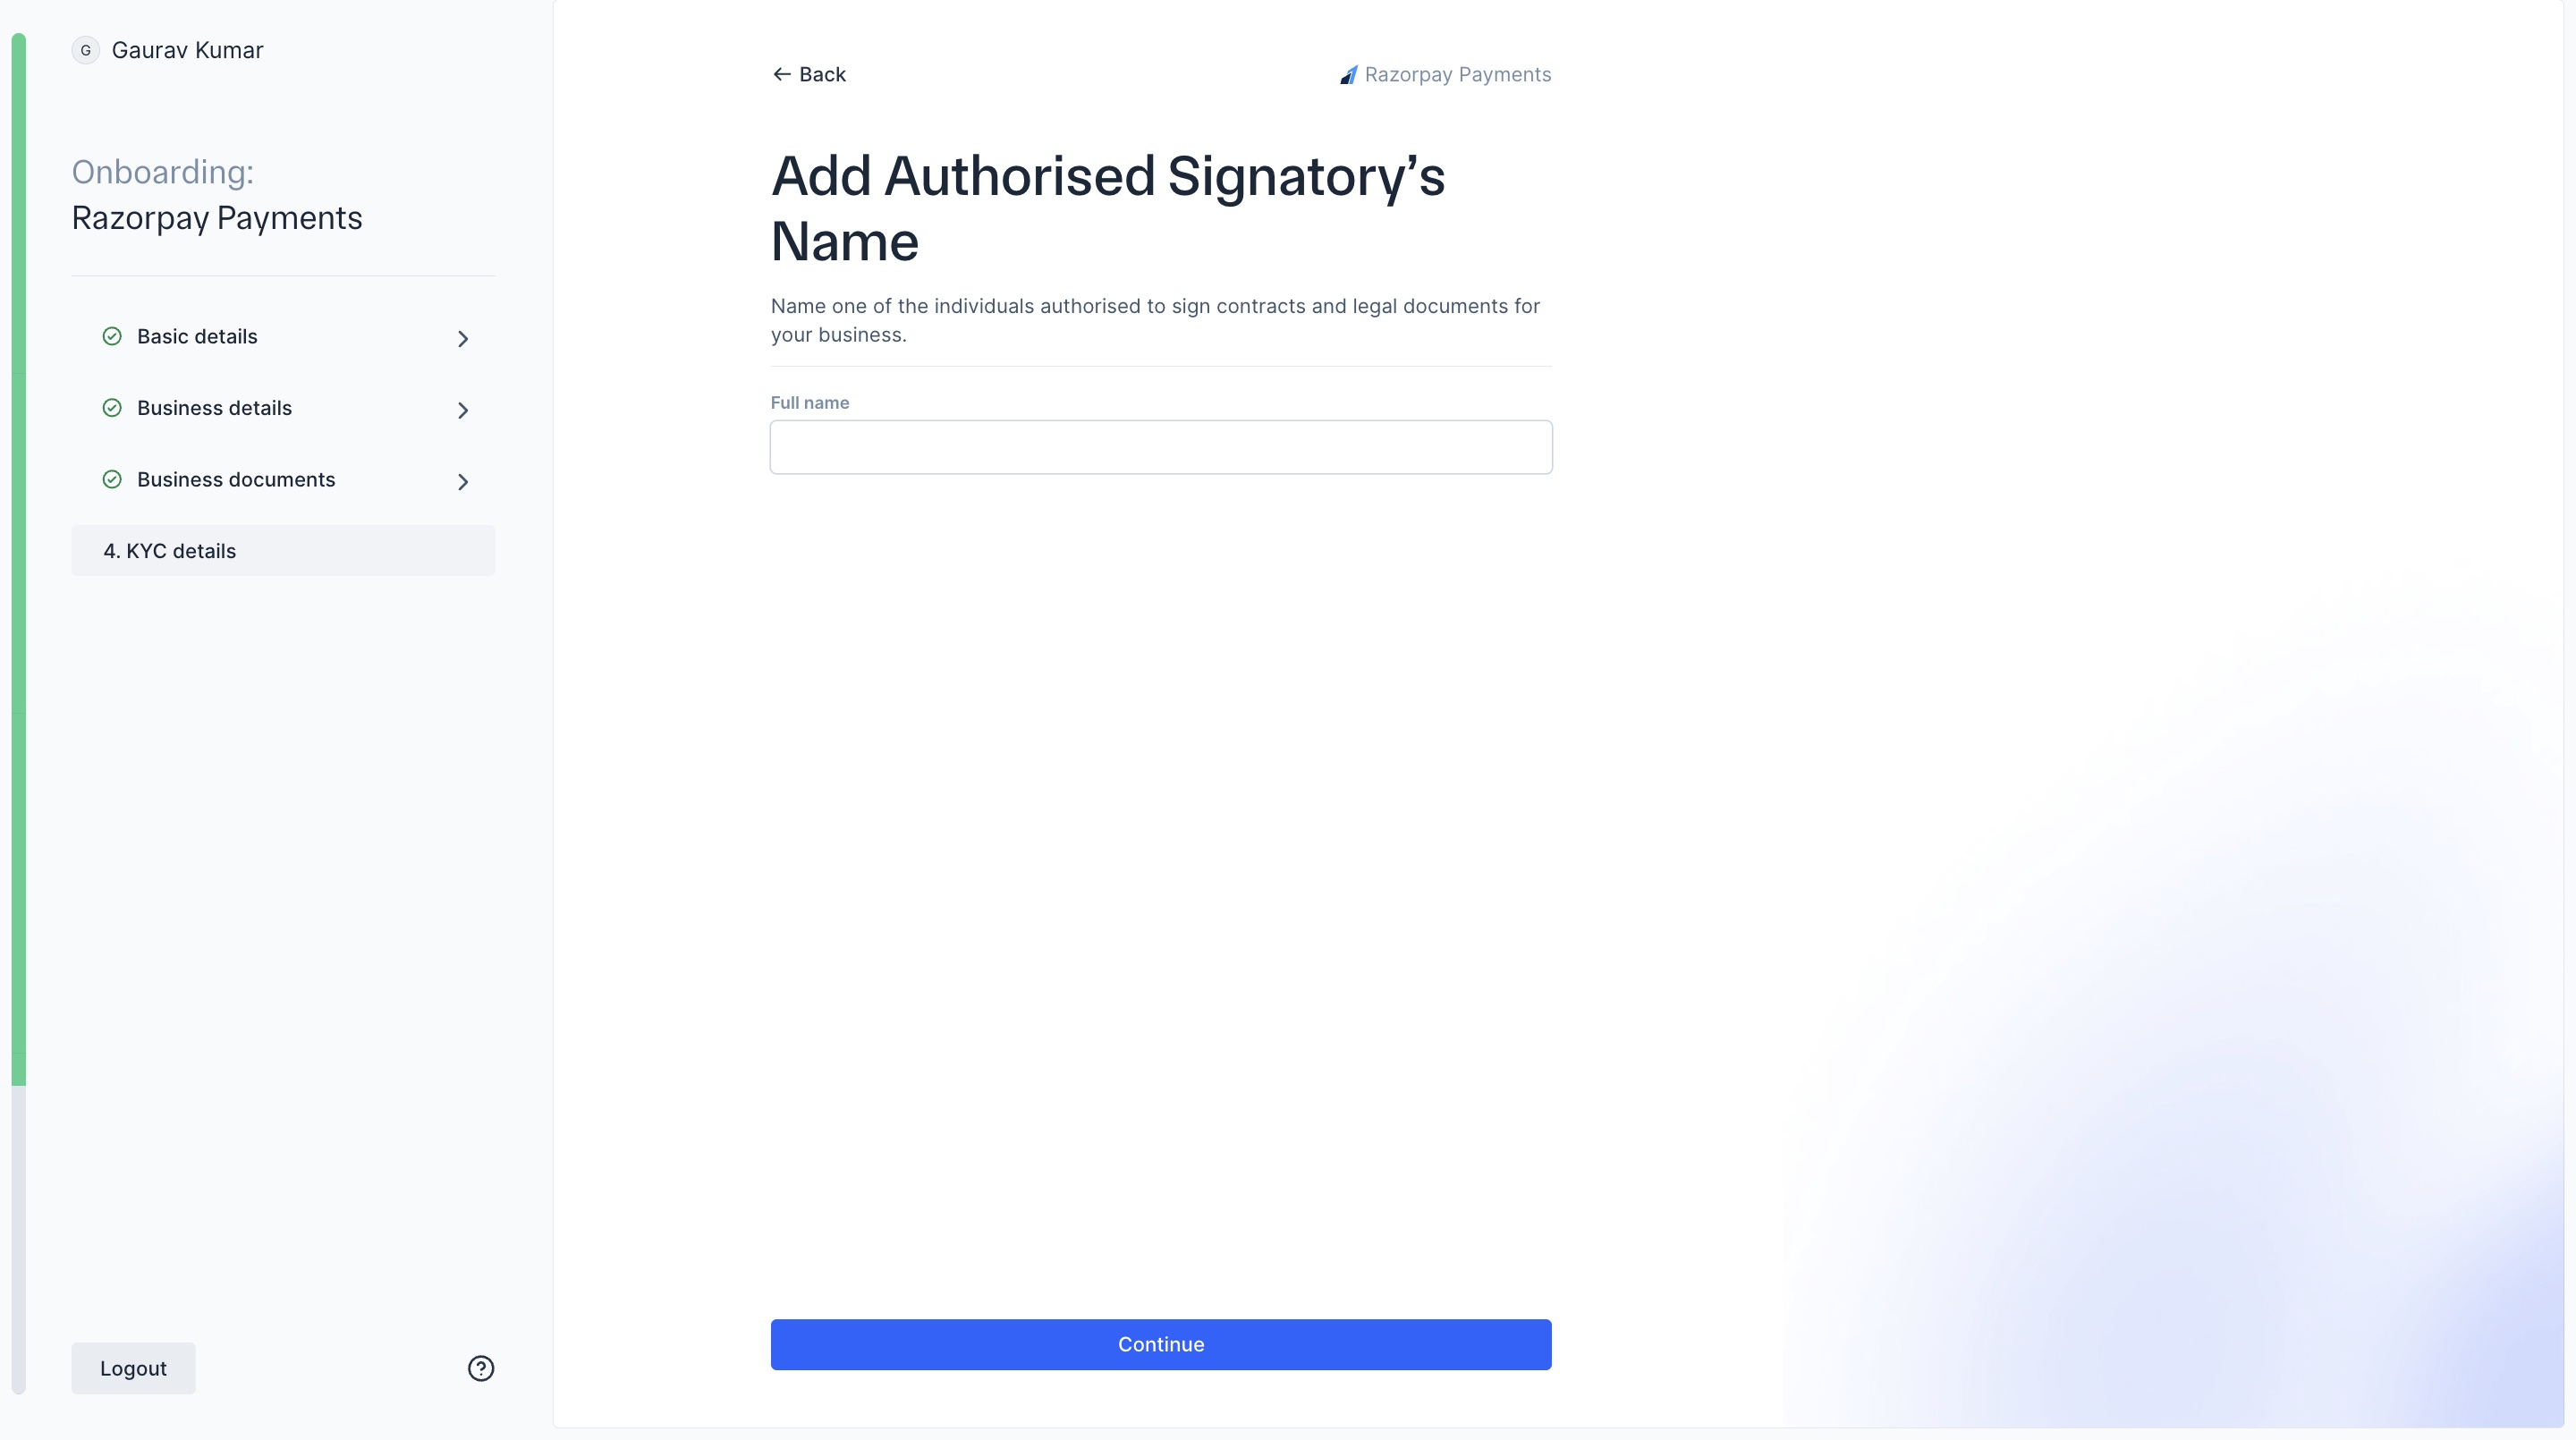
- Select and confirm your business category and sub-category. Click Continue.
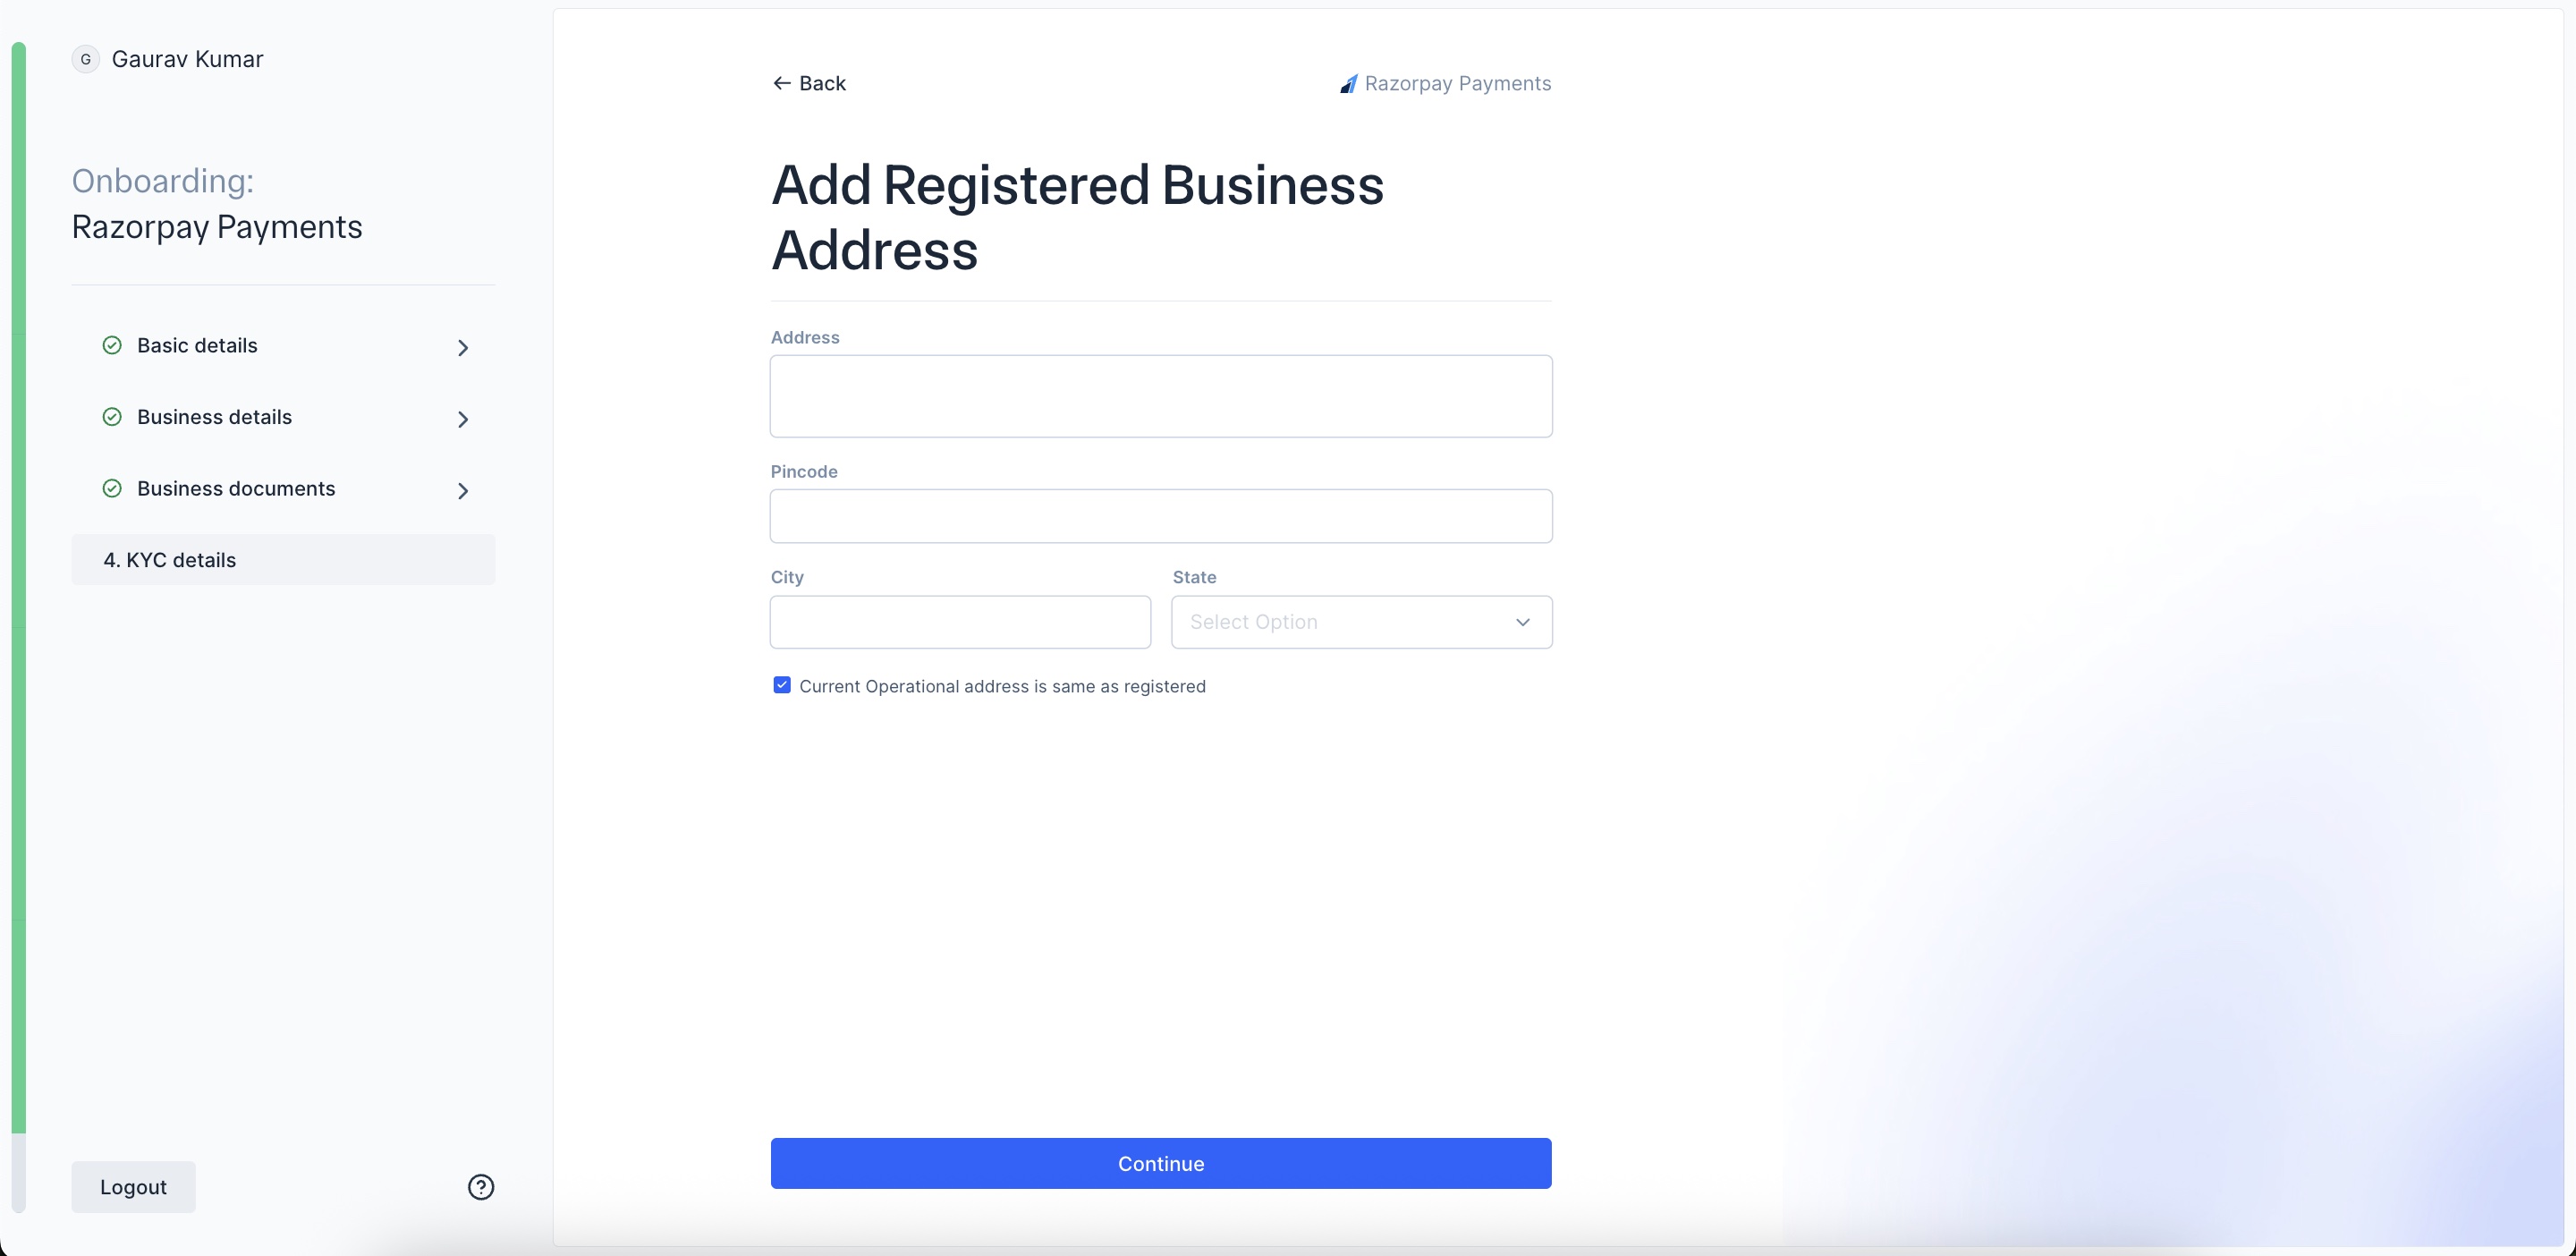
- Add the Registered Business Address. You will be asked for this information only if your CKYC failed.
- Add your Bank details.
Razorpay will now deposit ₹1 to this account to verify. If the verification fails you must upload a proof of the bank account. Choose from the given options:- Video of cancelled cheque
- Letter/email from Branch Manager confirming account
- You are now ready to submit your application. Click Submit Application.
Video KYC (For Individual Unregistered Businesses If CKYC Fails)
Video KYC (For Individual Unregistered Businesses If CKYC Fails)
- If your CKYC failed, you must proceed with the Video KYC process. Click Start Video KYC.
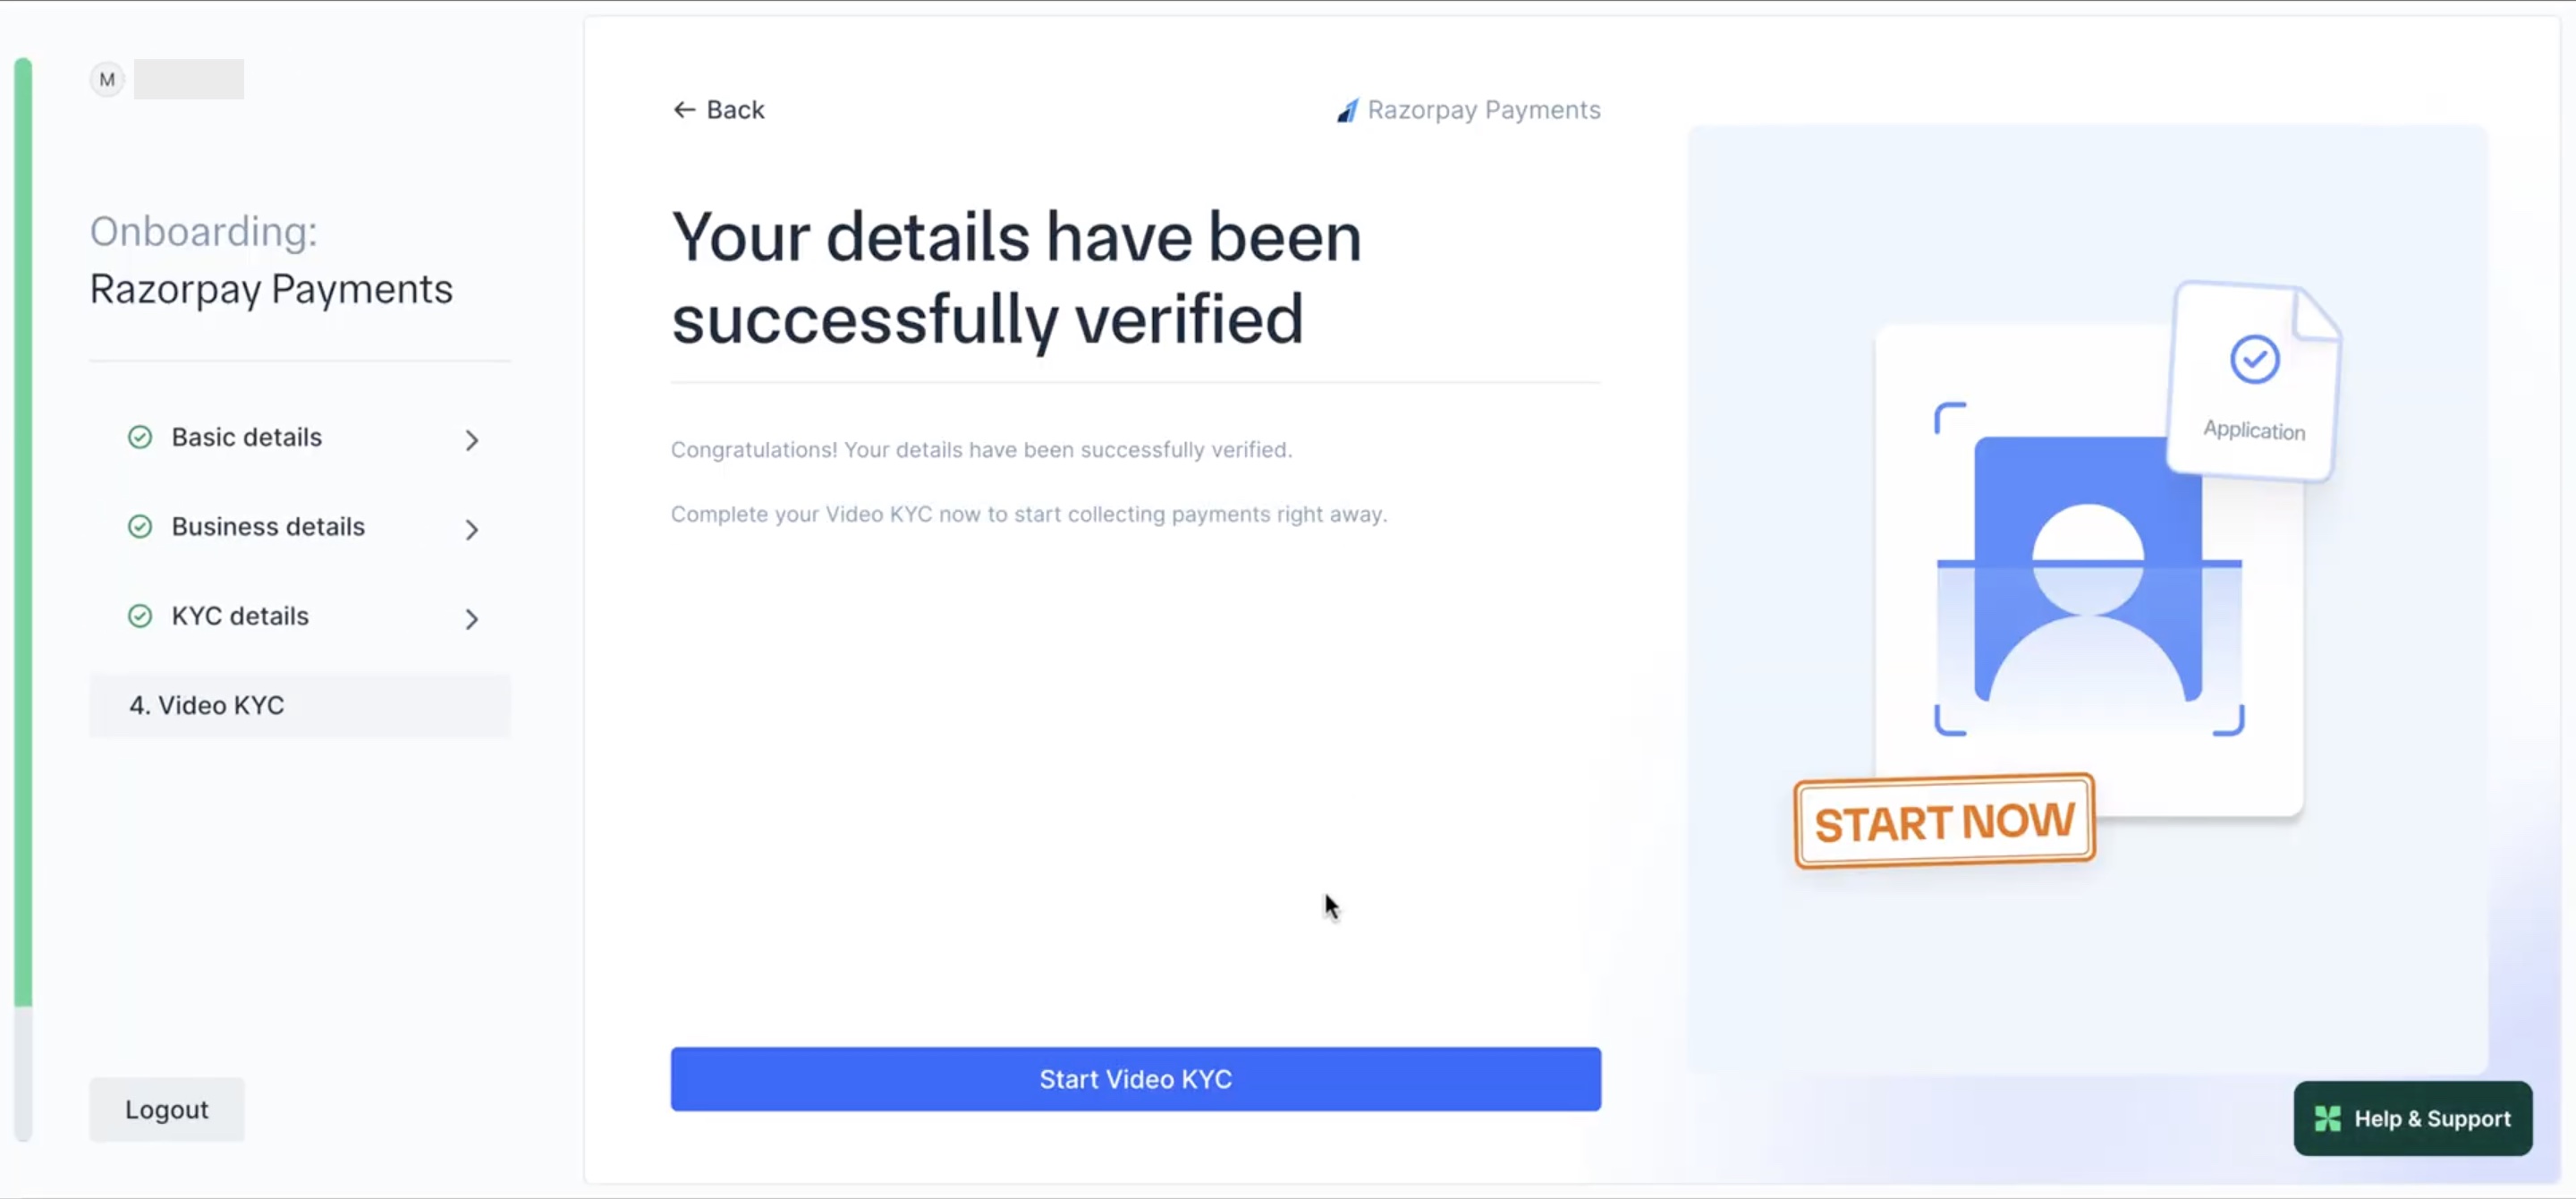
- Confirm if you are the authorised signatory proceeding with the video KYC process. Click Continue.
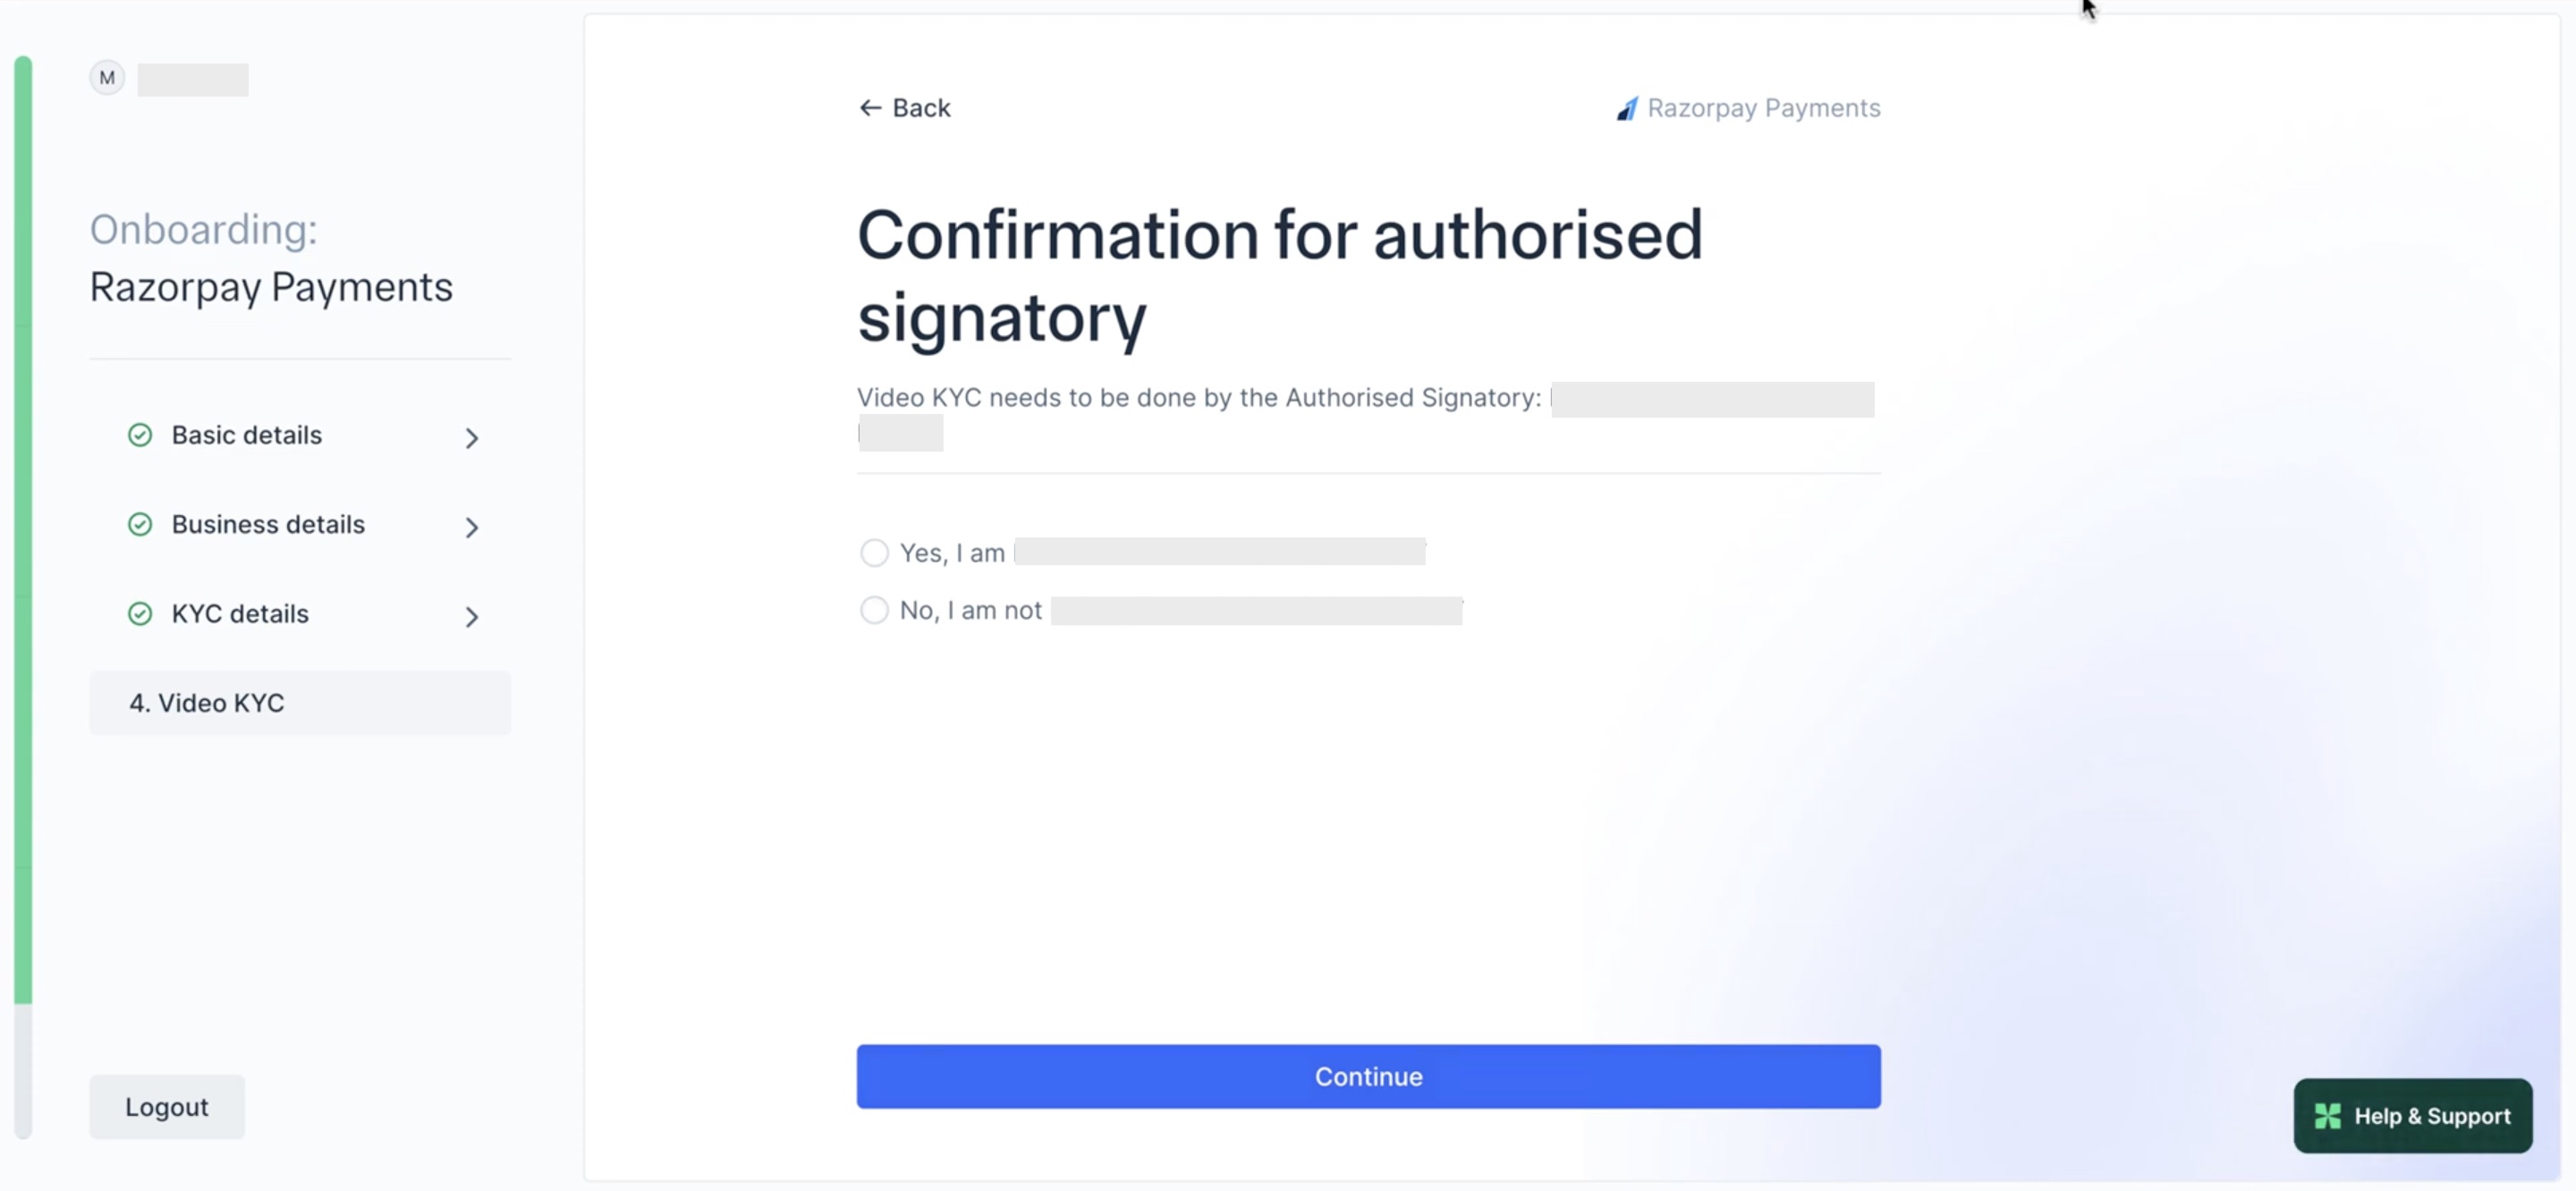
- If you are not the authorised signatory, you can share the VKYC shareable link with them.
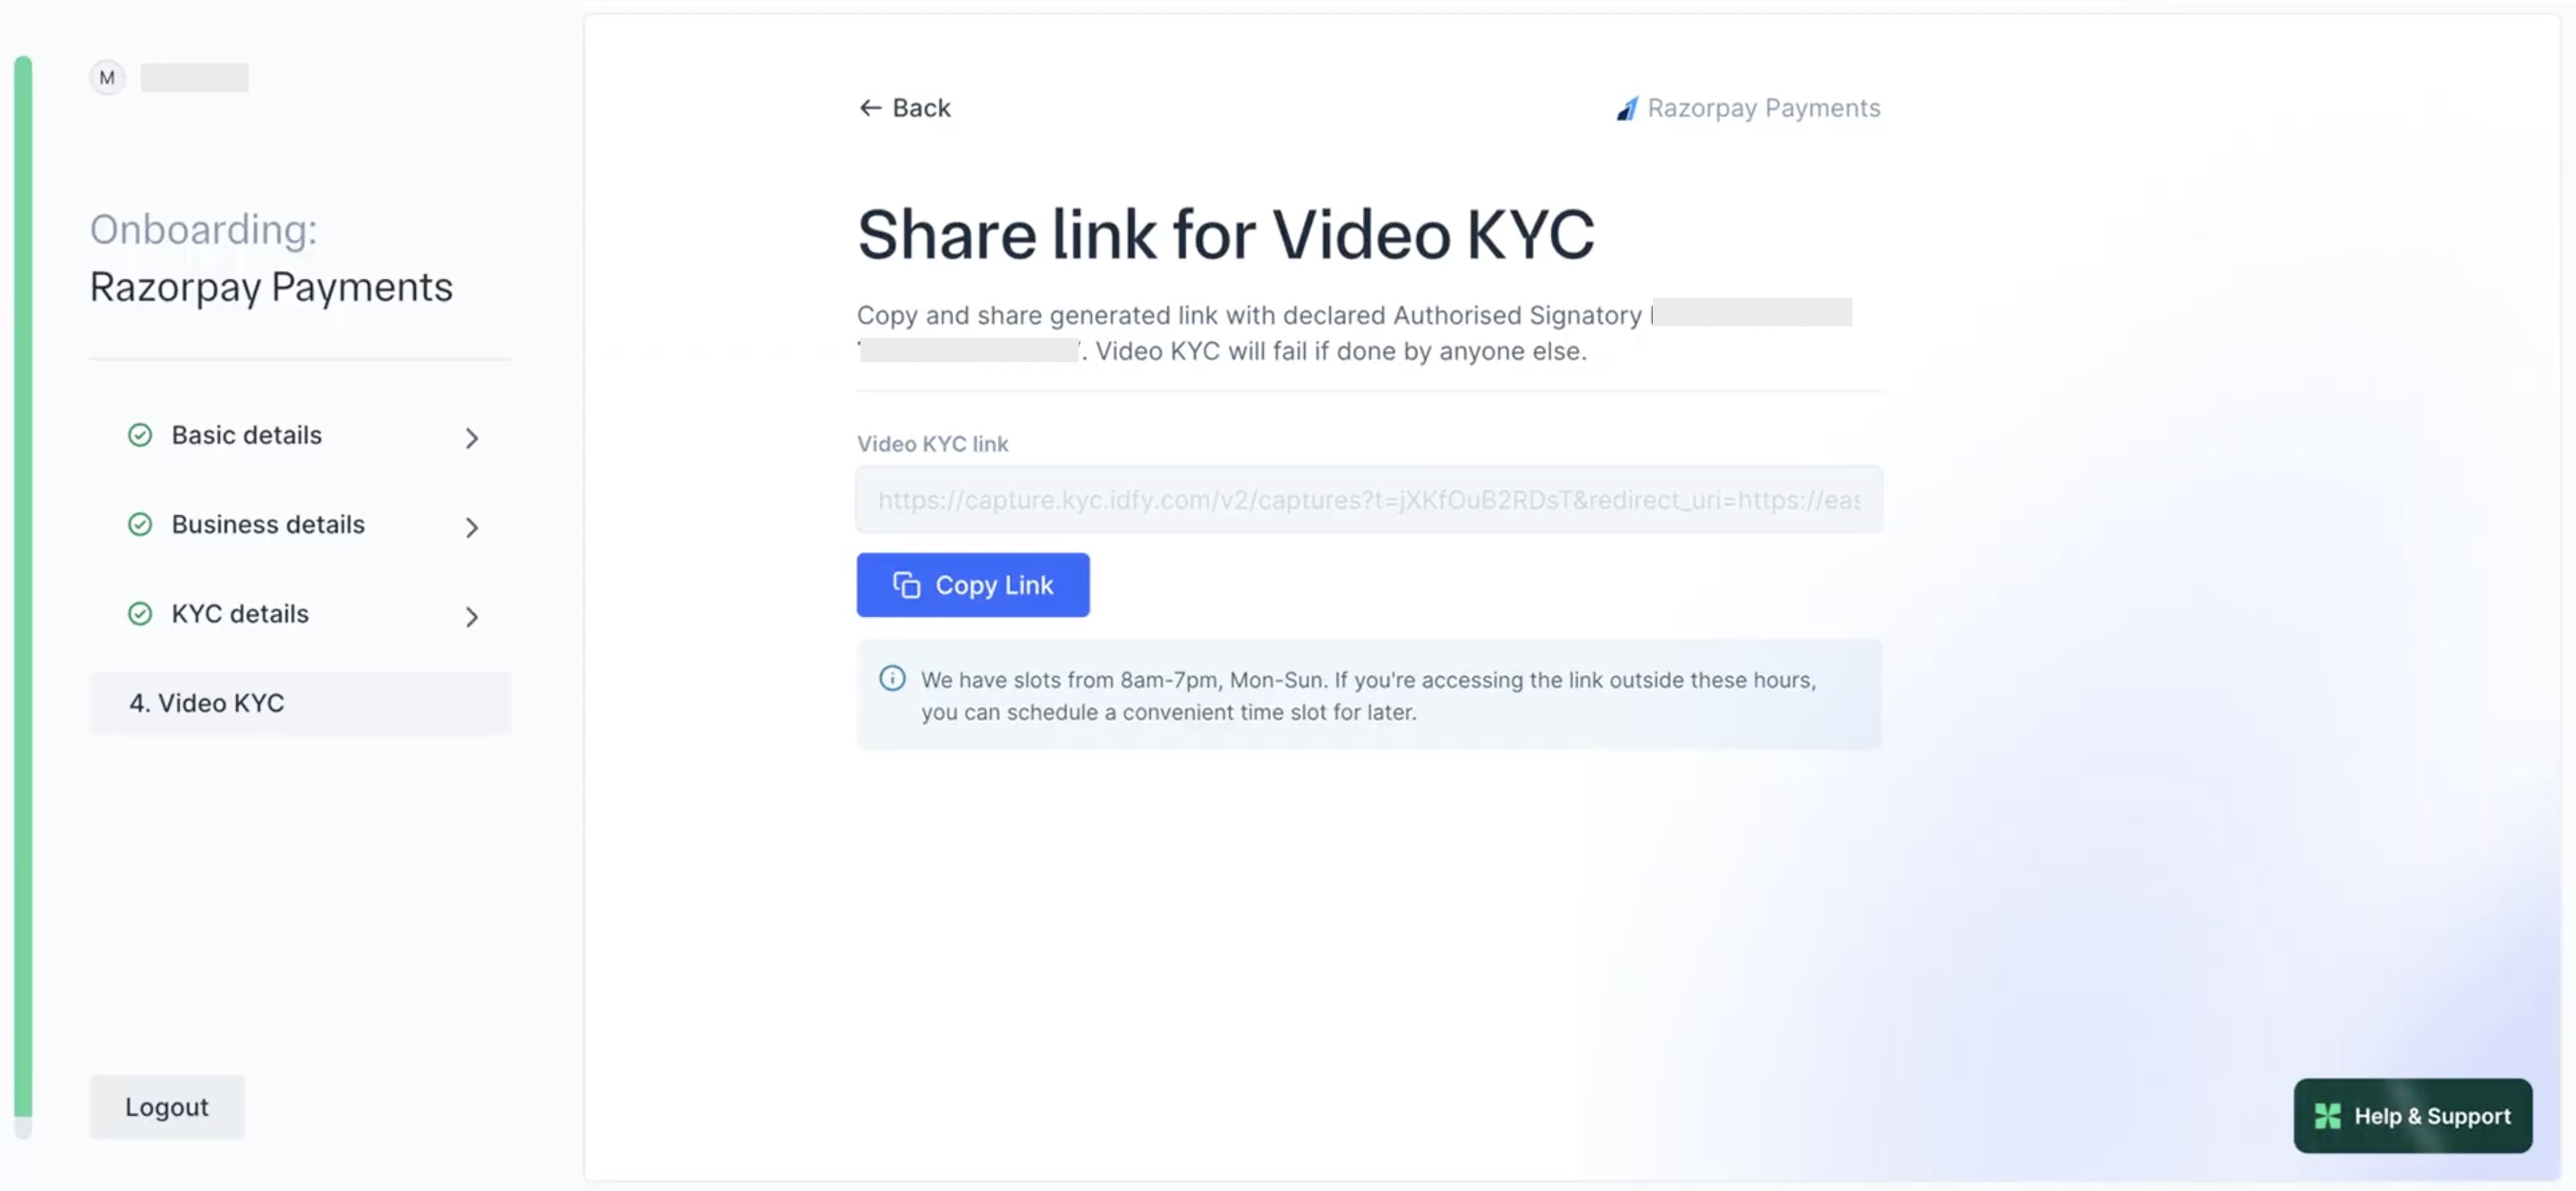
- If you are the authorised signatory, review the instructions and click Start.
Handy TipsEnsure you have physical copies of your PAN and Aadhaar card ready.
- Click Accept & Proceed to accept the terms and conditions.
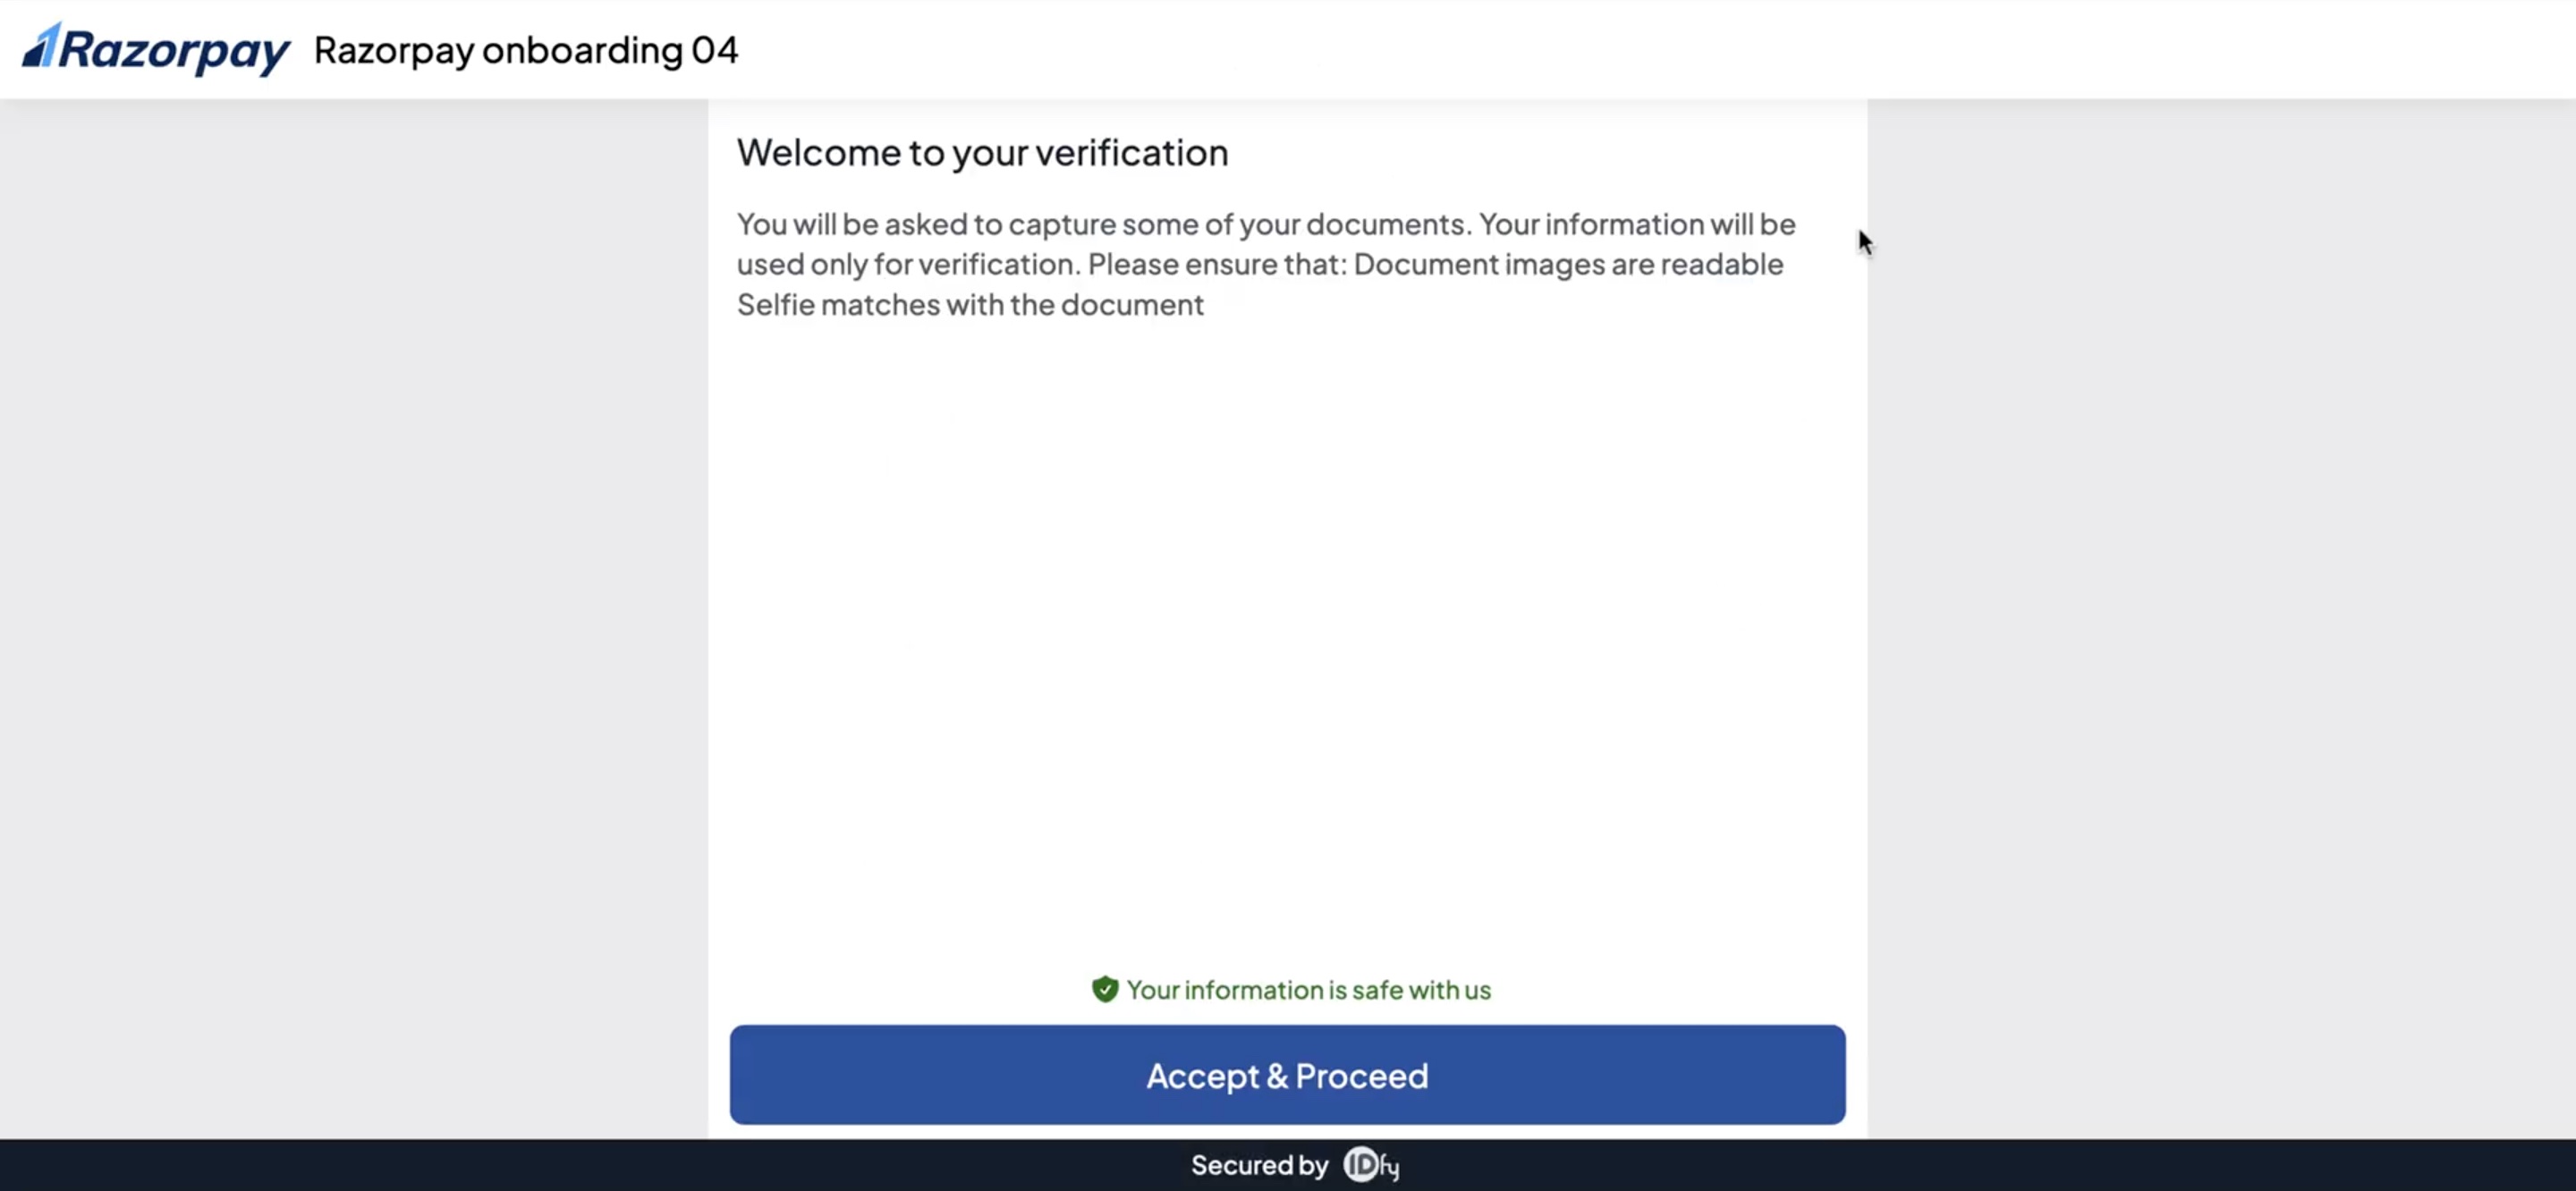
- Click Proceed to start checking for camera, microphone and location.
Handy TipsEnsure no Proxy/VPN/TOR is active on your device.
- A Razorpay agent will join and verify your documents on video. You have successfully completed your onboarding process.
After Your Account is Created
After Your Account is Created
- In some cases, additional details may be required once your account is created.
- You can accept payments and make payouts using a range of products.
- You can access the Test mode on the Dashboard to test and experience the products offered by Razorpay. Test mode does not involve actual money transactions.
- You have to generate separate API keys for Live and Test modes. Know more about API Keys.
Successful Activation
Successful Activation
Your KYC Verification is complete. You can:
- Accept payments without any amount limits.
- Razorpay will automatically settle payments in your bank account as per your settlement cycle.
- Request for other payment methods and apply for international payments.
CKYC Verification vs. Traditional Verification
Complete KYC to start accepting payments with Razorpay. The new Master KYC-compliant process offers two verification paths:CKYC Verification
CKYC Verification
- Instant verification using existing CKYC records
- No document uploads needed
- No Video KYC required
How CKYC Works
How CKYC Works
- Enter PAN Details
- For registered businesses: Business PAN and Date of Incorporation
- For individuals: Personal PAN
- CKYC Record Check:
- Razorpay checks if CKYC record exists for your PAN.
- Consent via OTP:
- If CKYC record is found, you must enter the mobile number linked to the CKYC.
- Enter the OTP sent by the CKYC system to provide consent.
- Instant Verification
- Documents auto-fetched from CKYC
- Identity verified instantly
- Proceed to additional requirements (if any)
- CKYC Consent Process
- For Registered Businesses: Your CKYC record is looked up using Business PAN and Date of Incorporation.
- Date of Incorporation Sources:
- Certificate of Incorporation
- GST Certificate
- Udyam Registration
- Business PAN document
- For Individuals/Proprietorships: Your CKYC record is looked up using Personal PAN and Mobile OTP verification.
Traditional Verification + Video KYC
Traditional Verification + Video KYC
- Required when CKYC data unavailable
- Upload required documents
- Complete Video KYC with Authorised Signatory
Handy TipsYou can provide information in any order you prefer during KYC. Review and modify details from account creation if needed. Check the complete list of KYC documents required for your business type.
Handy Tips
- During KYC verification process, you can provide the required information in any order you prefer.
- You should review the details submitted during account creation and make changes if required.
Account States
The status of your Dashboard account after signing up and submitting your KYC details might be in one of the following states:Set Up Multiple Accounts
As a business owner, you may need different accounts for different kinds of work. However, it is challenging to obtain a new mobile number each time you want to set up an account. With Multi-Account, you can set up different accounts using the same mobile number and email id as your existing account.Example
Assume Gaurav is an Indian business owner who has an account with Razorpay using Mobile Number:9000090000 and Email Id: gaurav.kumar@example.com.
Gaurav uses Multi-Account feature to set up another account. Razorpay will use the same number and email id as shown above to set up the other account. This will work in a similar way in your respective country.
Set up Another Account Using Website
Set up Another Account Using Website
- Go to the website and click Sign Up.
- Enter your mobile number or email id and click Continue.
- Enter the OTP sent to your registered mobile number and click Verify.
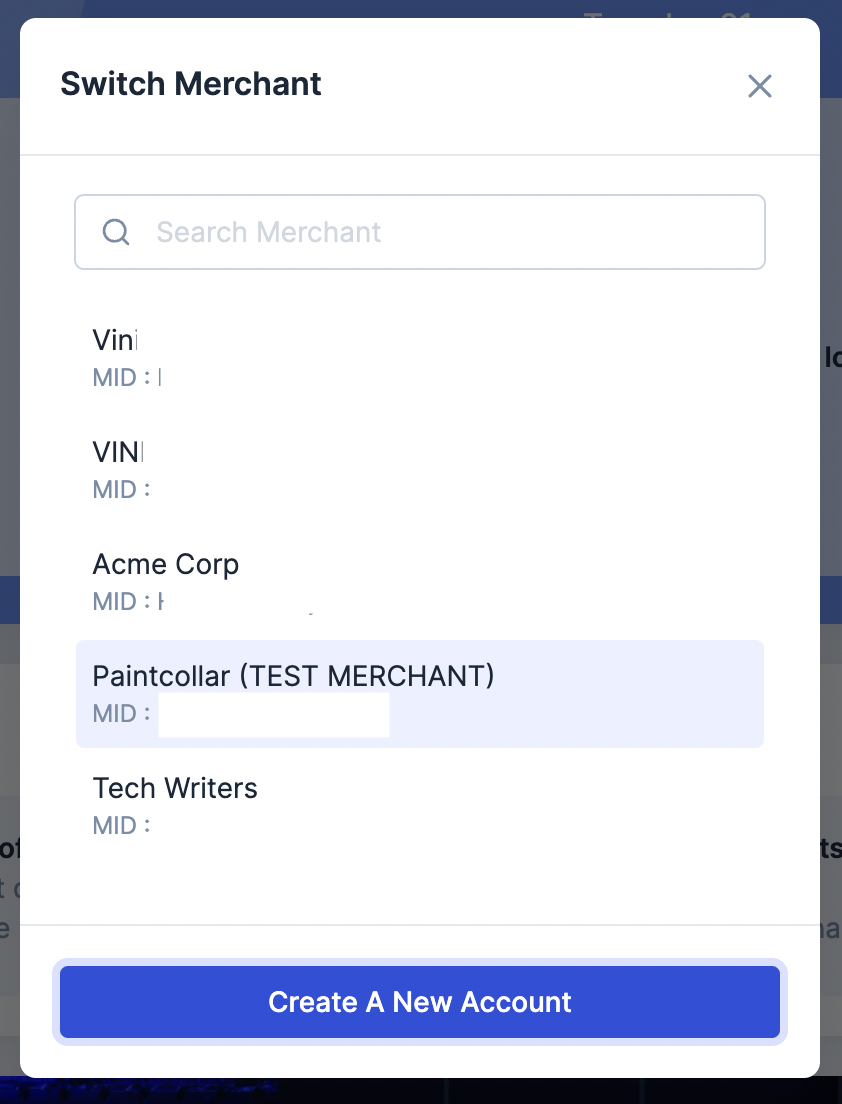
- All the accounts linked to the entered number/email is are displayed. Click Create a new account.
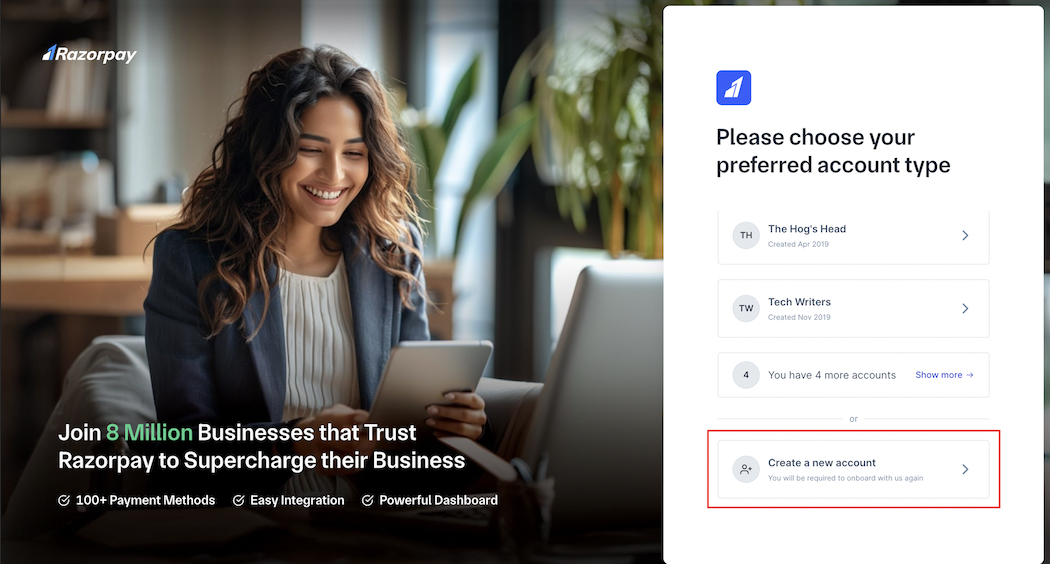
- Select the country and click Verify.
- Your existing number and email id is already registered with the new account. Enter your name and continue with Sign Up and KYC.
Assisted Onboarding
Why Hire an Onboarding Manager
Why Hire an Onboarding Manager
- Dedicated onboarding manager: Receive personalised support with a dedicated onboarding manager assigned to you within 1 hour.
- Swift account activation: Get your account activated within 8 business hours and start accepting payments via Razorpay.
- End-to-end assistance: Receive comprehensive support until you complete your first transaction, addressing any queries throughout the process.
How to Hire an Onboarding Manager
How to Hire an Onboarding Manager
- On the Razorpay sign-up page, sign up using your mobile number.
- Click Know more under Hire an onboarding manager for faster account set up!. Complete the payment.