Available in🇮🇳 India
Razorpay Trusted Business Widget on WooCommerce Changelog
Discover new features, updates and deprecations related to Razorpay Trusted Business Widget on WooCommerce (since Jan 2024).
Get Started
Follow the integration steps to integrate the RTB widget on your WooCommerce website.Prerequisites
- Sign up for a Razorpay account.
- Set up your WooCommerce store.
Integration Steps
Follow these steps to proceed with the integration:1. Build Integration
Install the plugin.
2. Test Integration
Test the RTB widget.
3. Go-Live Checklist
Check the go-live checklist.
1. Build Integration
Follow the below steps to install the plugin:Install the plugin
Install the plugin
Handy TipsIf you are an existing Razorpay user, you can directly begin the integration process from step 3.
- Sign up for a Razorpay account.
- Complete your KYC process. To confirm your successful activation or clarify any KYC queries, we will contact you via WhatsApp, SMS and email.
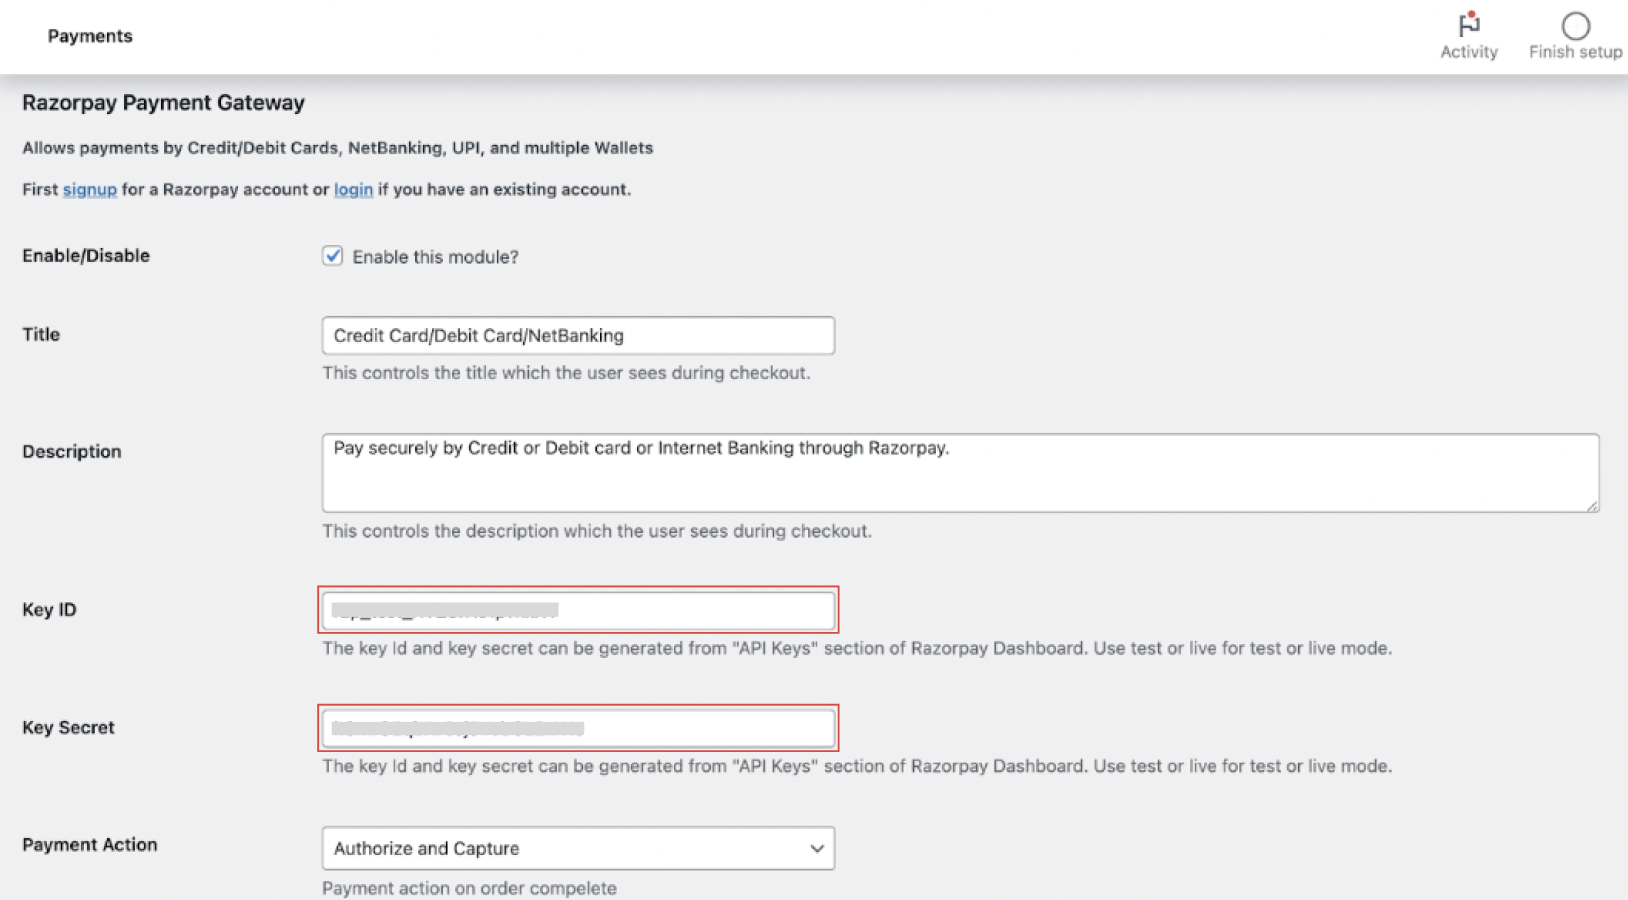
- From the Wordpress Plugins list, install the latest Razorpay for WooCommerce plugin with RTB widget.
- After you install the plugin, go to the plugin settings and enter the Razorpay API Key ID and secret. Click save to check eligibility for the RTB.
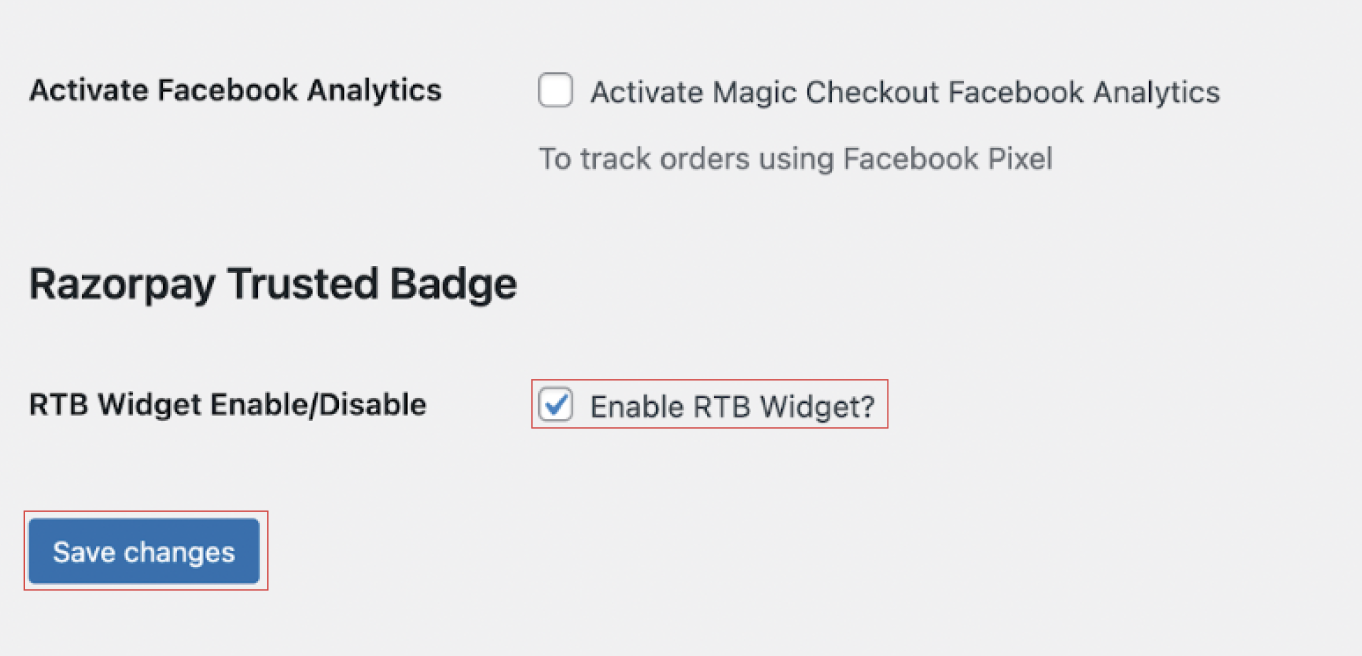 This completes your integration.To verify the integration, visit your WooCommerce website and access any of your product pages. Preview the page to check how the RTB widget appears to your buyers.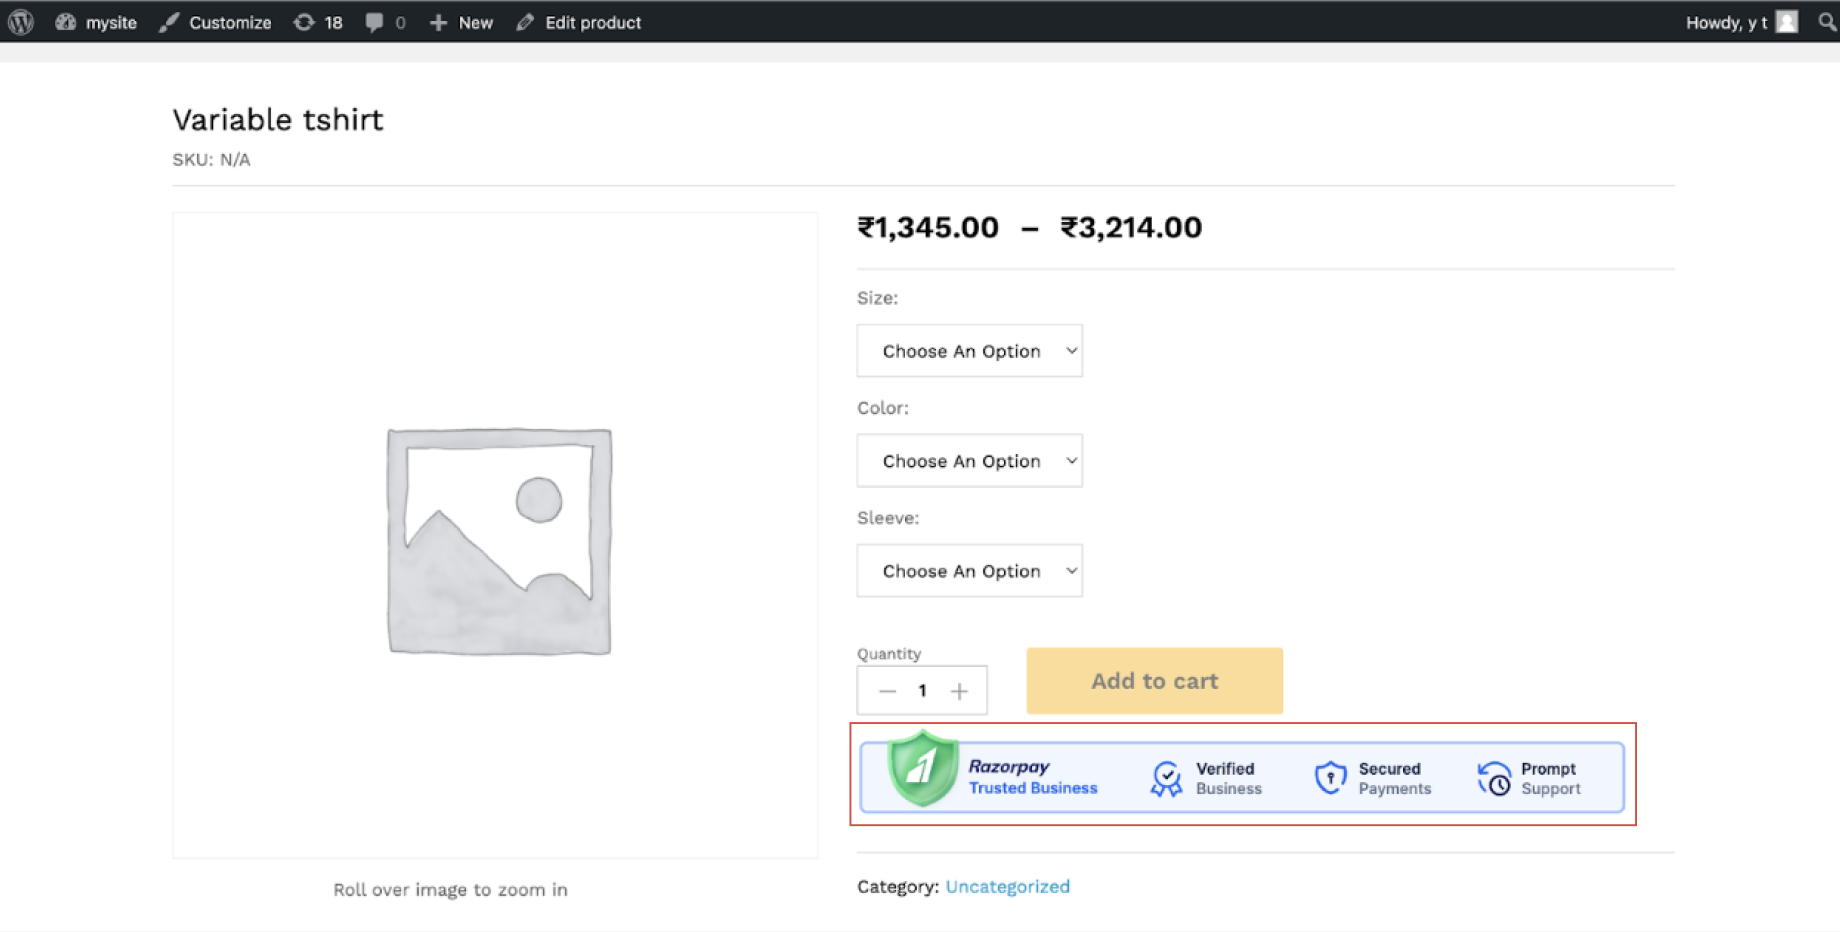
2. Test Integration
You can now preview and test the widget on the page where you integrated it. Follow the checklist:- Widget Rendering: Confirm that the RTB widget renders correctly on the decided location of the desired page.
- Widget Interaction: Interact with the widget to verify that users can click the widget to access additional information on the RTB website.
- Responsive Design: Resize the browser window or access the page on different devices to test the widget’s responsiveness.
- Widget Loading: Ensure the widget loads quickly and smoothly without causing any delays or disruptions on the page it is integrated.
3. Go-live Checklist
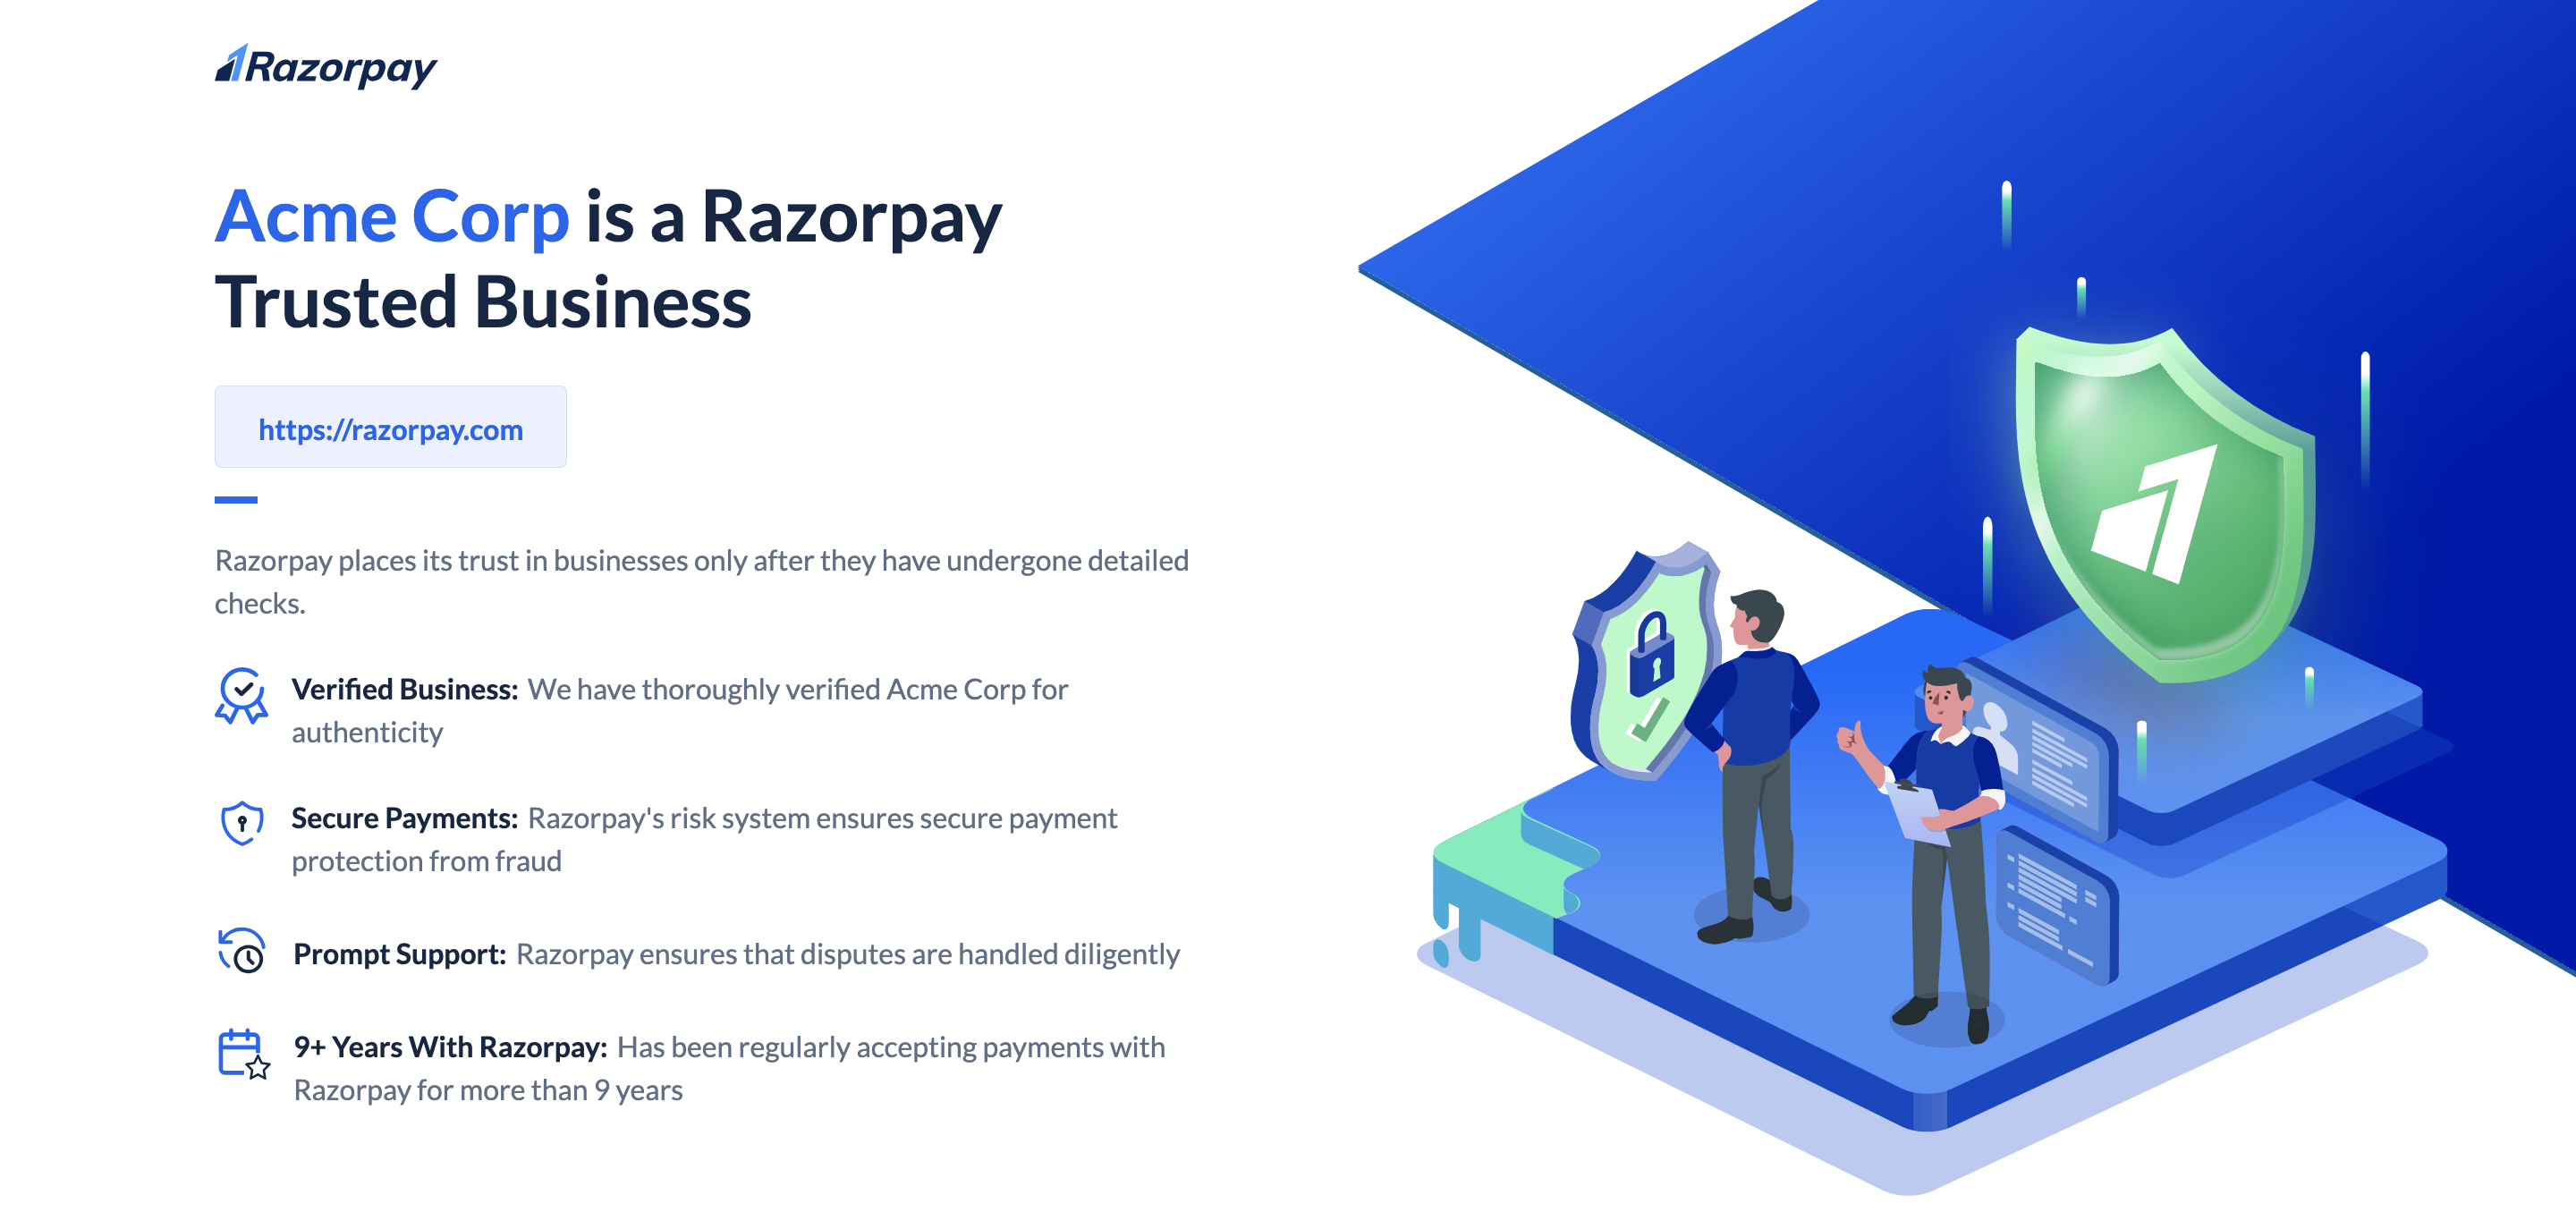
After previewing and testing the widget on your Wordpress Dashboard, you must replace the test mode API keys with the live mode API keys. You can generate the live mode API keys from the Dashboard. Your customers can view the widget on your website. After they click the widget, it redirects them to the RTB website to access more information.- Here is a glimpse of the default widget:
On Web
On Web
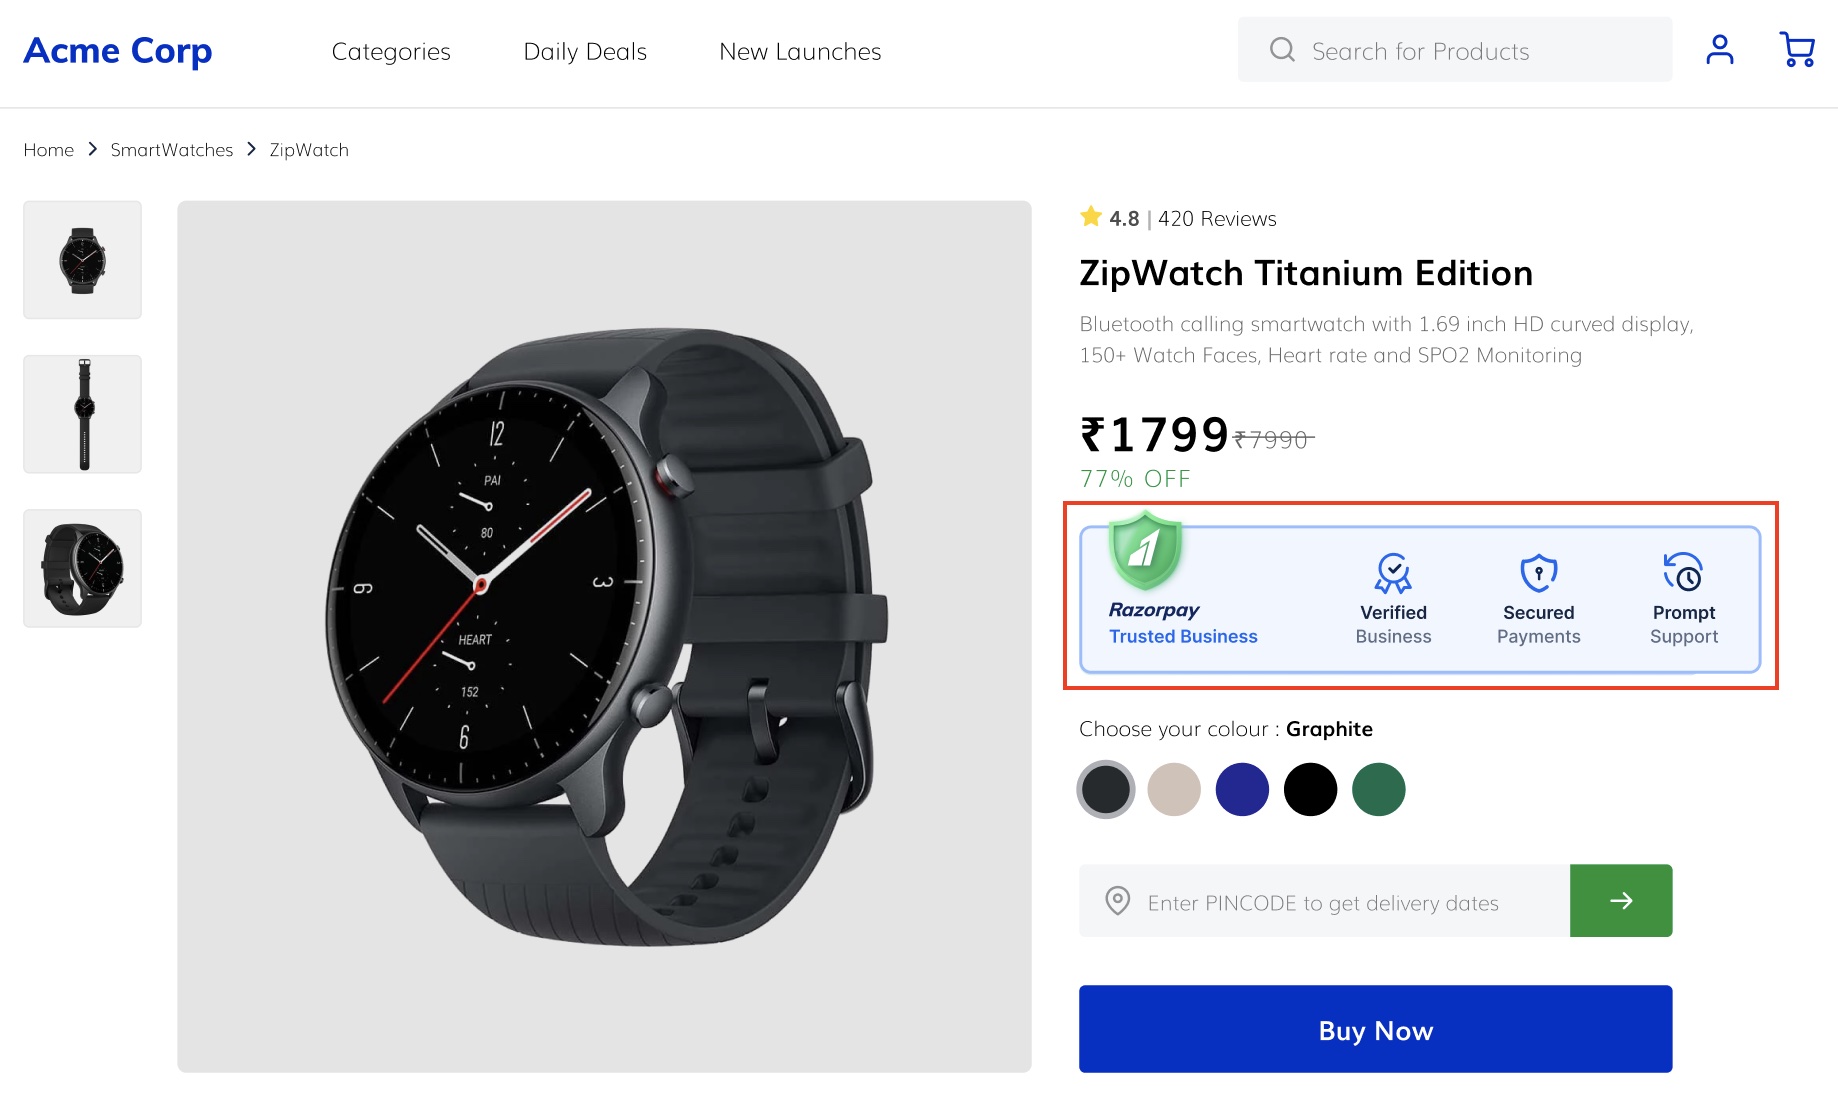
On Mobile
On Mobile
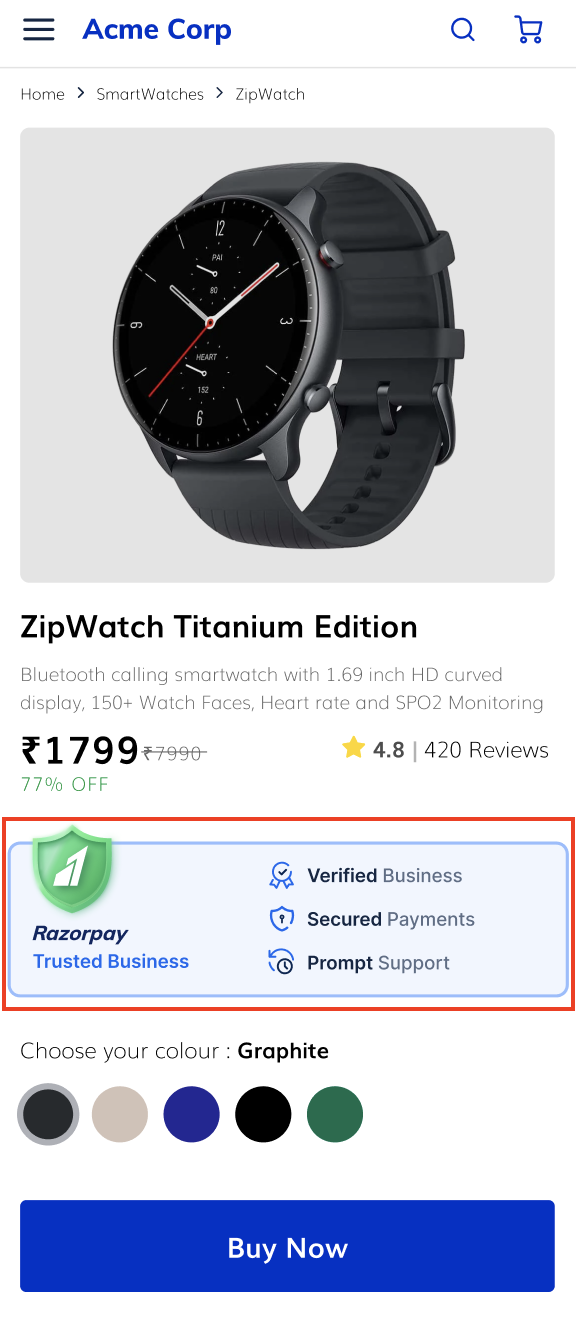
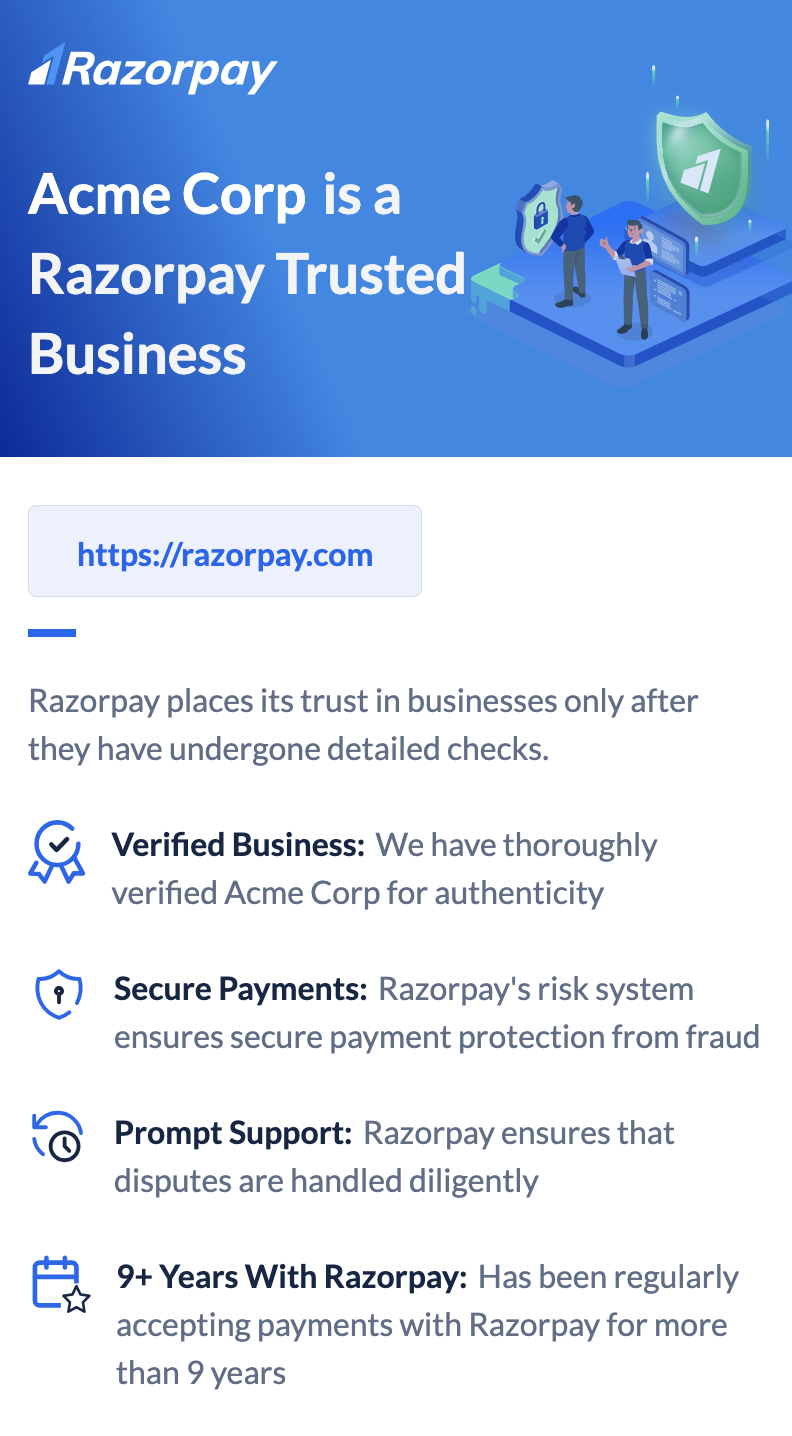
- Here is a glimpse of the RTB webpage:
On Web
On Web
On Mobile
On Mobile