

Available in🇮🇳 India
1. Create a Razorpay POS Account
Create a Razorpay POS account to get started.
2. Submit KYC Details
Submit the KYC details for account verification.
3. Add Shop Images
Upload front and interior images of your shop to order a Razorpay POS device.
4. Buy Razorpay POS Devices
Explore the different Razorpay POS devices available and place an order.
1. Sign Up
Go to the Razorpay website. To create a Razorpay account:- Enter your 10-digit Mobile Number. Click Continue.
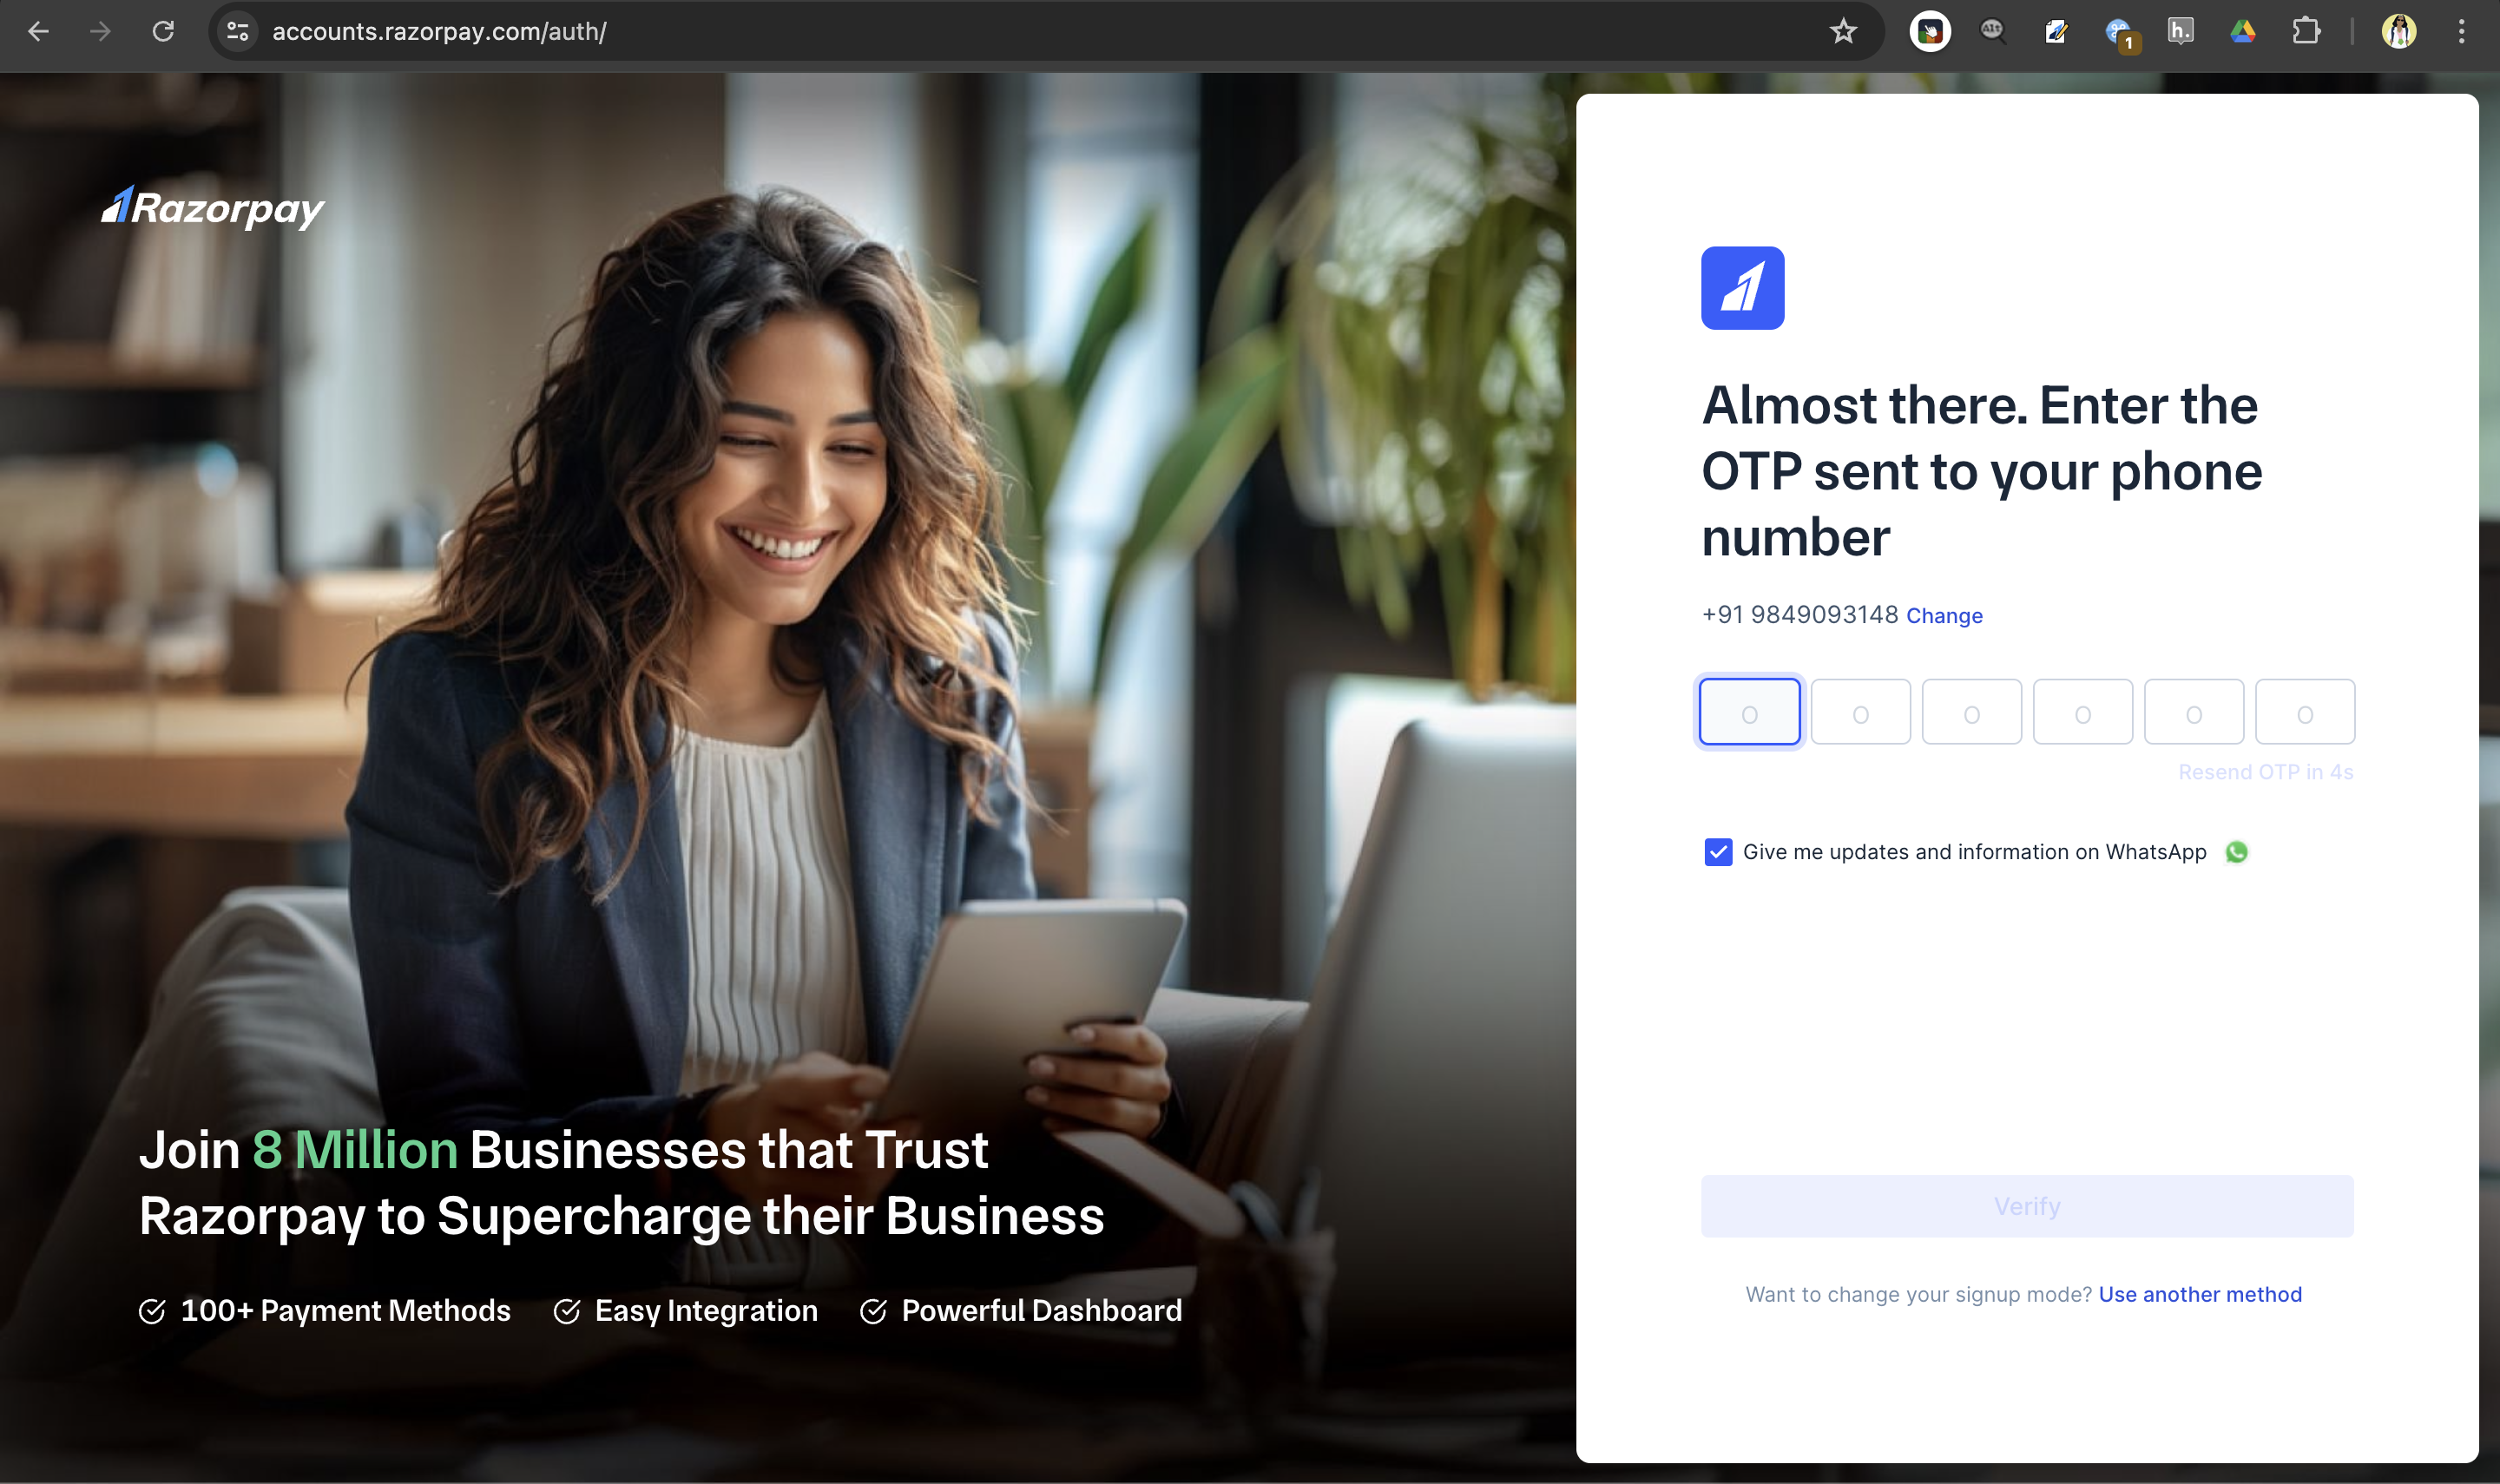
- Enter the OTP sent to your mobile number. Select the check box below to receive updates on WhatsApp. Click Verify. If you did not receive the OTP, click Resend OTP.
- Enter your Name and click Continue.
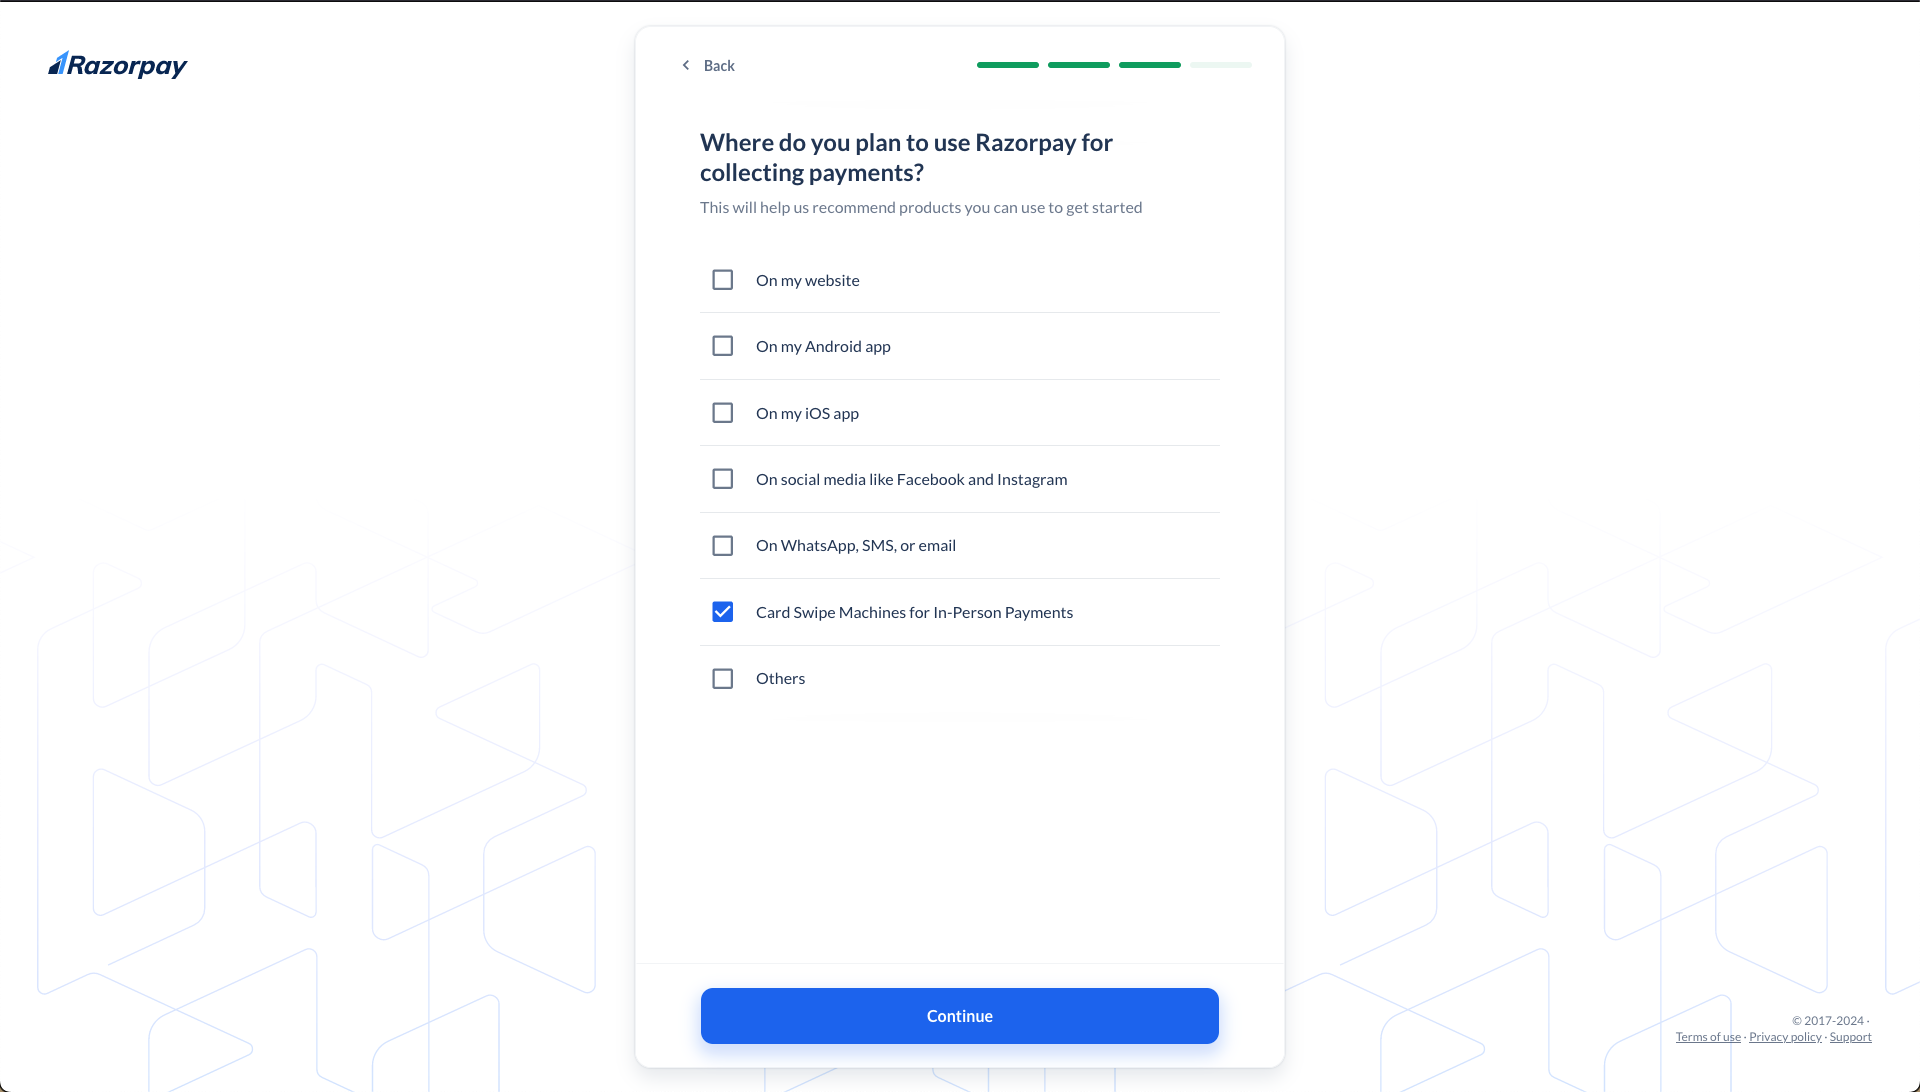
- Select where you want to accept payments from the given options. You can also select multiple options if relevant.
- Select your business type from the list. Know more about different business types.
- Click Continue.
- Enter your PAN/Business PAN and click Continue. We will verify the details with the Central PAN database.
- Enter the name associated with the PAN and click Continue.
- Enter your Brand Name. This should be the name of your business that your customers recognise. Click Continue.
- Select the relevant Business Category from the list.
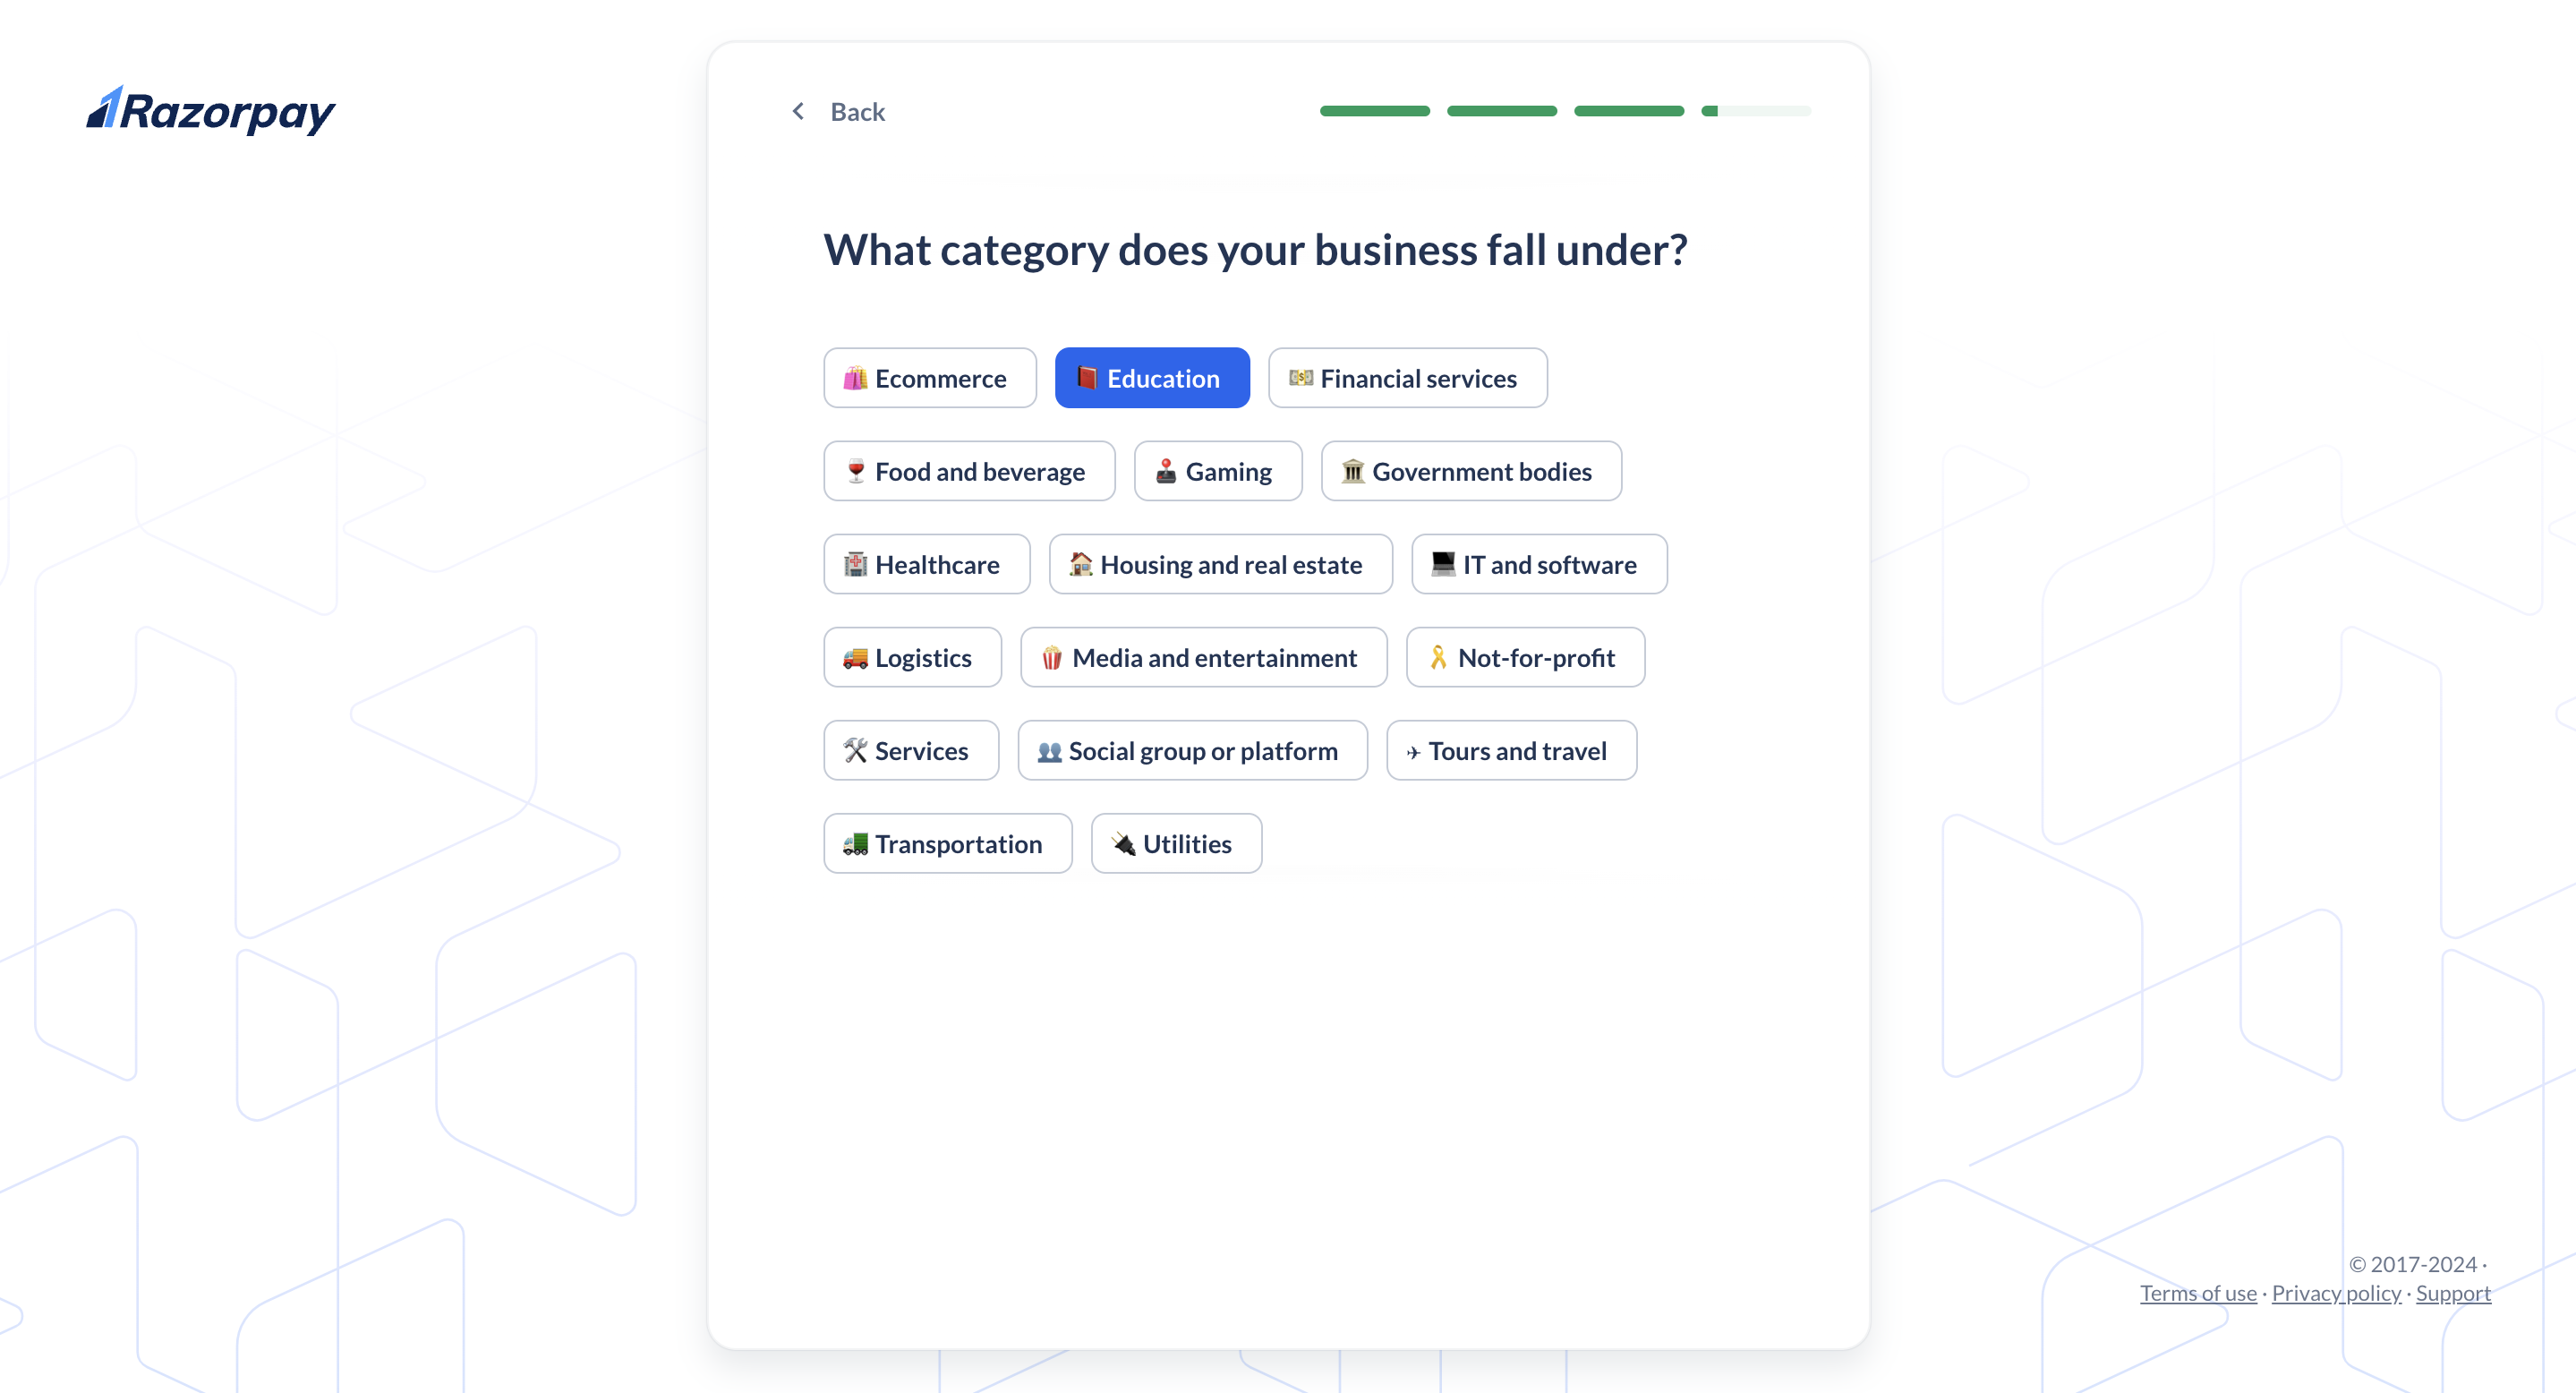
- Choose a Subcategory from the list. For example, if you selected Education, specify the category under it from the list.
- . Depending on the category and sub-category, choose the additional details as required.
2. Submit KYC Details
Provide the following information to complete KYC.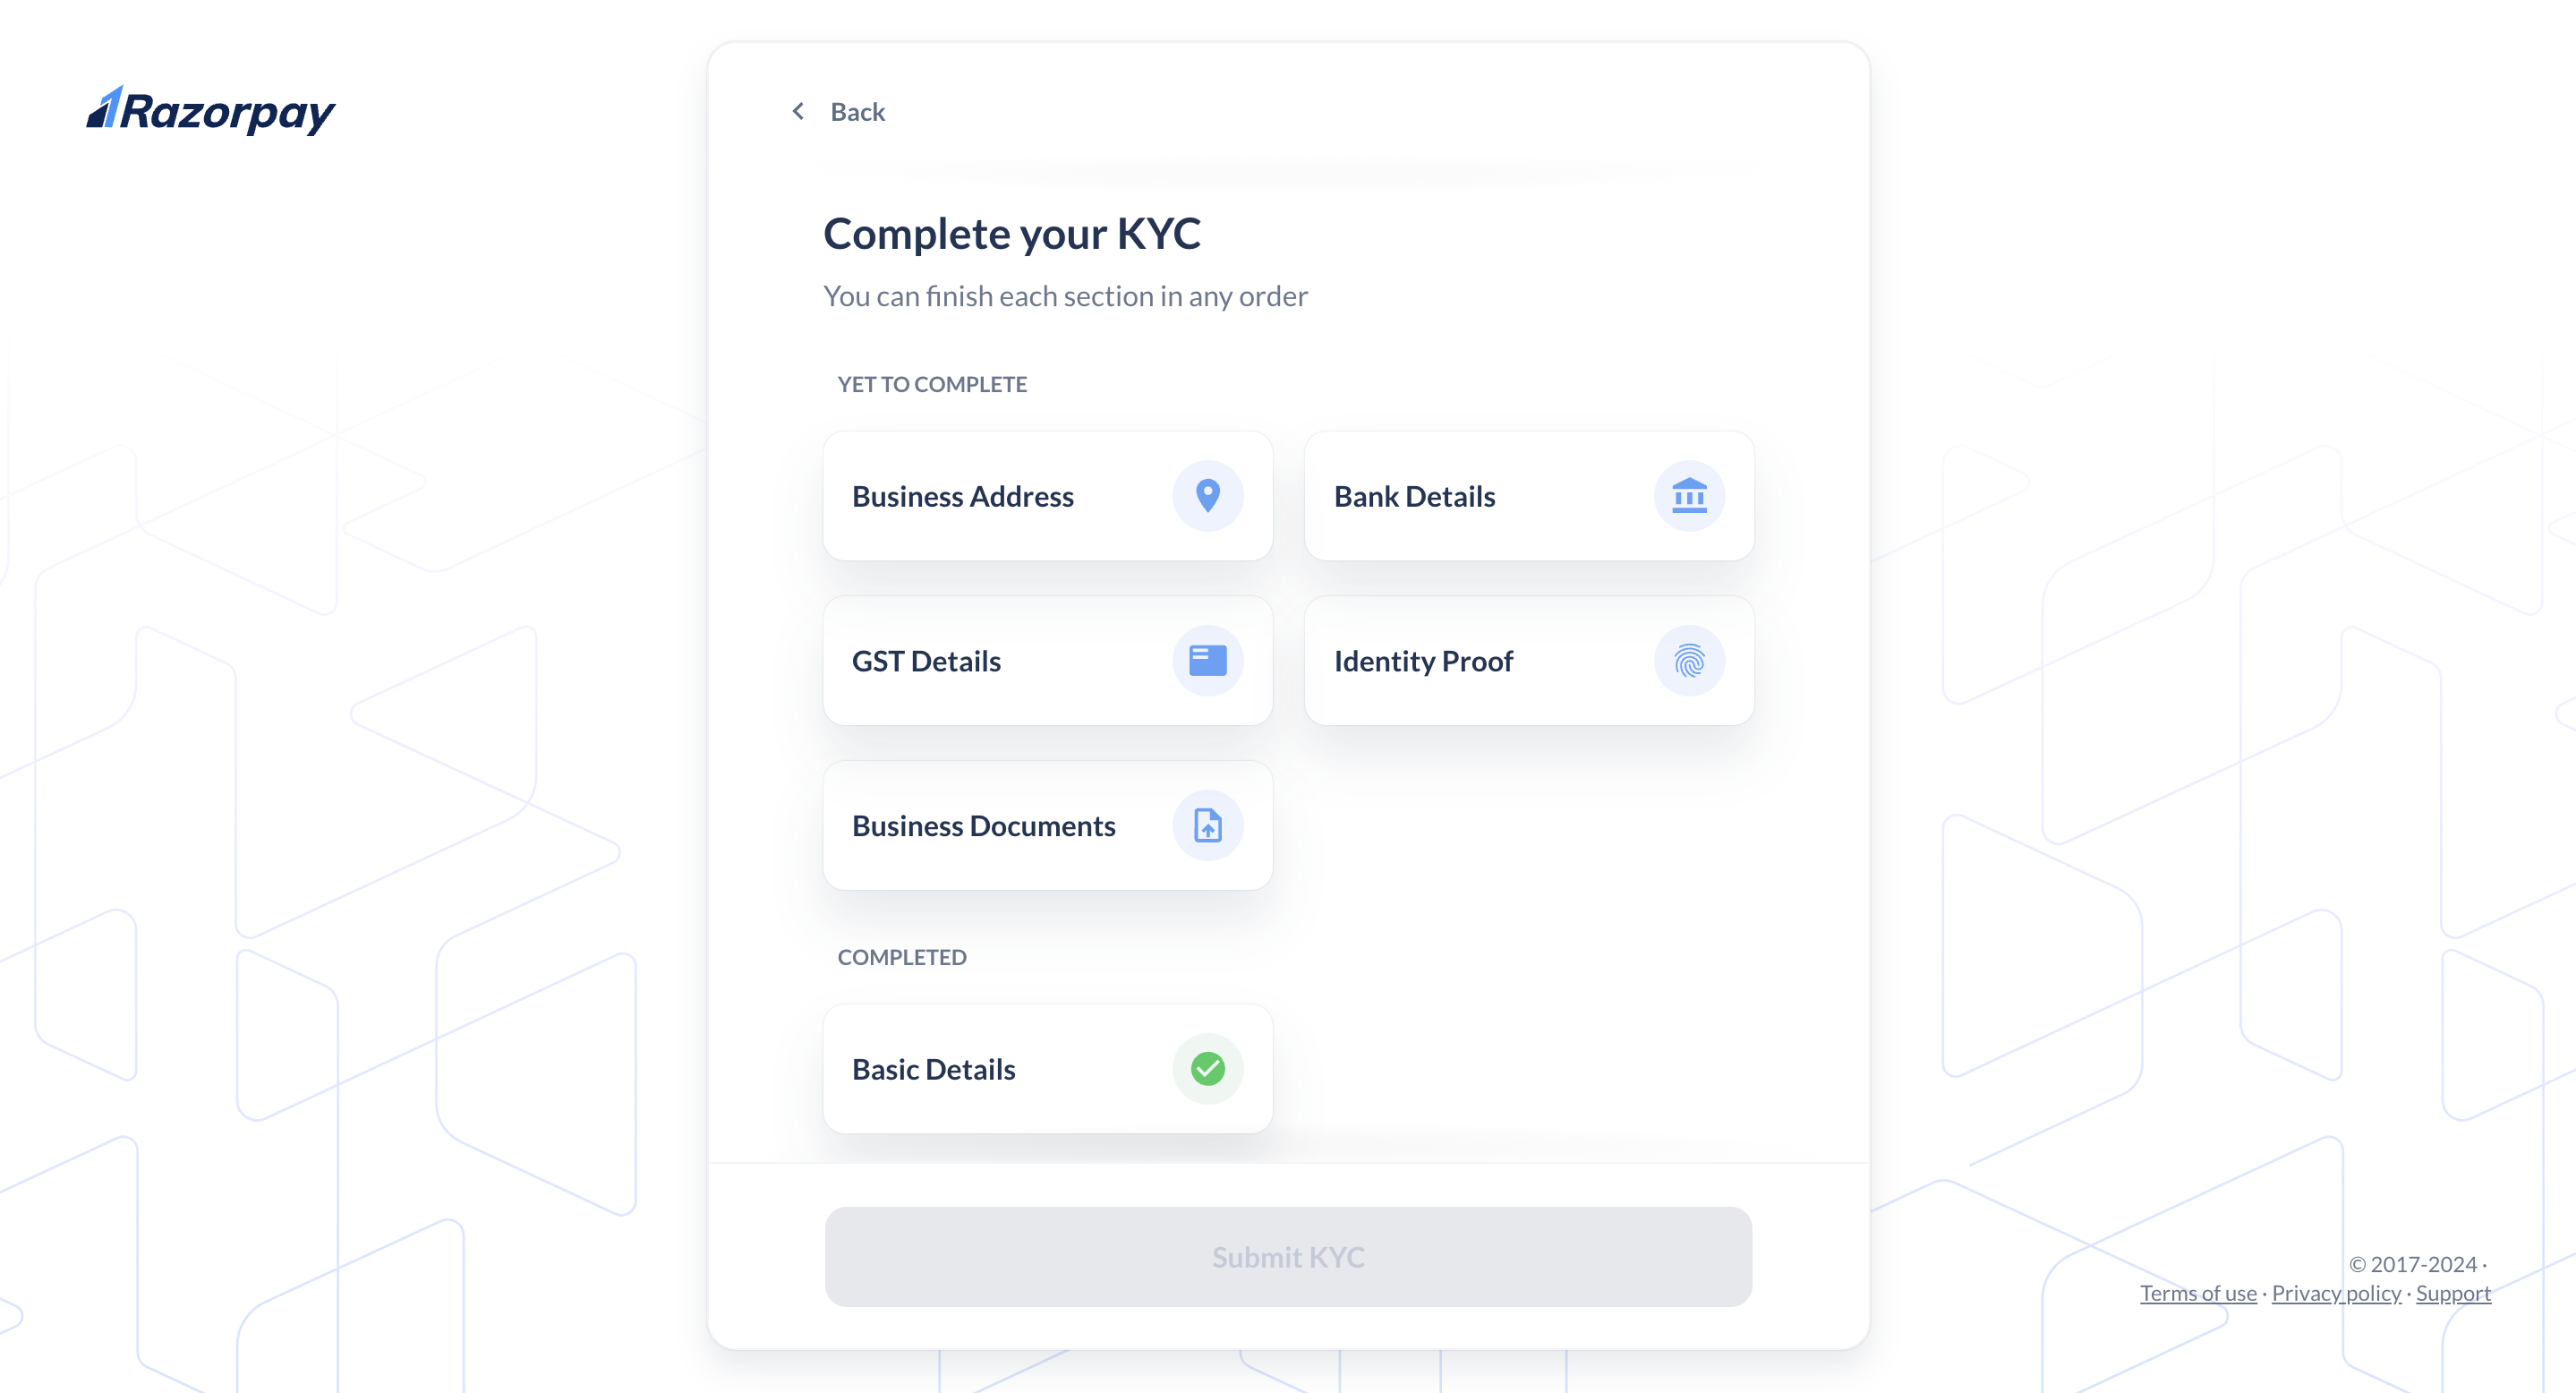
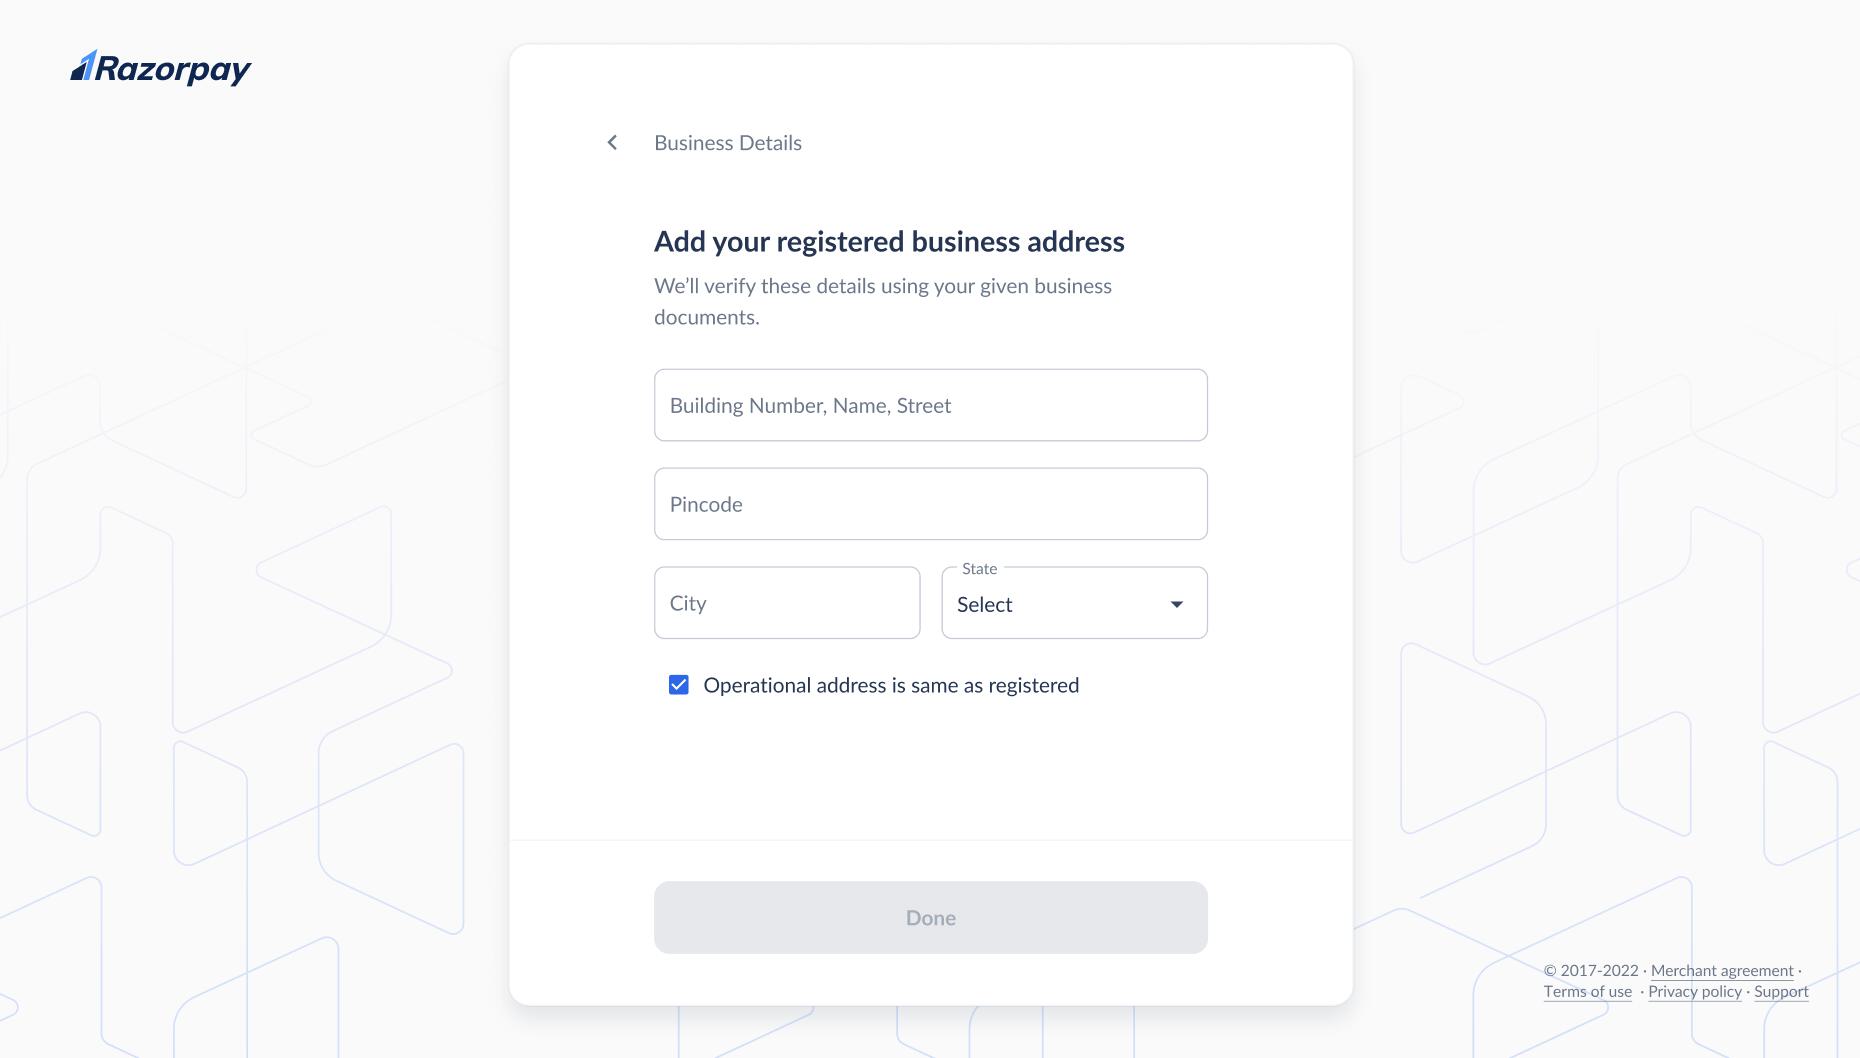
- Business Address: Add your business address. Select the check box if your Operational address is the same as your Business address. Click Done. This will be verified against your business documents.
Handy TipsOperational Address is the current address from where you are operating your business. On the other hand, a Business Address is an address you register when you start your business.
- Business Documents: Upload the relevant business documents based on your business type. Click Continue.
- Bank Details: Fill in your bank account details such as Account Number and IFSC Code. This will be the account to which Razorpay settles your funds. Click Done.
- Identity Proof: You can upload your Aadhar Card, Passport or Voter ID. Upload the required documents and click Continue.
Handy TipsSelect Upload another ID proof in case your Aadhar is not linked to your mobile number, and select a document from the list to submit your address proof. Upload the required documents.
- GST Details: This will be auto-filled in case your PAN verification is successful. If not, add your GST details for taxation and compliance. Select the check box if you do not have a GSTIN. Click Done.
Handy TipsExtra fields may appear based on your business type.
- For LLP: LLPIN (Limited Liability Partnership Identification Number)
- For Public and Private Ltd: CIN (Corporate Identification Number)
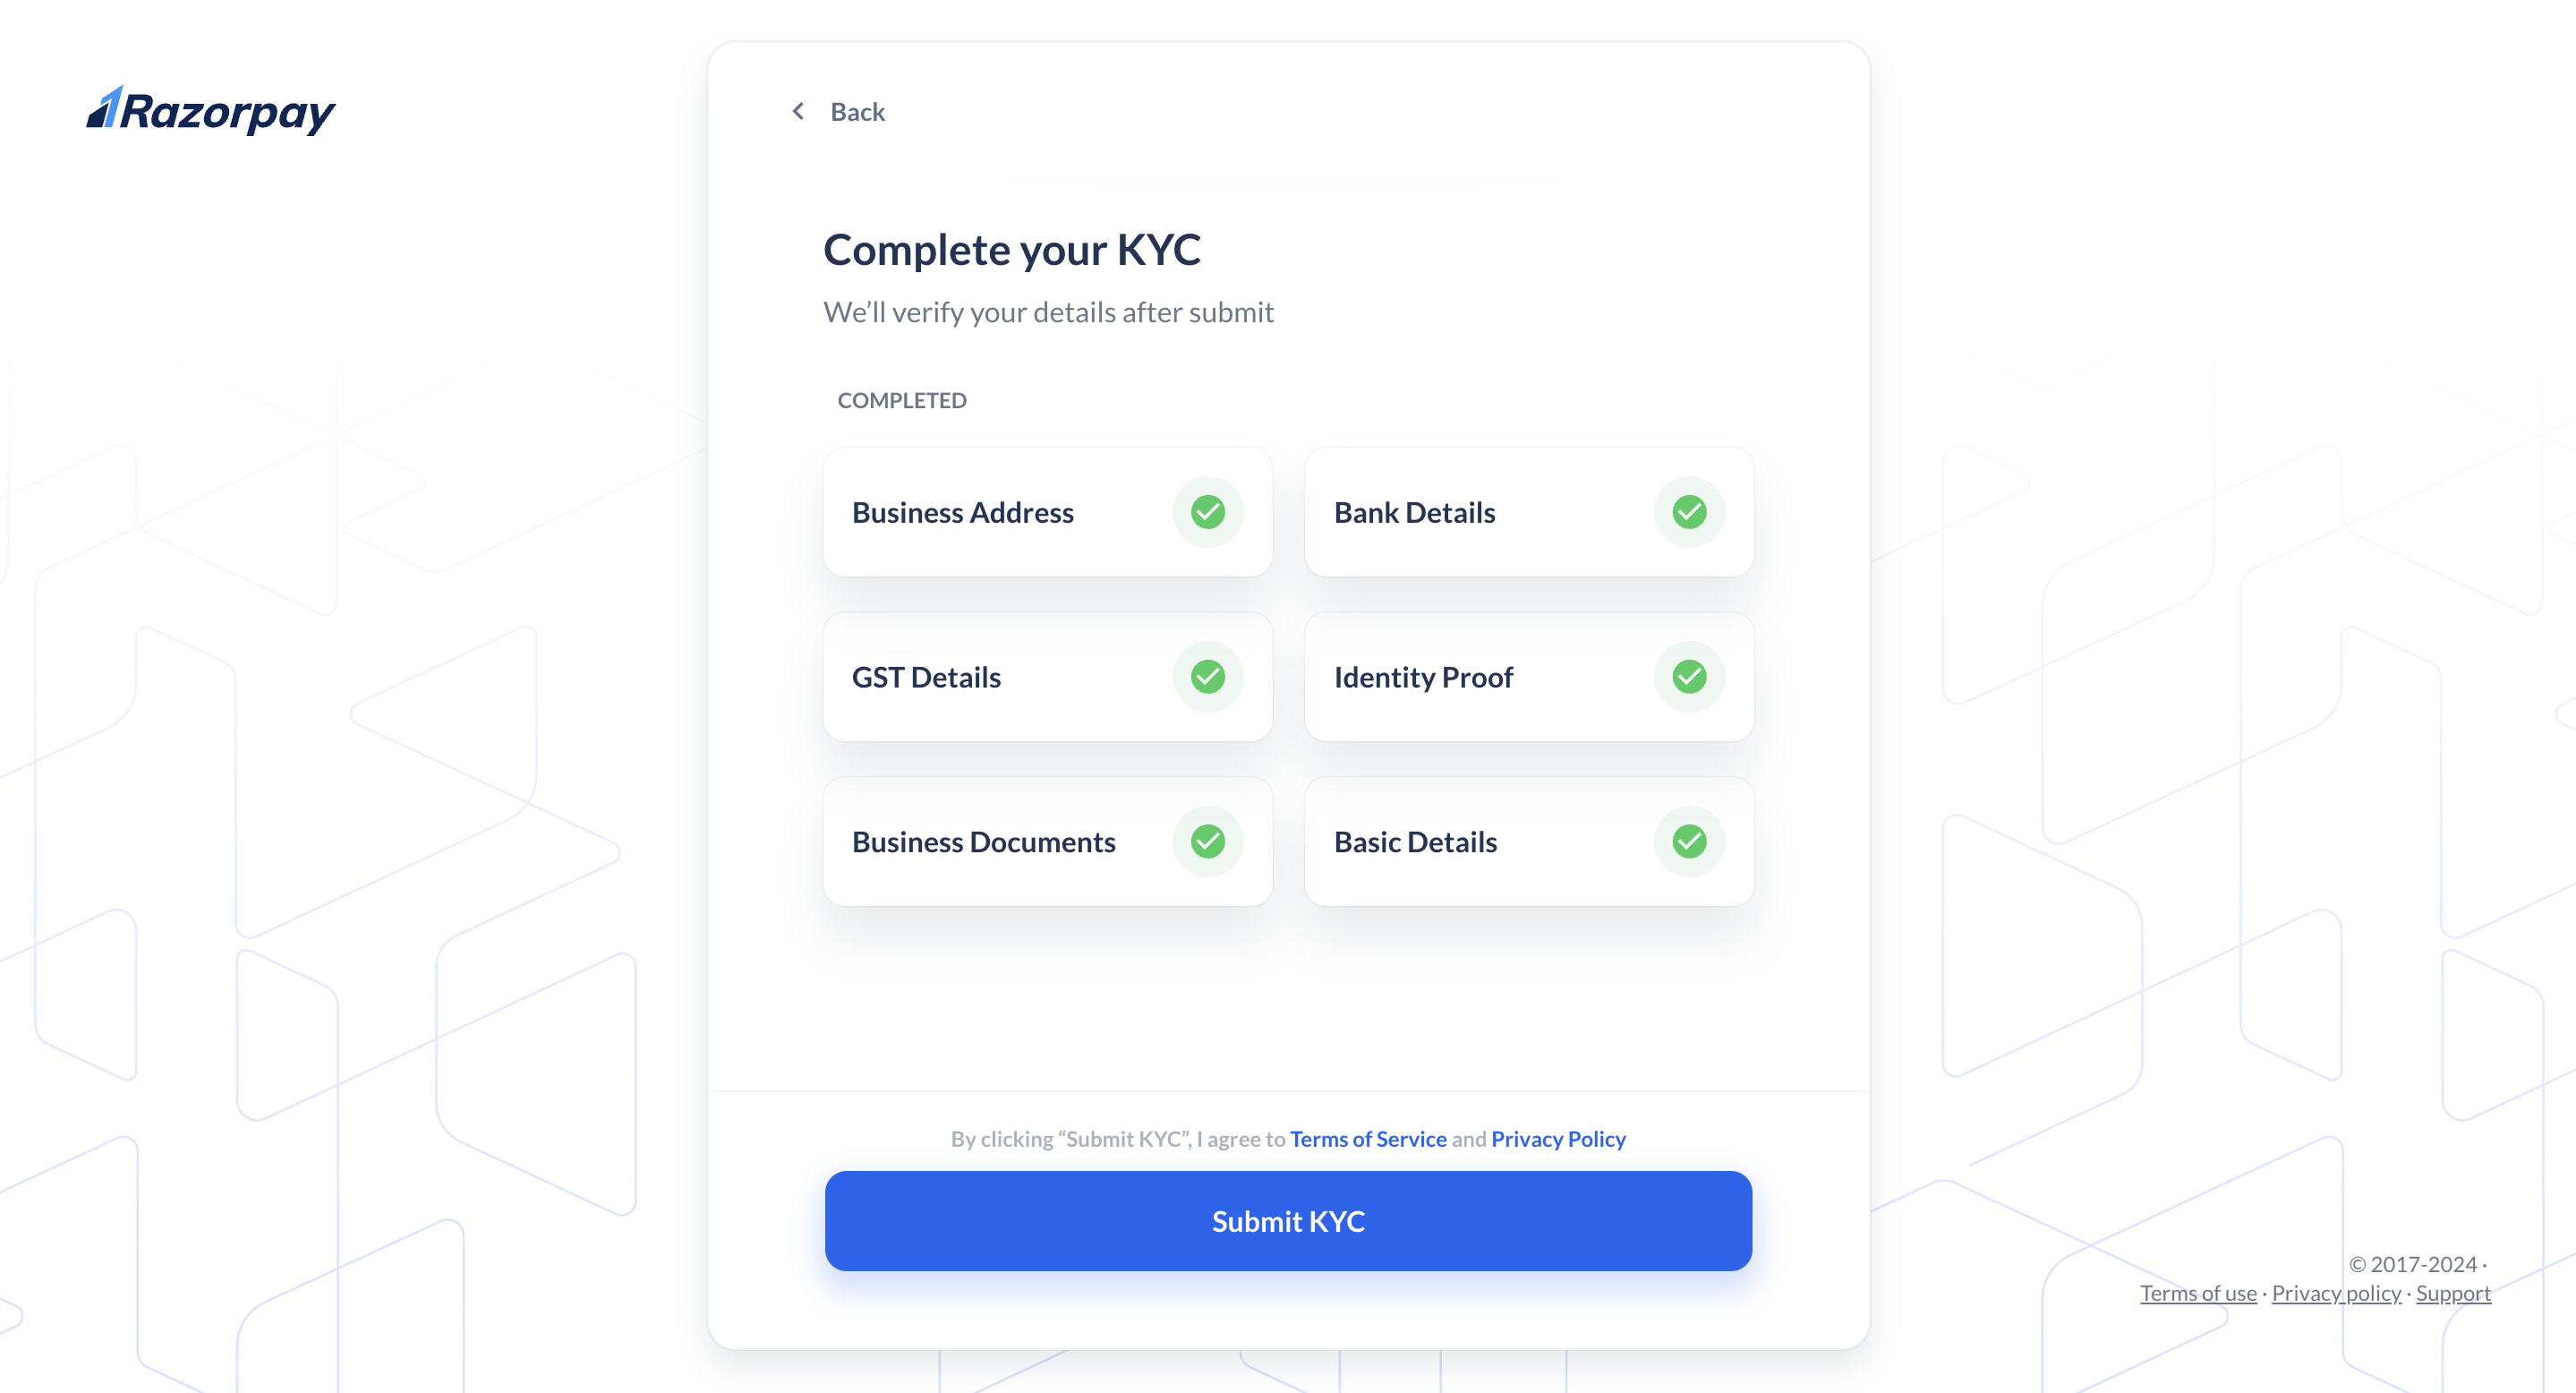
- Once you provide all the required details for verification, click Submit KYC.
3. Add Shop Images
Upload two images of your workplace:- An image of your shop from the front.
- An image of the interior of your shop.
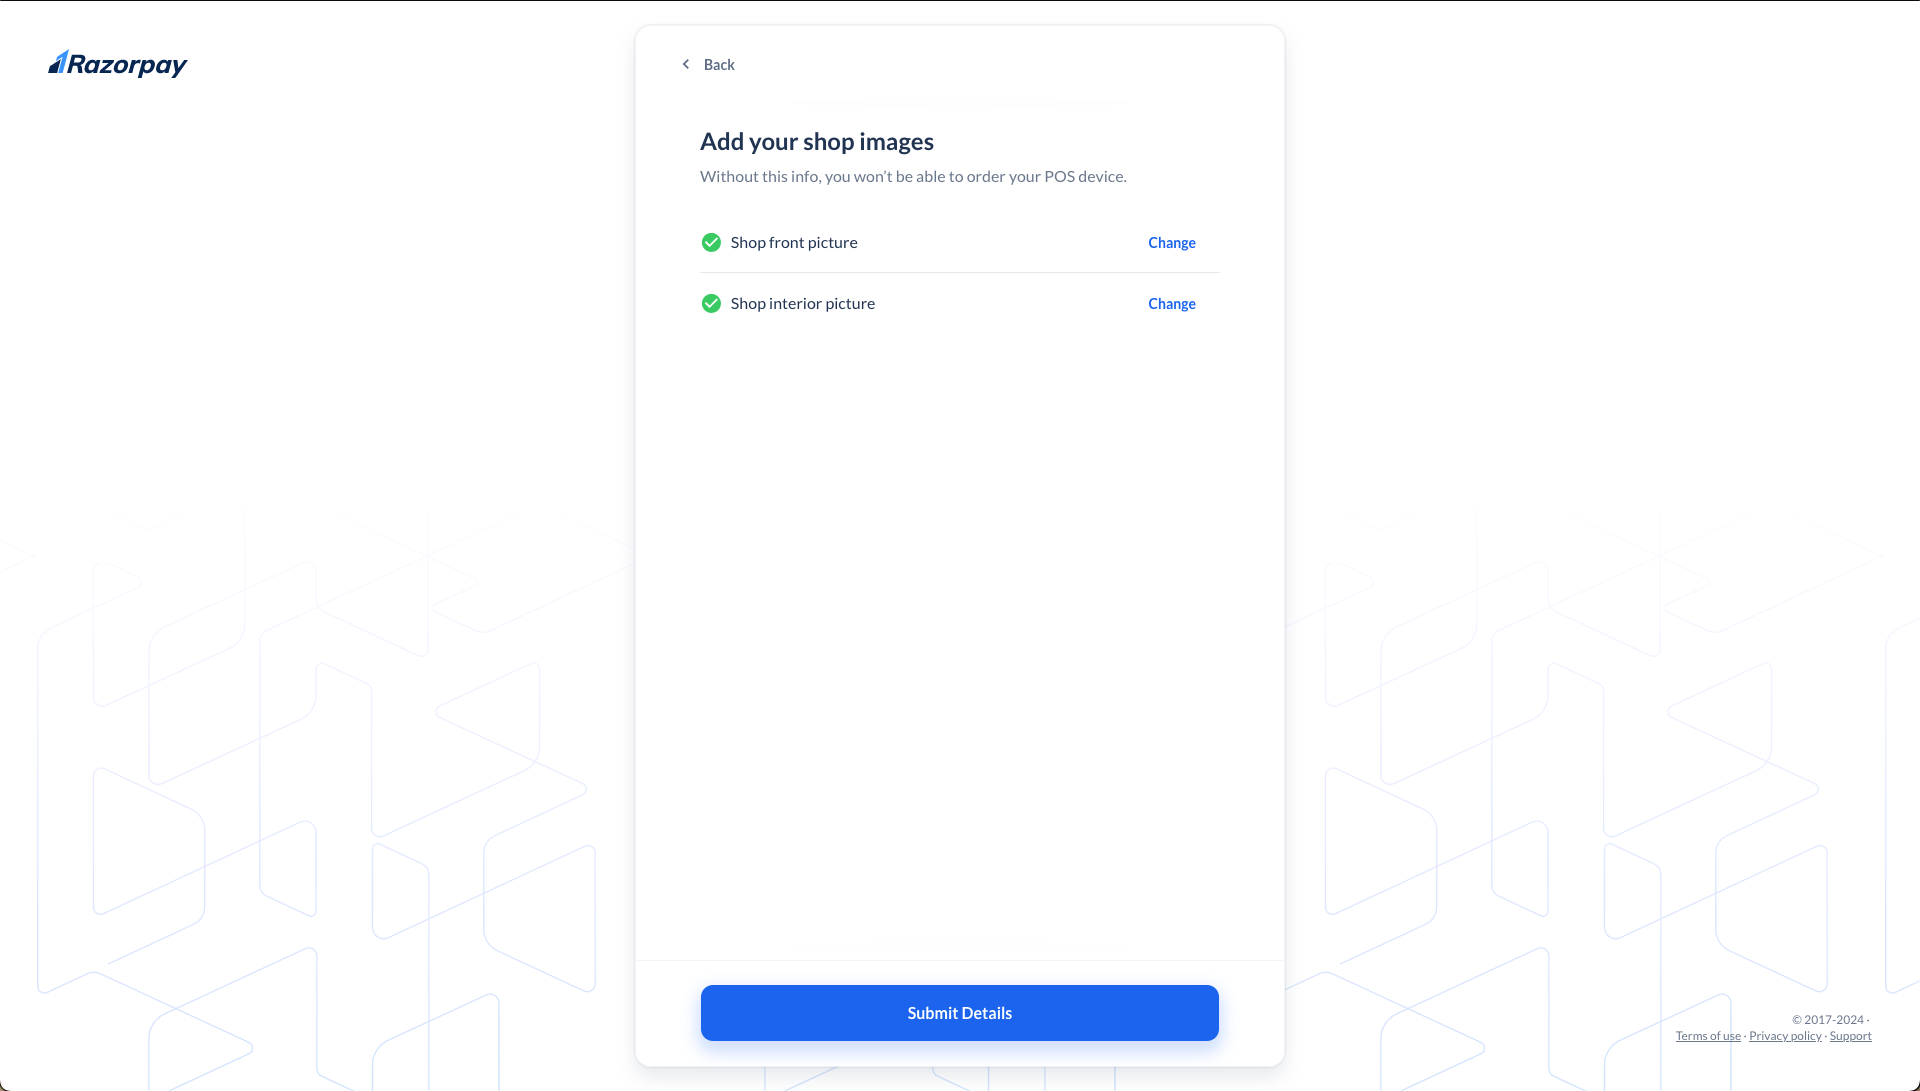 After uploading both the images, click Submit Details. Our team will review the information submitted by you. It takes approximately 3-4 working days to complete the review process.
4. Buy Razorpay POS Devices
To buy a Razorpay POS device:- Log in to the Dashboard.
- Navigate to POS from the left navigation.
- Explore the POS device options, select one and click Add to cart.
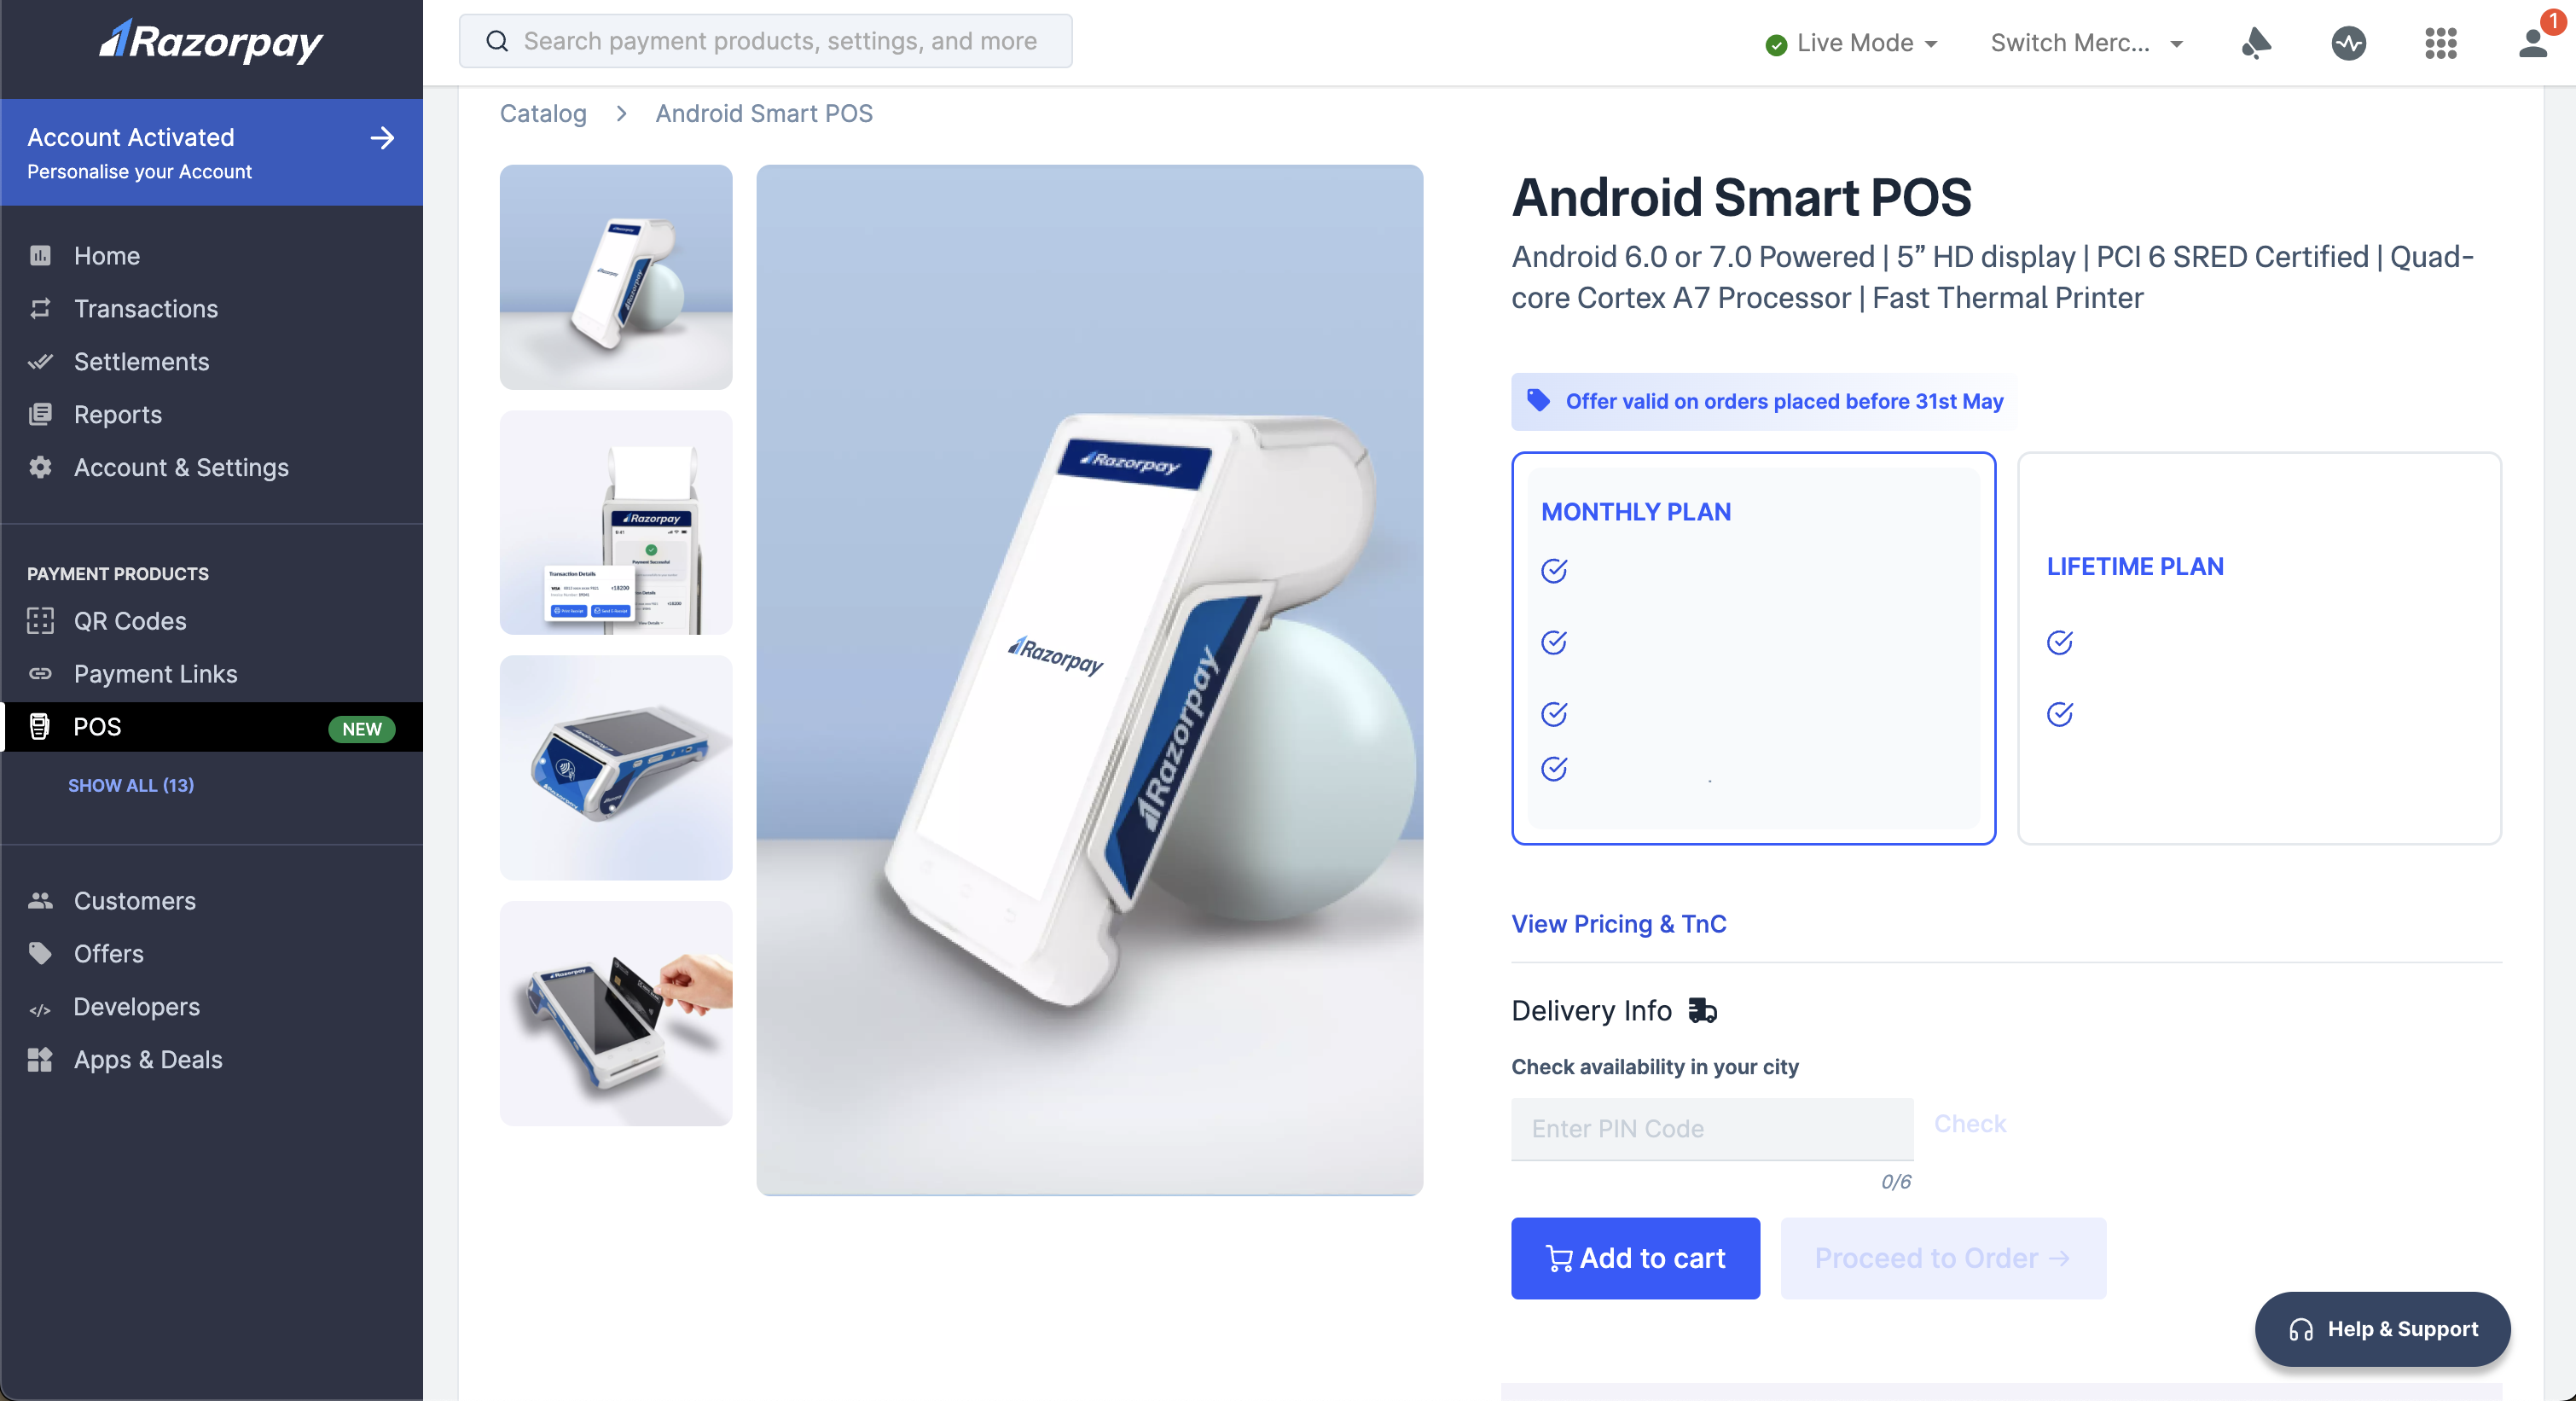
- You can click + to add a combination of devices you want to order.
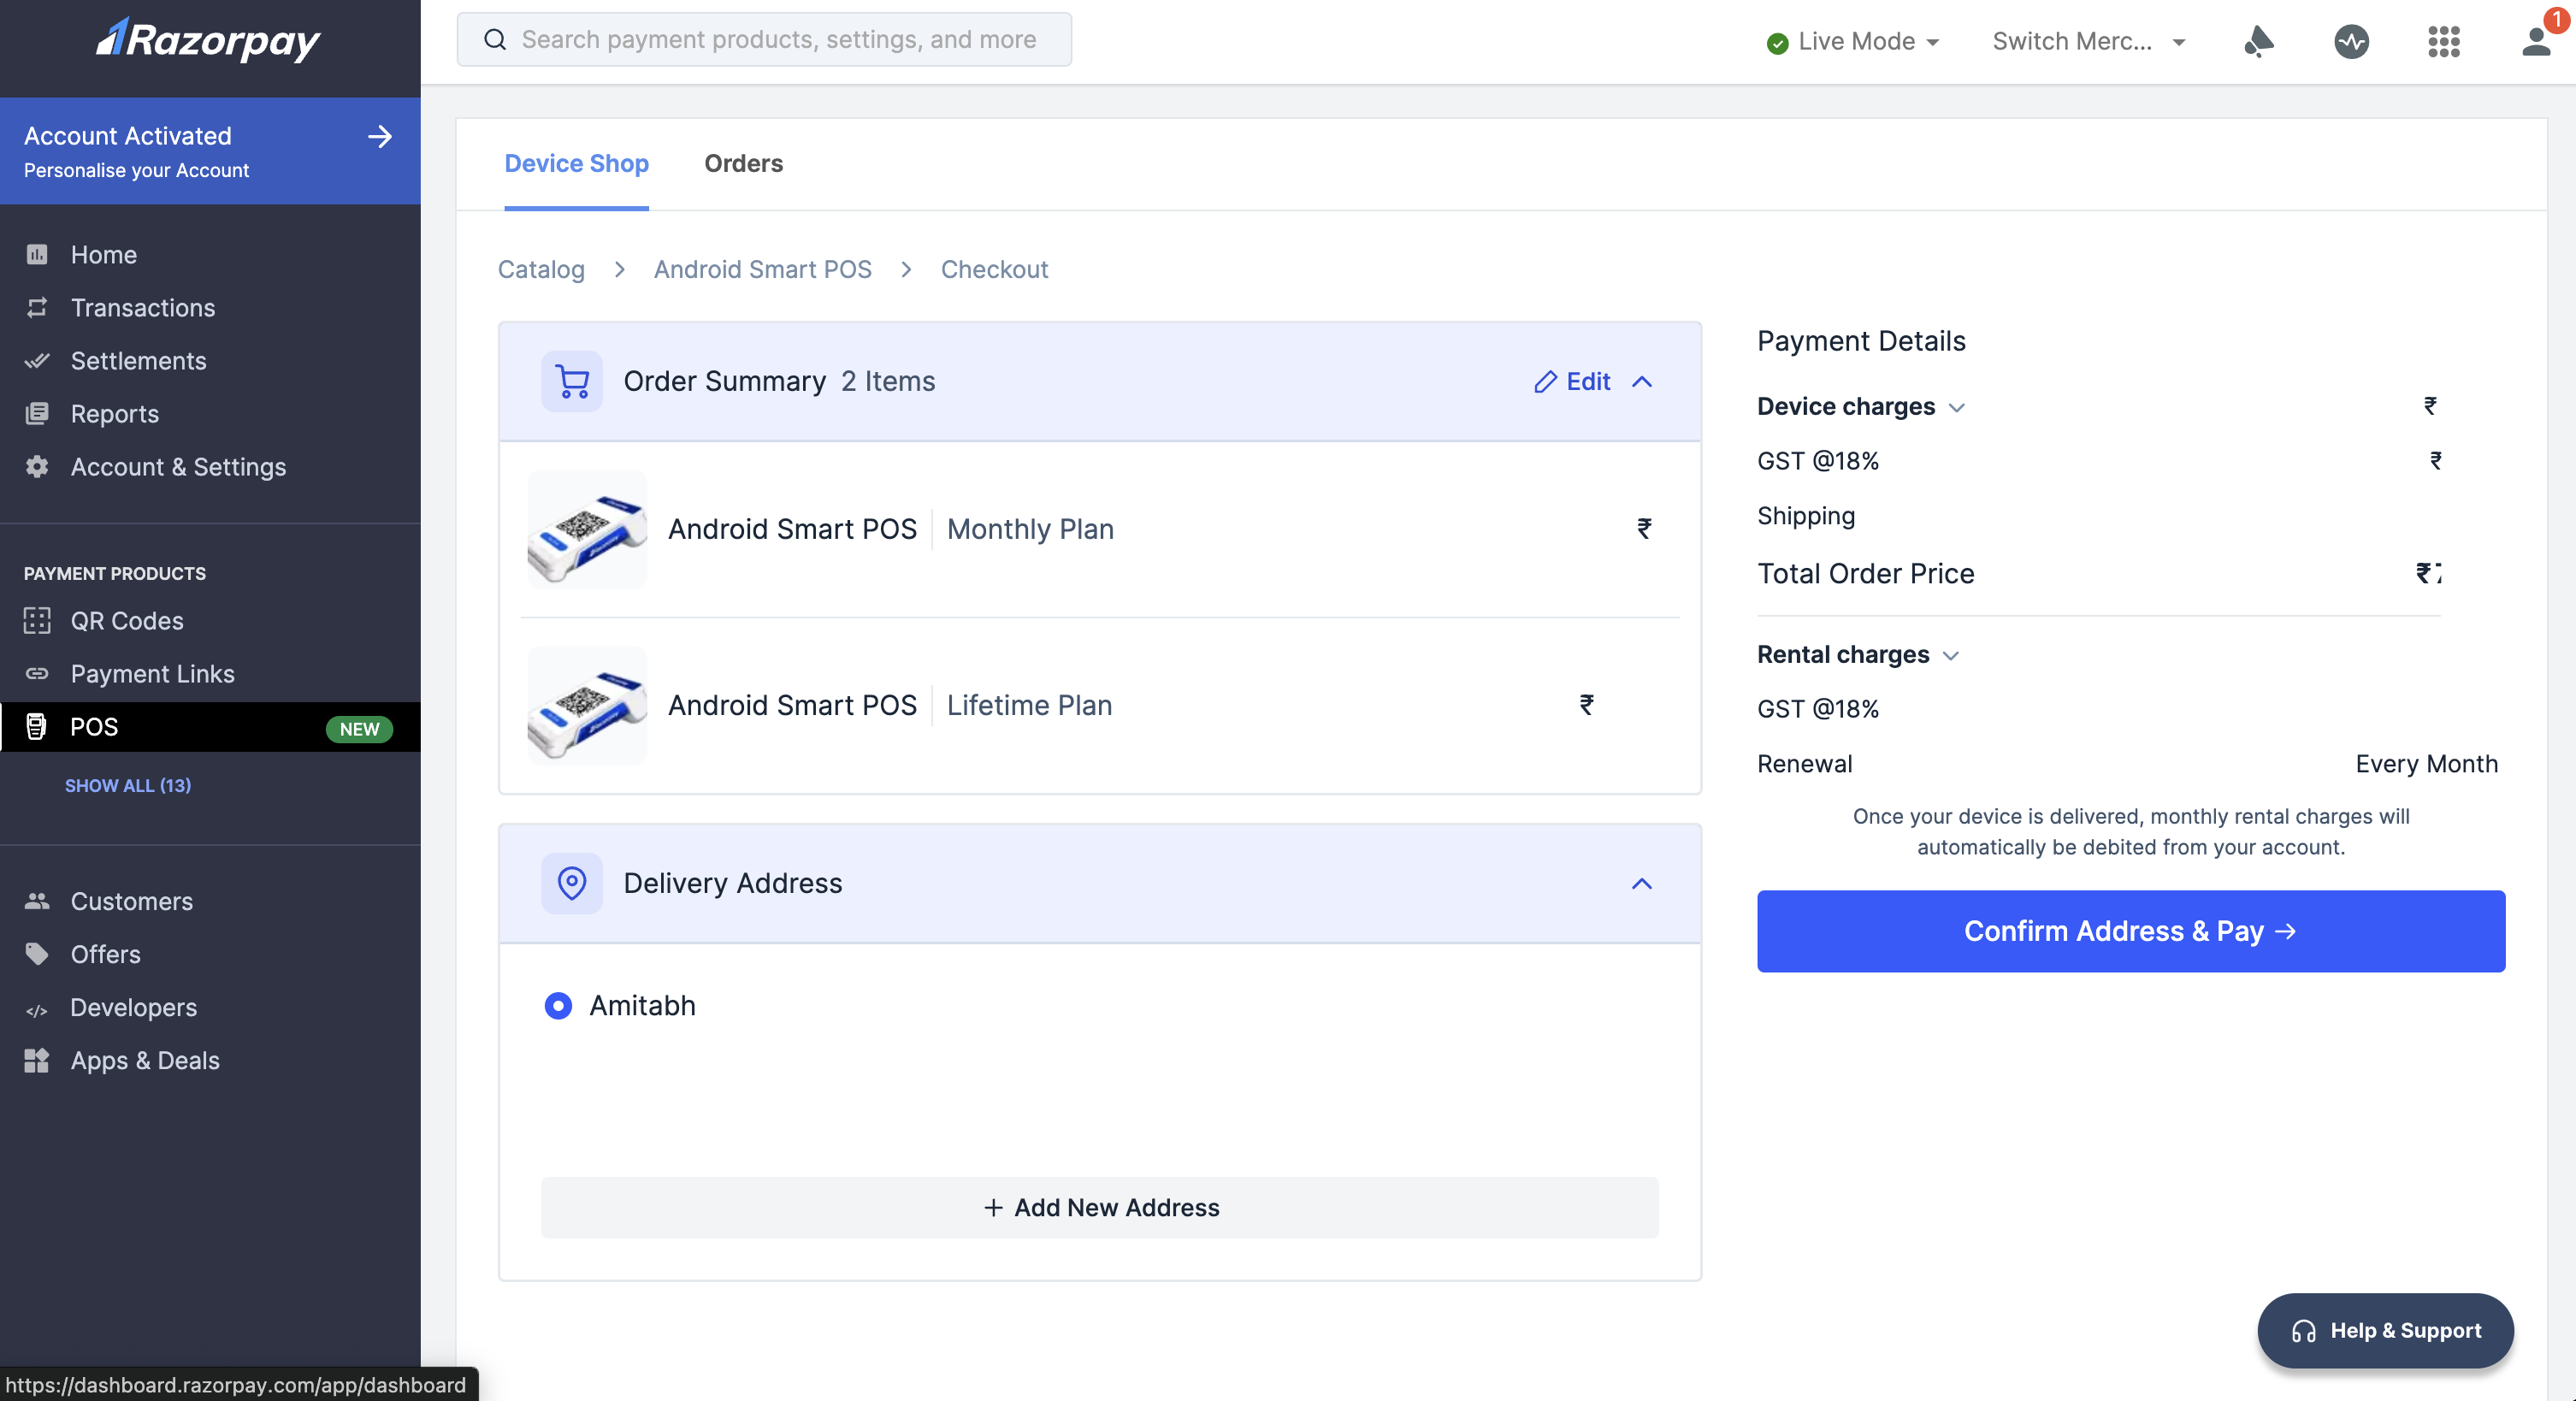
- Click Proceed to Order. Review your order. You can Edit your order and + Add New Address if required.
- Click Confirm Address & Pay.
- Select your preferred payment method and click Pay Now.