

Available in🇮🇳 India
Payment Button - Wordpress Changelog
Version 2.4.6 released for Payment Button Wordpress. This version fixes naming conflict in Razorpay section.
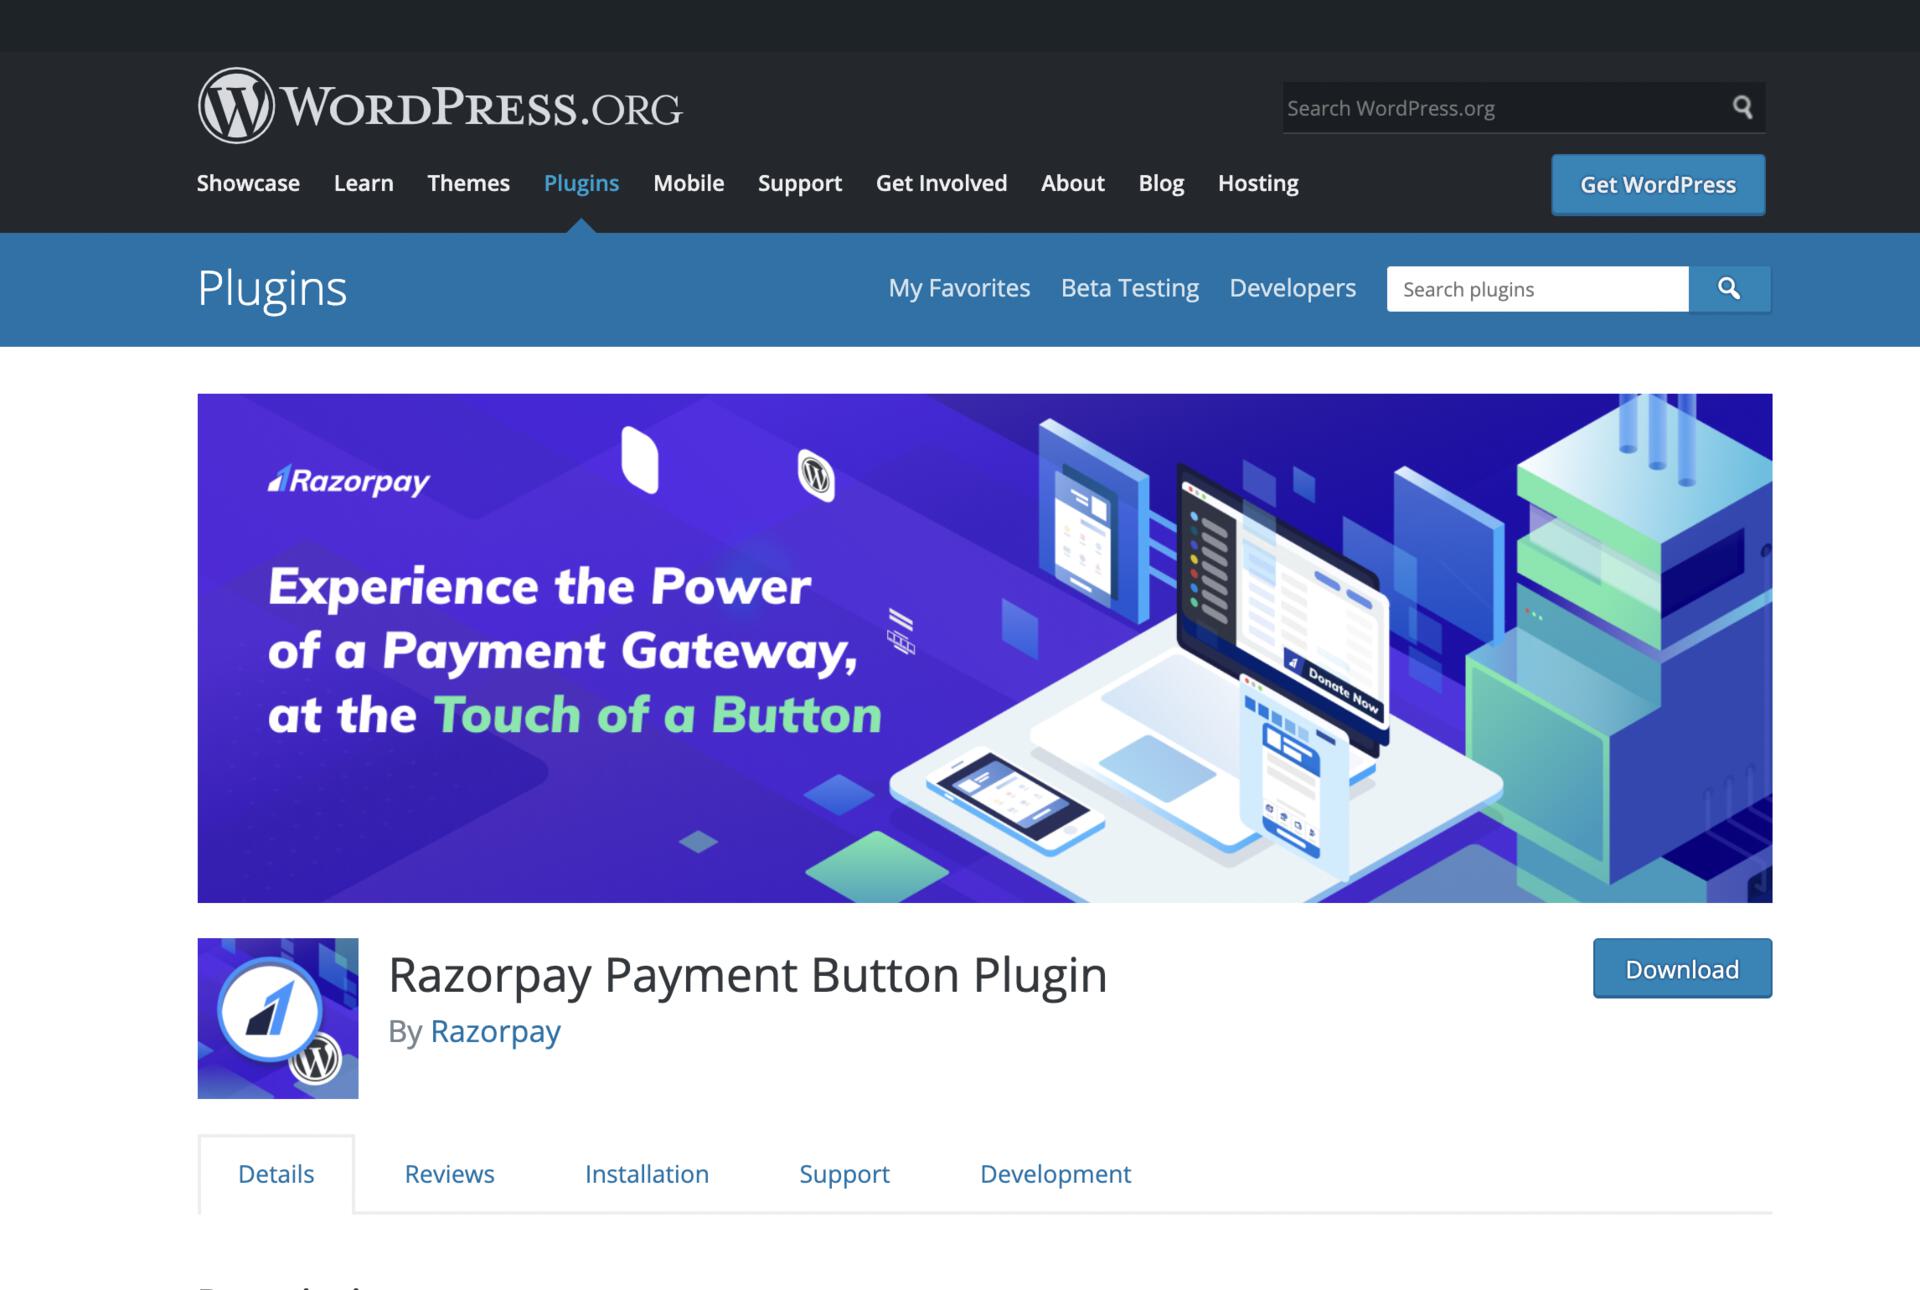
WordPress Plan
- For Websites Hosted on Domain
- For Websites Hosted on Localhost
If you have built your website using
www.wordpress.com, and are on a paid plan, you can directly install the Razorpay Payment Button Plugin from the WordPress Plugins store.Prerequisites
- Download the Razorpay Payment Button WordPress Plugin.
- Create a Razorpay account.
- Navigate to Settings → API Keys and generate API keys in the test mode.
Add the API key details in the Razorpay Payment Button plugin settings.
Handy Tips
- When testing: Generate the keys in Test mode.
- To accept live payments: Generate the keys in Live mode and replace them in the Payment Button plugin settings.
Set Up a Payment Button Using Wordpress Plugin
Watch this video to see how to set up a Payment Button using Wordpress Plugin.1. Set Up WordPress Site Locally on Your System
- For Windows Users
- For Mac Users
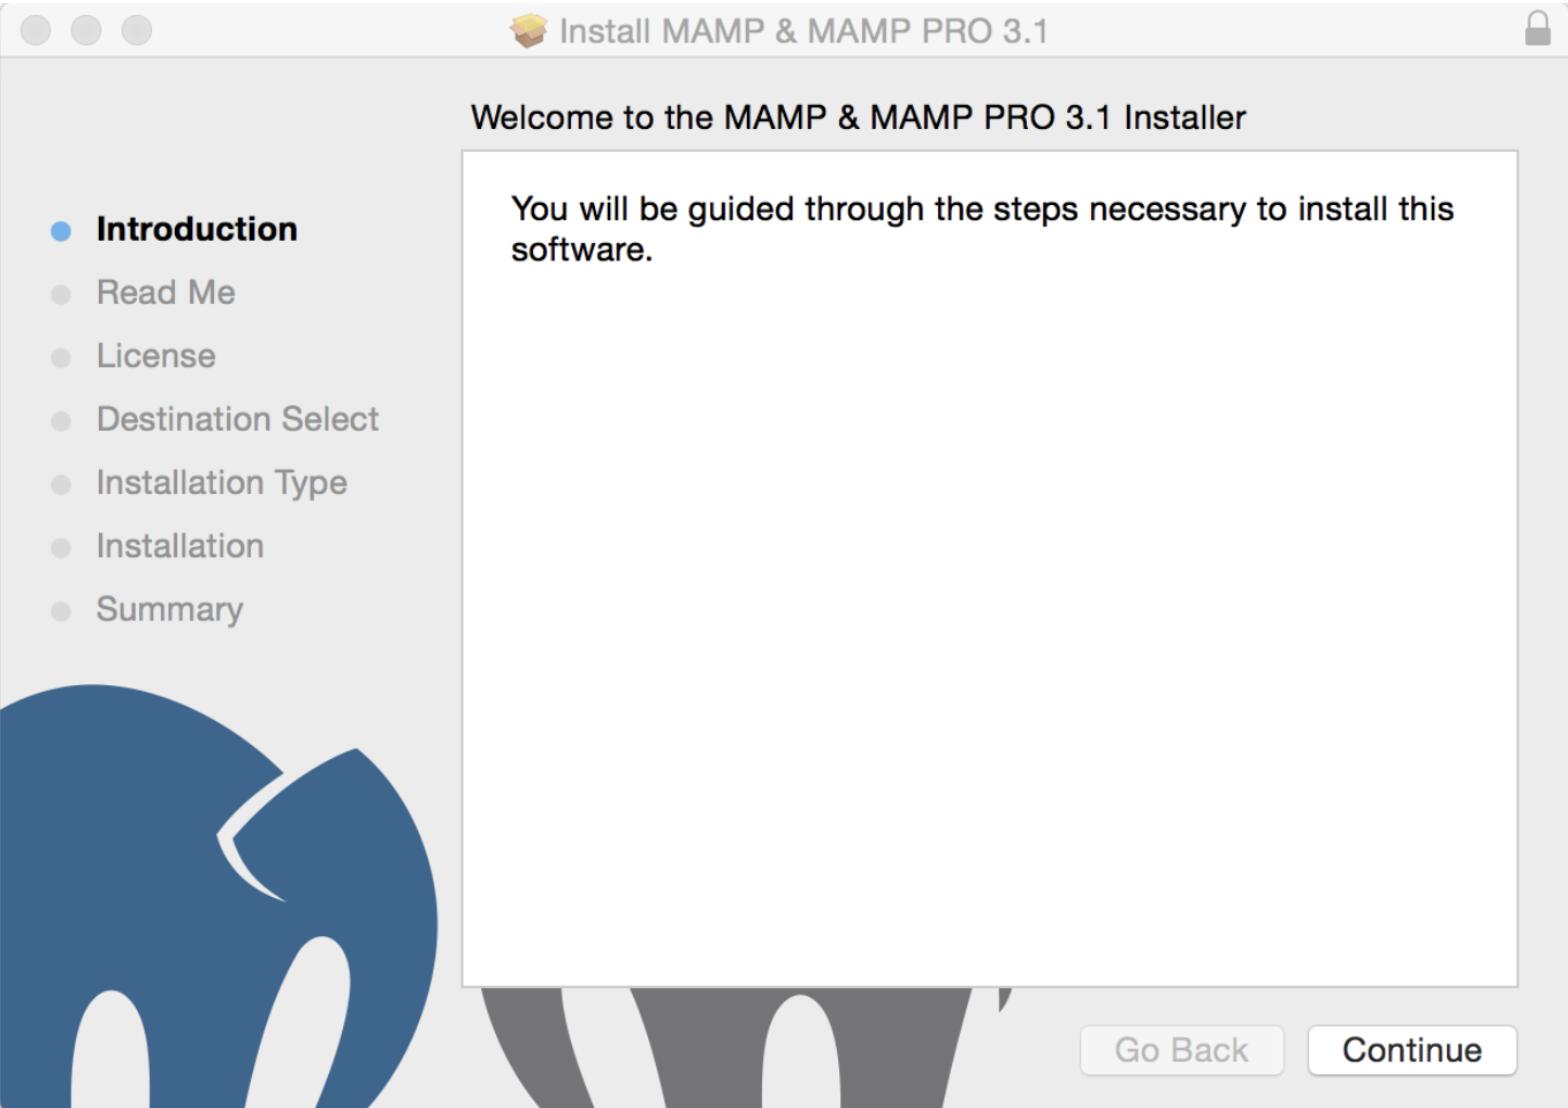
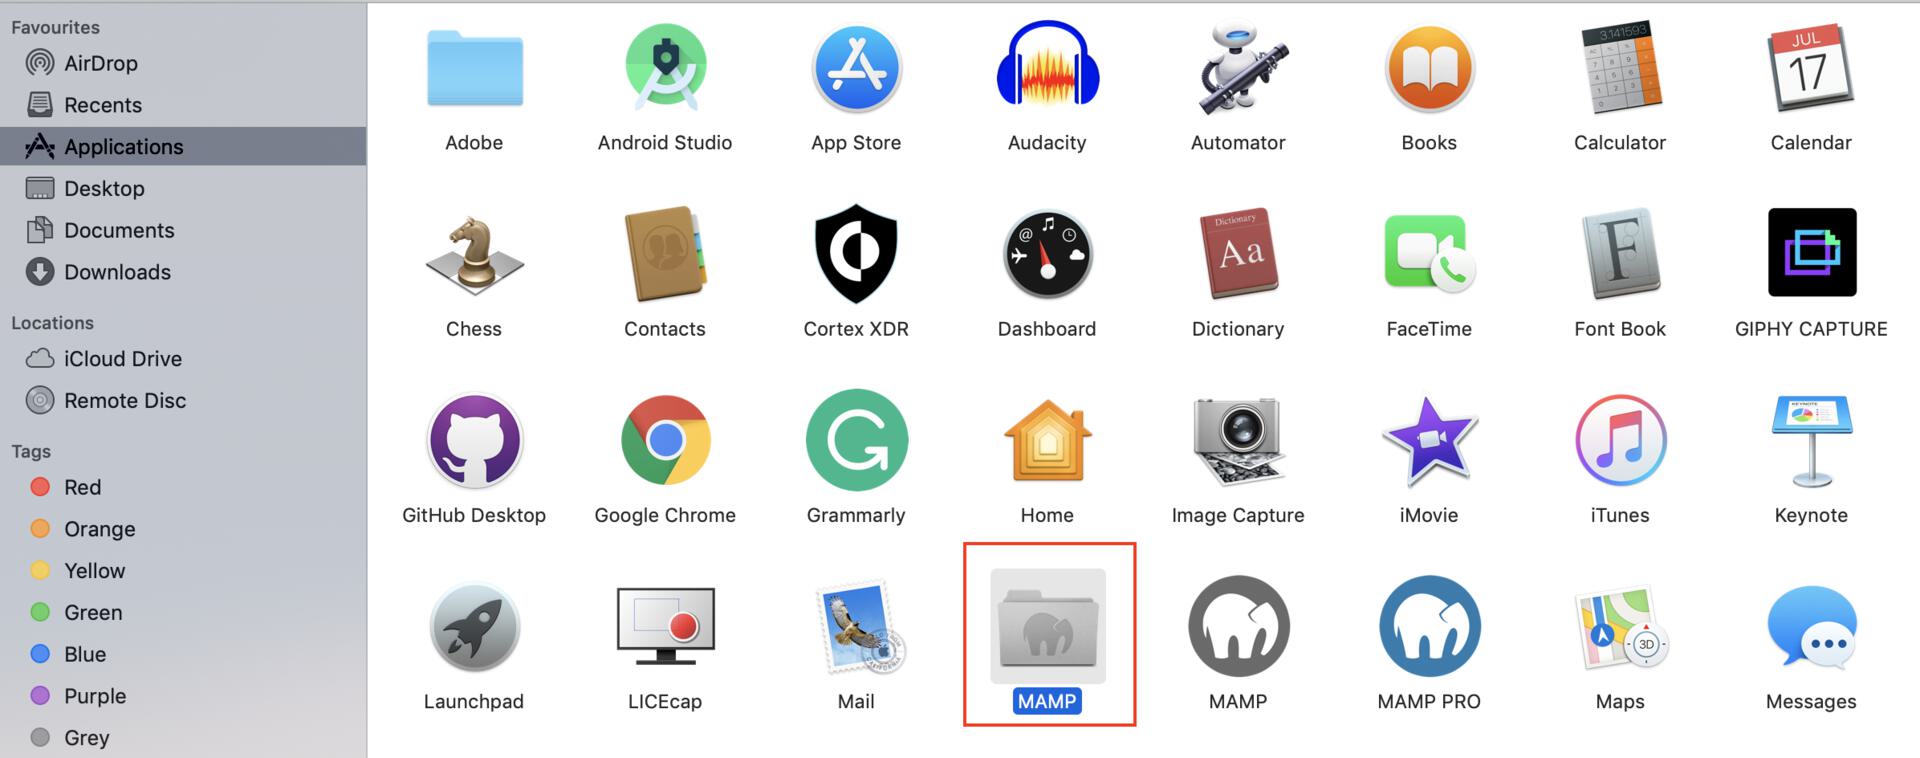
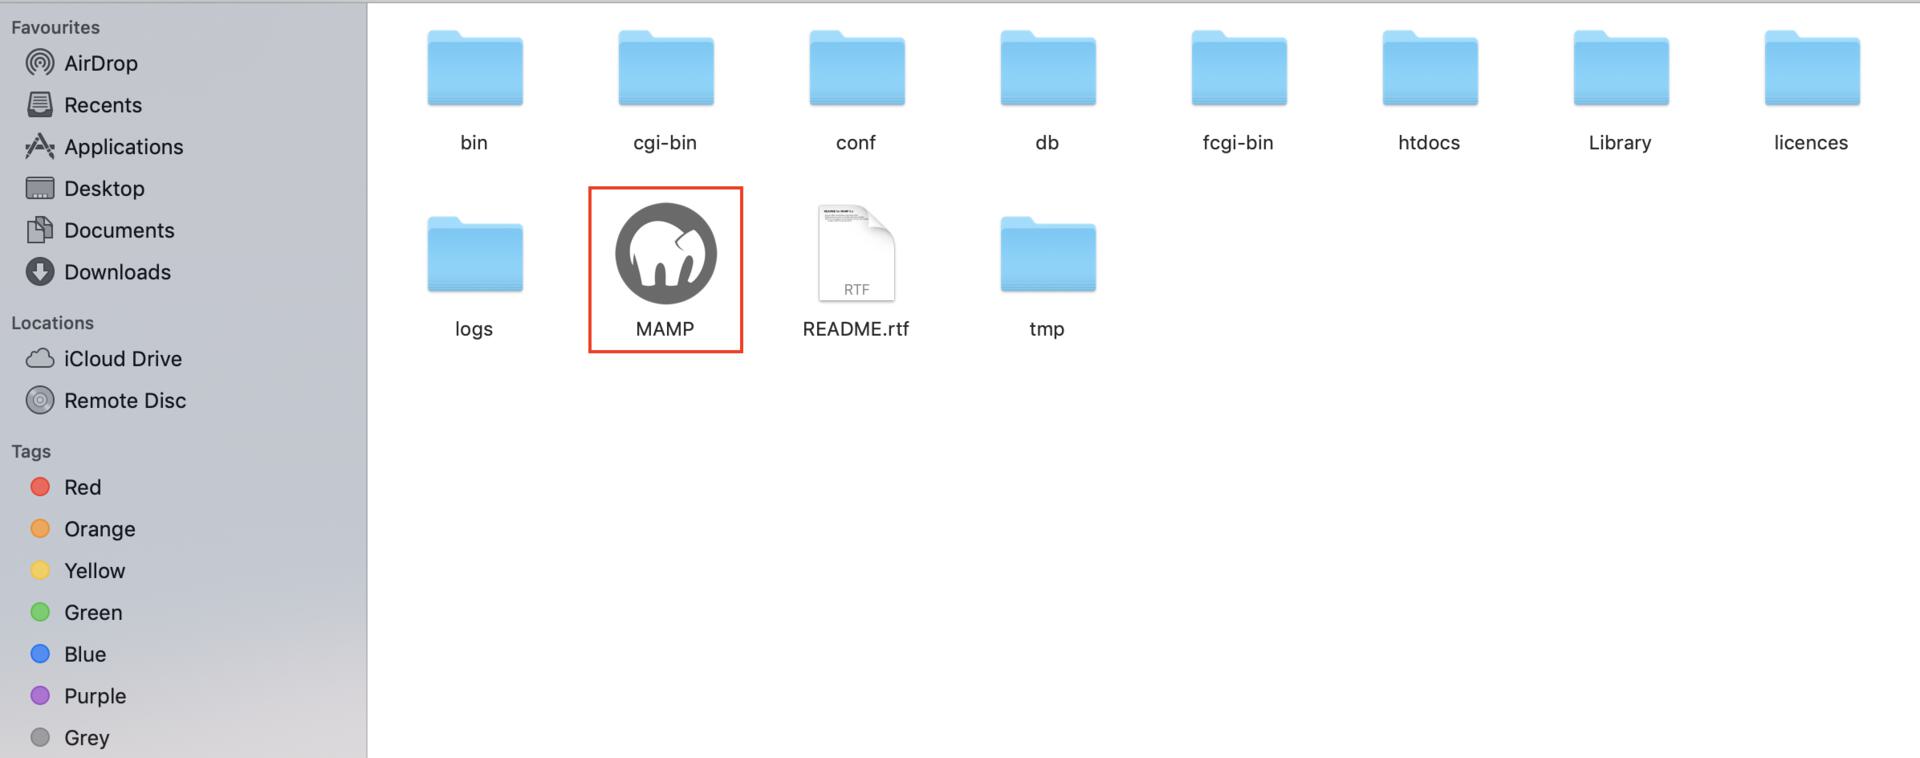
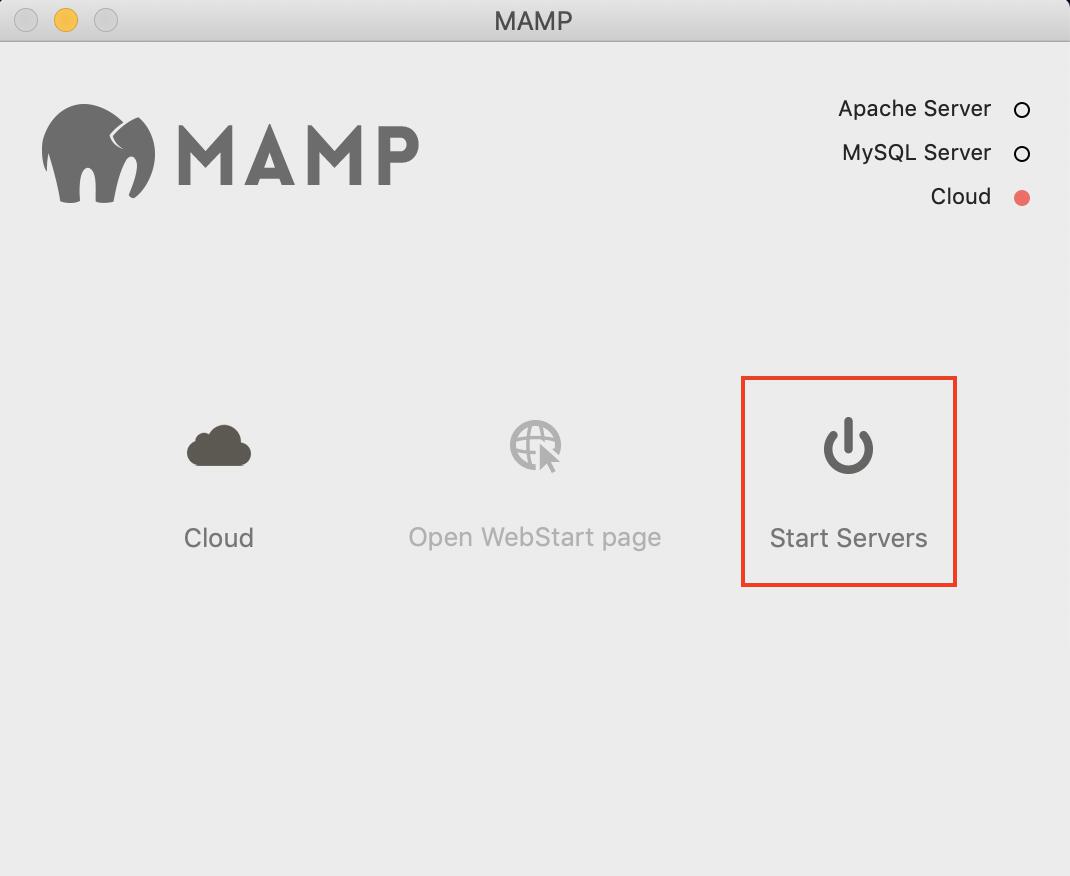
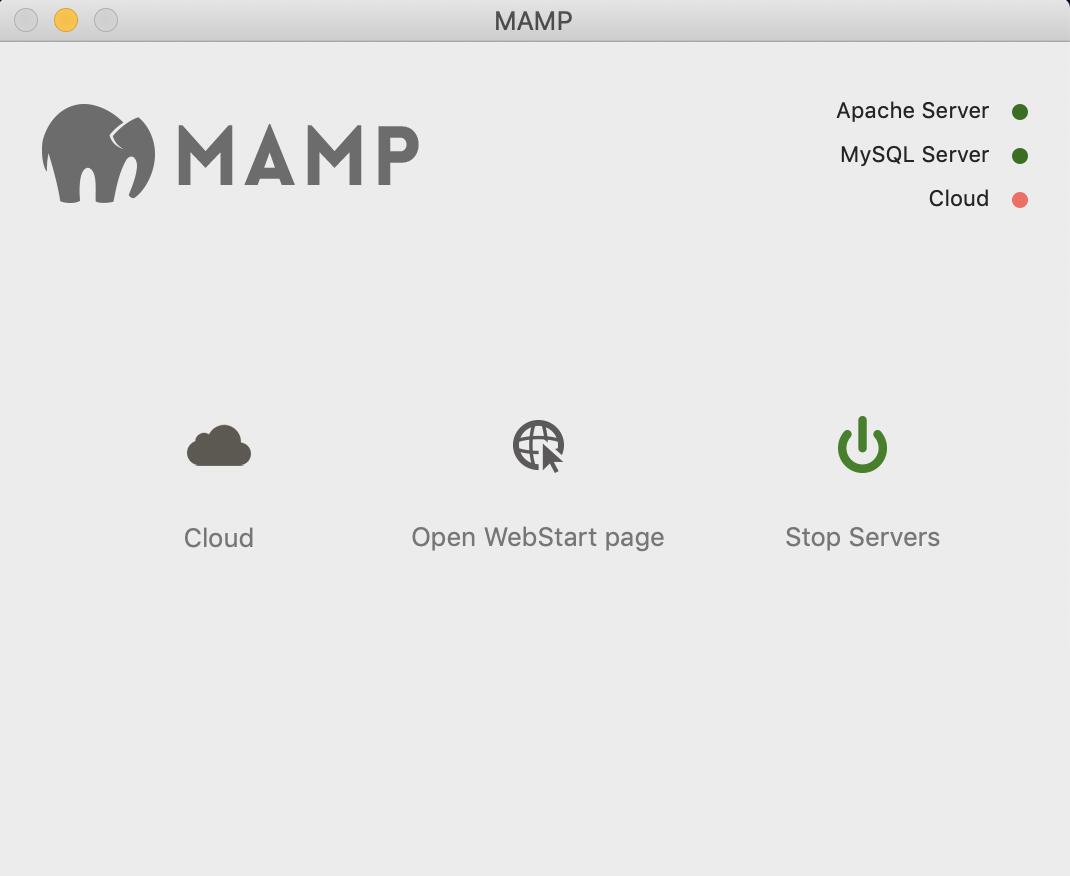
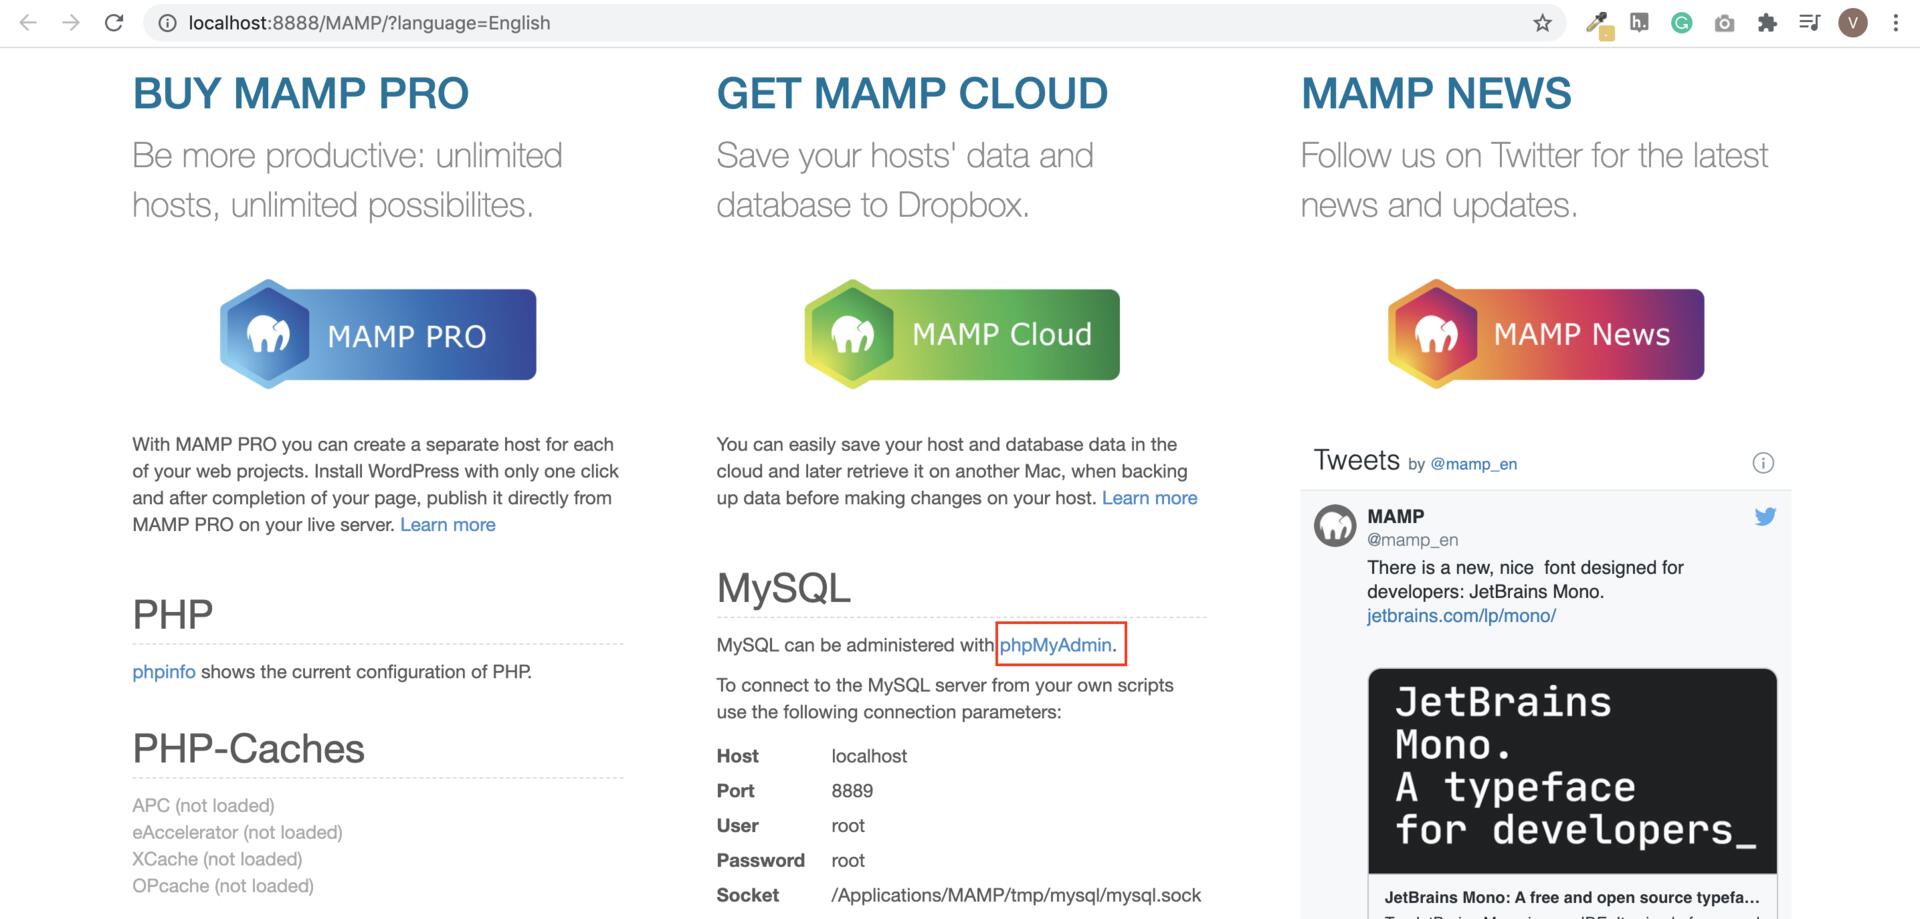
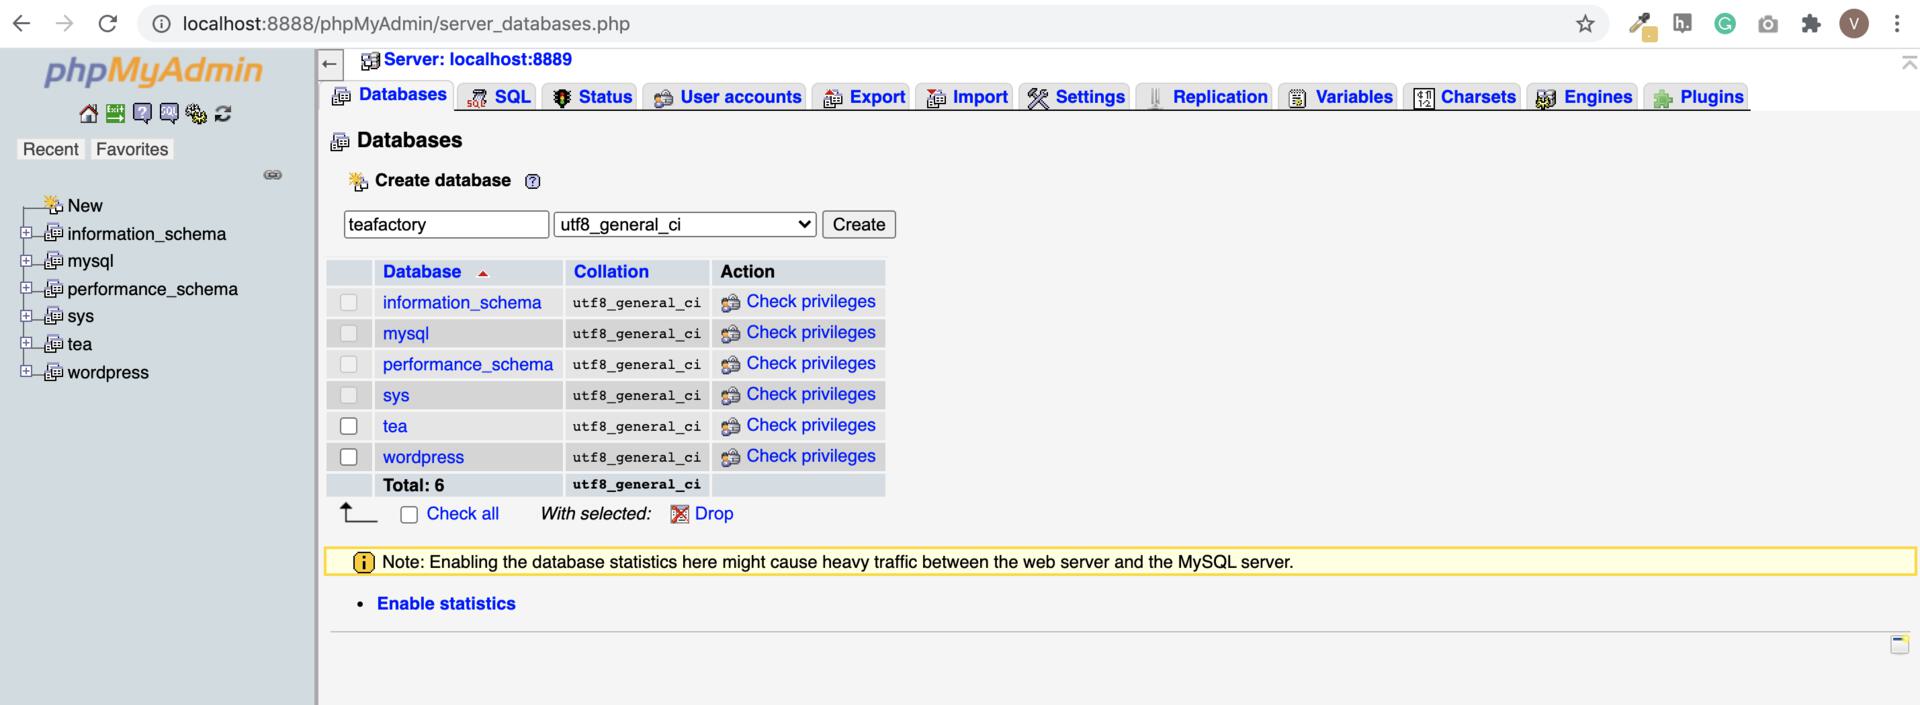
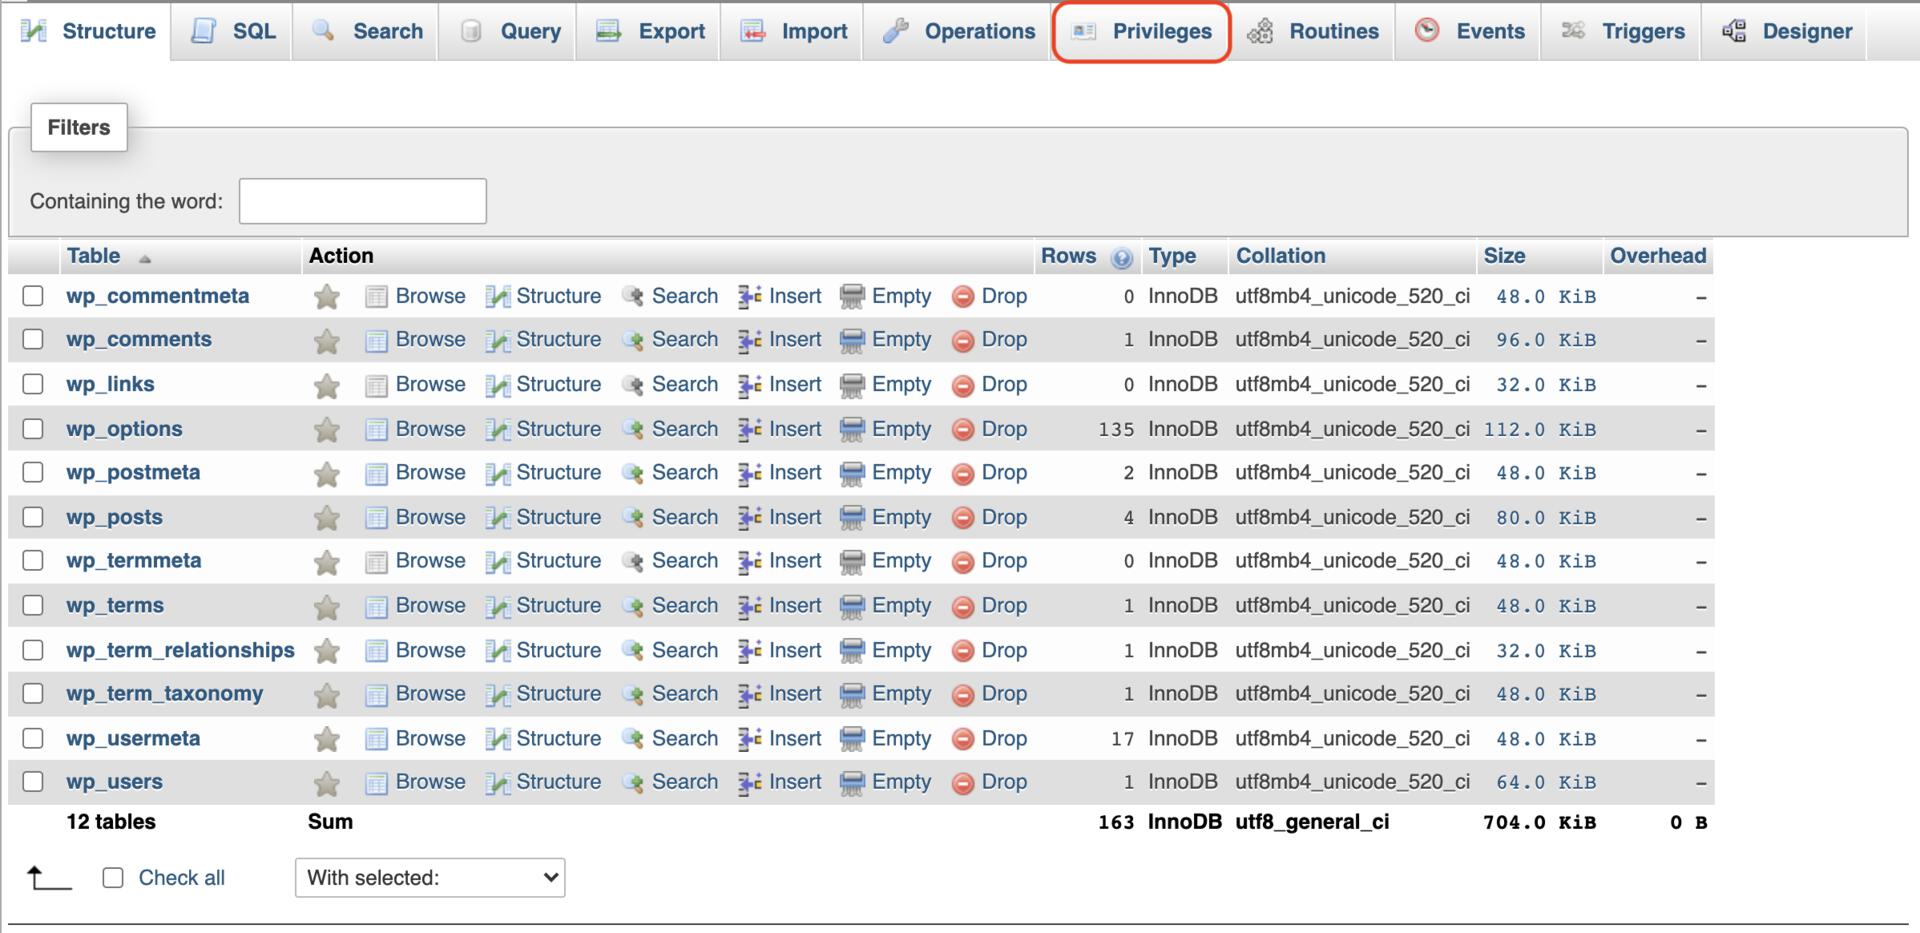
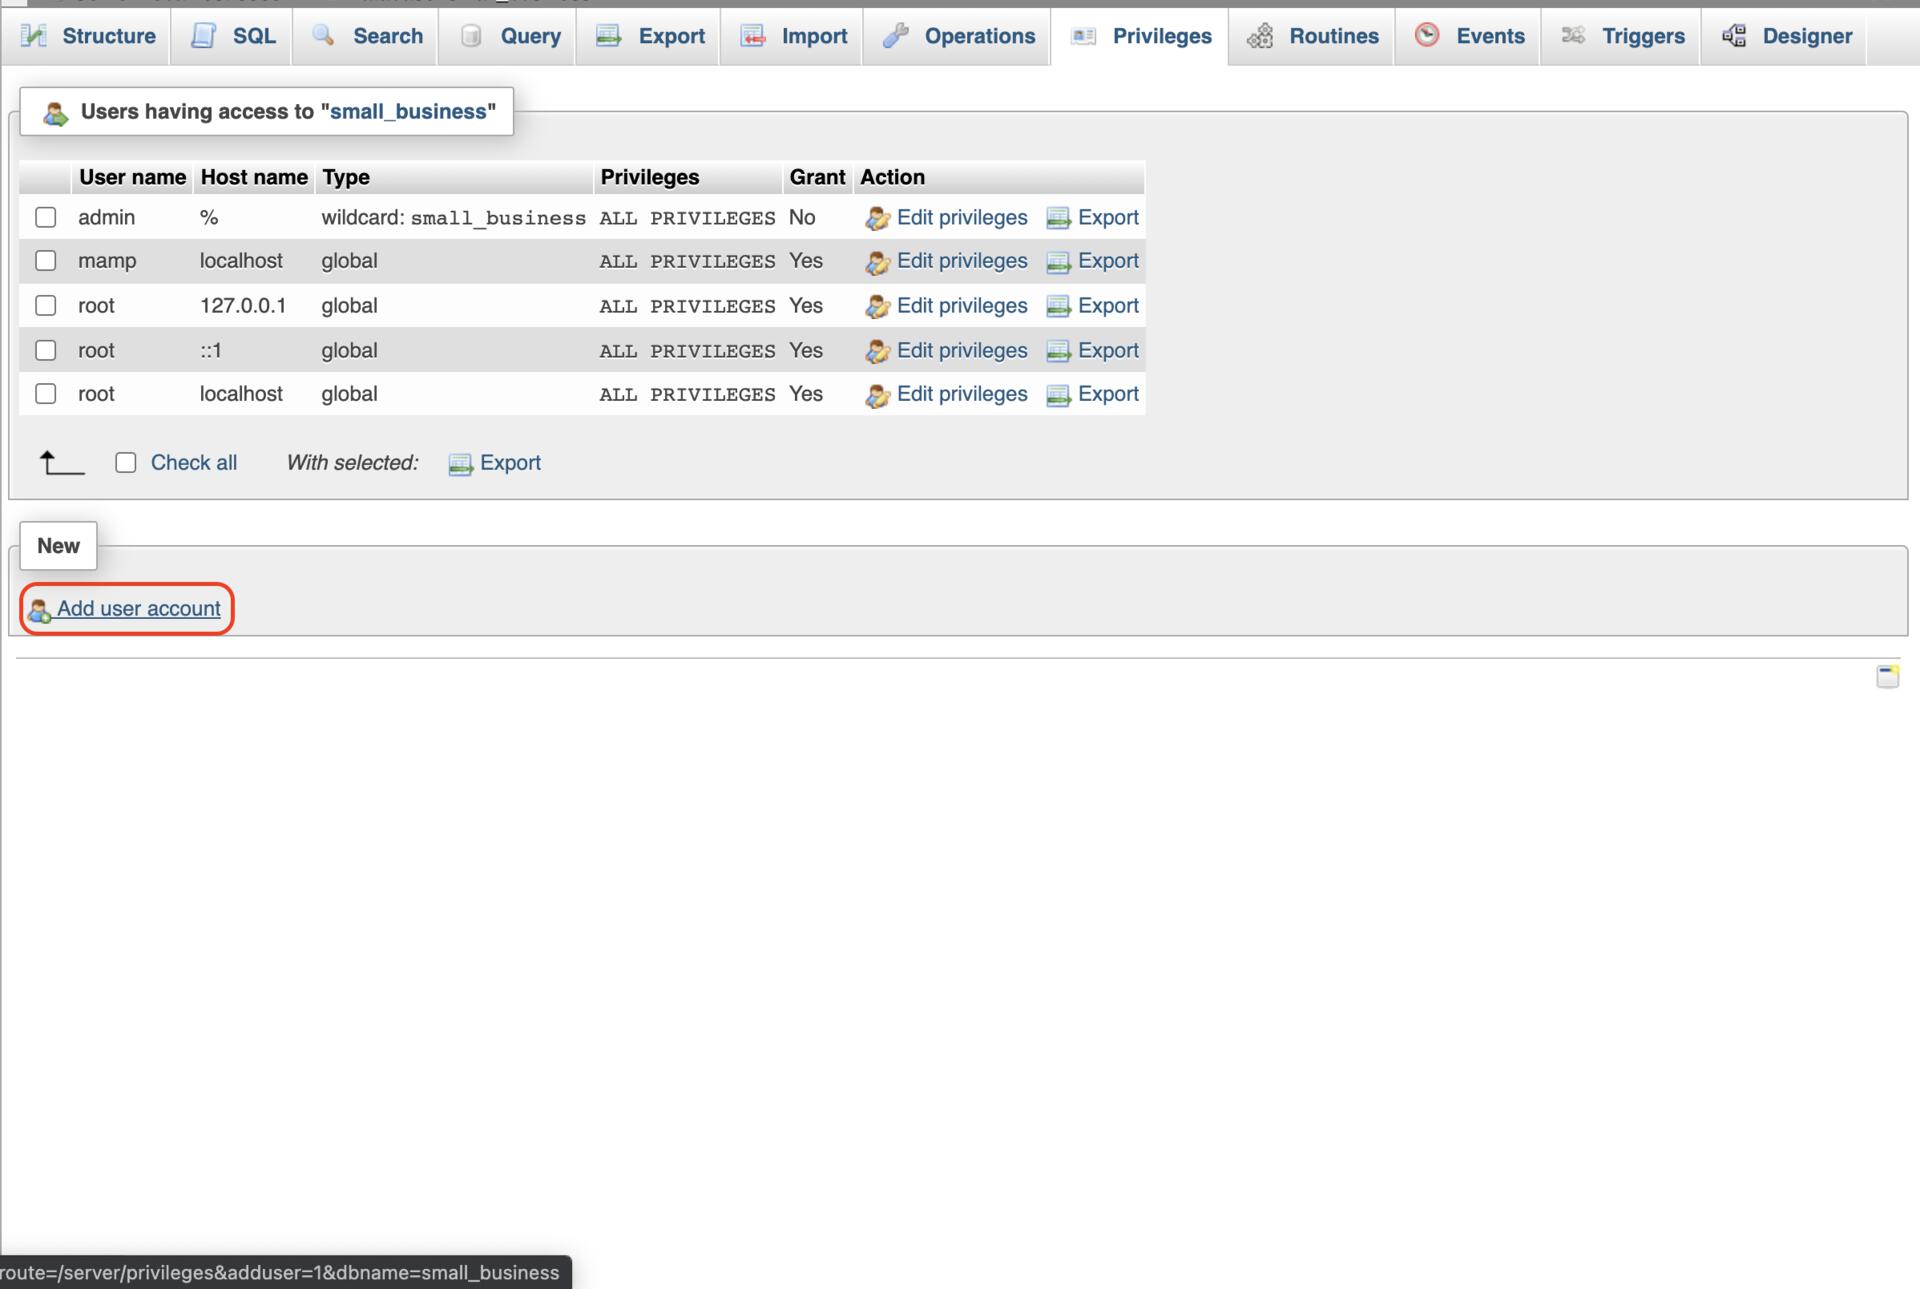
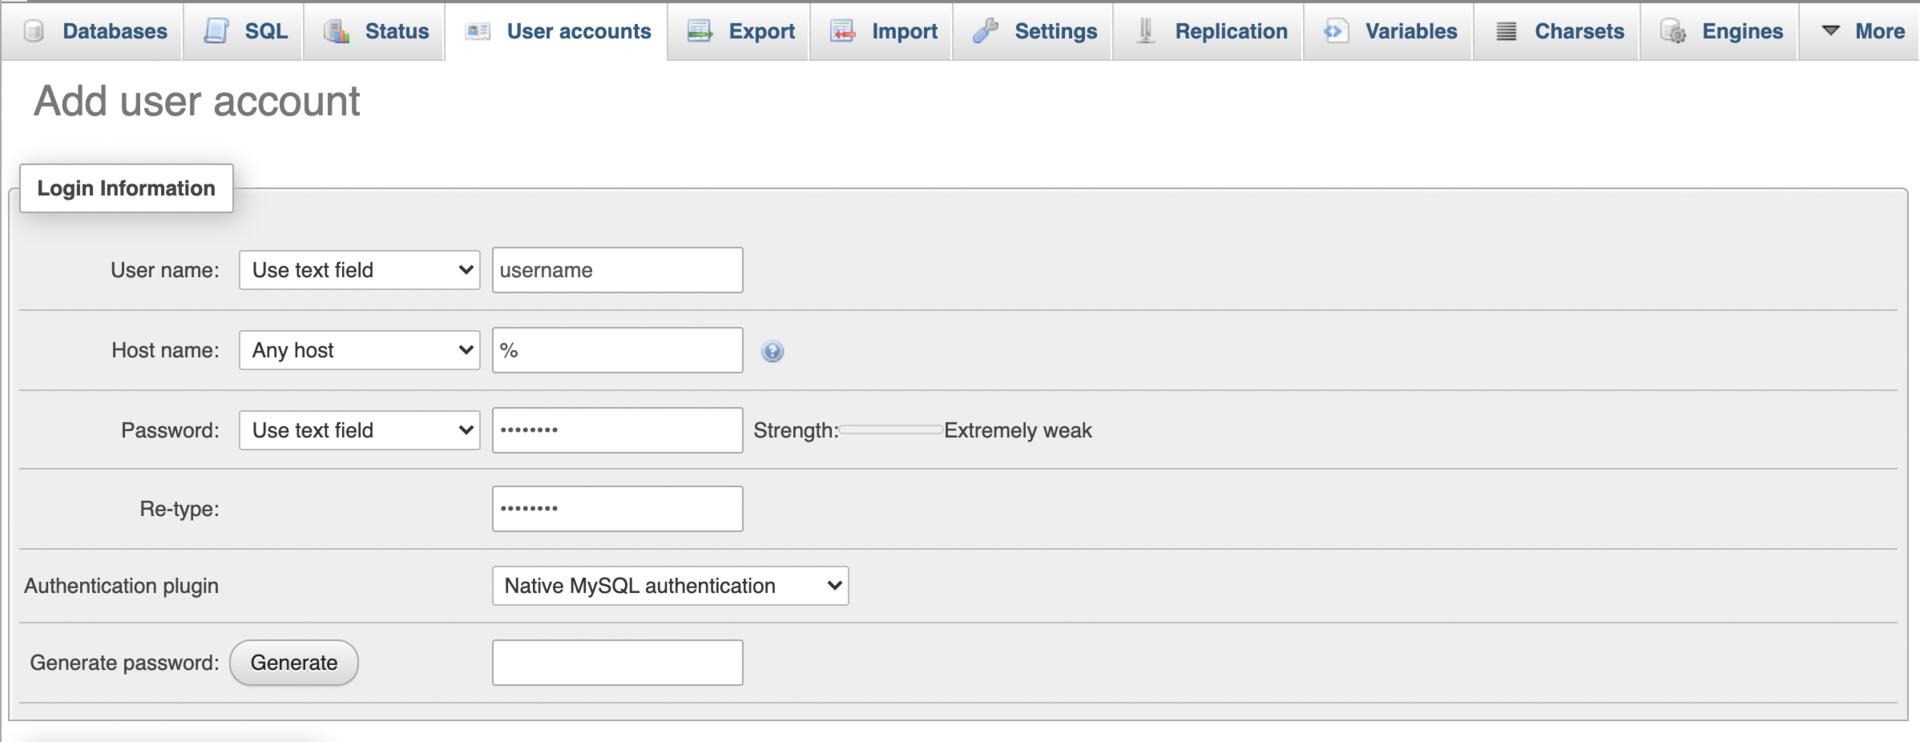
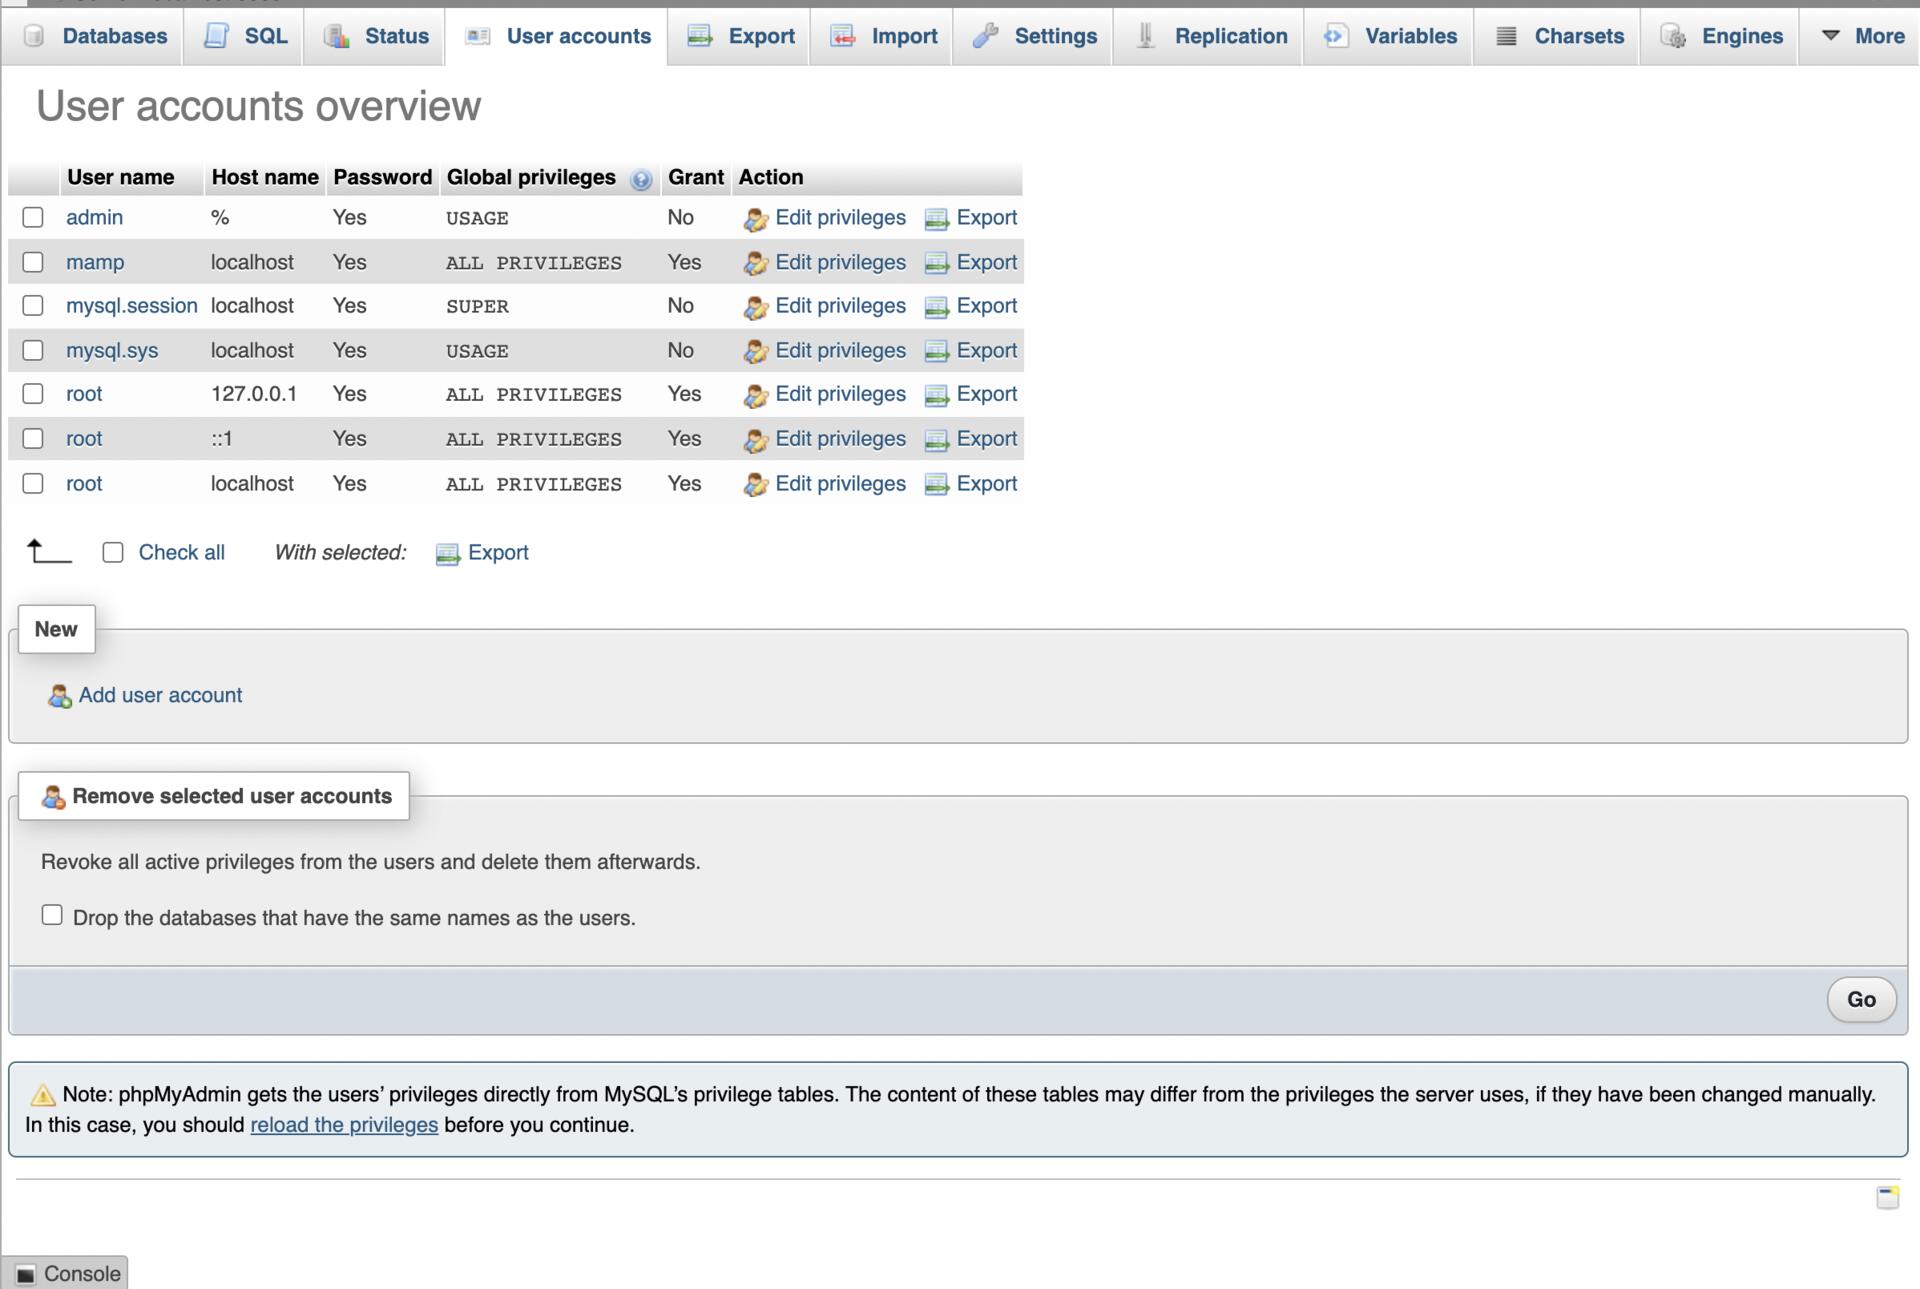

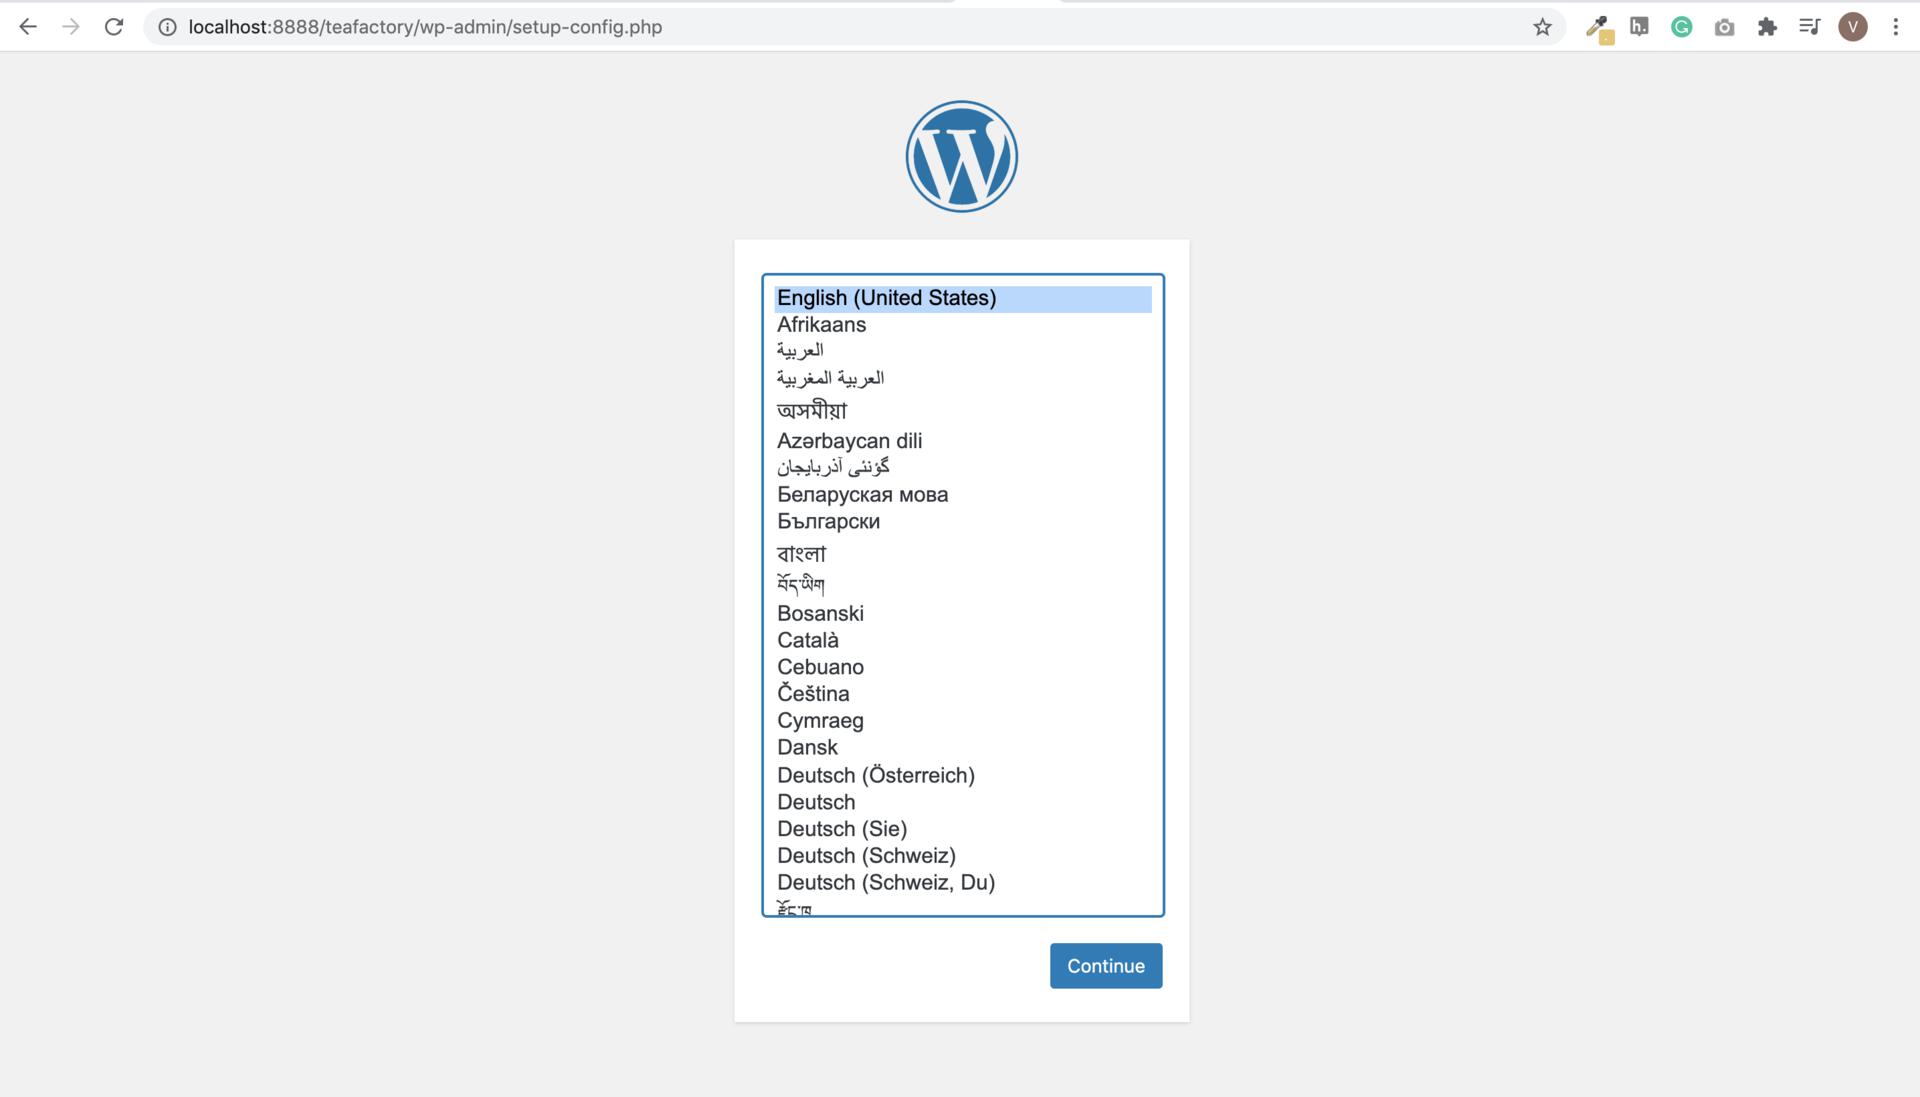
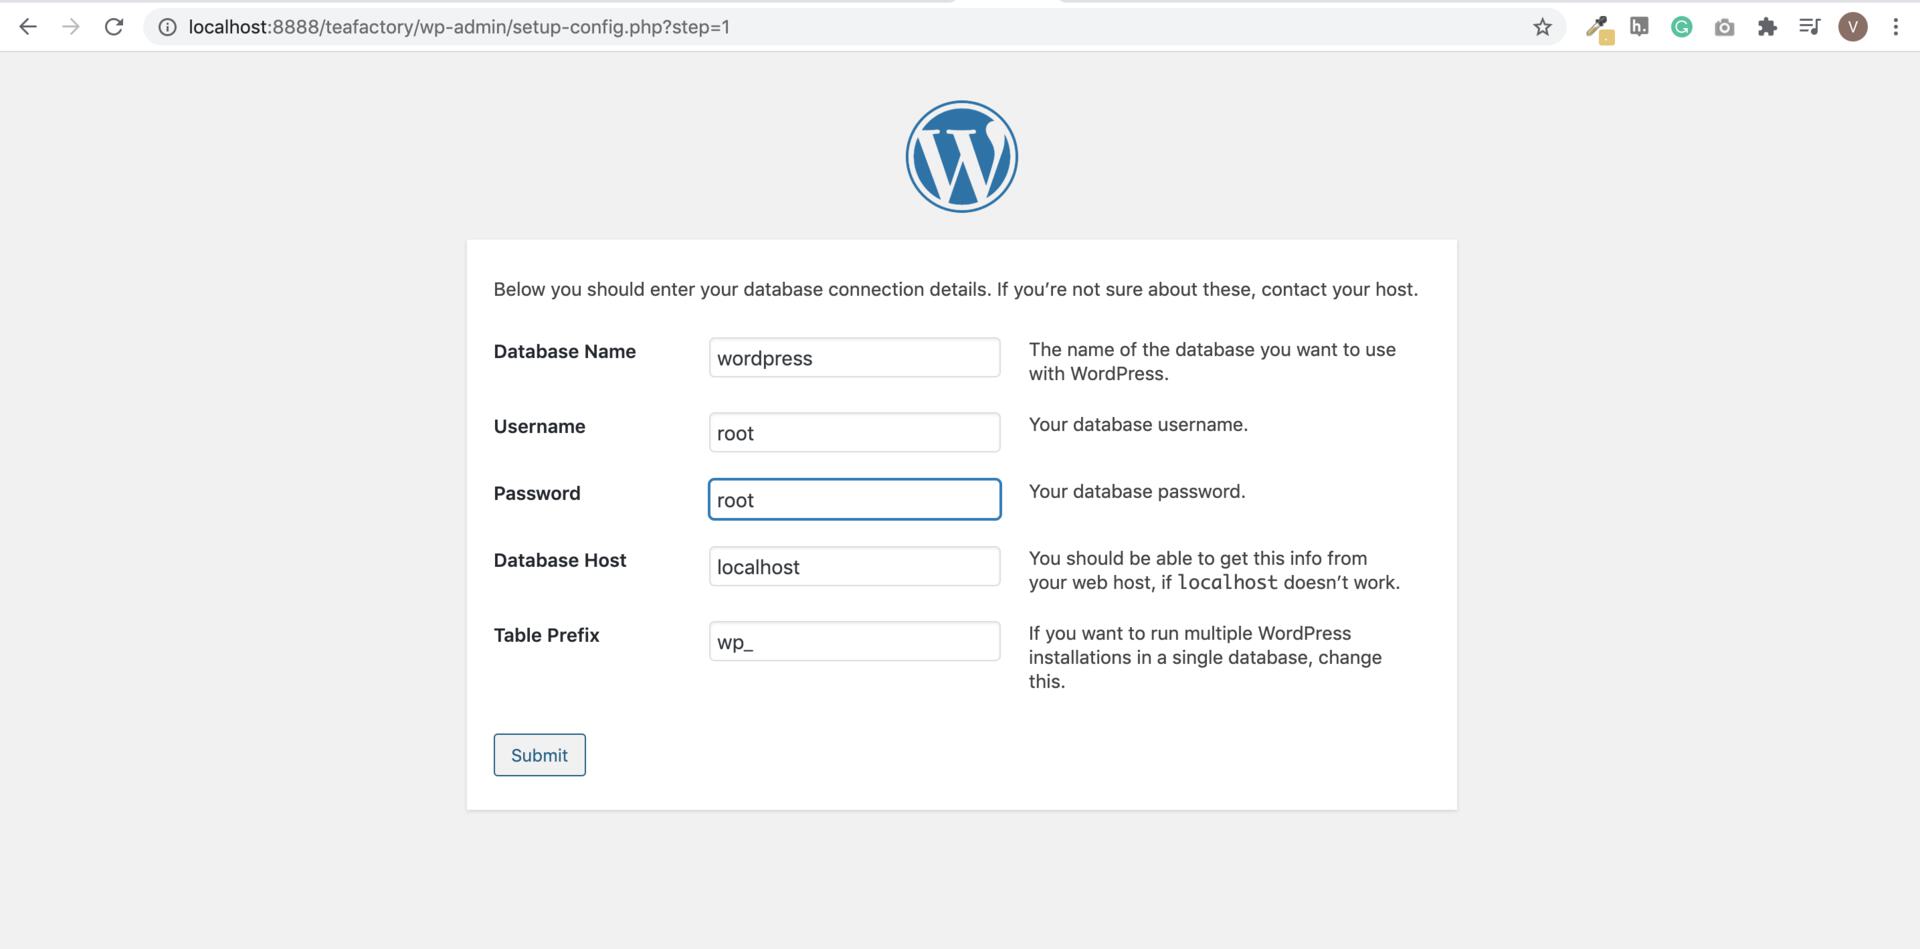
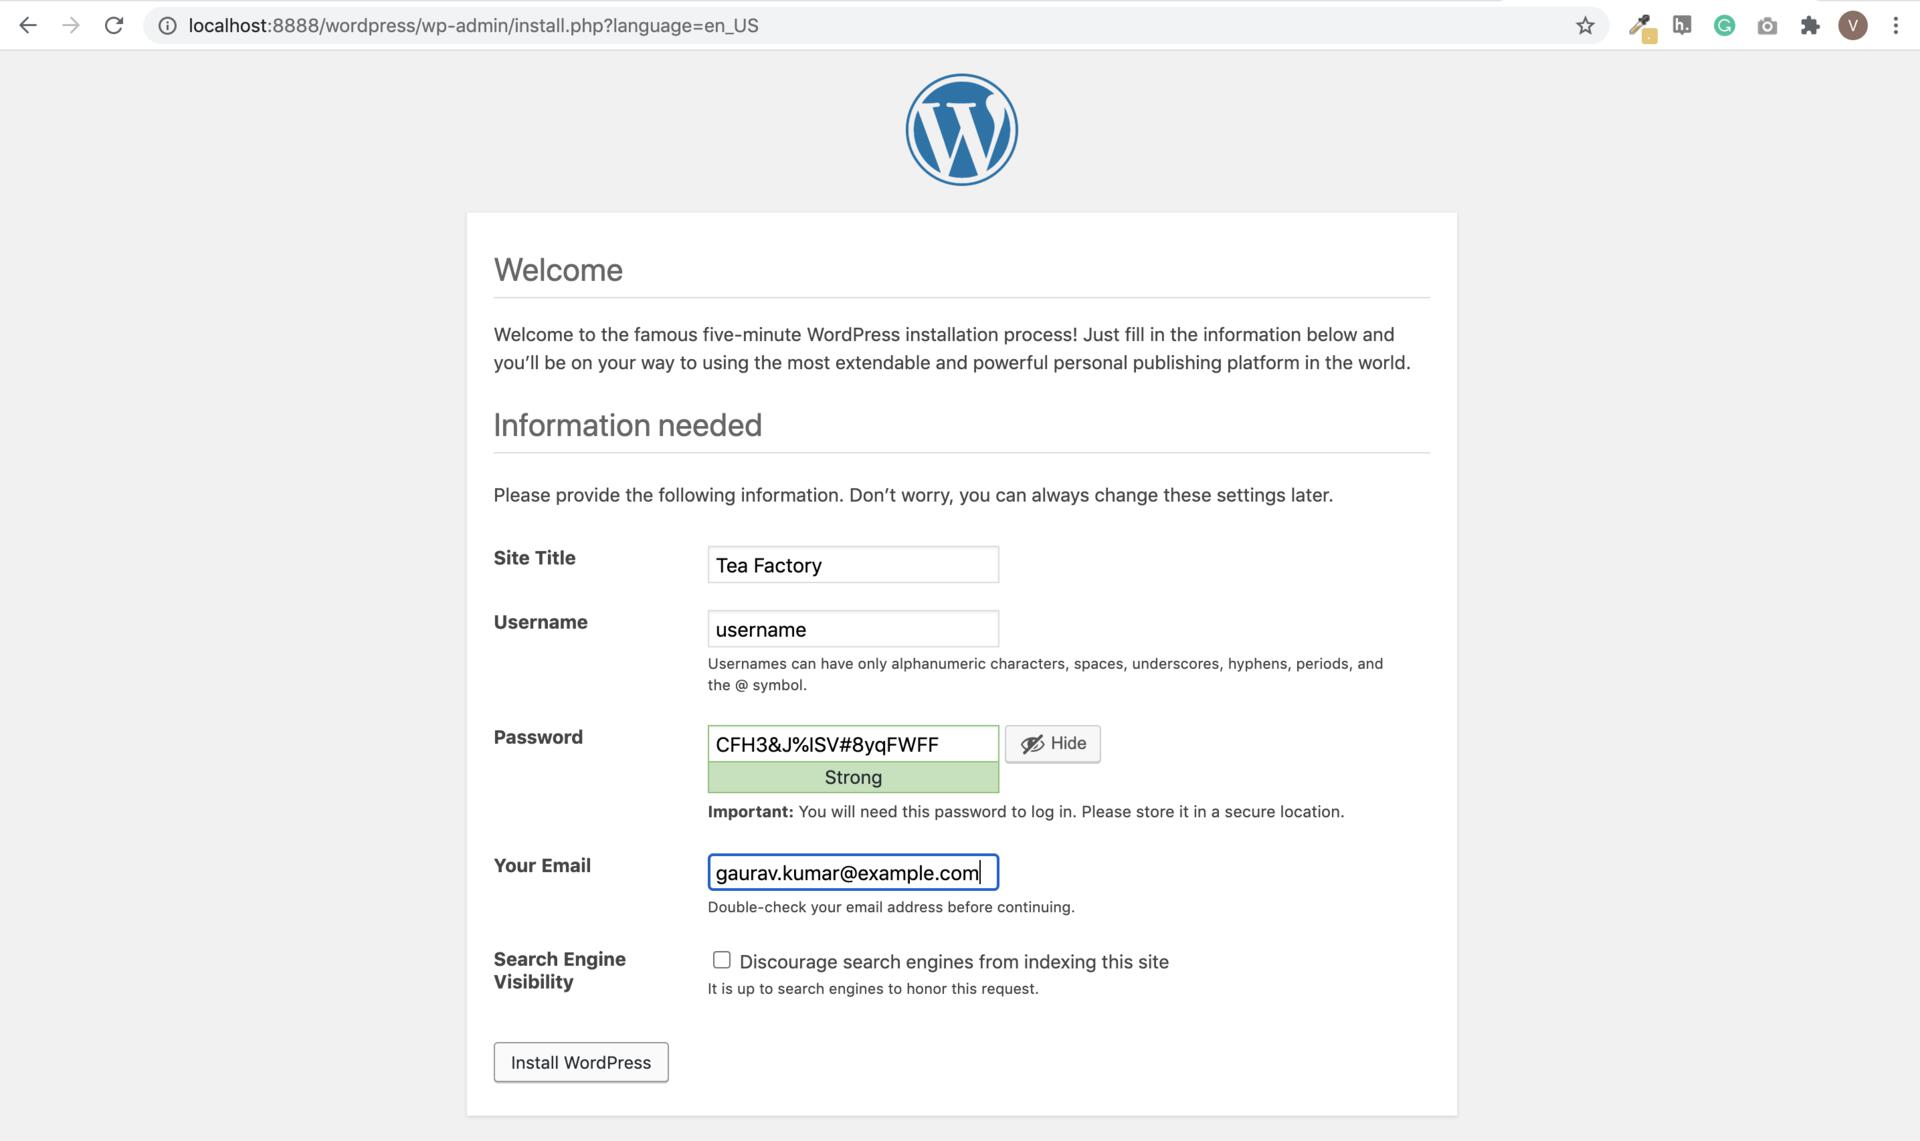
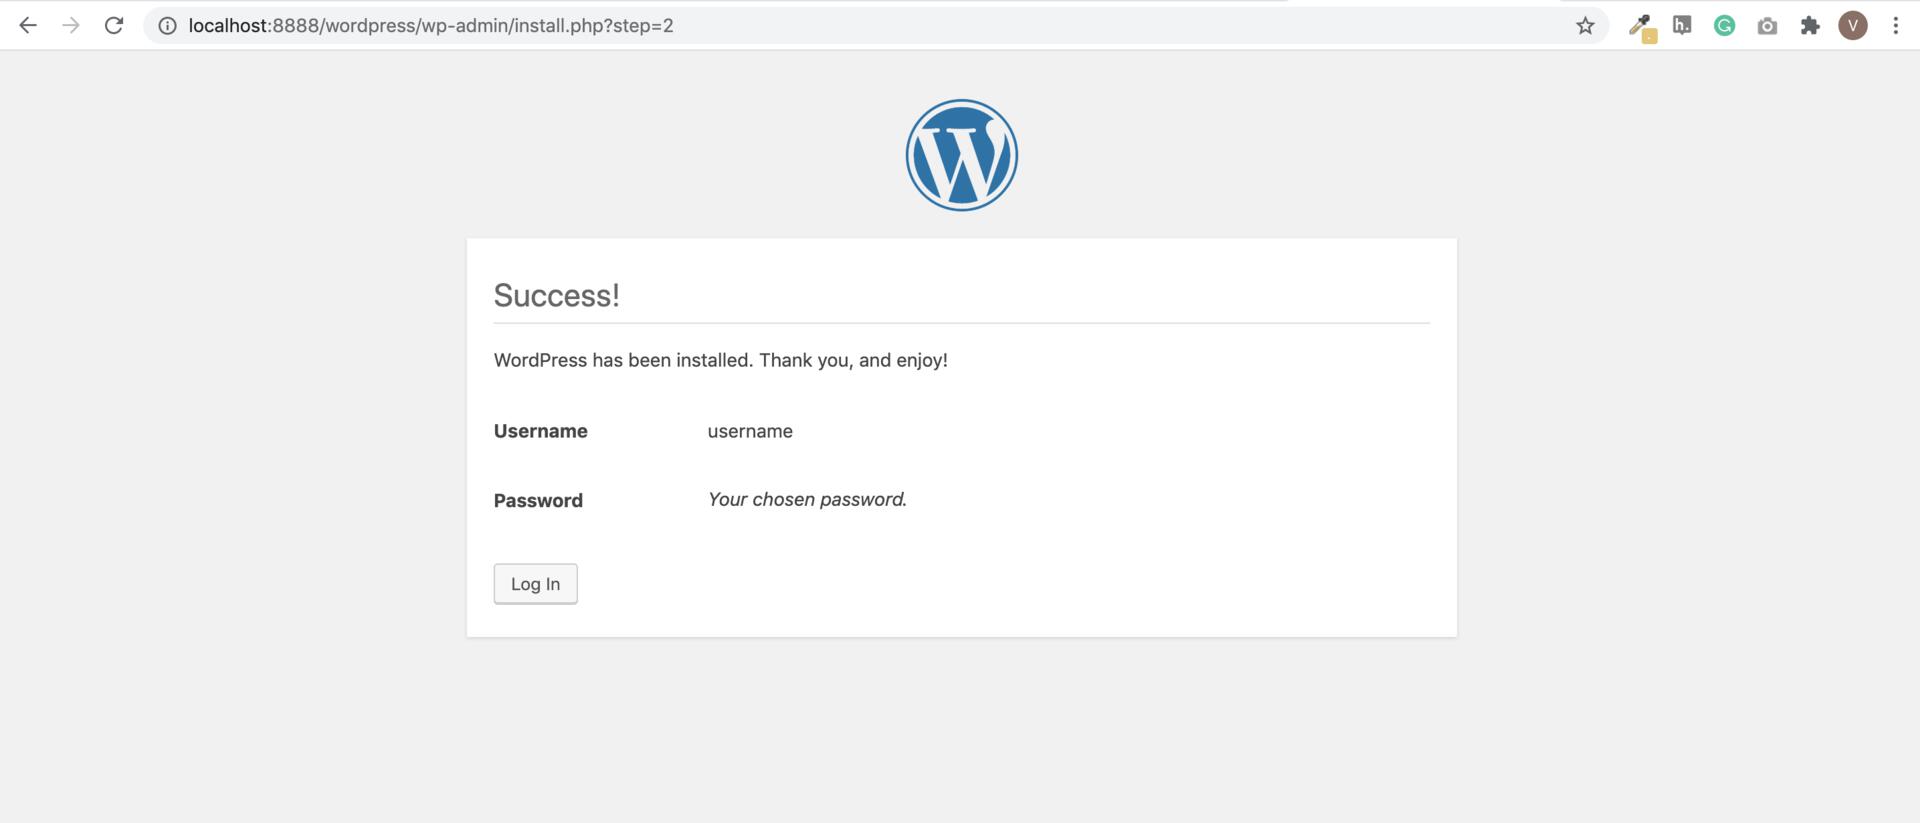
2. Create a Payment Button on Razorpay Dashboard
To accept payments on your WordPress site, you must create a Payment Button.3. Embed the Payment Button on WordPress Site
To embed the Payment Button: 3.1 Download and install the Razorpay Payment Button Plugin. You can do this using either of these methods:- Download the plugin from the WordPress Plugin Directory and add the zip file to your WordPress website’s Plugins folder.
- Add the plugin directly onto your WordPress website from the Plugin page.
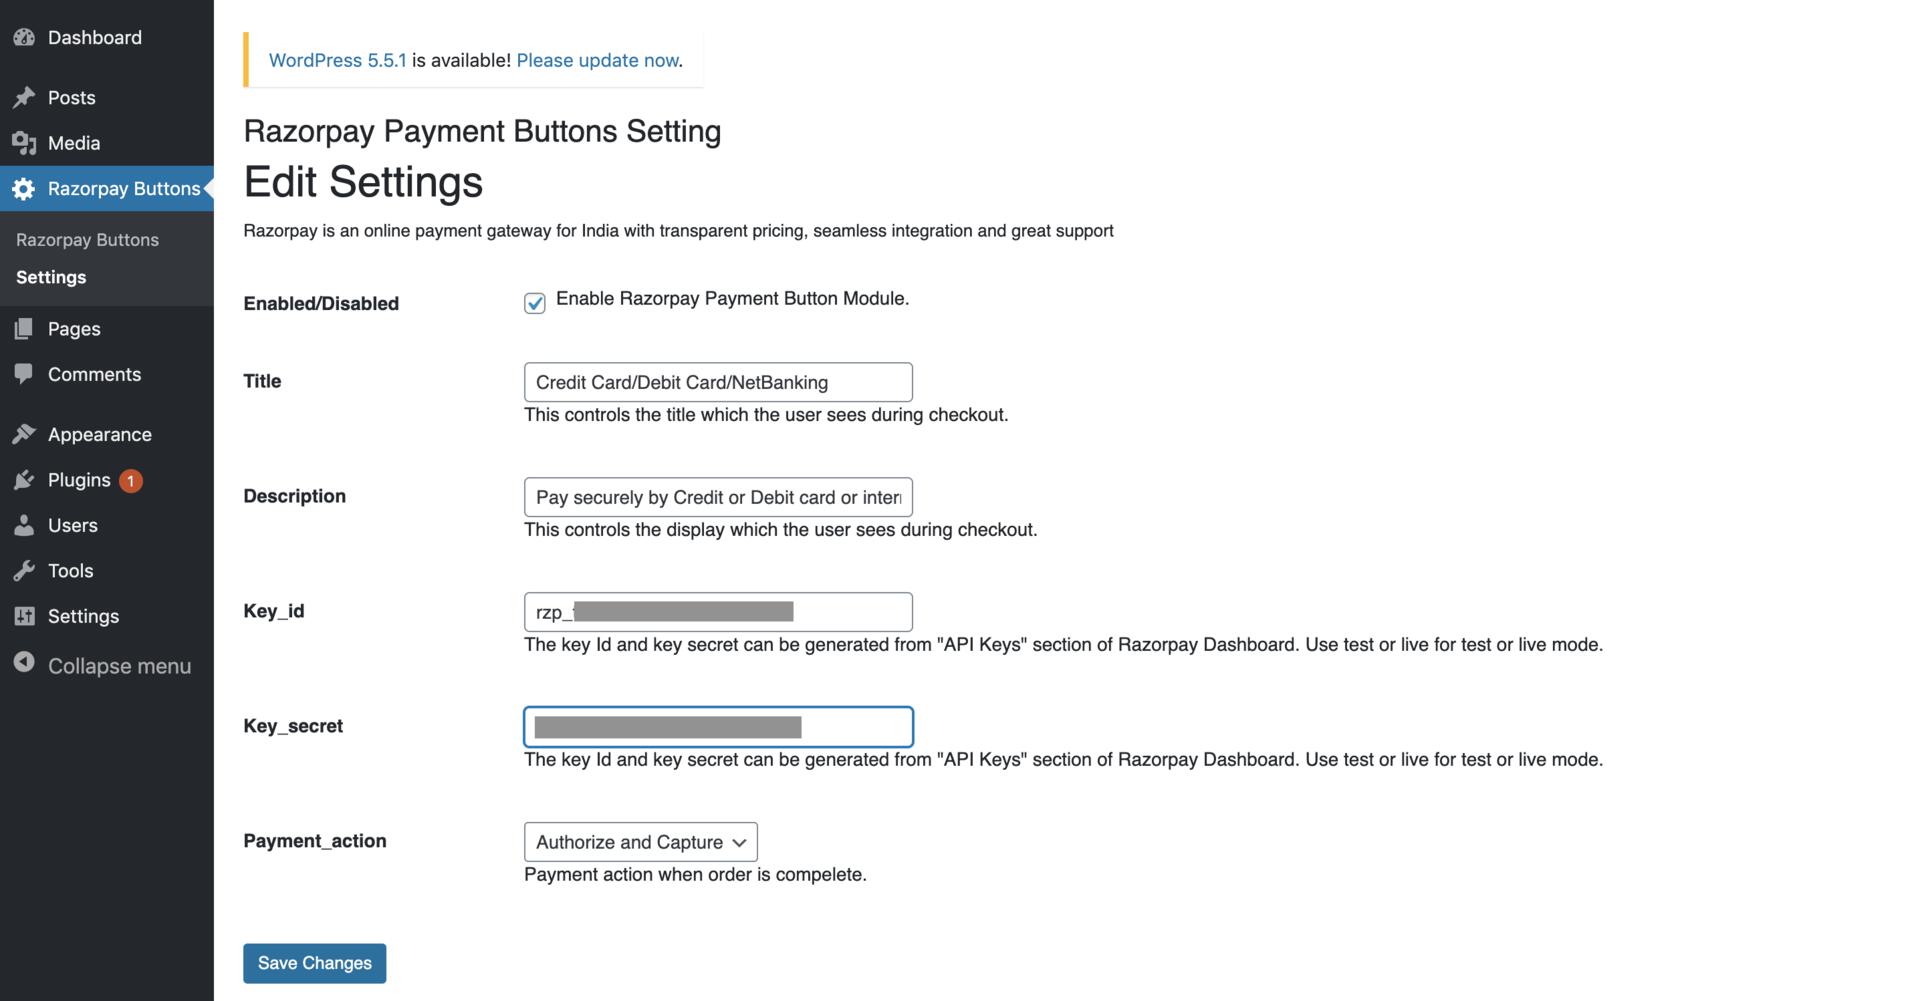
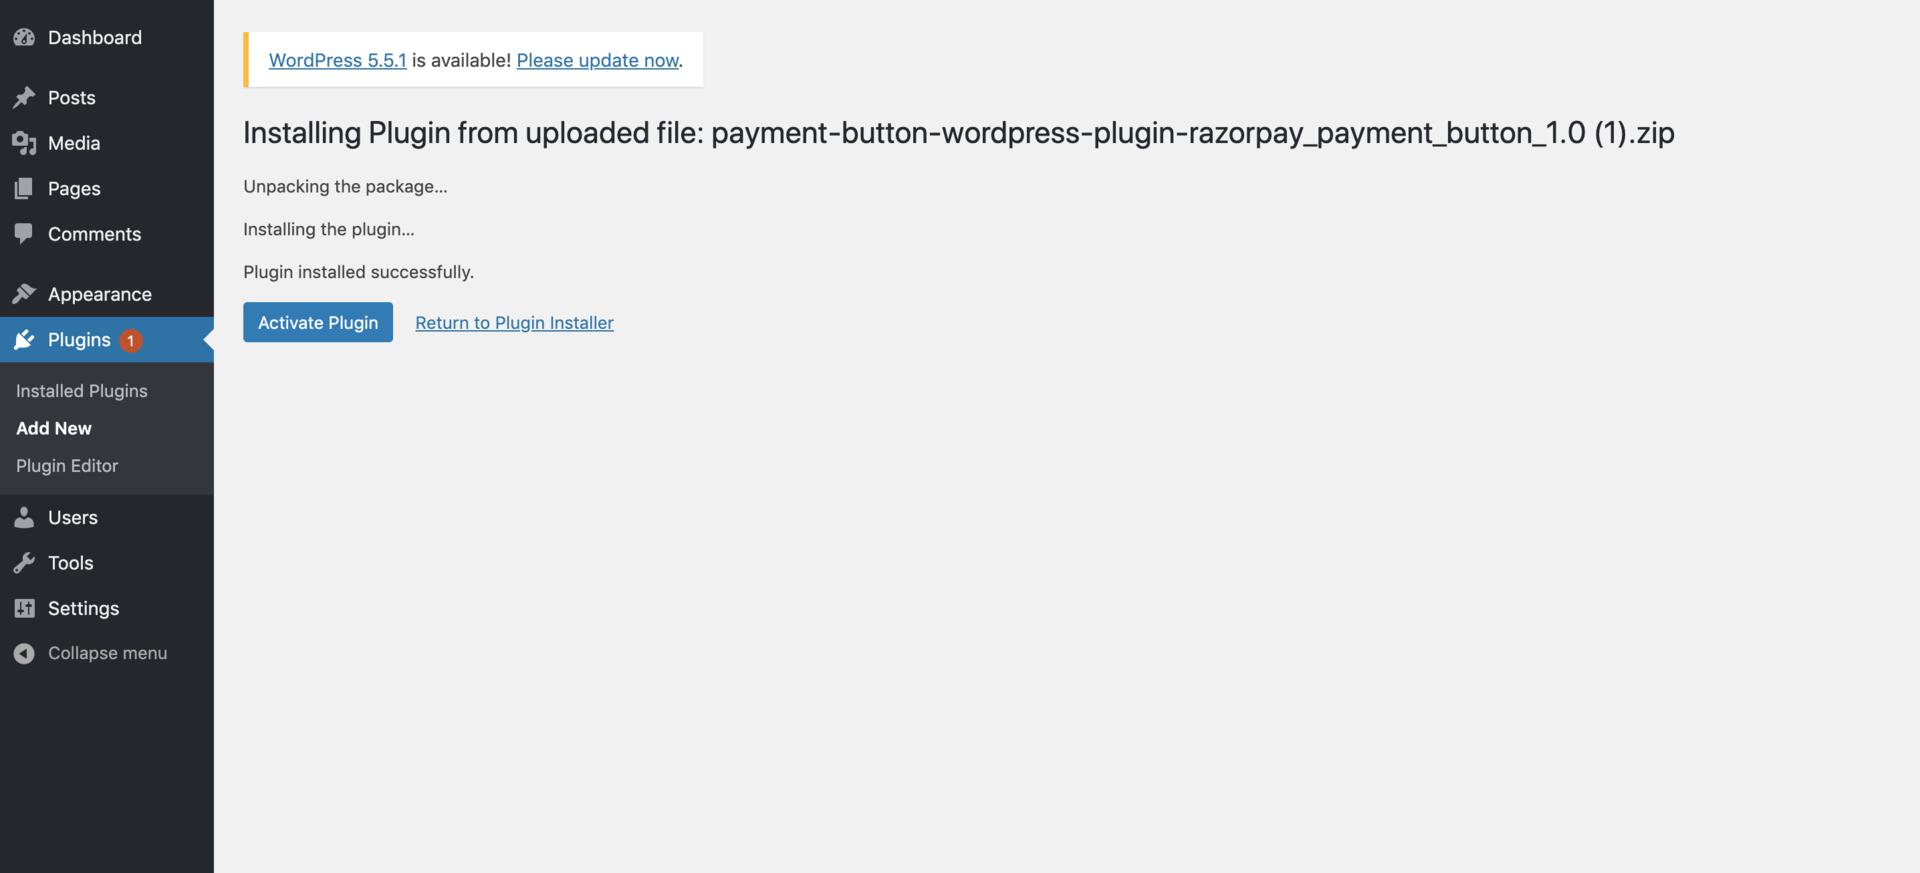 3.3 Navigate to Razorpay Buttons → Settings to add your Razorpay API key details and connect your Razorpay account to the plugin.
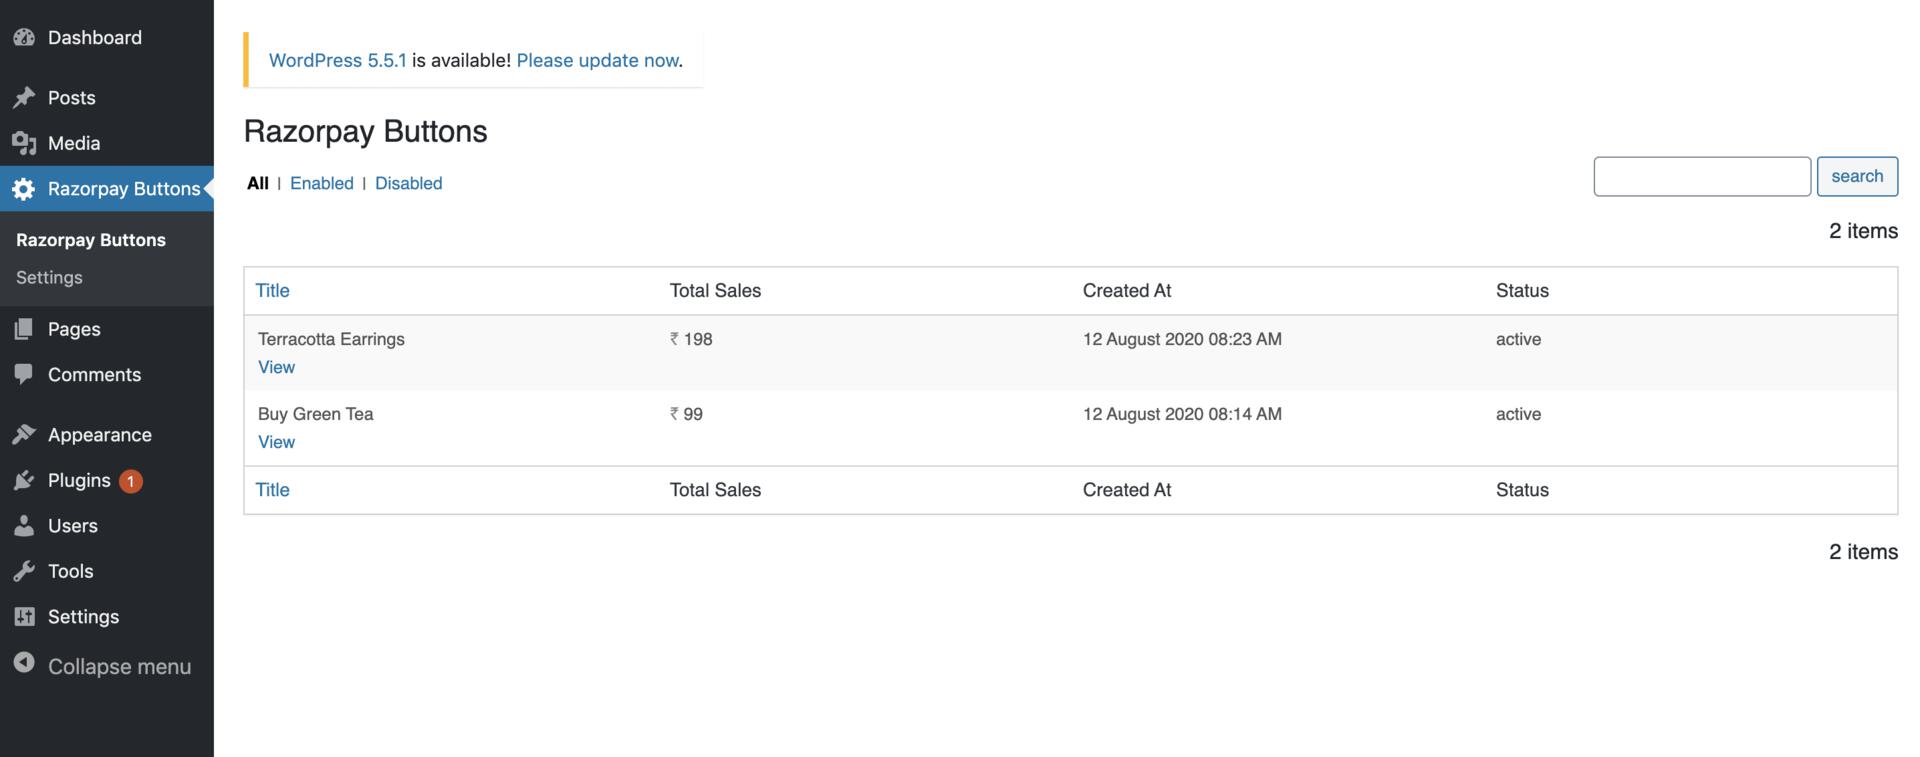
 3.4 Navigate to Razorpay Buttons. A list of buttons you created on Razorpay are available here. Select the required button.
 3.5 Click Pages and navigate to the page where you want to embed the Payment button.
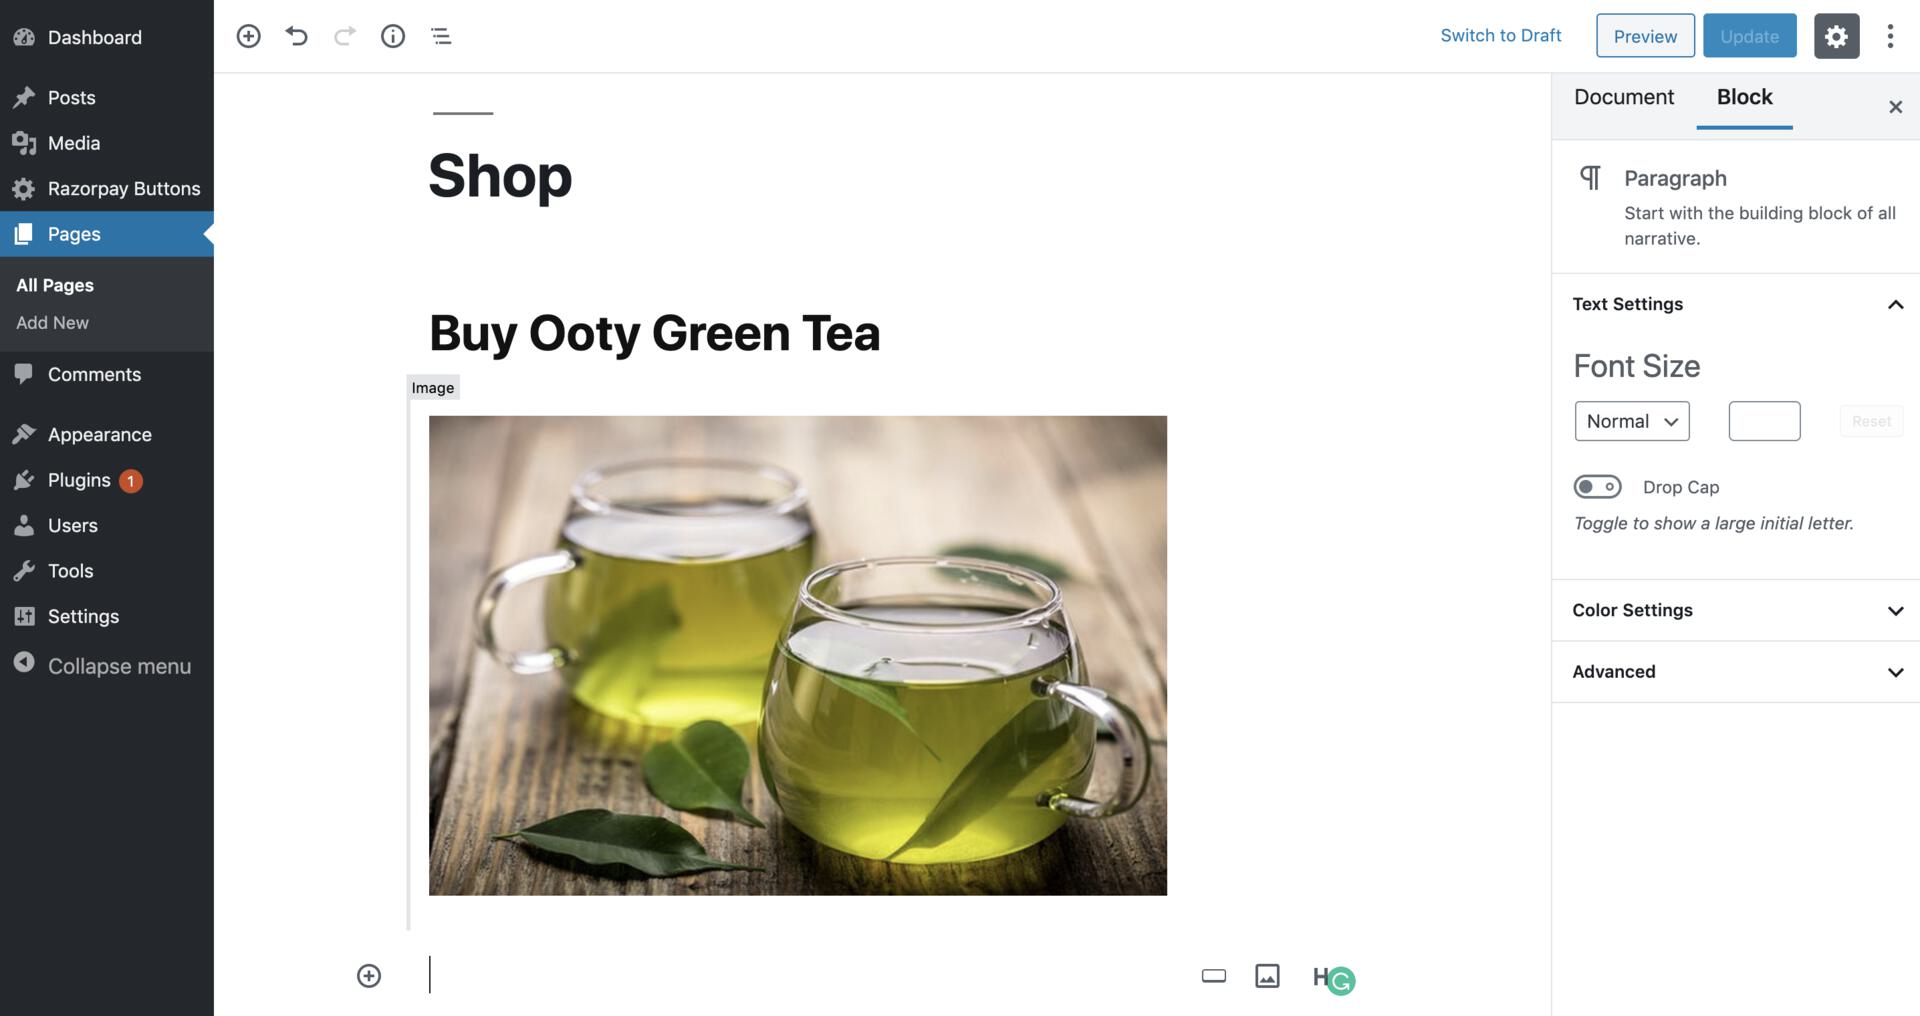 3.6 Select Add Block → Widgets → Razorpay: Payment Button to embed the Payment button onto the page.
 3.7 Choose the Payment Button using the drop-down and publish or update the page.
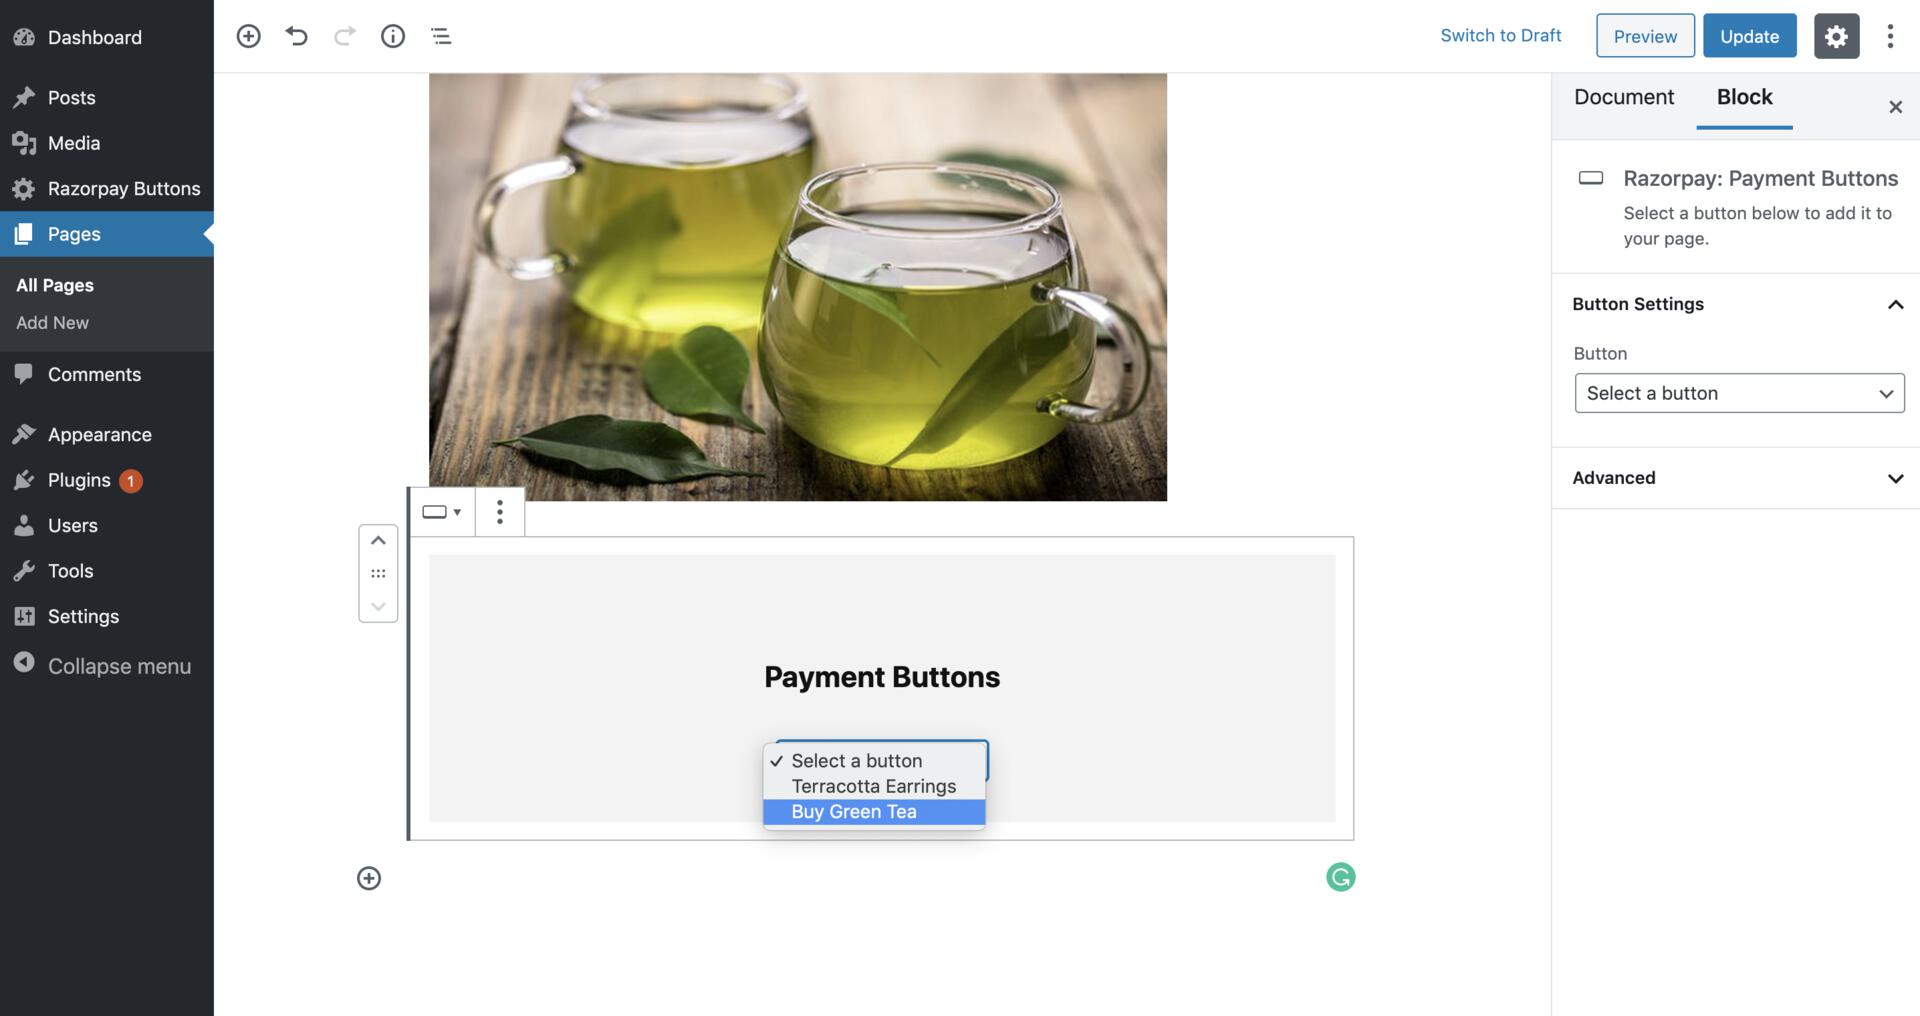 The Payment Button appears on the page.
 You can now start accepting payments on your WordPress website using the Payment Button.