

Available in🇮🇳 India
You can accept payments on your Elementor-built WordPress website using the Payment Button Elementor Plugin.
Prerequisites
- Install the Elementor Website Builder plugin on your WordPress site.
- Create a Razorpay account.
- Navigate to Settings → API Keys and generate the API keys in the test mode.
Handy Tips
- When testing, generate the keys in the Test mode.
- To accept live payments, generate the keys in the Live mode and replace them in the Payment Button plugin settings.
Integrate Payment Button Elementor Plugin for WordPress
Watch this video to see how to create a Payment Button using Elementor Wordpress Plugin.
To integrate the plugin:
- Create a Payment Button on the Dashboard.
- Install and configure the Razorpay Payment Button Elementor plugin.
- Embed the button on the WordPress site.
- View details on WordPress Dashboard.
1. Create a Payment Button on Dashboard
To accept payments on your WordPress site, create a Payment Button.Step 2: Install and Configure the Plugin
To install and configure the Payment Button: 2.1 Download and install our Payment Button Elementor Plugin. You can do this using either of these methods:- Download the plugin from the WordPress Plugin Directory and add the zip file to your WordPress website’s Plugins folder.
- Add the plugin directly onto your WordPress website from the Plugin page.
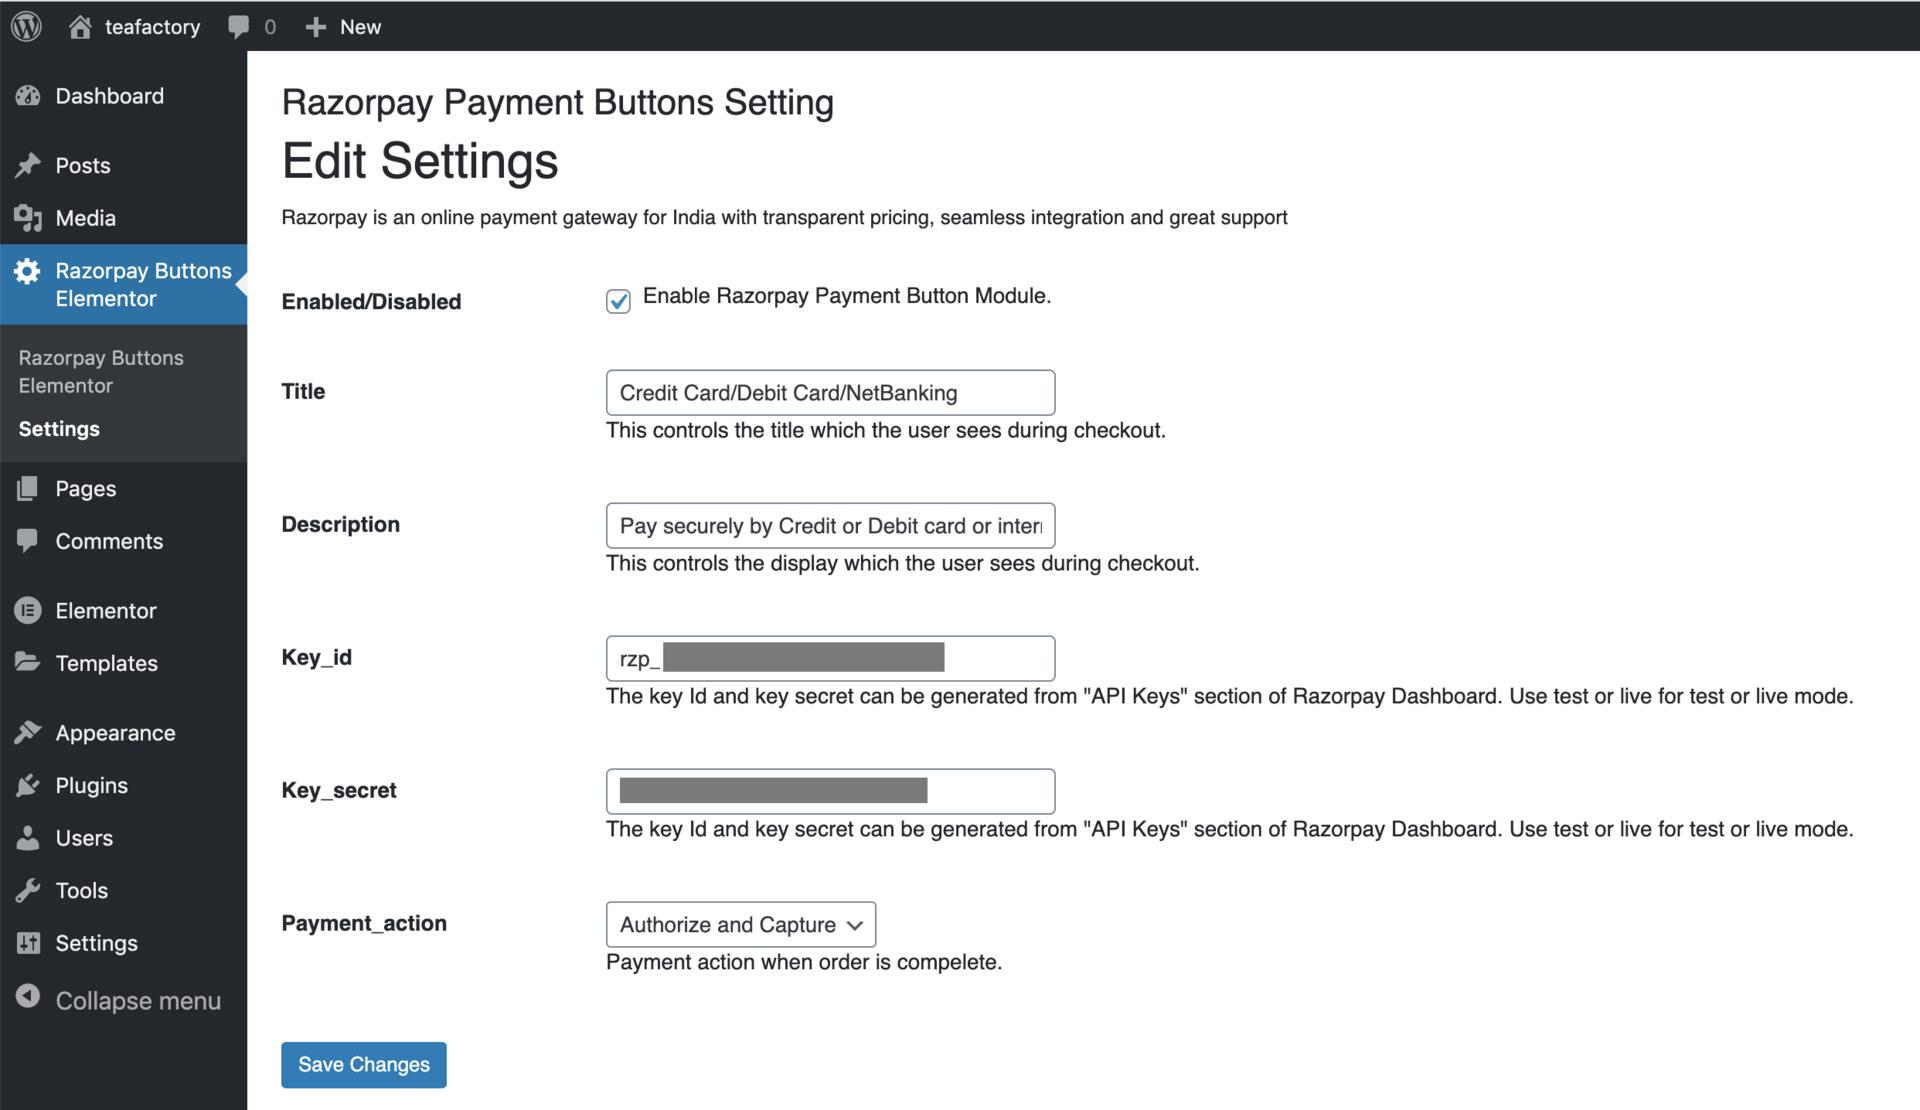
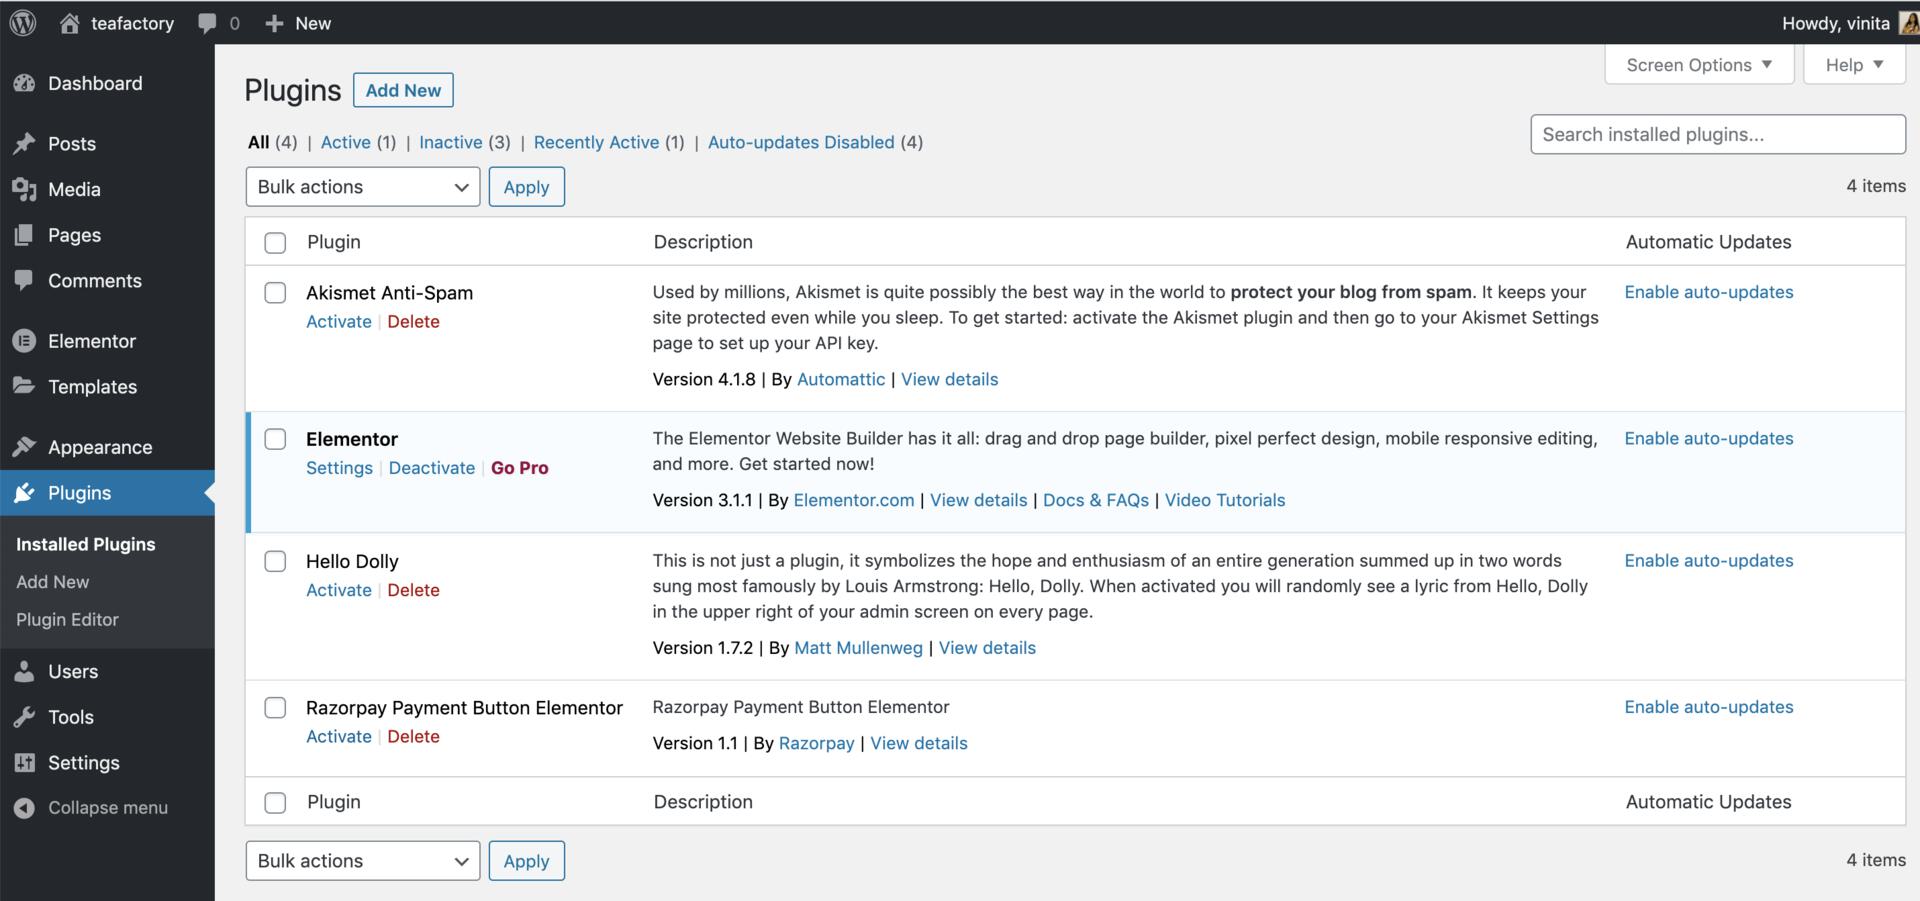 2.3 Navigate to Razorpay Buttons Elementor → Settings to add your API key details and connect your Razorpay account to the plugin.
Step 3: Embed the Payment Button on WordPress Site
To add Payment Button on WordPress site: 3.1 Click Pages and navigate to the page where you want to embed the Payment button.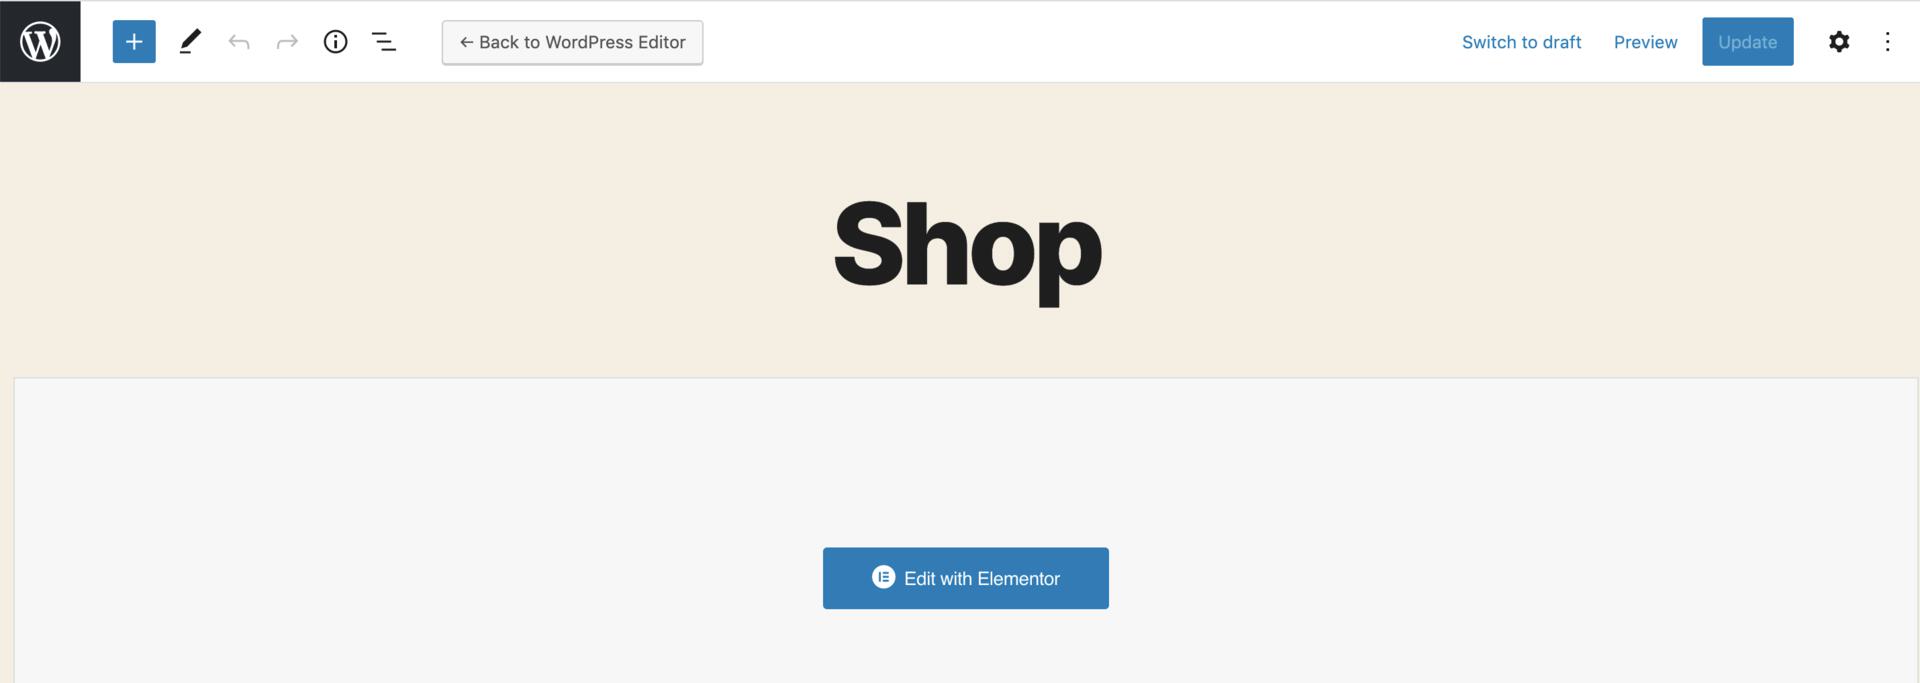 3.2 Click Edit with Elementor to open the Elementor website builder mode.
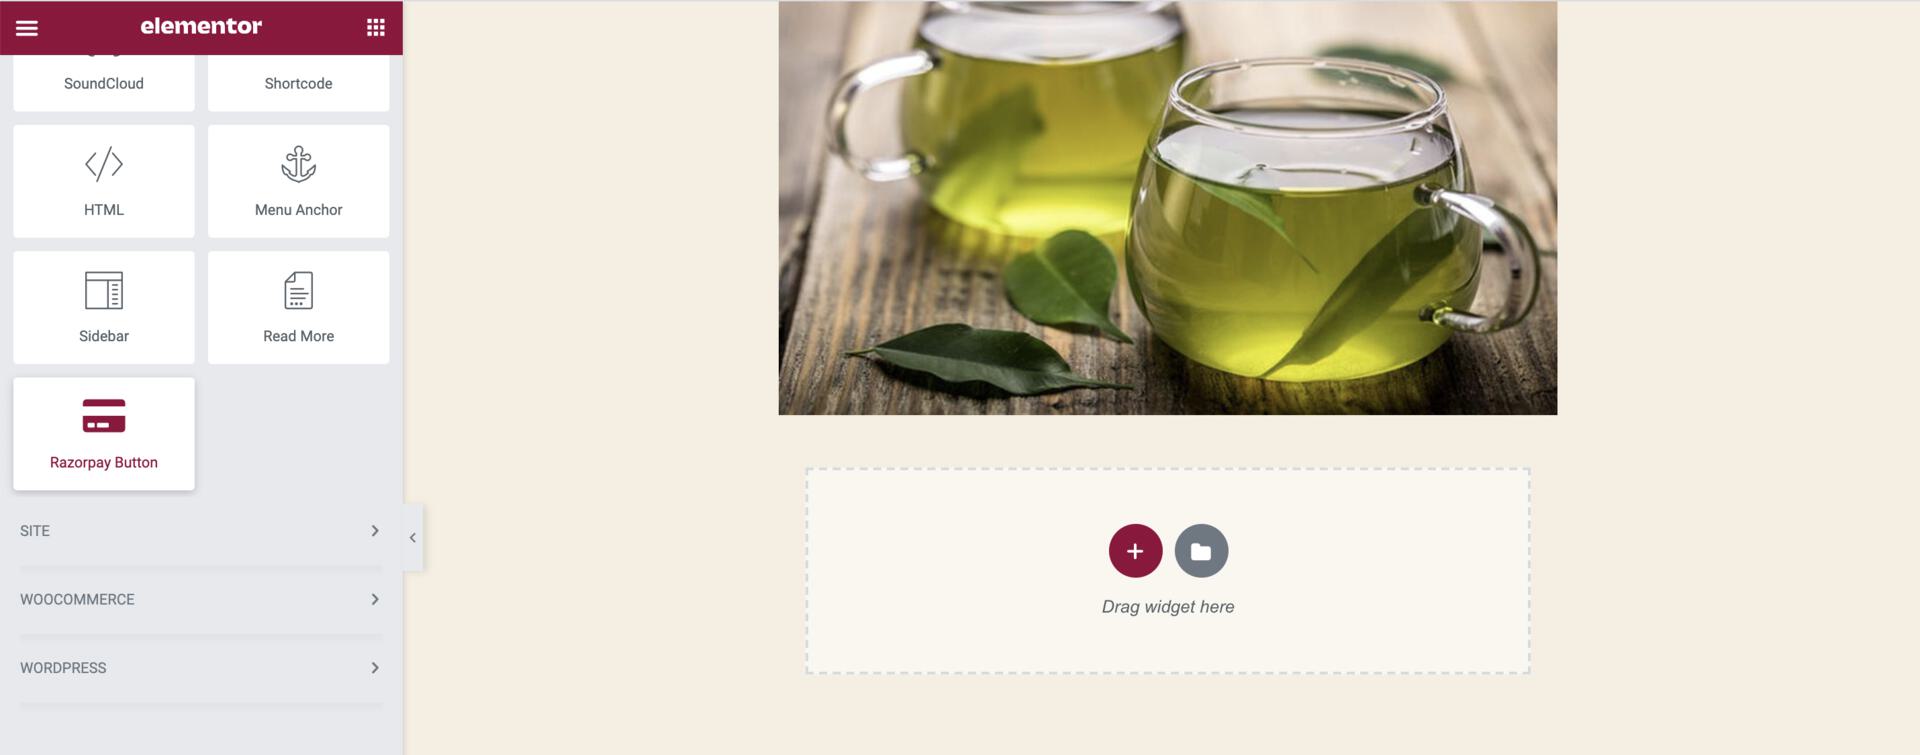
3.3 Drag and drop Razorpay Button from the list of widgets onto the page.
3.2 Click Edit with Elementor to open the Elementor website builder mode.
3.3 Drag and drop Razorpay Button from the list of widgets onto the page.
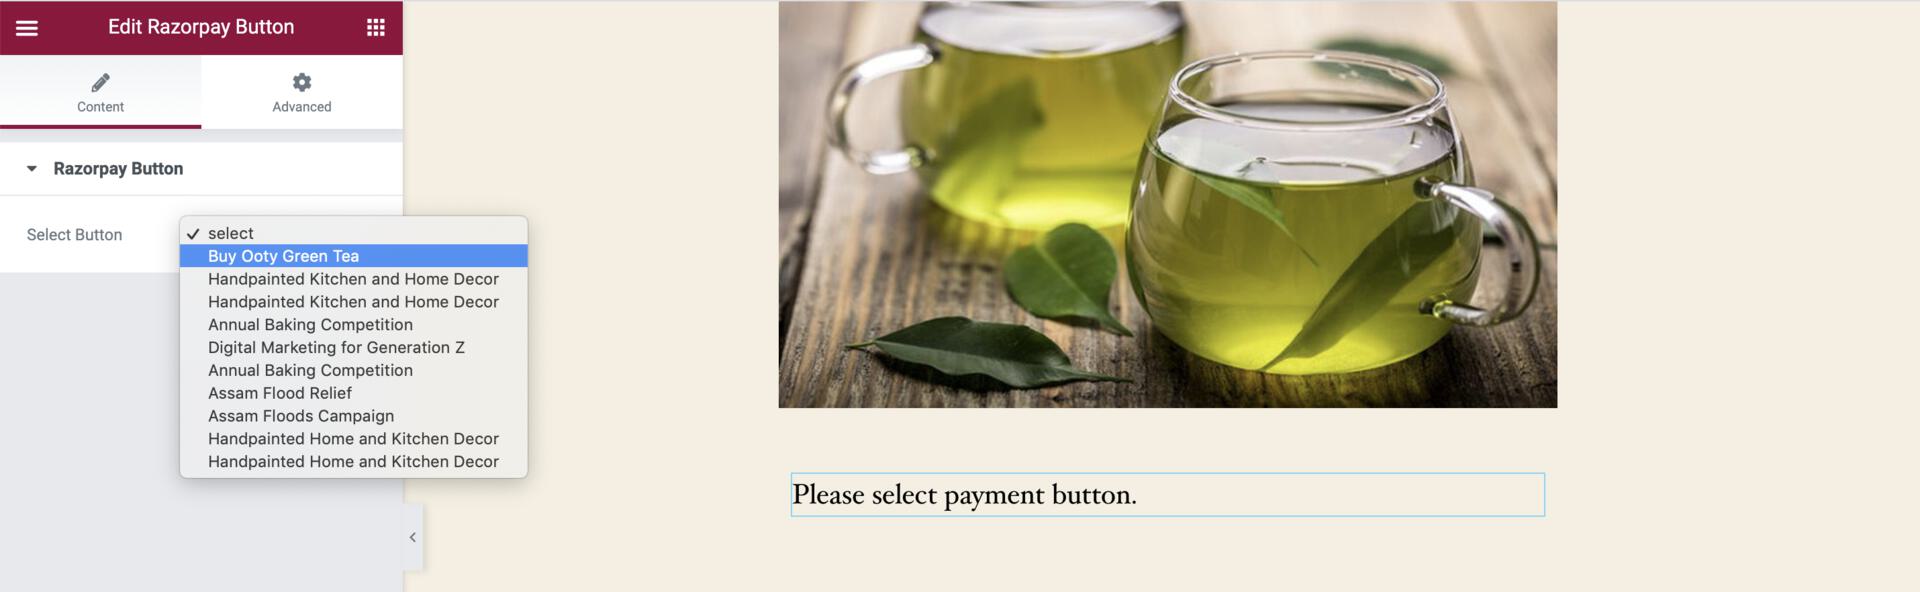
 3.4 From the list, select the Payment Button that should be displayed on the page.
 The button is added to the page.
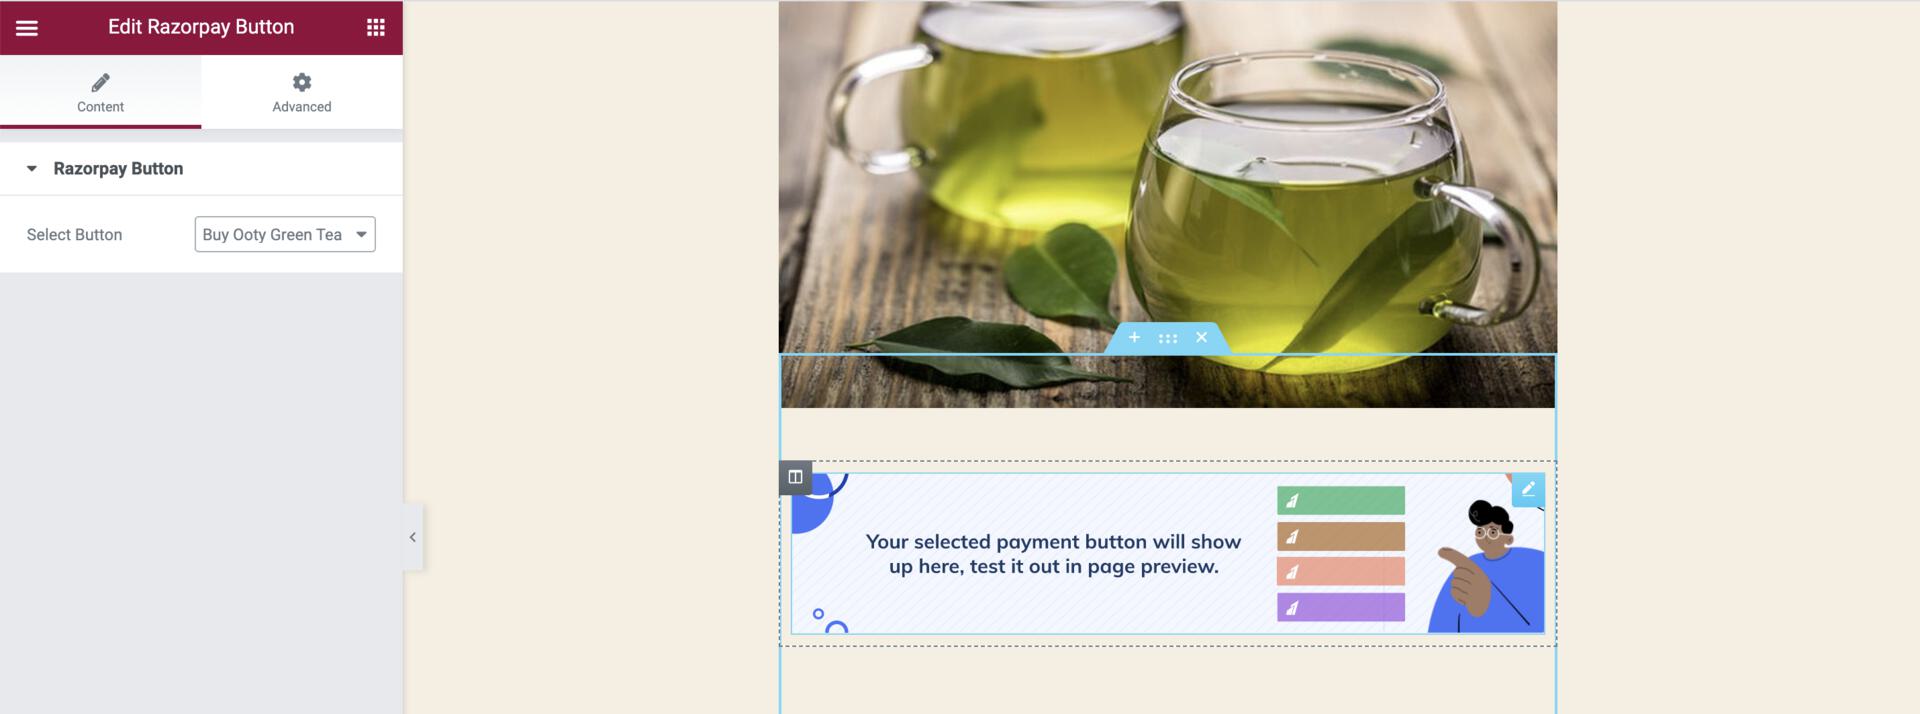 3.5 Save the changes and preview the page. The Payment Button appears on the page.
 You can now start accepting payments on your WordPress website using the Payment Button.
Step 4: View Details on Dashboard
To view the payments on the WordPress Dashboard: 4.1 Click Razorpay Buttons Elementor to view the list of Payment Buttons.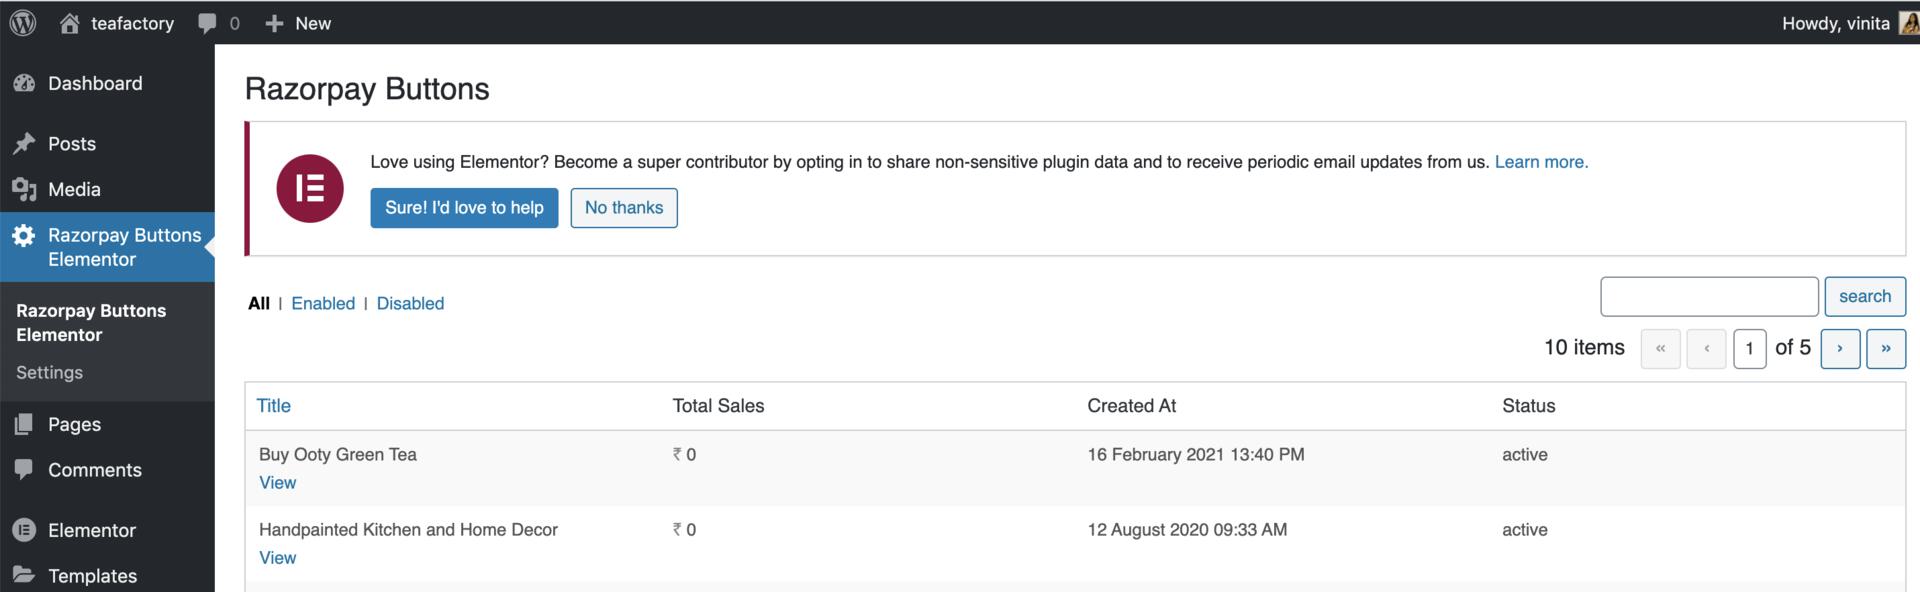 4.2 Click View to open the button details.
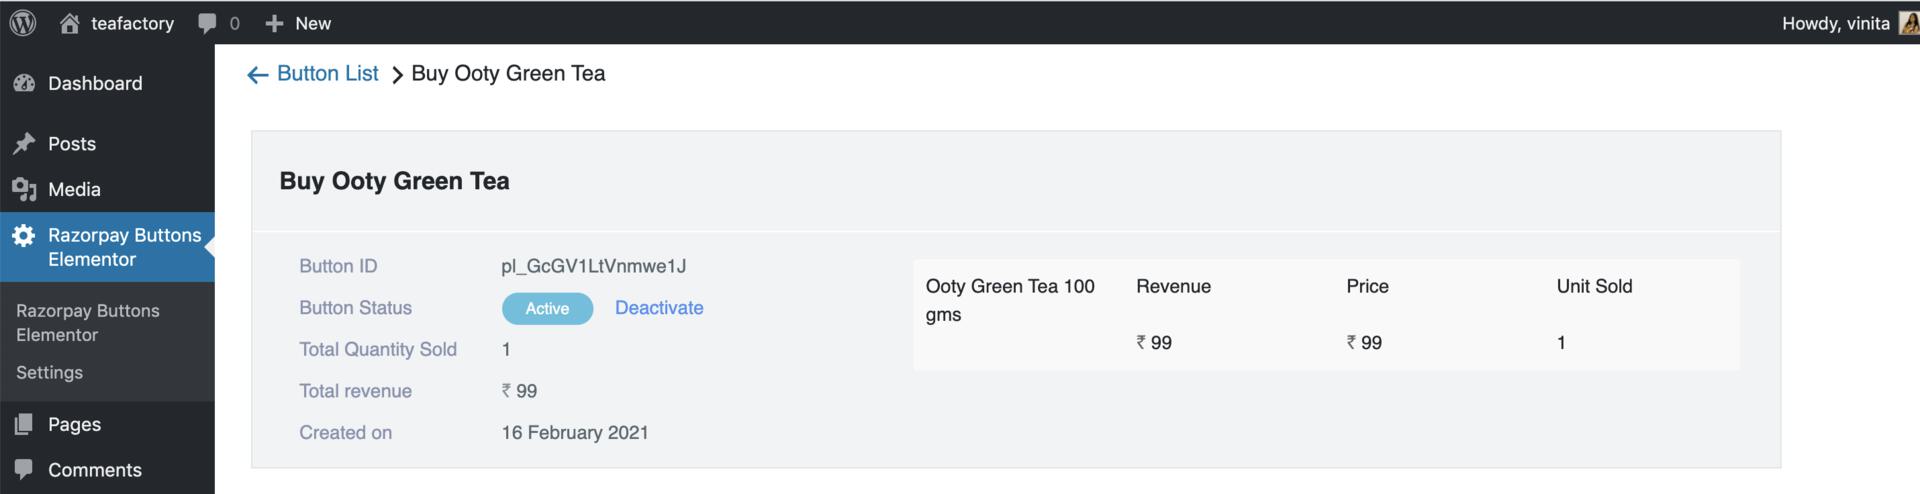 The following information regarding the payment button is displayed:
- Button ID
- Button Status
- Total Quantity Sold
- Total Revenue
- Created On
- Item Name