

Available in🇮🇳 India
Recurring Payments lets you charge your customers automatically on a schedule, whether daily, weekly, monthly or yearly, without them having to pay again each time. The customer authorises once. You debit whenever you need to.
What are Recurring Payments?
Think of any service where a customer pays regularly: a streaming subscription, a gym membership, a loan EMI or a SIP investment. These businesses do not ask their customers to manually transfer money every month. Instead, they collect it automatically, on a fixed schedule, from the payment method the customer set up once. That is exactly what Razorpay Recurring Payments lets you build. Your customer authorises their UPI ID, card or bank account once. Razorpay creates a mandate, a standing instruction, and from that point forward you control when to debit them. No customer action is required for subsequent payments (unless the amount crosses AFA limits, more on that in AFA limits).How is this different from EMI?EMI (Equated Monthly Instalment) is a financing arrangement where a bank or NBFC lends money and the borrower repays in fixed instalments. Recurring Payments is the payment collection mechanism: it is how lenders actually collect those EMI payments from the borrower’s bank account automatically. You are not lending money. You are building the rails to collect what is owed. EMI is the use case. Recurring Payments is how it gets done.
When should you use Recurring Payments instead of one-time payments?
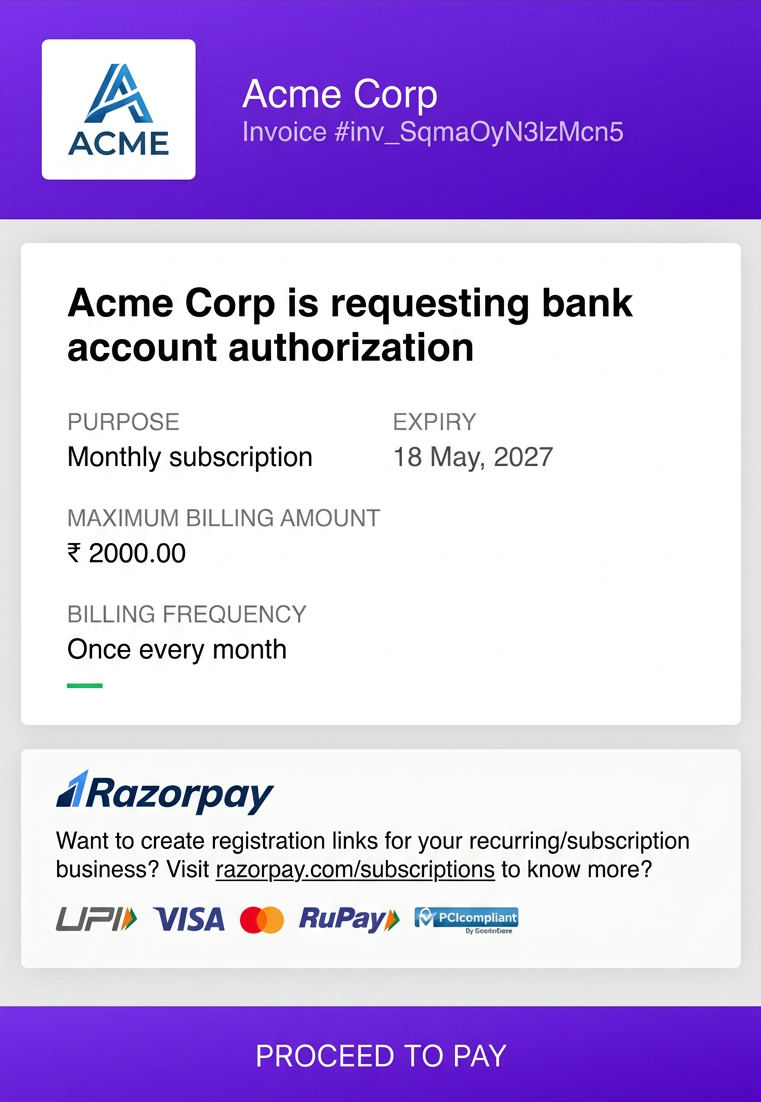 One-time payments are great for individual purchases: a user pays, you deliver, done. But if your business model depends on customers paying you regularly, one-time payments create friction at every billing cycle. The customer might forget, ignore the payment request or just churn. Recurring Payments eliminates that friction entirely.
Use Recurring Payments when:
One-time payments are great for individual purchases: a user pays, you deliver, done. But if your business model depends on customers paying you regularly, one-time payments create friction at every billing cycle. The customer might forget, ignore the payment request or just churn. Recurring Payments eliminates that friction entirely.
Use Recurring Payments when:
- You charge customers on a defined schedule (monthly, quarterly, annually).
- Your revenue depends on customers staying subscribed and drop-offs hurt.
- You are collecting loan repayments, SIP investments or insurance premiums where debit reliability is critical.
- You want to automate billing so your team is not manually chasing payments.
Common Use Cases
Recurring Payments is used across industries wherever predictable, scheduled collections matter.OTT and Streaming
Monthly subscriptions for streaming platforms, auto-debited with zero friction.
Loan EMIs
NBFCs and lending apps collect repayments automatically from the borrower’s bank account or UPI.
SIP Investments
Mutual fund platforms collect monthly SIP amounts without the customer needing to approve each time.
Insurance Premiums
Annual or quarterly premium collection, auto-debited from the policyholder’s account.
SaaS and B2B
Monthly or annual software subscriptions billed automatically to the customer’s card.
Memberships
Gyms, clubs and learning platforms billing monthly or annually without manual renewals.
Utility Bills
Electricity, broadband and gas bills auto-collected from the customer’s registered payment method.
Meal Plans and D2C
Weekly or monthly meal subscription deliveries billed at a fixed cadence.
How a Merchant Sets This Up
Here is what the end-to-end flow looks like when a customer signs up for a monthly subscription on your platform.- Customer picks a plan and billing frequency: Your customer selects a plan and chooses to pay via UPI Autopay, card or bank account. Supported frequencies include
daily,weekly,monthly,quarterlyandyearly. - Your server creates an order with mandate details: You tell Razorpay the max amount, the billing frequency and when the mandate should expire. Razorpay prepares an authorisation payment for the customer.
POST /v1/orders - Customer approves the mandate, once: The customer is taken to their UPI app, card form or netbanking portal to approve the mandate. A small first payment (₹1 for UPI and cards, ₹0 for eMandate) is collected to activate it. This is the only time the customer needs to take action. On success, a
token_idis generated. - Mandate confirmed, you are ready to charge: Razorpay sends you a
token.confirmedwebhook. The mandate is active. From this point, you debit the customer on your schedule with no customer action required.webhook: token.confirmed - You debit automatically on each billing date: On the scheduled date, your server creates a new order and triggers a payment using the
token_id. Razorpay handles the debit in the background and notifies you when it is done.POST /v1/payments/create/recurring→webhook: payment.captured
Razorpay Subscriptions: if you do not want to build all this yourselfEverything described above, creating mandates, scheduling debits, retrying failed payments, managing plan upgrades and downgrades, generating invoices, can all be handled automatically by Razorpay Subscriptions. You define the plan. Razorpay does the rest.If your use case is a straightforward subscription model, Subscriptions will get you live faster. If you need fine-grained control over debit timing, variable amounts or custom mandate logic, use the Recurring Payments APIs directly. Know more about Razorpay Subscriptions.
Supported Payment Methods
Razorpay supports Recurring Payments via three payment methods. Each has different setup mechanics, processing timelines and regulatory rules.UPI Autopay
Fastest growing. NPCI regulated. Customers authorise via intent deep-link. Silent debits below AFA limits. Auth: UPI Intent (recommended). First payment: ₹1.
Cards
Visa, Mastercard, RuPay. No frequency restrictions from the card network. Ideal for usage-based billing and B2B. Auth: Credit/Debit card. First payment: ₹1.
eMandate (NACH)
Debits directly from a bank account. No charge at registration. Fully backend transfers. Auth: Netbanking, Debit card, Aadhaar. First payment: ₹0.
Registration Links
Razorpay-hosted page for async mandate registration. Send a link via SMS or email. Works across UPI, Cards and eMandate.
Choose Your Integration Type
Your integration type determines who owns the payment UI and how your frontend and backend communicate with Razorpay. Pick the one that fits your team and product:
The tabs below explain each integration type in detail, including platform support and what your team will own.
- Standard Checkout
- Custom Checkout
- S2S (Server-to-Server)
Razorpay-hosted UI. Least code. Fastest to go live.You initialise the Razorpay JavaScript SDK with an
order_id and customer_id. Razorpay renders the full payment sheet, including UPI app selection, intent deep-linking, card form and netbanking redirect, and handles all the edge cases. You receive the result in a callback. You can set your brand colour, logo and name. The layout and payment method ordering are managed by Razorpay.Handy TipsStandard Checkout, Custom Checkout and S2S are available for UPI Autopay, Cards and eMandate. TPV and Irrevocable Mandates are available for UPI Autopay only. Registration Links are available across all methods.