

Available in🇮🇳 India
After the integration is complete, Razorpay will appear as a payment option on your web page/app. You need to make a test transaction to ensure that the integration is working as expected. You can start accepting actual payments from your customers once the test is successful.
Buy a Product on Subscription
To buy a product on Subscription:- Select the recurring options of the product for which the recurring option has been enabled.
-
Click Add to Cart.
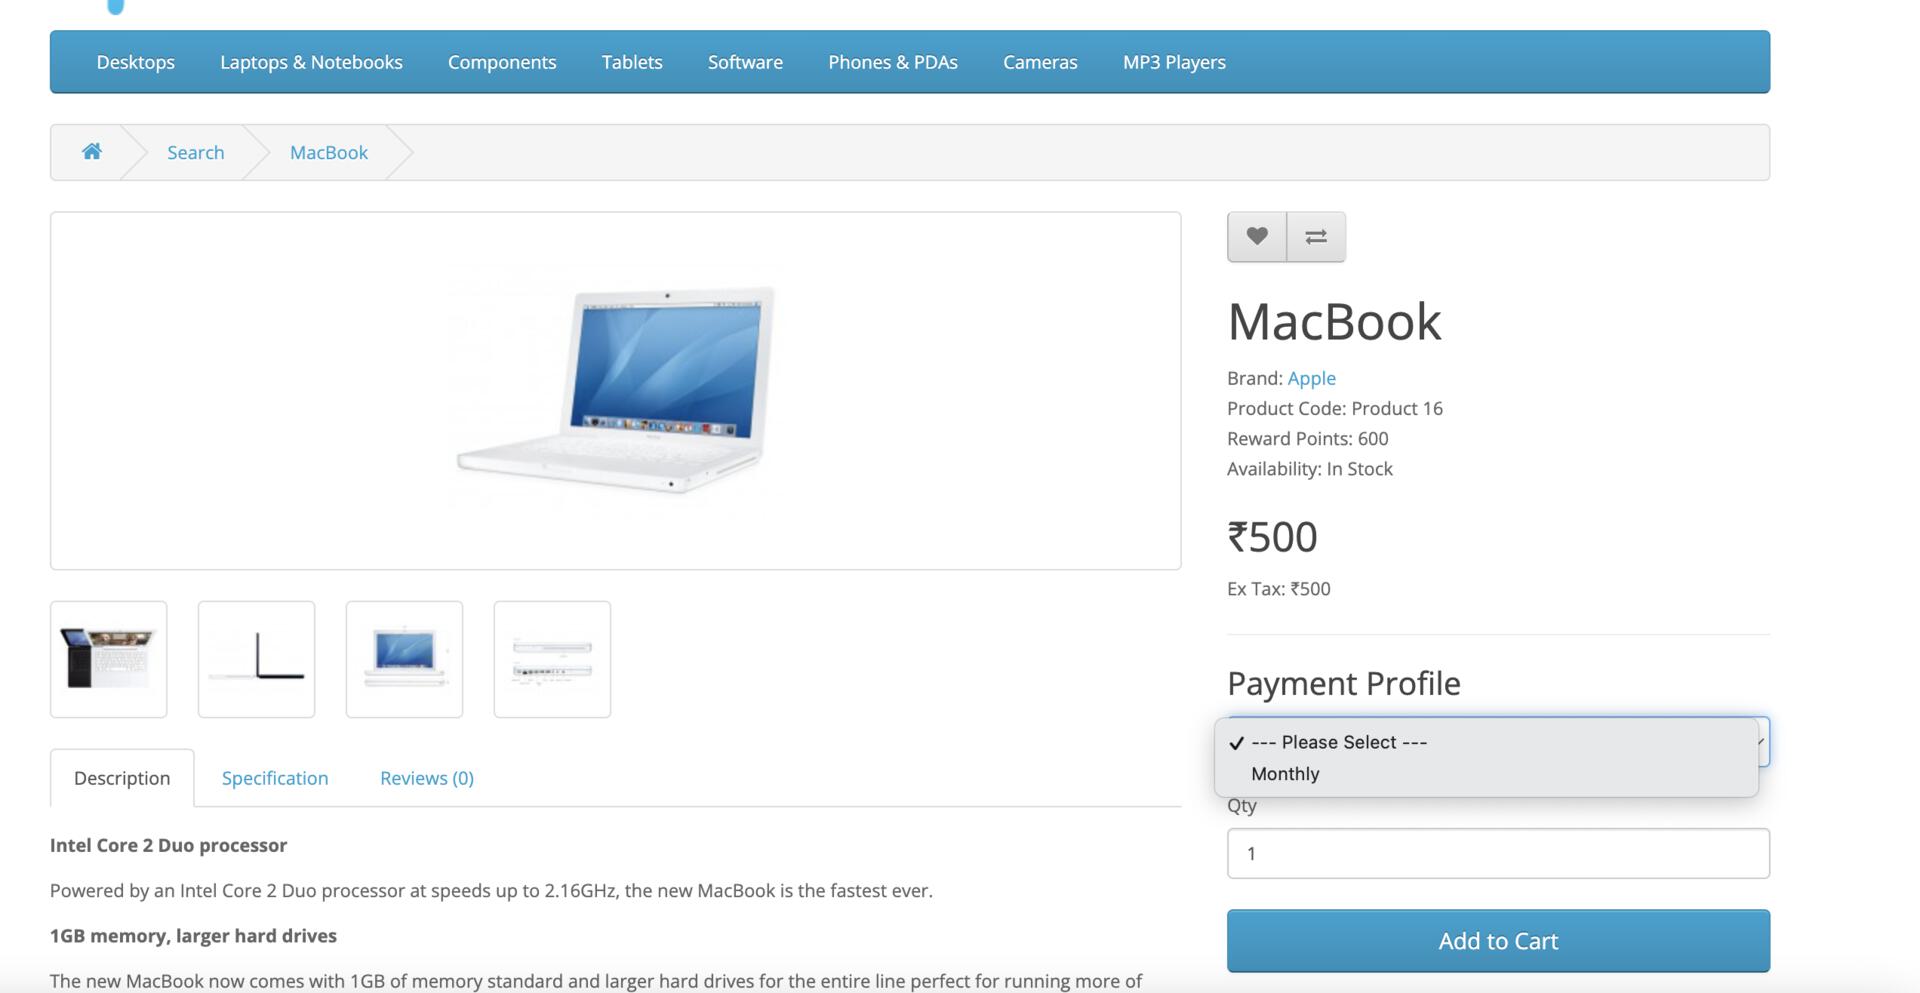
-
Select Pay by Razorpay as your payment method and click Continue.
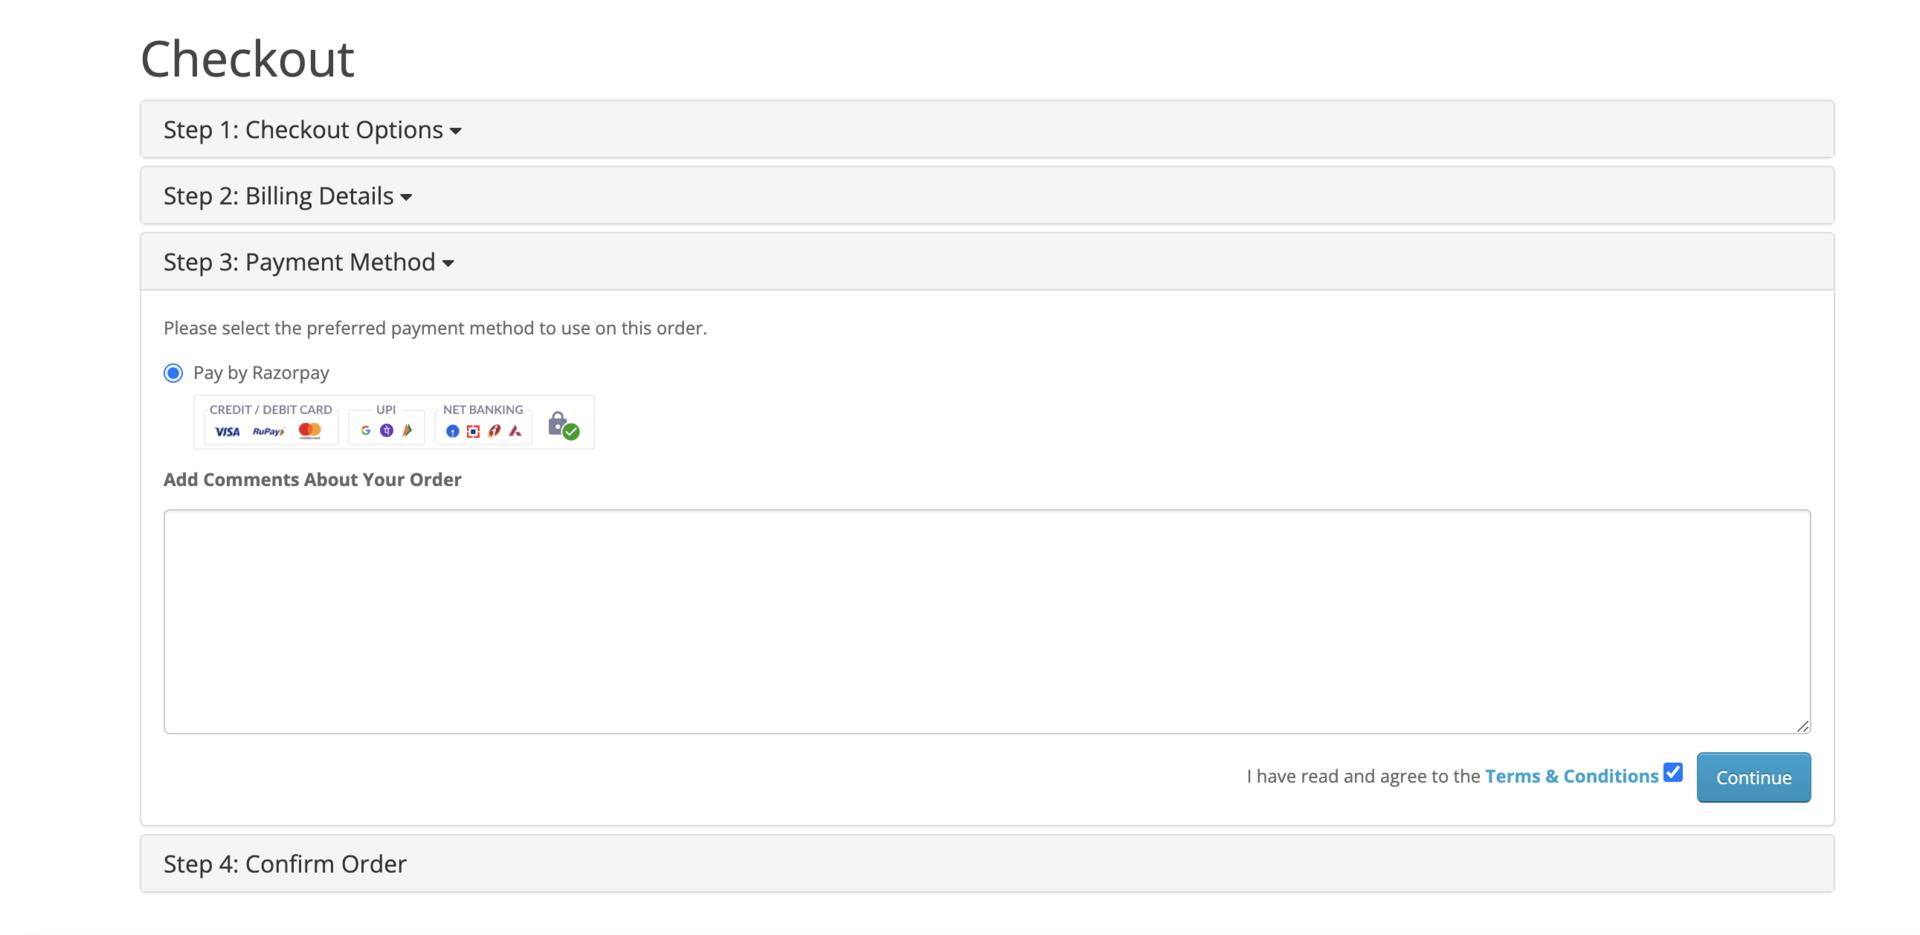
- Verify the details and click Confirm Order.
- No money is deducted from the customer’s account as this is a simulated transaction.
- Ensure you have entered the API keys generated in the test mode in the Checkout code.
Netbanking
You can select any of the listed banks. After choosing a bank, Razorpay will redirect to a mock page where you can make the payment asuccess or a failure. Since it is the test mode, we will not redirect you to the bank login portals.
UPI
You can enter one of the following UPI IDs:success@razorpay: To make the payment successful.failure@razorpay: To fail the payment.
Handy TipsYou can use Test Mode to test UPI payments, and Live Mode for UPI Intent and QR payments.
Wallet
You can select any of the listed wallets. After choosing a wallet, Razorpay will redirect to a mock page where you can make the payment asuccess or a failure. Since it is the test mode, we will not redirect you to the wallet login portals.