

Available in🇮🇳 India
You can perform the following actions:
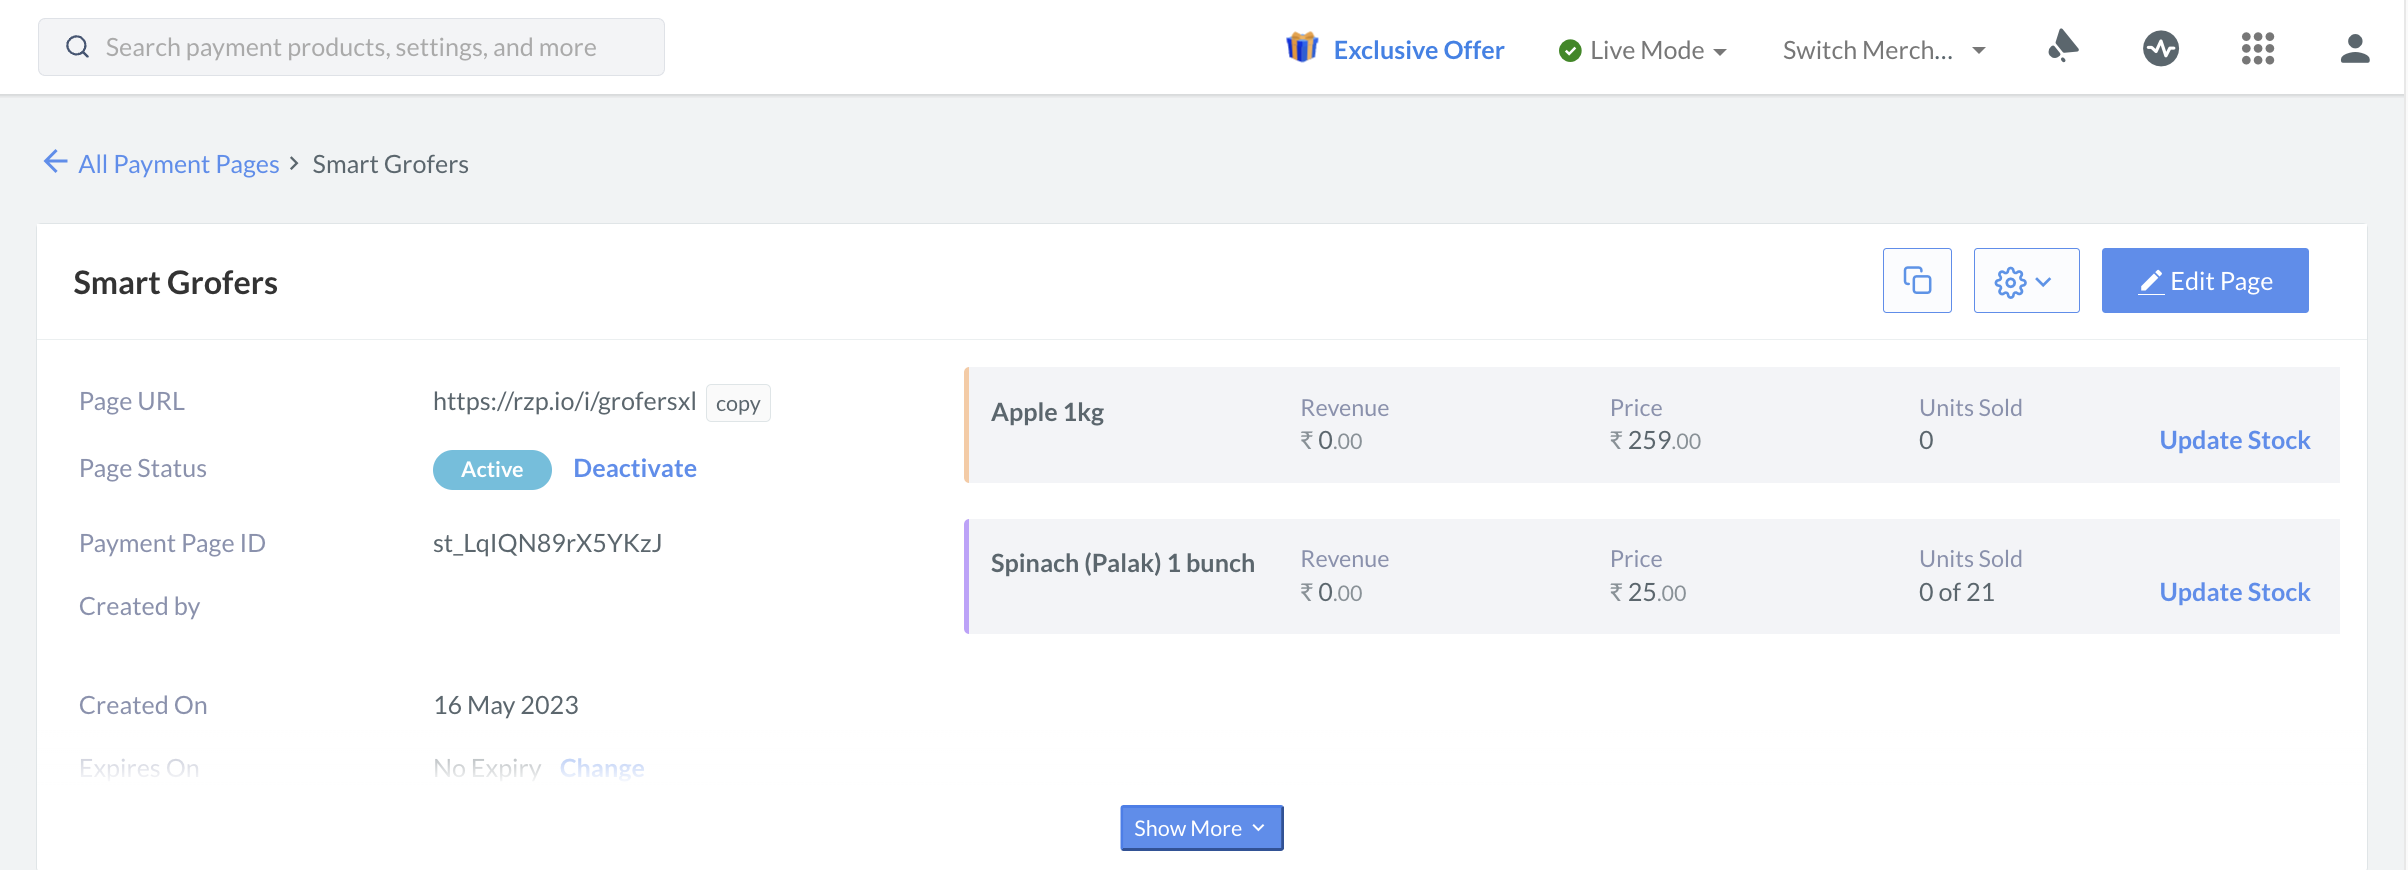
Edit Webstore Content
To edit content:- Navigate to Payment Pages on the Dashboard and select Razorpay Webstore.
- From the list, select the Webstore you want to modify.
- In the top right corner, click the Edit Page button.
Update Stock
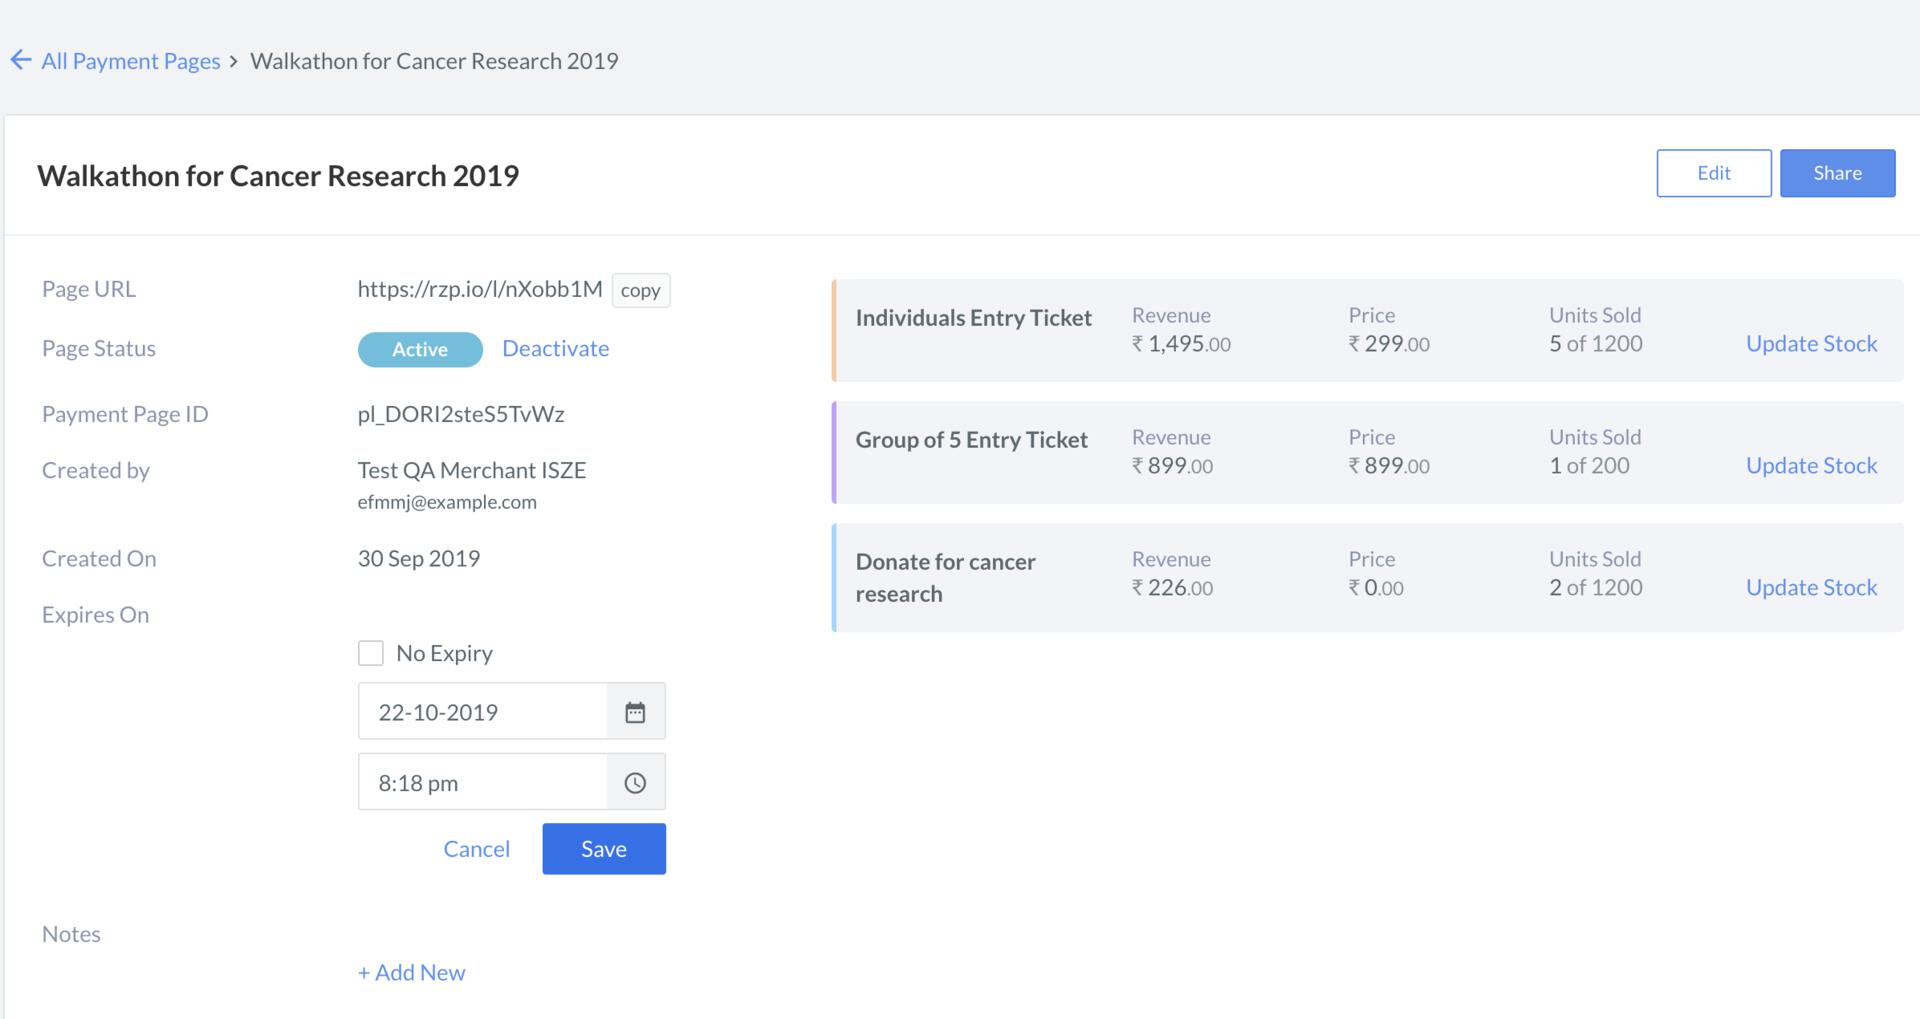
You can update the stock quantity of a price field, for exampleIndividuals Entry Ticket, in the edit mode of the Webstore.
To update stock:
- Navigate to Payment Pages on the Dashboard and select Razorpay Webstore.
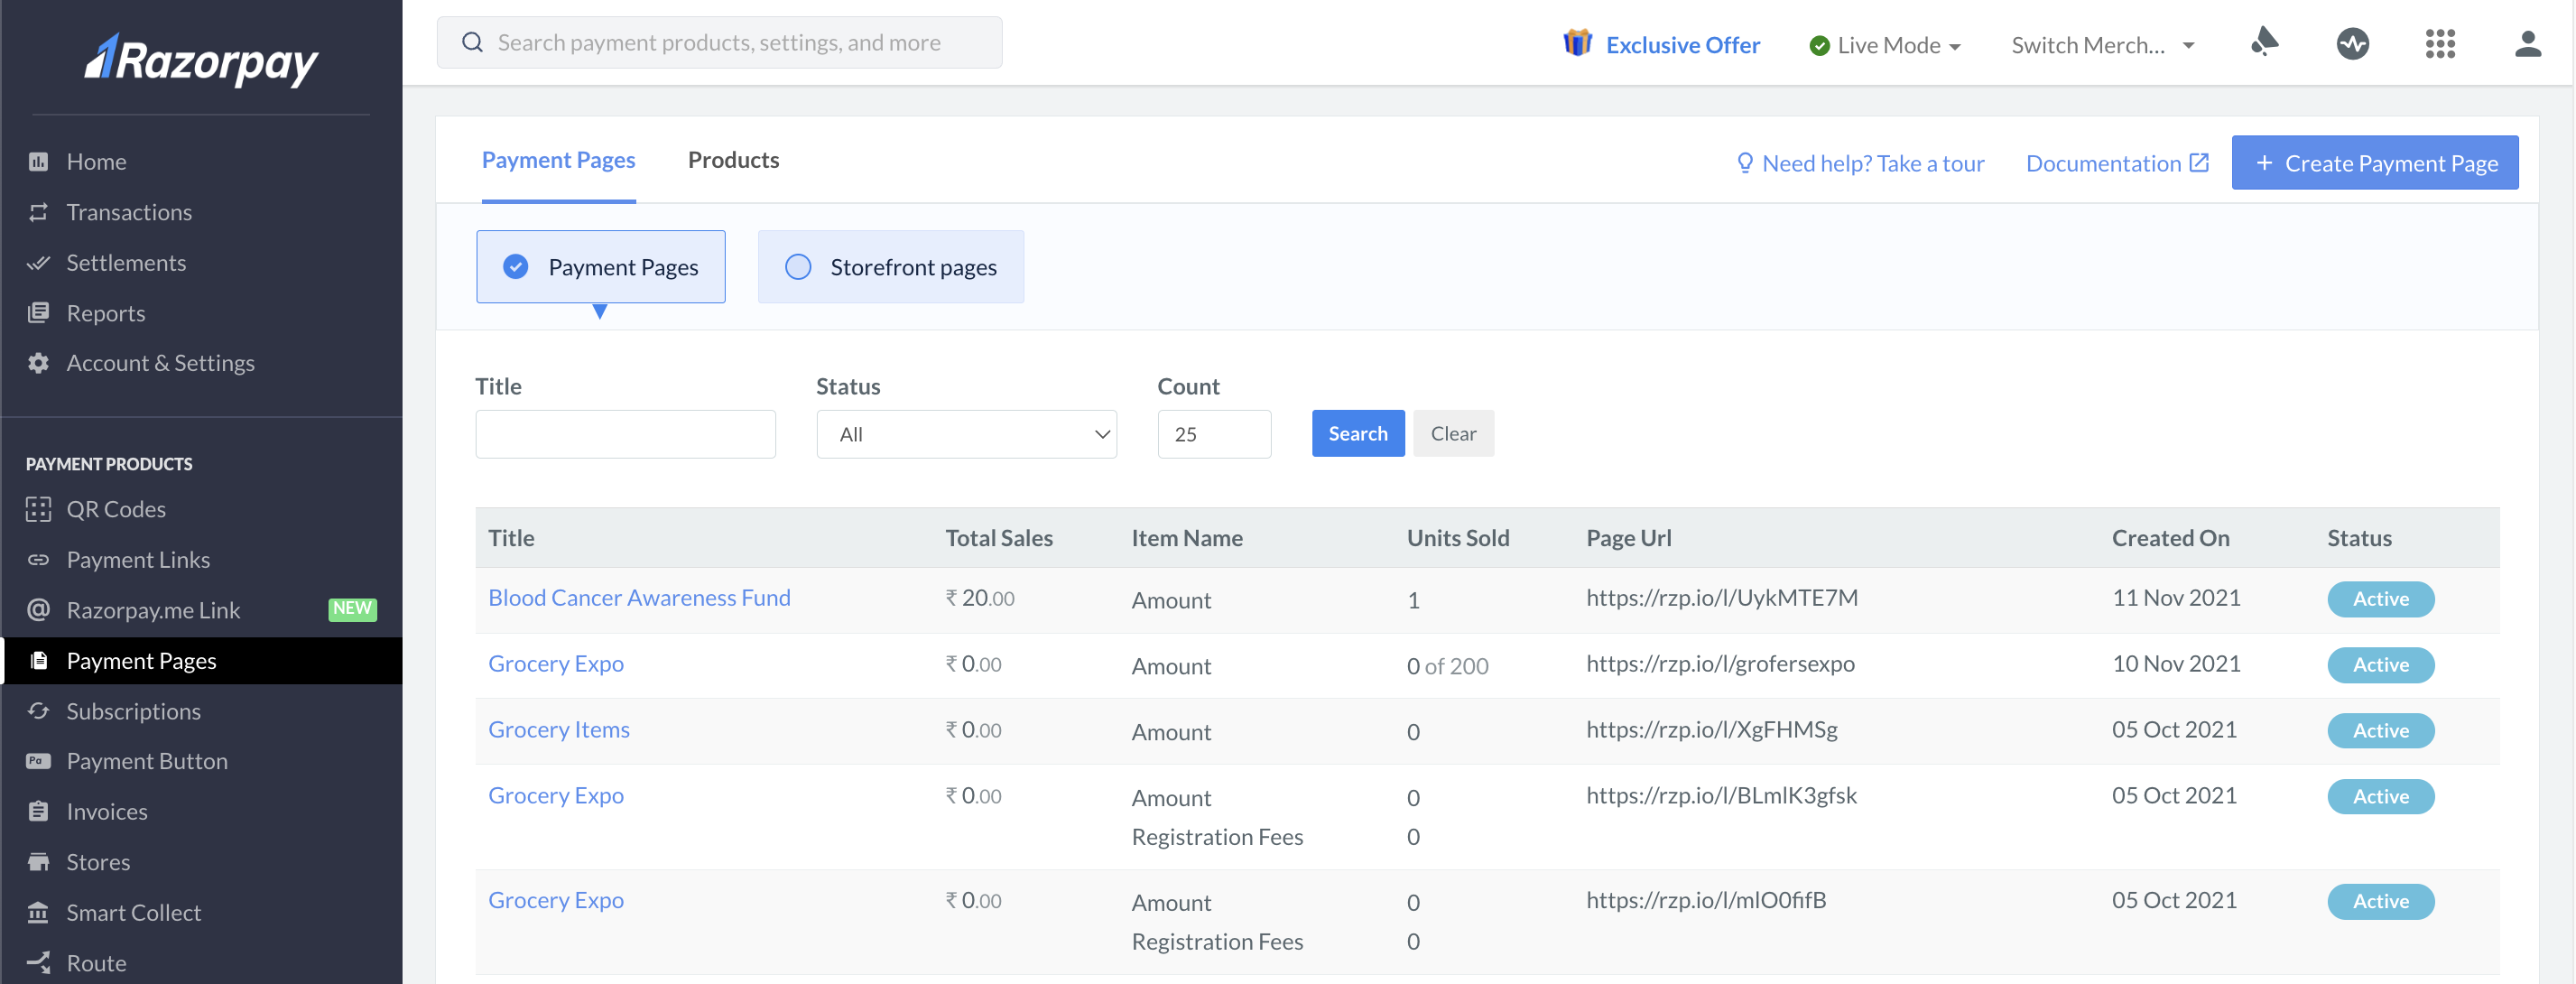
- Select the Webstore you want to modify.
- In the top right corner, the different price fields are displayed. Click Update Stock against the relevant price item.
- You can either make the stock quantity unlimited, using No Limit, or enter an amount in the box given below.
- Click Save.
Edit Webstore Settings
To modify Webstore settings:- Navigate to Payment Pages on the Dashboard and select Razorpay Webstore.
- Click on the Webstore id. This opens the Webstore details panel where you can perform the following actions:
Best Practices
- To avoid confusion, ensure that no two Webstores have the same Title.
- You can edit an expired or inactive Webstore and republish it with new changes. This helps avoid Webstore duplication and allows you to query the system efficiently.
Deactivate Webstore
A Webstore can have two states, active and inactive.
You can make an existing Webstore inactive if you no longer wish to accept payments using it.
Manual Deactivation
To deactivate manually:- Log in to Dashboard and navigate to Payment Pages.
- Select Razorpay Webstore.
- From the list, click the Webstore that you want to deactivate.
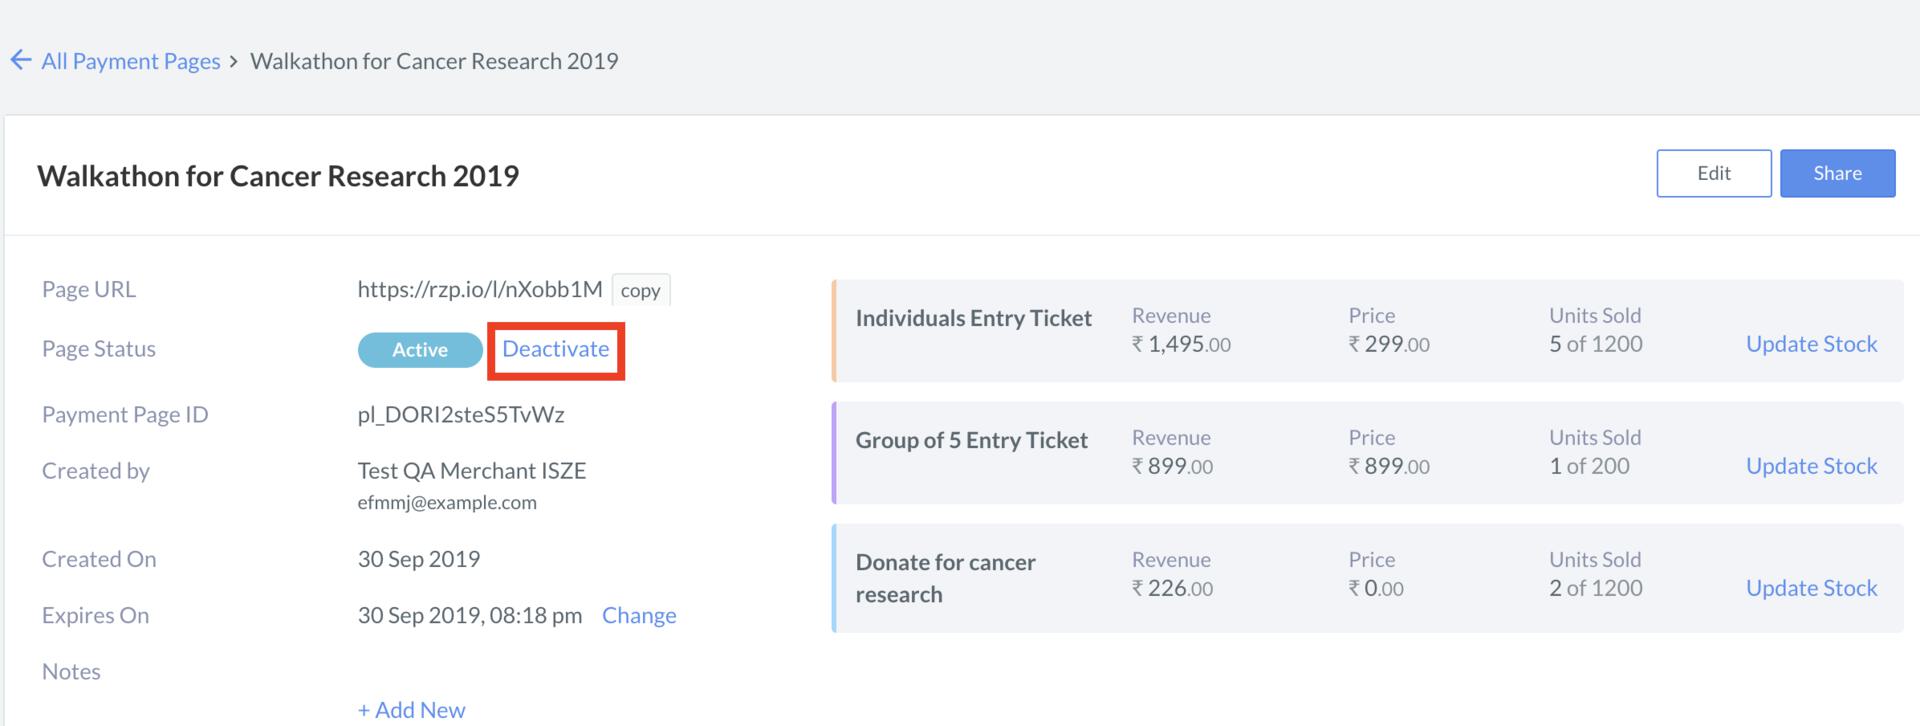
- In the Webstore details screen, go to Page Status field and click Deactivate.
- In the dialog box that appears, confirm the action by clicking the Yes, deactivate button.
Deactivation Using Expiry Date
You can also automate Webstore deactivation by setting an expiry date. You can set expiry date:- At the time of Creation
- After Creation
At the Time of Creation
Know how to set the Webstore’s expiry date at the time of creation.After Creation
To set the expiry mode:- Navigate to the Dashboard → Payment Pages.
- Select Razorpay Webstore.
- From the list, click the Webstore that you want to set expiry for.
- In the Webstore details screen, go to Expires On field and click Change.
- The field now shows a No Expiry checkbox selected. Unselect the box for the calendar to appear.
- In the calendar, set the date and time of expiry and click Save.
Handy TipsThe expiry time must be at least 15 minutes after current time.