

Available in🇮🇳 India
Razorpay Magic SSO (Single Sign-On) offers a seamless login experience, helping you enhance conversions and gain valuable insights into user behaviour.
Advantages
Advantages
- Seamless Login and Personalisation: OTP-based login with incentives like discounts, enabling auto-login across stores for a frictionless and personalised experience.
- Expanded Customer Data and Insights: Higher login rates provide you with deep insights into customer behaviour before checkout, improving engagement and retention.
- Improved Conversion Rates: Pre-logged-in users experience smoother checkouts, early coupon discovery, and personalised offers, driving higher sales.
- Stronger Abandoned Cart Recovery: Captures abandoned carts before checkout, allowing you to re-engage users who showed purchase intent.
- Customisable and Compliant: Fully brandable UI with explicit consent collection for retargeting, ensuring compliance and trust.
Get Started
Follow the steps given below:- Log in to the Dashboard and navigate to Magic Checkout → Setup & Settings.
- Navigate to Login with Razorpay Setup.
- We will verify the following eligibility requirements with your Shopify store:
Shopify Store Eligibility
Shopify Store Eligibility
If your store is on Shopify’s base plan and is not eligible, you must upgrade your plan. Follow the steps given below:
- Log in to the Shopify Store and navigate to Settings → Plan.
- Choose an upgraded plan and complete the payment.
- Recheck the Razorpay Dashboard, you will now be eligible to enable Login with Razorpay.
Legacy Customer Accounts
Legacy Customer Accounts
Follow the steps given below to configure your legacy customer settings:
- Log in to the Shopify Store and navigate to Settings → Customer accounts.
- In the Login Links section, select Legacy.
- Click Switch to legacy customer accounts to confirm.
- On the home page, navigate to Online Store → Preferences in the Sales channels section.
- Scroll down to the Spam Protection section and disable the Enable on login, create account and password recovery pages setting.
- Click Save.
Enable Login Settings
Enable Login Settings
Follow the steps given below to configure your Shopify login settings:
- Log in to the Shopify Store and navigate to Online Store → Preferences in the Sales channels section.
- Scroll down to the Spam Protection section and disable the Enable on login, create account and password recovery pages setting.
- Click Save.
Razorpay App Configuration
Razorpay App Configuration
Follow the steps given below if your Razorpay app is unable to create or merge customer:
- Log in to the Shopify Store and navigate to App and Sales in the Sales channels section.
- Click Develop apps and open the Magic Checkout app.
- Click configuration → Edit Admin API Integration
- Search for customer and select Write_Customer and read_customer.
- Search for Merge and select Write_customer_merge and read_customer_merge.
- Click Save.
Video Tutorial
Watch this video for a step-by-step walkthrough on enabling Login with Razorpay (SSO) on your Shopify store.Enable Login with Razorpay Setup
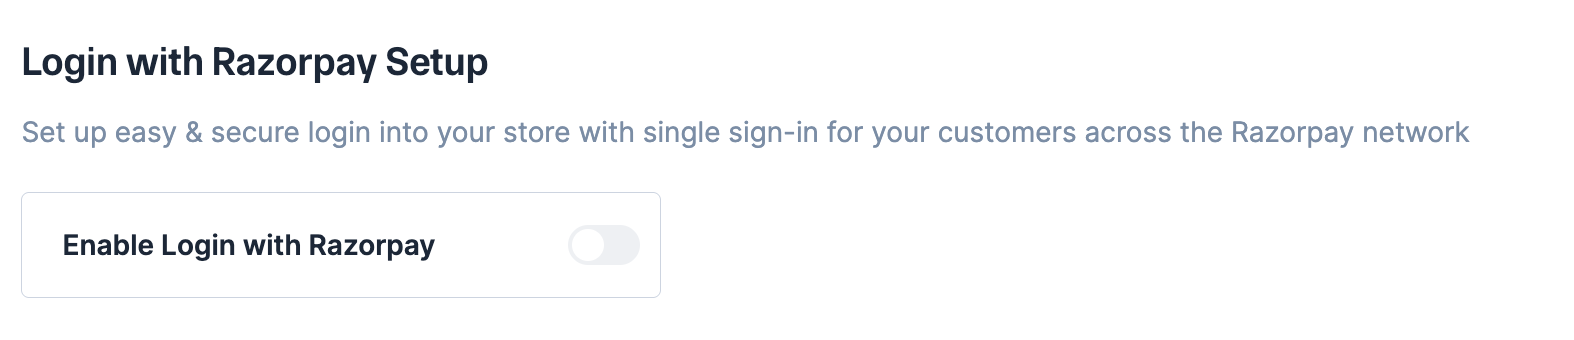
Set up easy login into your website with single sign-on for your customers across the Razorpay network. To enable login with Razorpay setup:- Log in to the Dashboard navigate to Magic Checkout → Setup & Settings.
- Navigate to Login with Razorpay Setup.
- Turn on Enable Login with Razorpay.
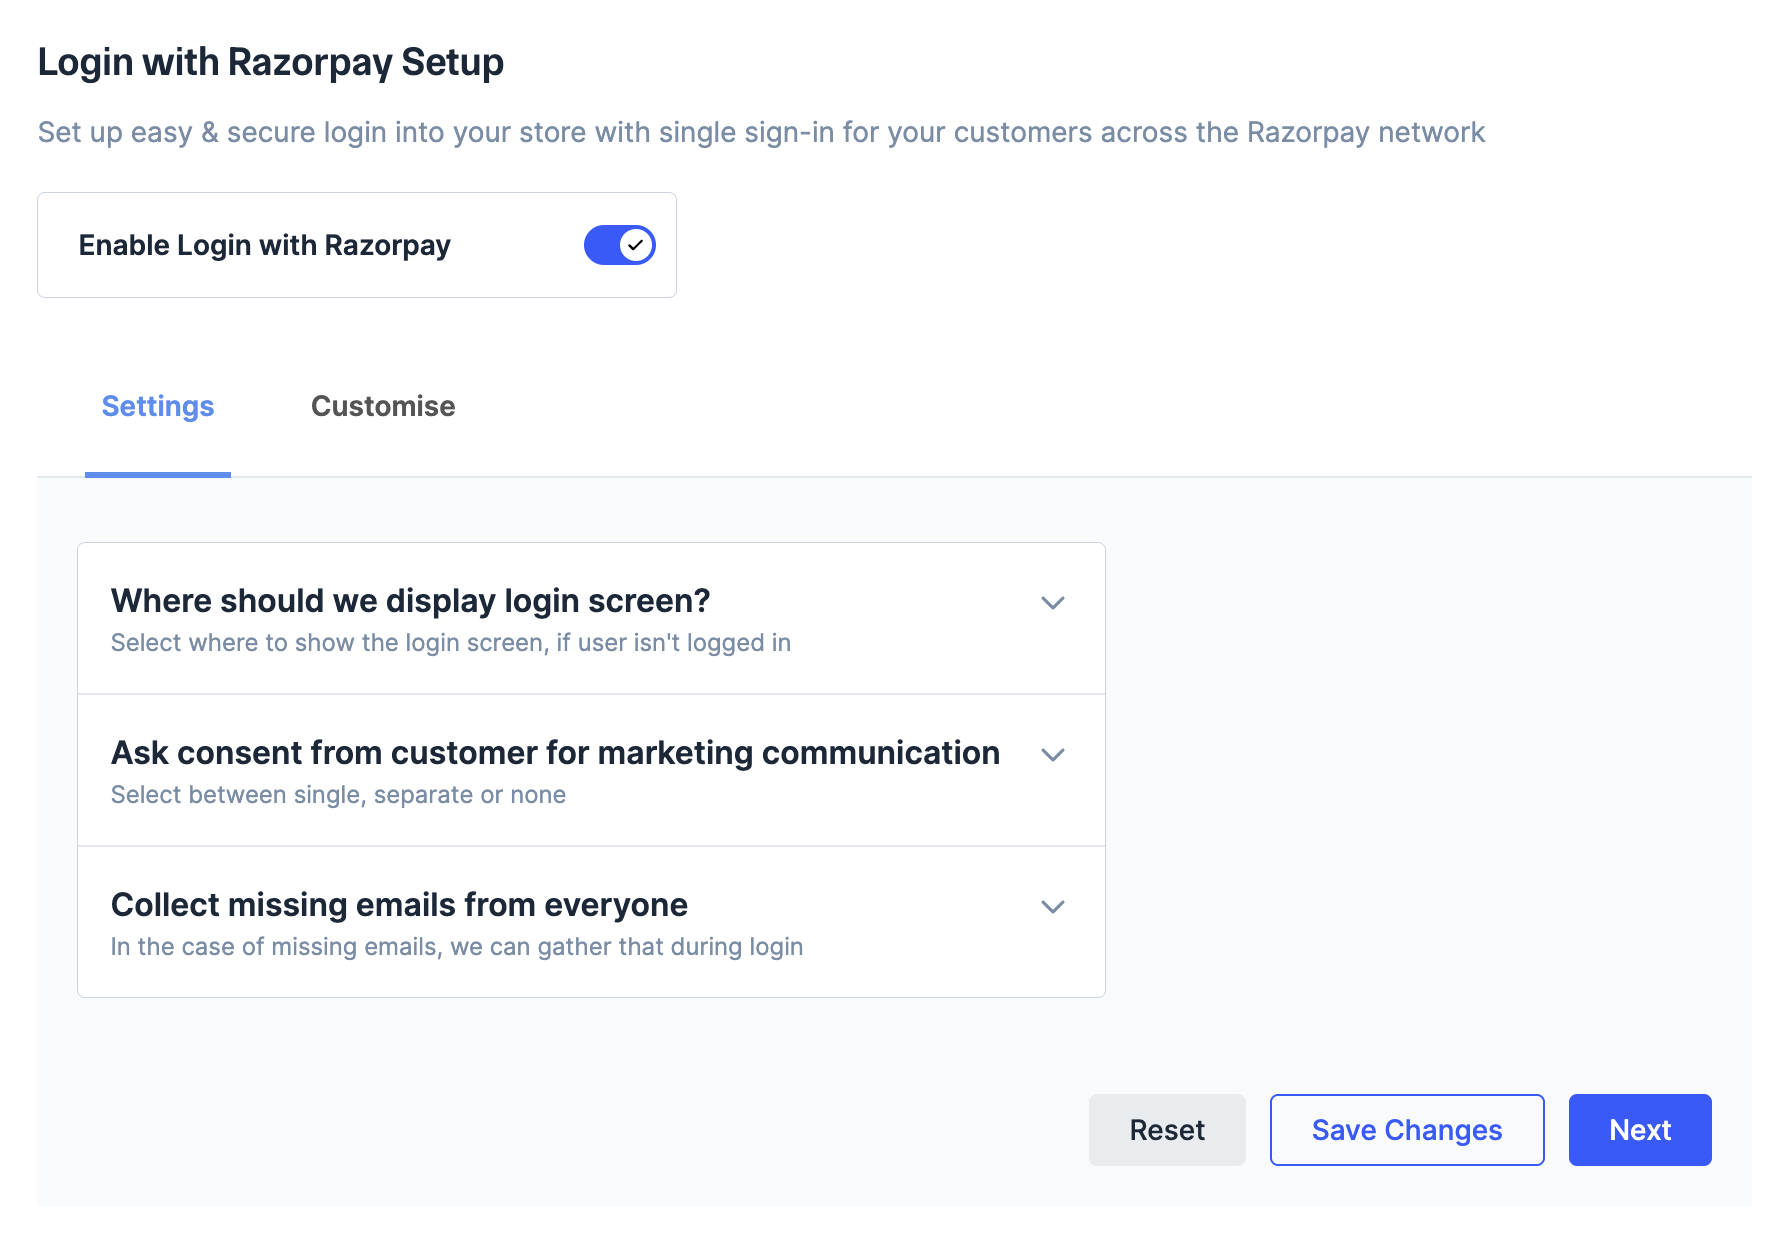
- You will be able to view the following options for the SSO widget:
Video Tutorial
Watch this video to know how to customise the Login with Razorpay (SSO) widget.Settings
You can configure the following:Where should we display login screen?
Where should we display login screen?
Select where you want to show the login screen, if the user is not logged in.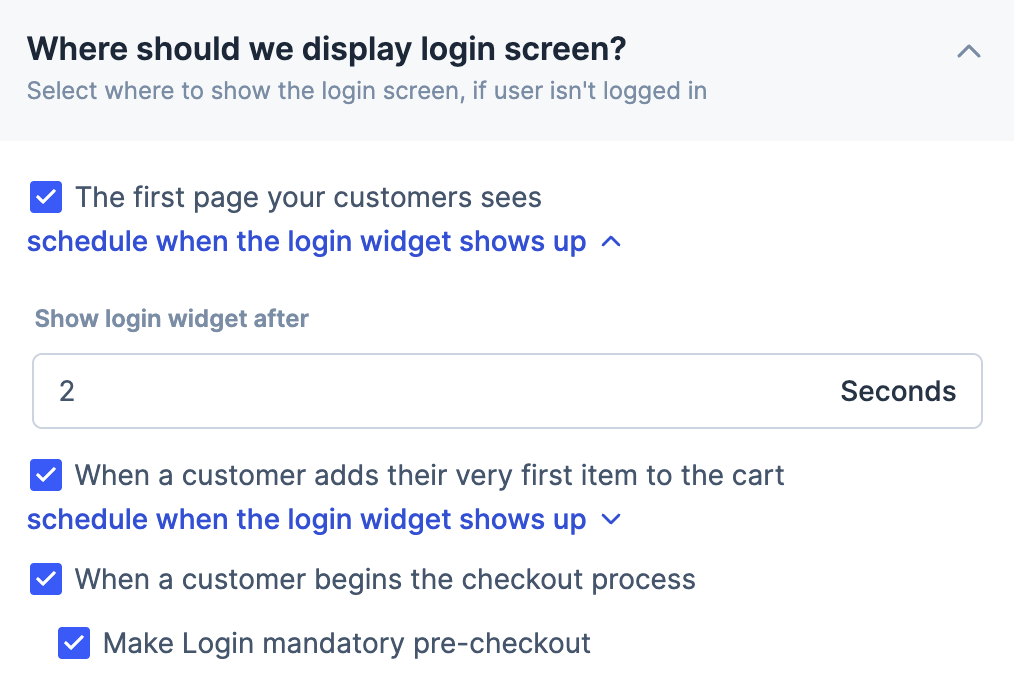
- The first page your customer sees: Useful for encouraging early login during browsing. Select the checkbox and schedule when the login widget shows up (in seconds). For example, show the login widget 5 seconds after the page loads.
- When a customer adds their very first item to the cart: Prompt login after the customer adds their first item to the cart. Select the checkbox and schedule when the login widget should show up (in seconds).
- When a customer begins the checkout process: Display the login screen when they proceed to checkout, just before payment. Select the checkbox.
- Make Login mandatory pre-Checkout: Ensure that users cannot proceed to checkout without logging in. Select the checkbox to enforce mandatory login.
Ask consent from customer for marketing communication
Ask consent from customer for marketing communication
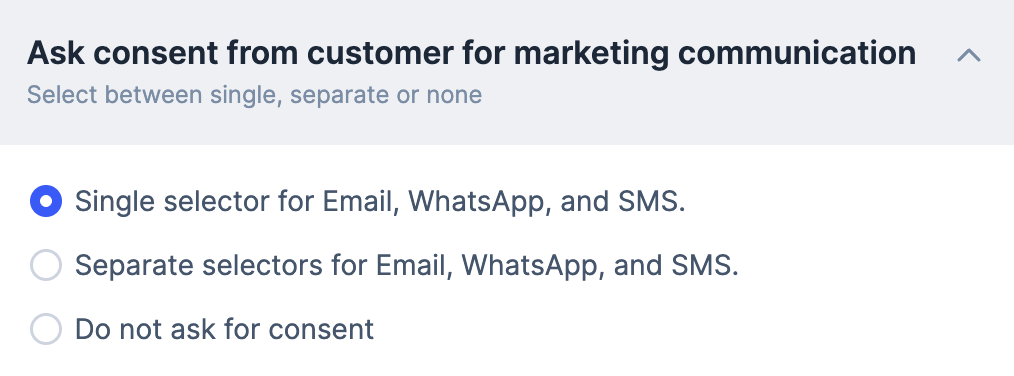
Select how you want to seek permission from your customer for marketing communication.
- Single selector for Email, WhatsApp, and SMS: Use one unified checkbox to capture consent for all three channels together.
- Separate selectors for Email, WhatsApp, and SMS: Use separate checkboxes to capture consent for each channel individually.
- Do not ask for consent: No explicit consent prompt is displayed for marketing communications.
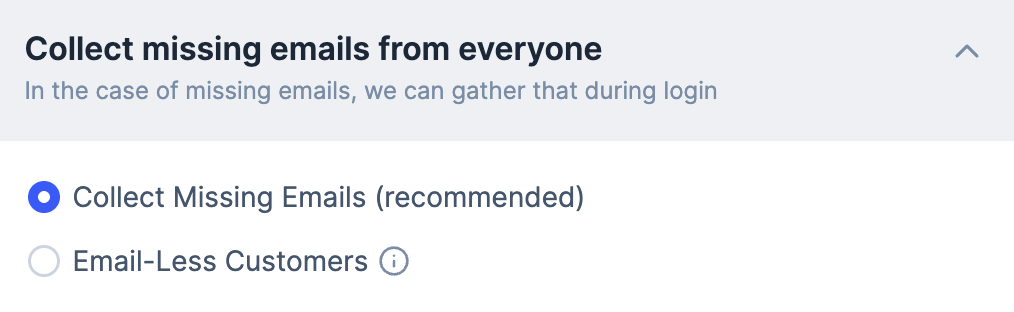
Collect missing emails from everyone
Collect missing emails from everyone
You can choose to collect missing emails during the login.
- Email-Less Customers: Allow users to log in without providing an email address.
- Collect Missing Emails (recommended): Prompt users to enter their email during login if it is not already available.
Handy TipsThe widget includes a consent prompt for users at the bottom, with terms and conditions listed.
Customise
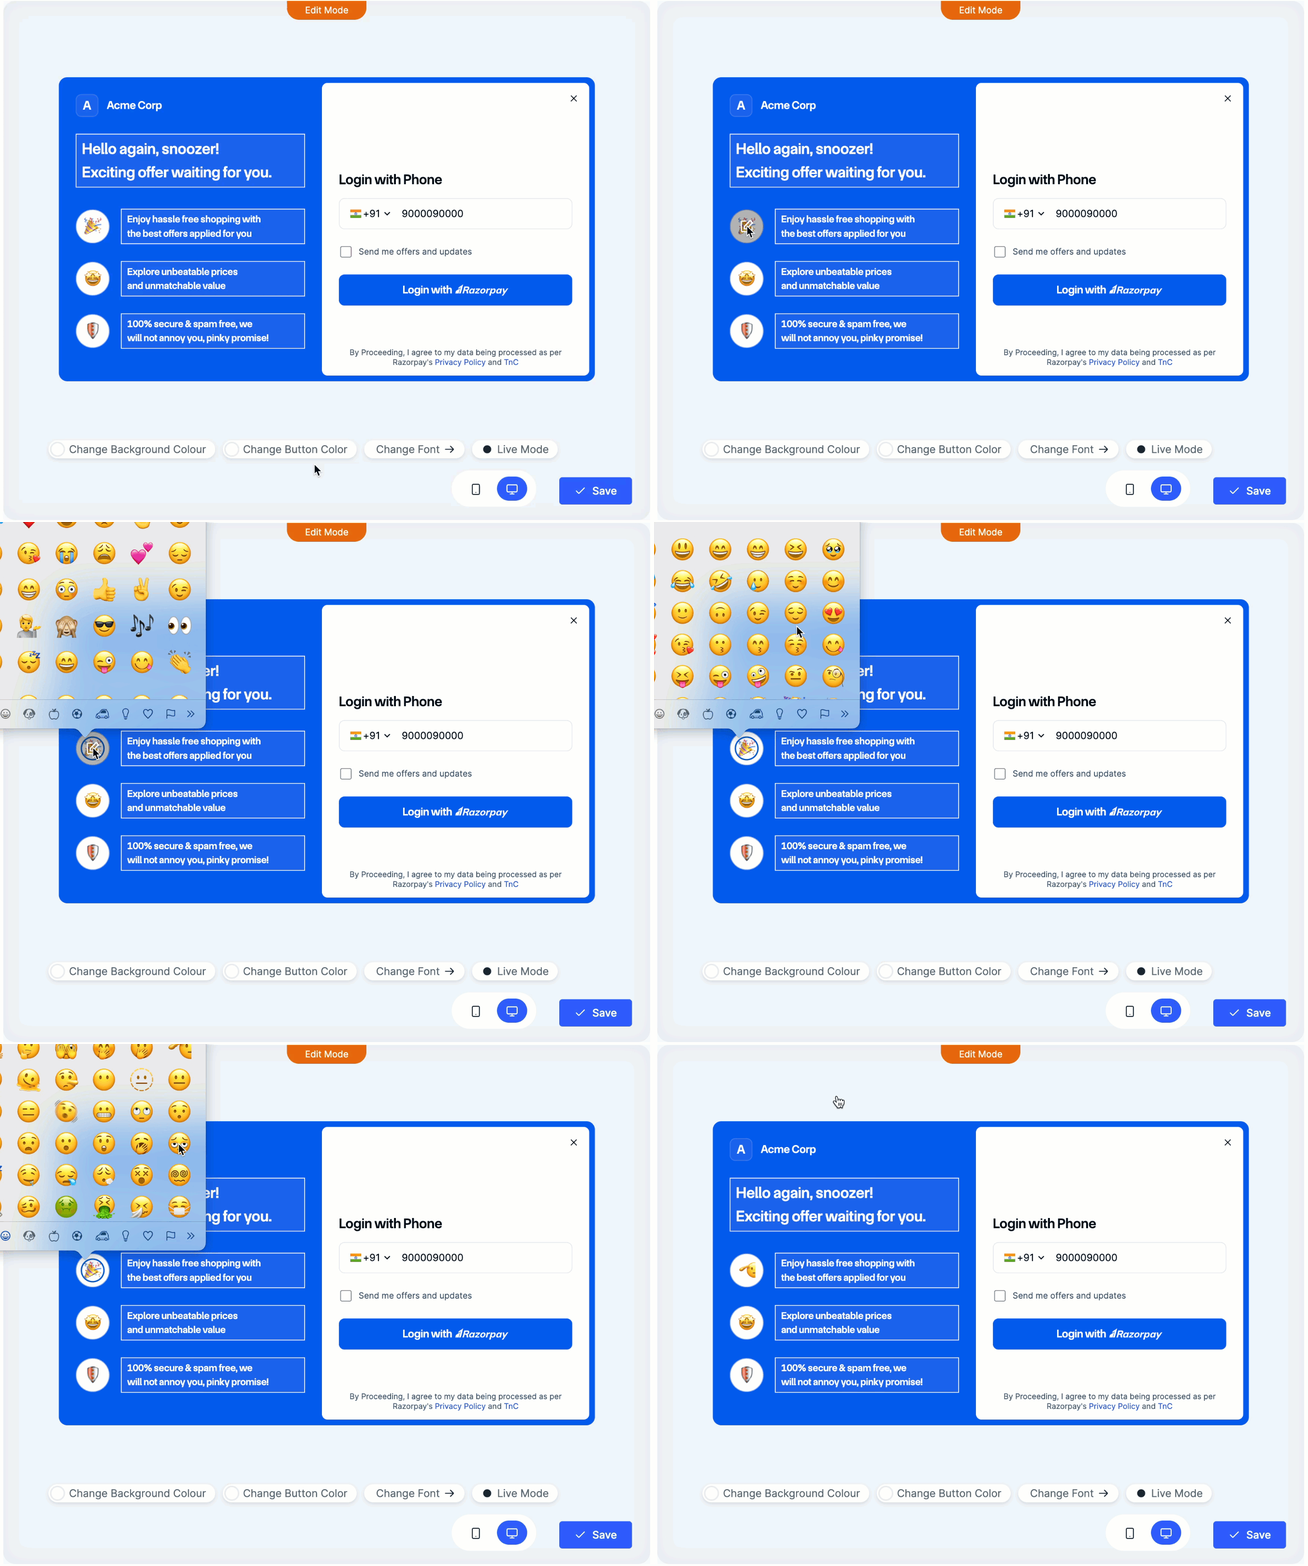
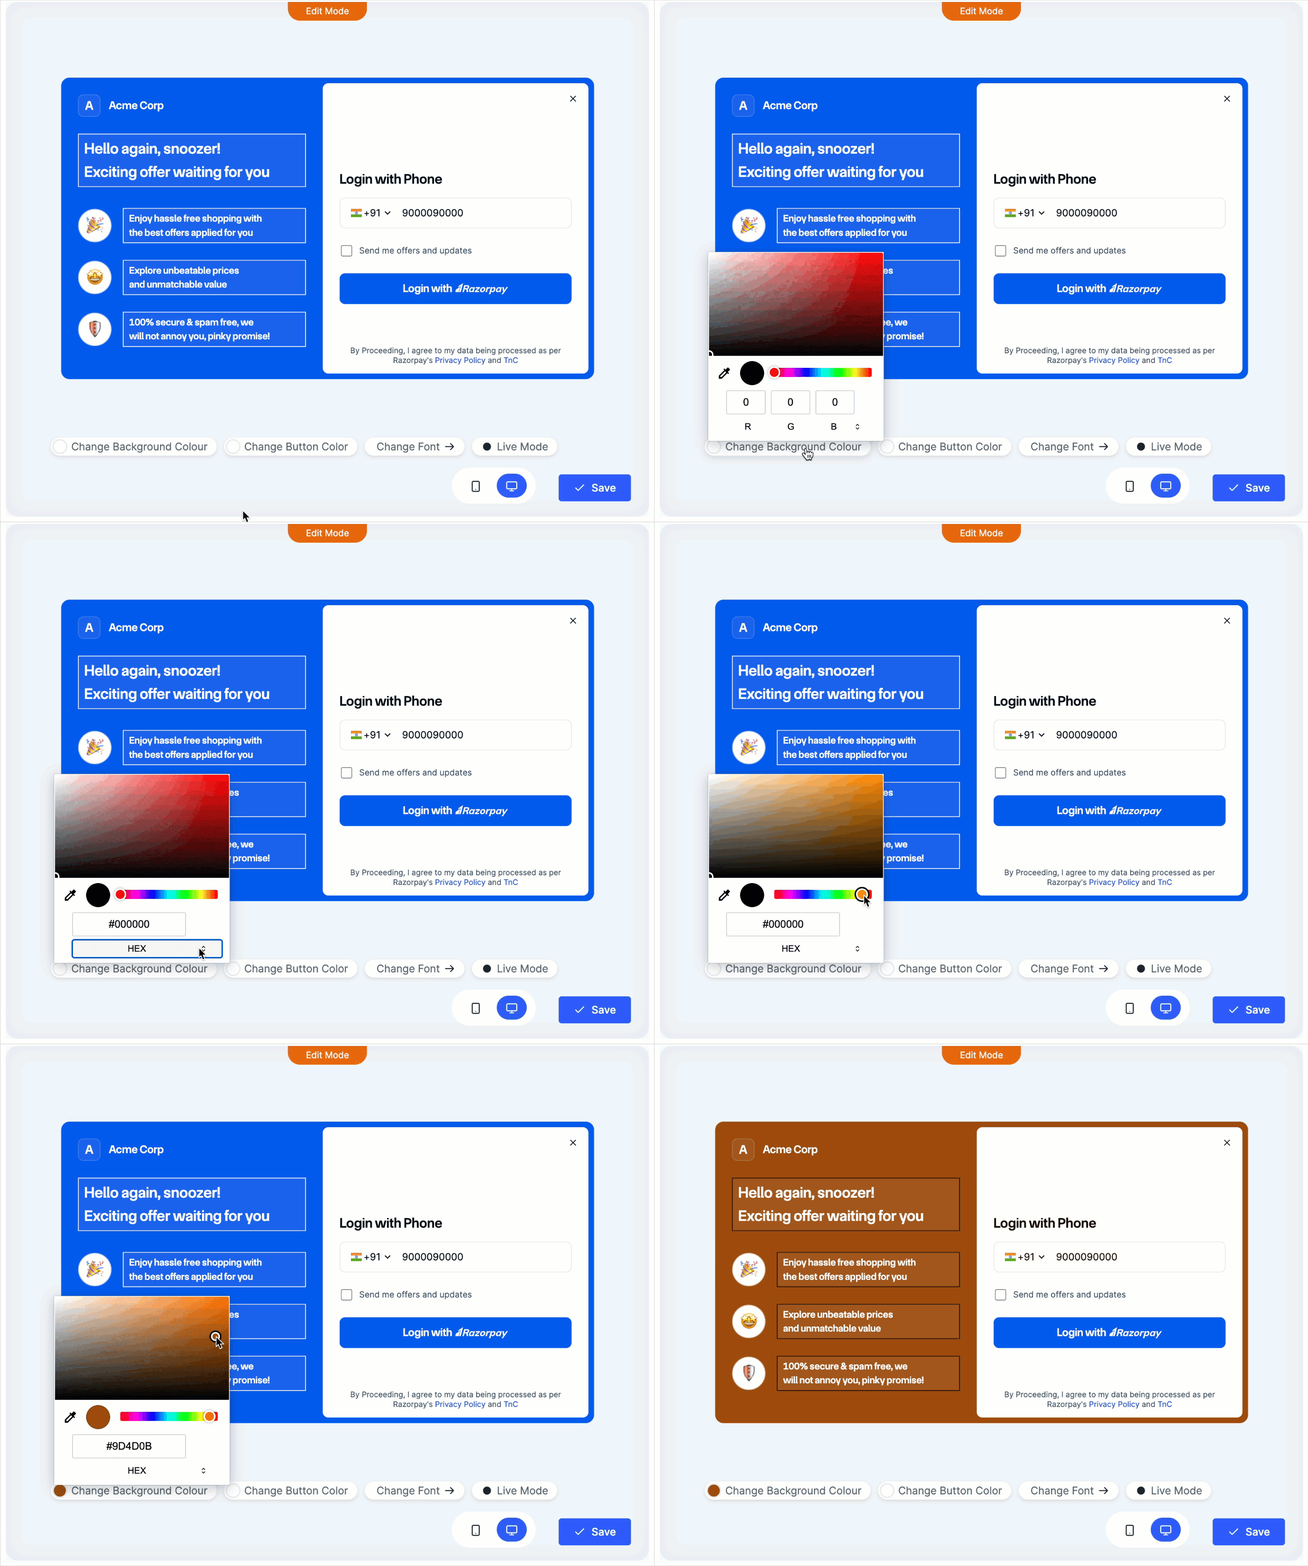
Customise the widget to suit your brand. The default configuration flows from the configurations on checkout settings.- In the Customise section, the preview turns into edit mode. You can edit the following:
- Widget Heading
- Emojis
- Change Background Colour
- Change Font
Enter the widget heading as per your preference.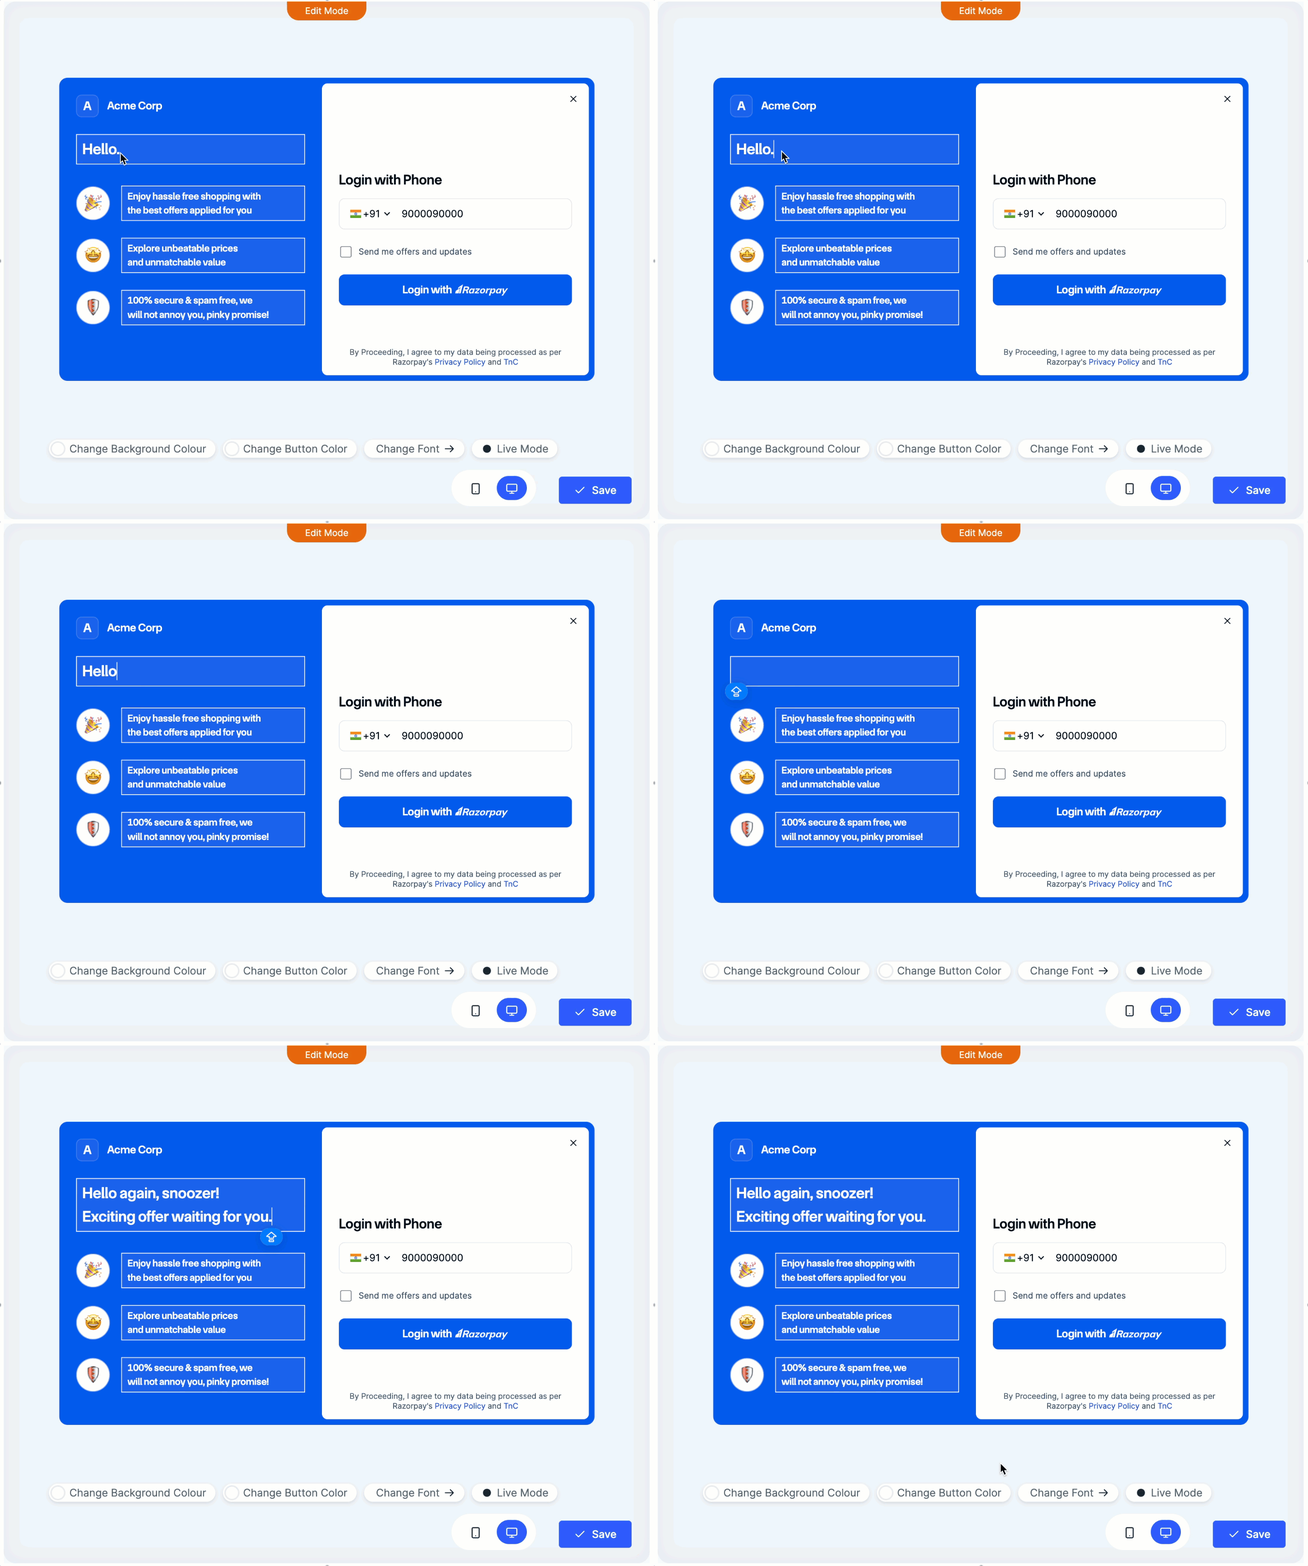
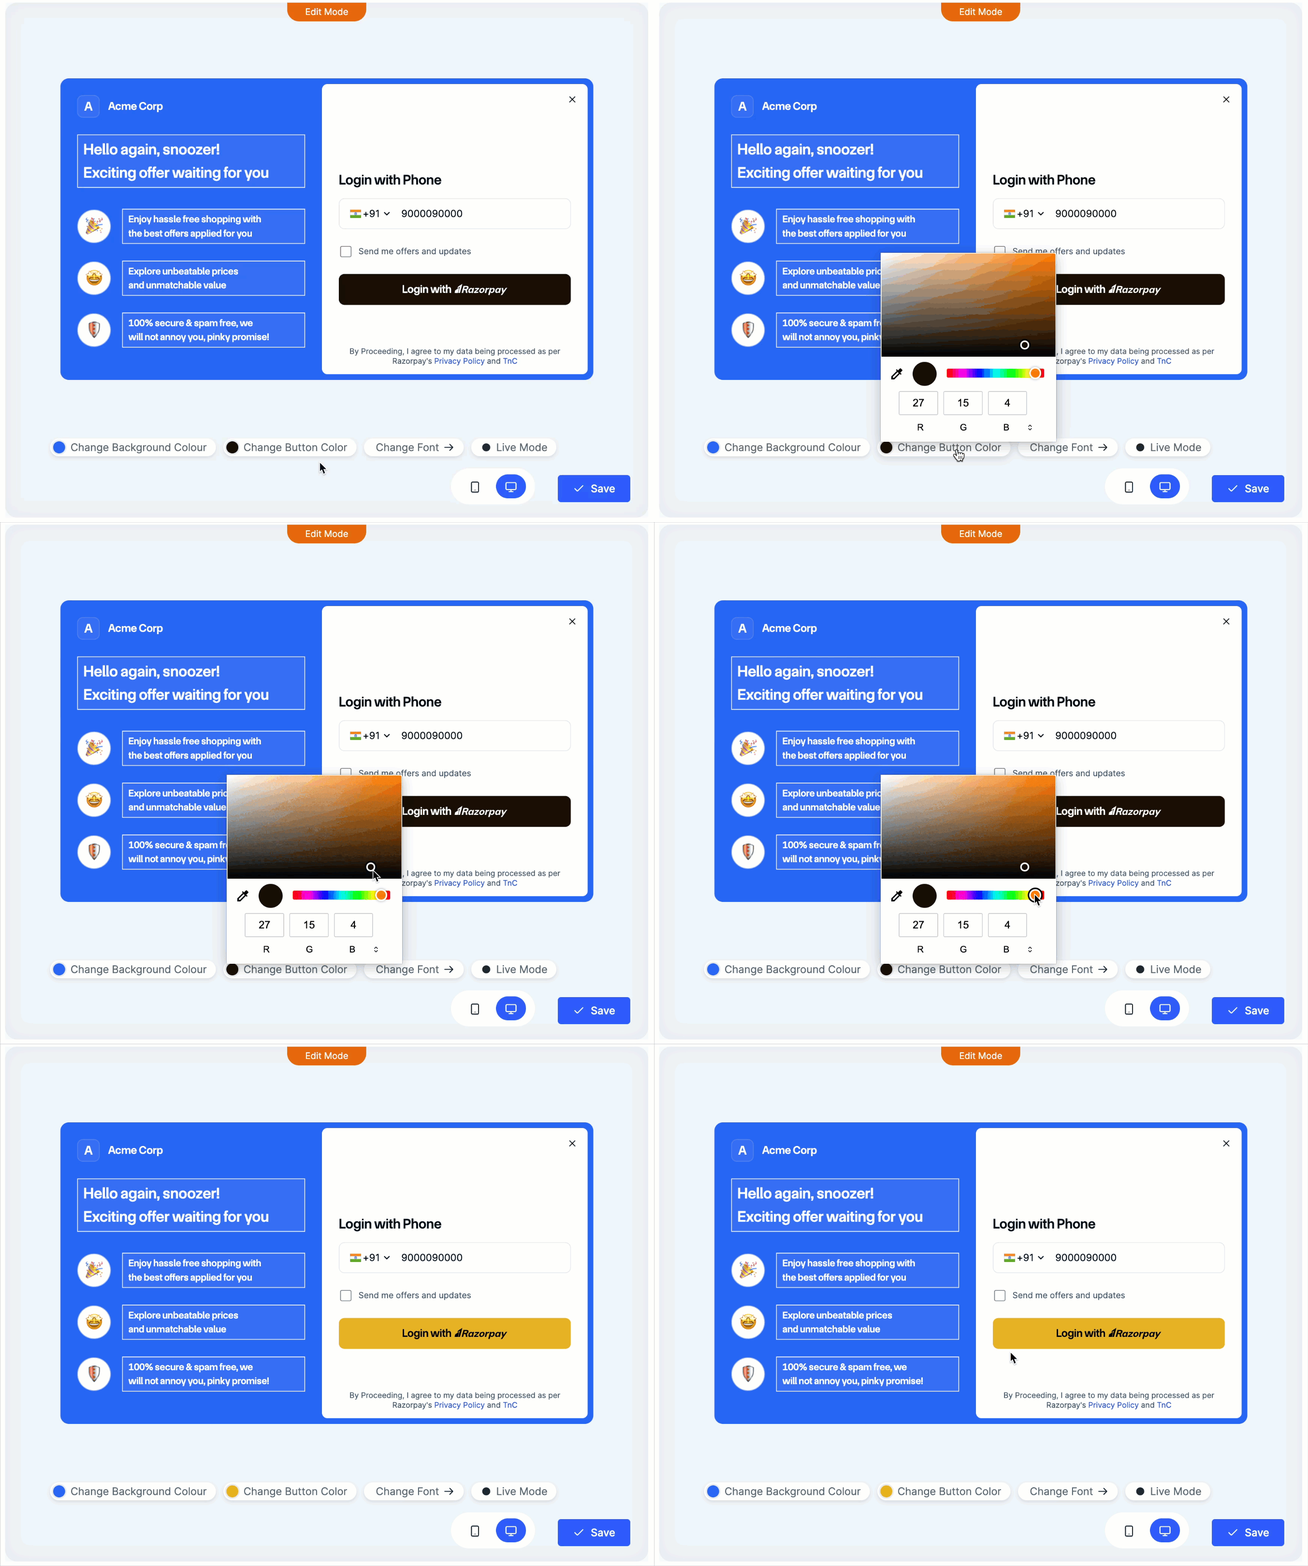
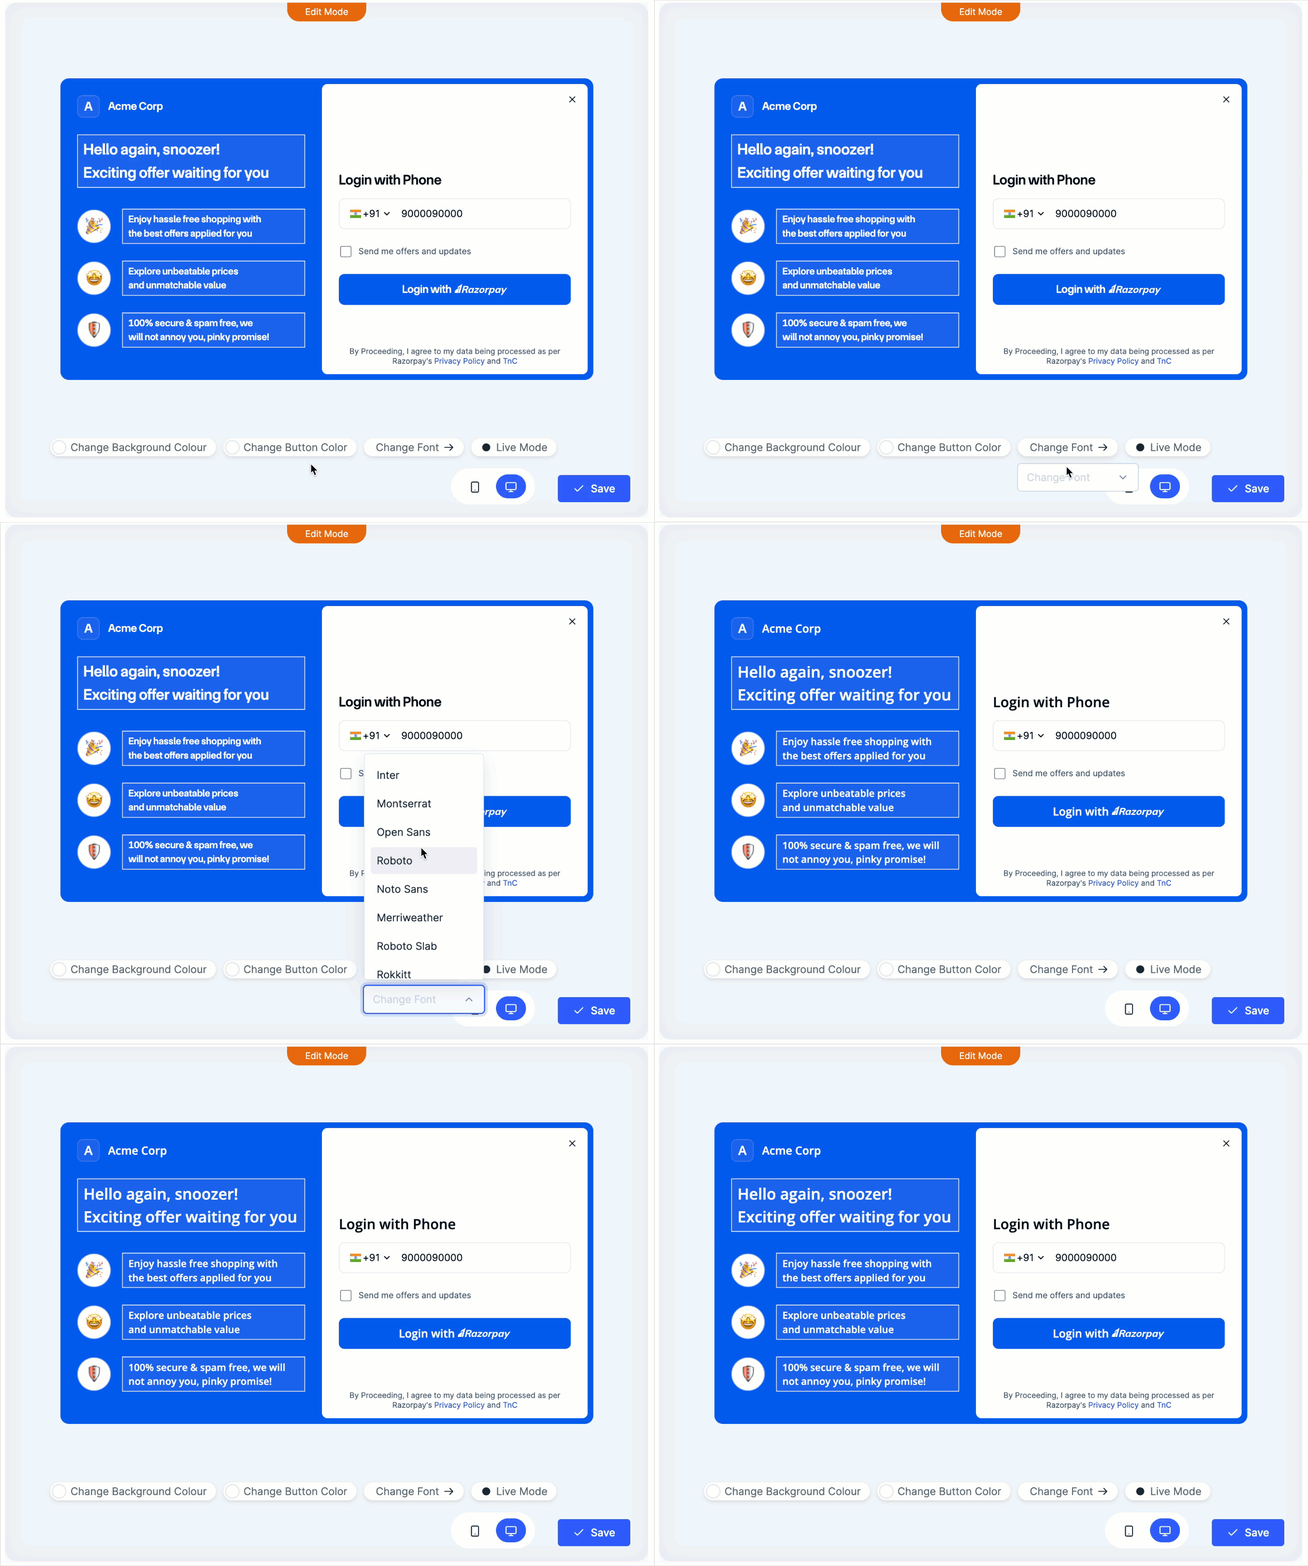
- Click Save.
Handy Tips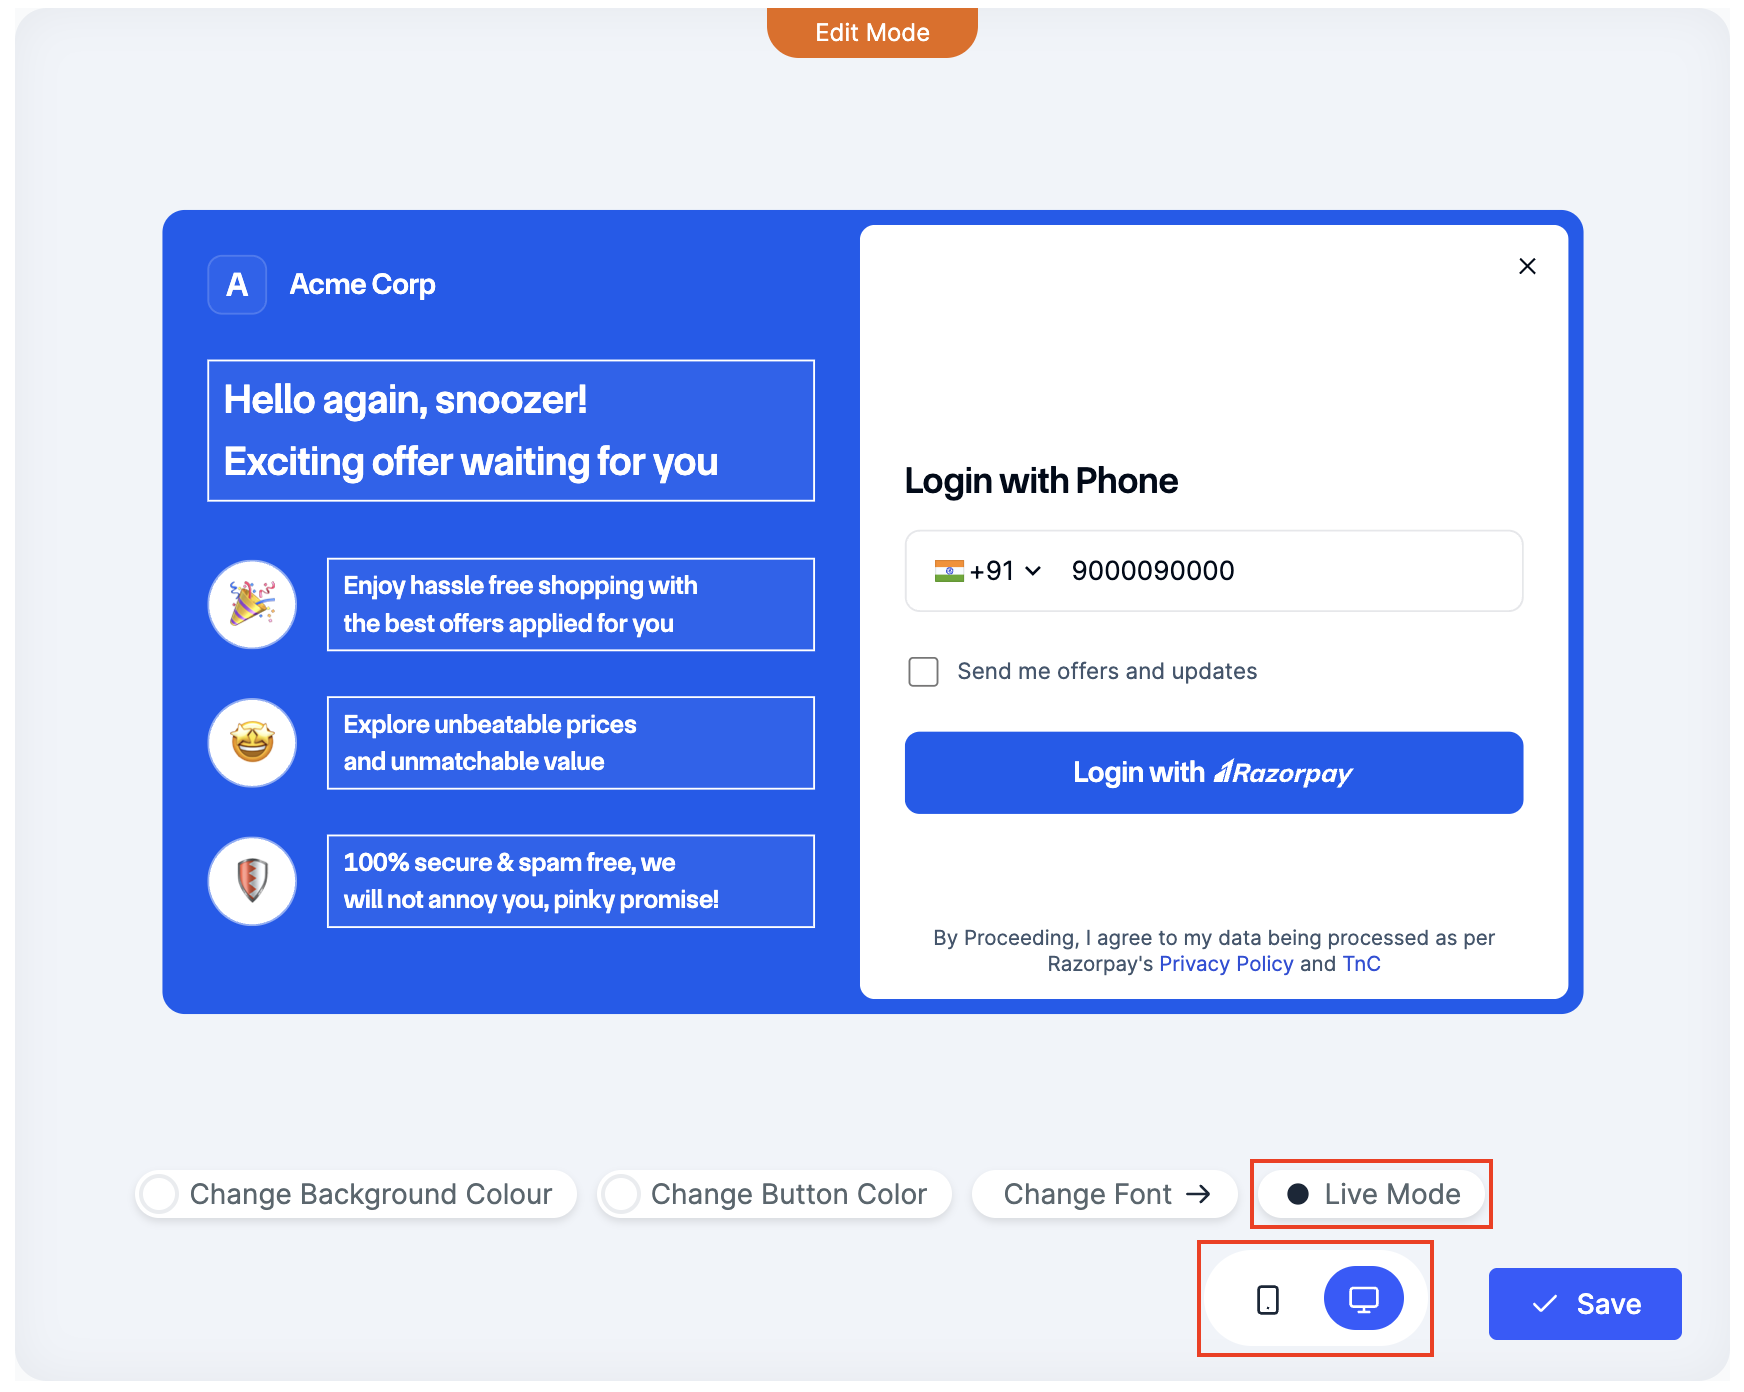
- You can switch between mobile and desktop views to preview changes.
- You can also preview how the widget will appear on Live Mode.
Login Rewards
You can offer discounts or coupons to encourage customers to log in to your website.Handy TipsThis is an on-demand feature. Please raise a request with our Support team to get this feature activated on your Razorpay account. Ensure your coupon is created on the Coupon Engine and include the following details in your request:
- Coupon code
- A brief description
- Any additional message you want to display