

Available in🇮🇳 India
You can use the bulk upload feature to create Contacts and Fund accounts in bulk from the Dashboard. You can also use this feature to add Fund account details to existing Contacts. Export the existing Contacts and add the beneficiary details.
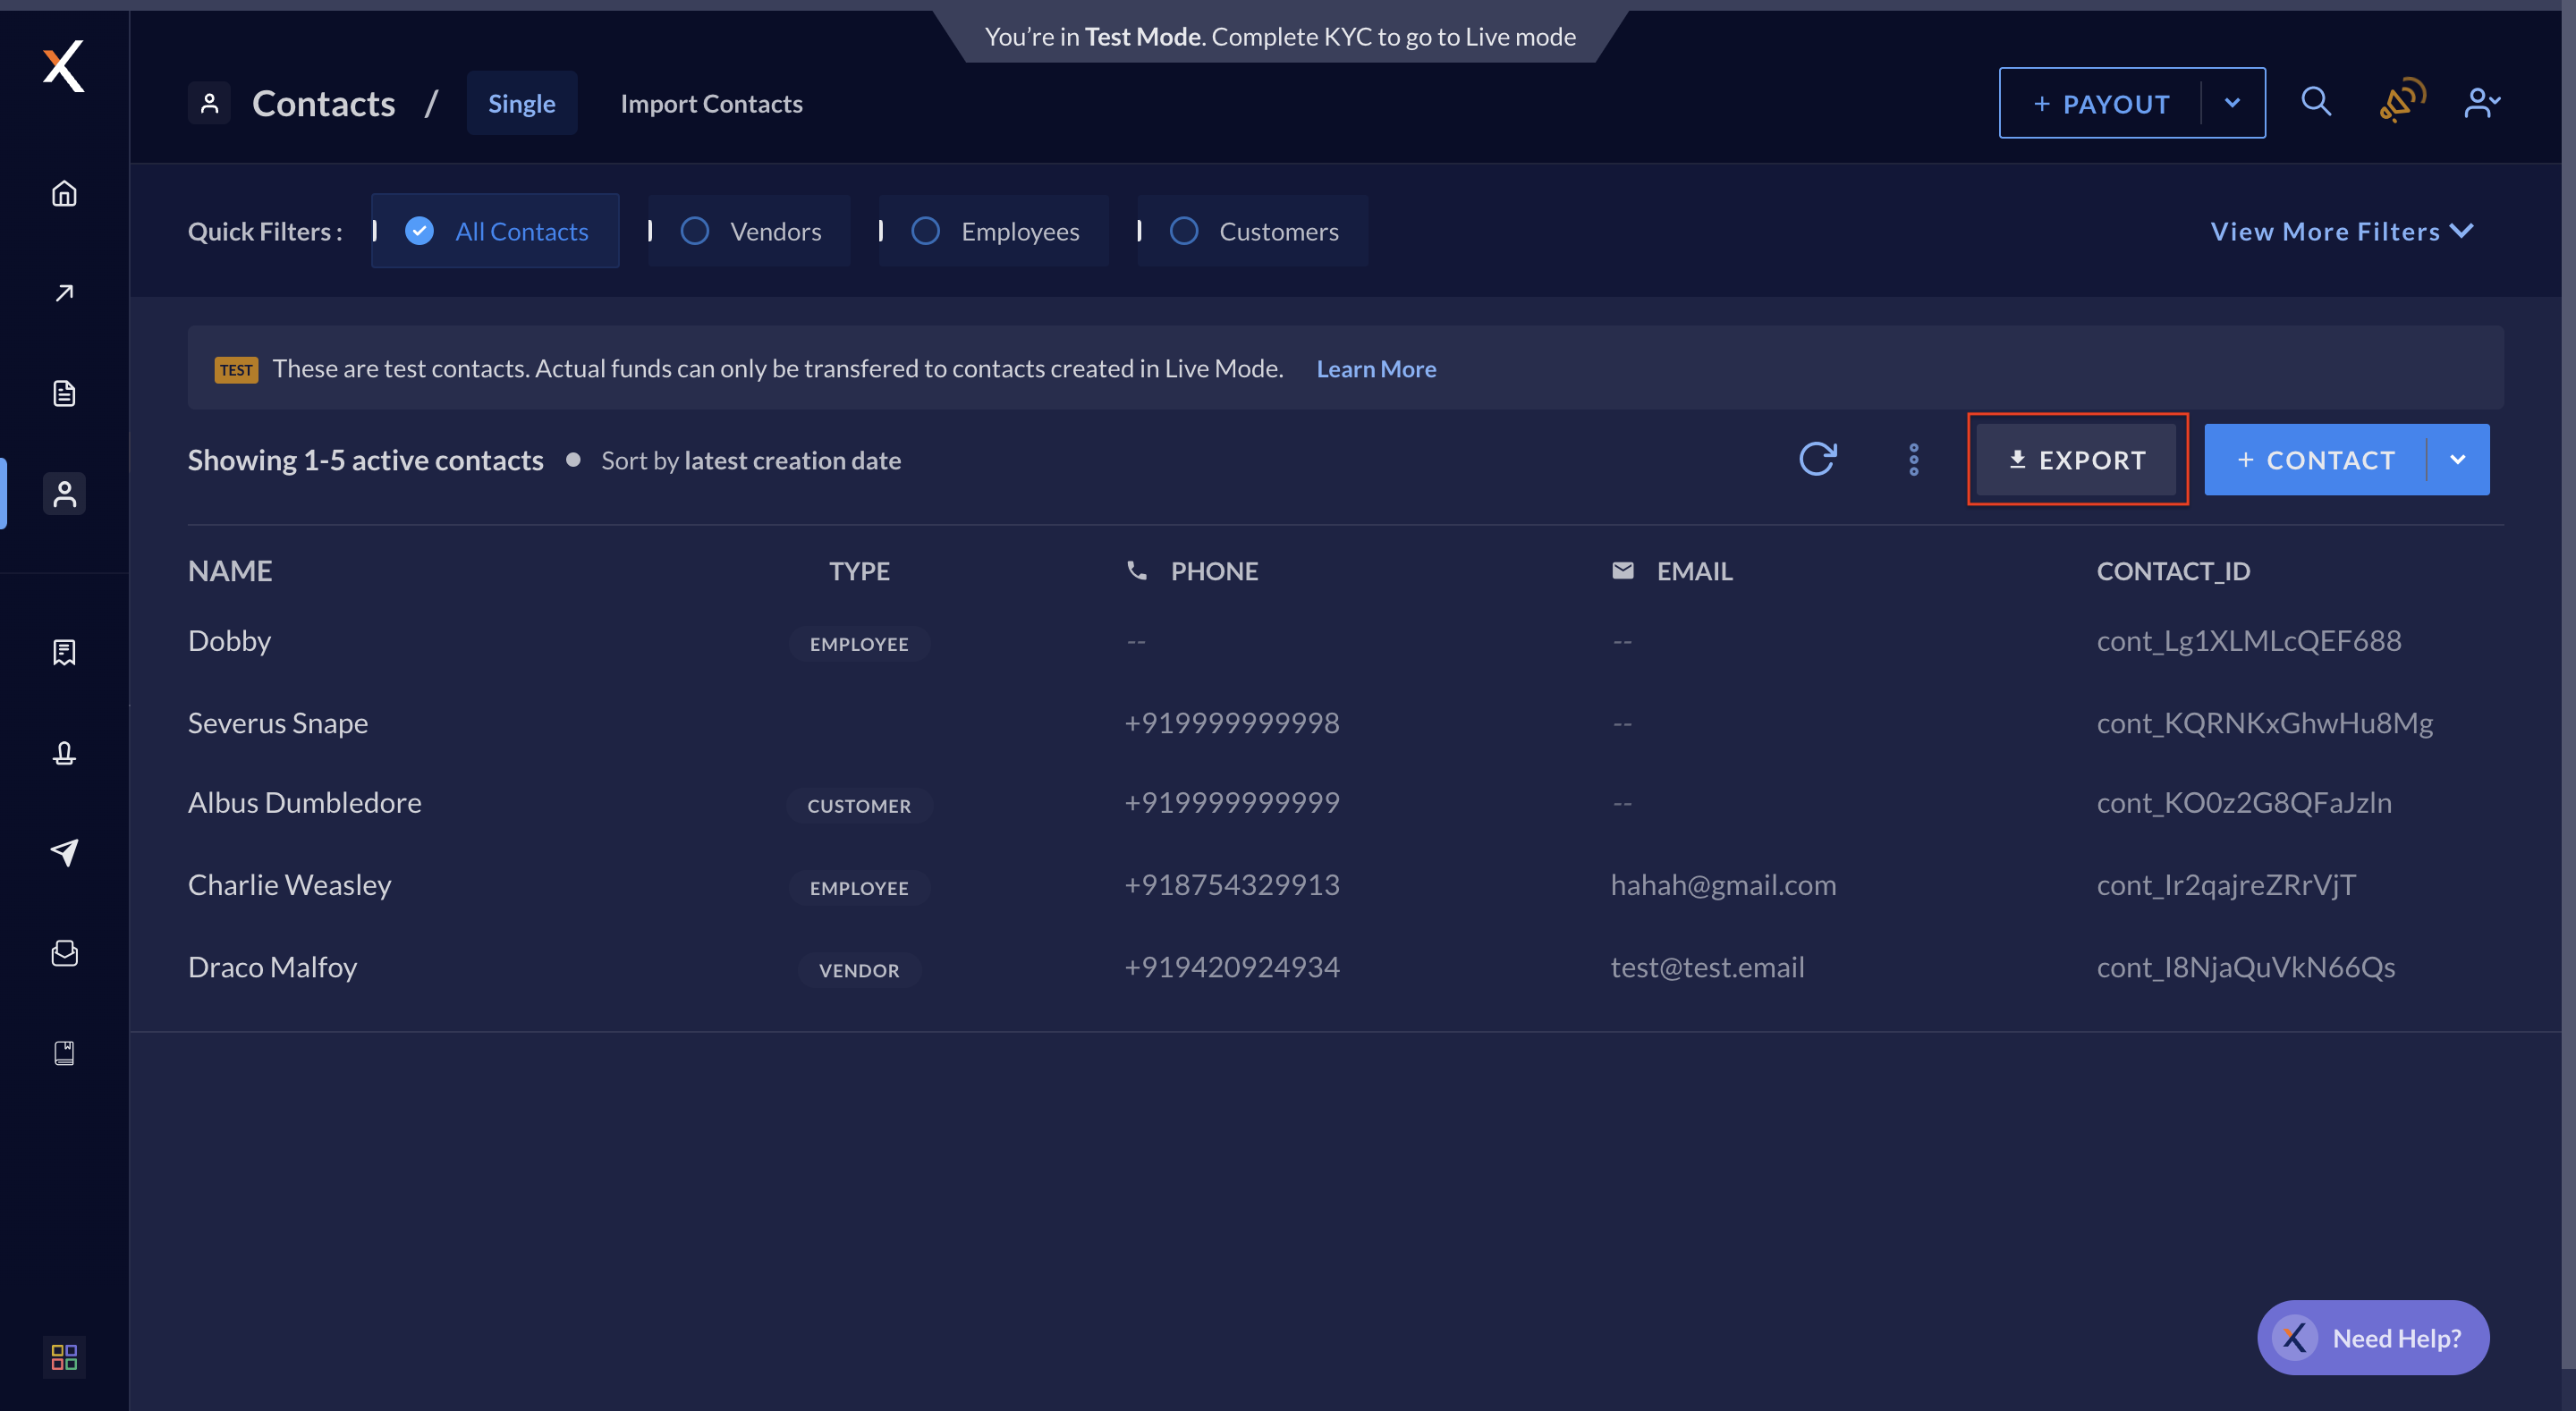
Bulk Upload Contacts and Fund Accounts
Create Contacts and their respective Fund accounts in bulk. Check the sample template to input the details, how to upload the template and the required fields. To create Contacts and Fund accounts in bulk:- Download the required sample template.
- Add the required data in the template.
- Upload the template via the Dashboard.
Sample Template
Download .csv file Sample TemplateRequested Fields in Template
Use the sample template to create Contacts and Fund accounts using bulk upload. This contains some example data to help you.Fields and Descriptions
Fields and Descriptions
The table below lists the various fields in the template and gives a brief description of each field.
Possible values:
The following classifications are available in the system by default:
Fund Account Type conditionally mandatory
: string The type of account to be linked to the Contact id. Possible values:bank_accountvpa
Fund Account Name conditionally mandatory
: string Name of the account holder as per bank records. For example, Gaurav Kumar.Fund Account Ifsc conditionally mandatory (Mandatory if Fund Account Type = bank_account)
: string Bank IFSC of the account number. For example, HDFC0000053.Fund Account Number conditionally mandatory (Mandatory if Fund Account Type = bank_account)
: string Beneficiary account number. For example, 765432123456789.Fund Account Vpa conditionally mandatory (Mandatory if Fund Account Type = vpa)
: string The virtual payment address.For example, gauravkumar@upi.Fund Account Phone Numberoptional
: number Phone number of the contact associated with the given Fund account.Fund Account Email optional
: string Email of the contact associated with the given fund account.Fund Account Provider optional
: string The bank/wallet providing the user with a fund account.Possible values:
amazonpay
Contact Id conditionally mandatory
: number This is the unique Contact id to which payouts are to be made.Contact Type mandatory if Contact id is not given
: string The classification of Contact that is being created. For example, employee.Handy Tips
- Additional classifications can be created via the Dashboard.
- This field is case-sensitive.
vendorcustomeremployeeself
Contact Name conditionally mandatory
: string Name of the person to whom payout is to be made. For example, Gaurav Kumar.Contact Email mandatory
: string Email address of the Contact to whom the payout has to be made.Contact Mobile mandatory
: number Mobile number of the Contact to whom the payout has to be made.Contact Reference ID optional
: string Reference ID of the Contact, if any.notes[example text] optional
: string Notes for the details being imported. You can replace the example text in the header with text of your choice. You can add up to 15 notes. Text in the header is the title and text in the cell is the value for the note.Upload and Process Bulk File
To upload the bulk file containing Contacts and the respective Fund accounts:
To upload the bulk file containing Contacts and the respective Fund accounts:
- Log in to your RazorpayX Dashboard.
- Navigate to Contacts → Import Contacts. Here, click + IMPORT.
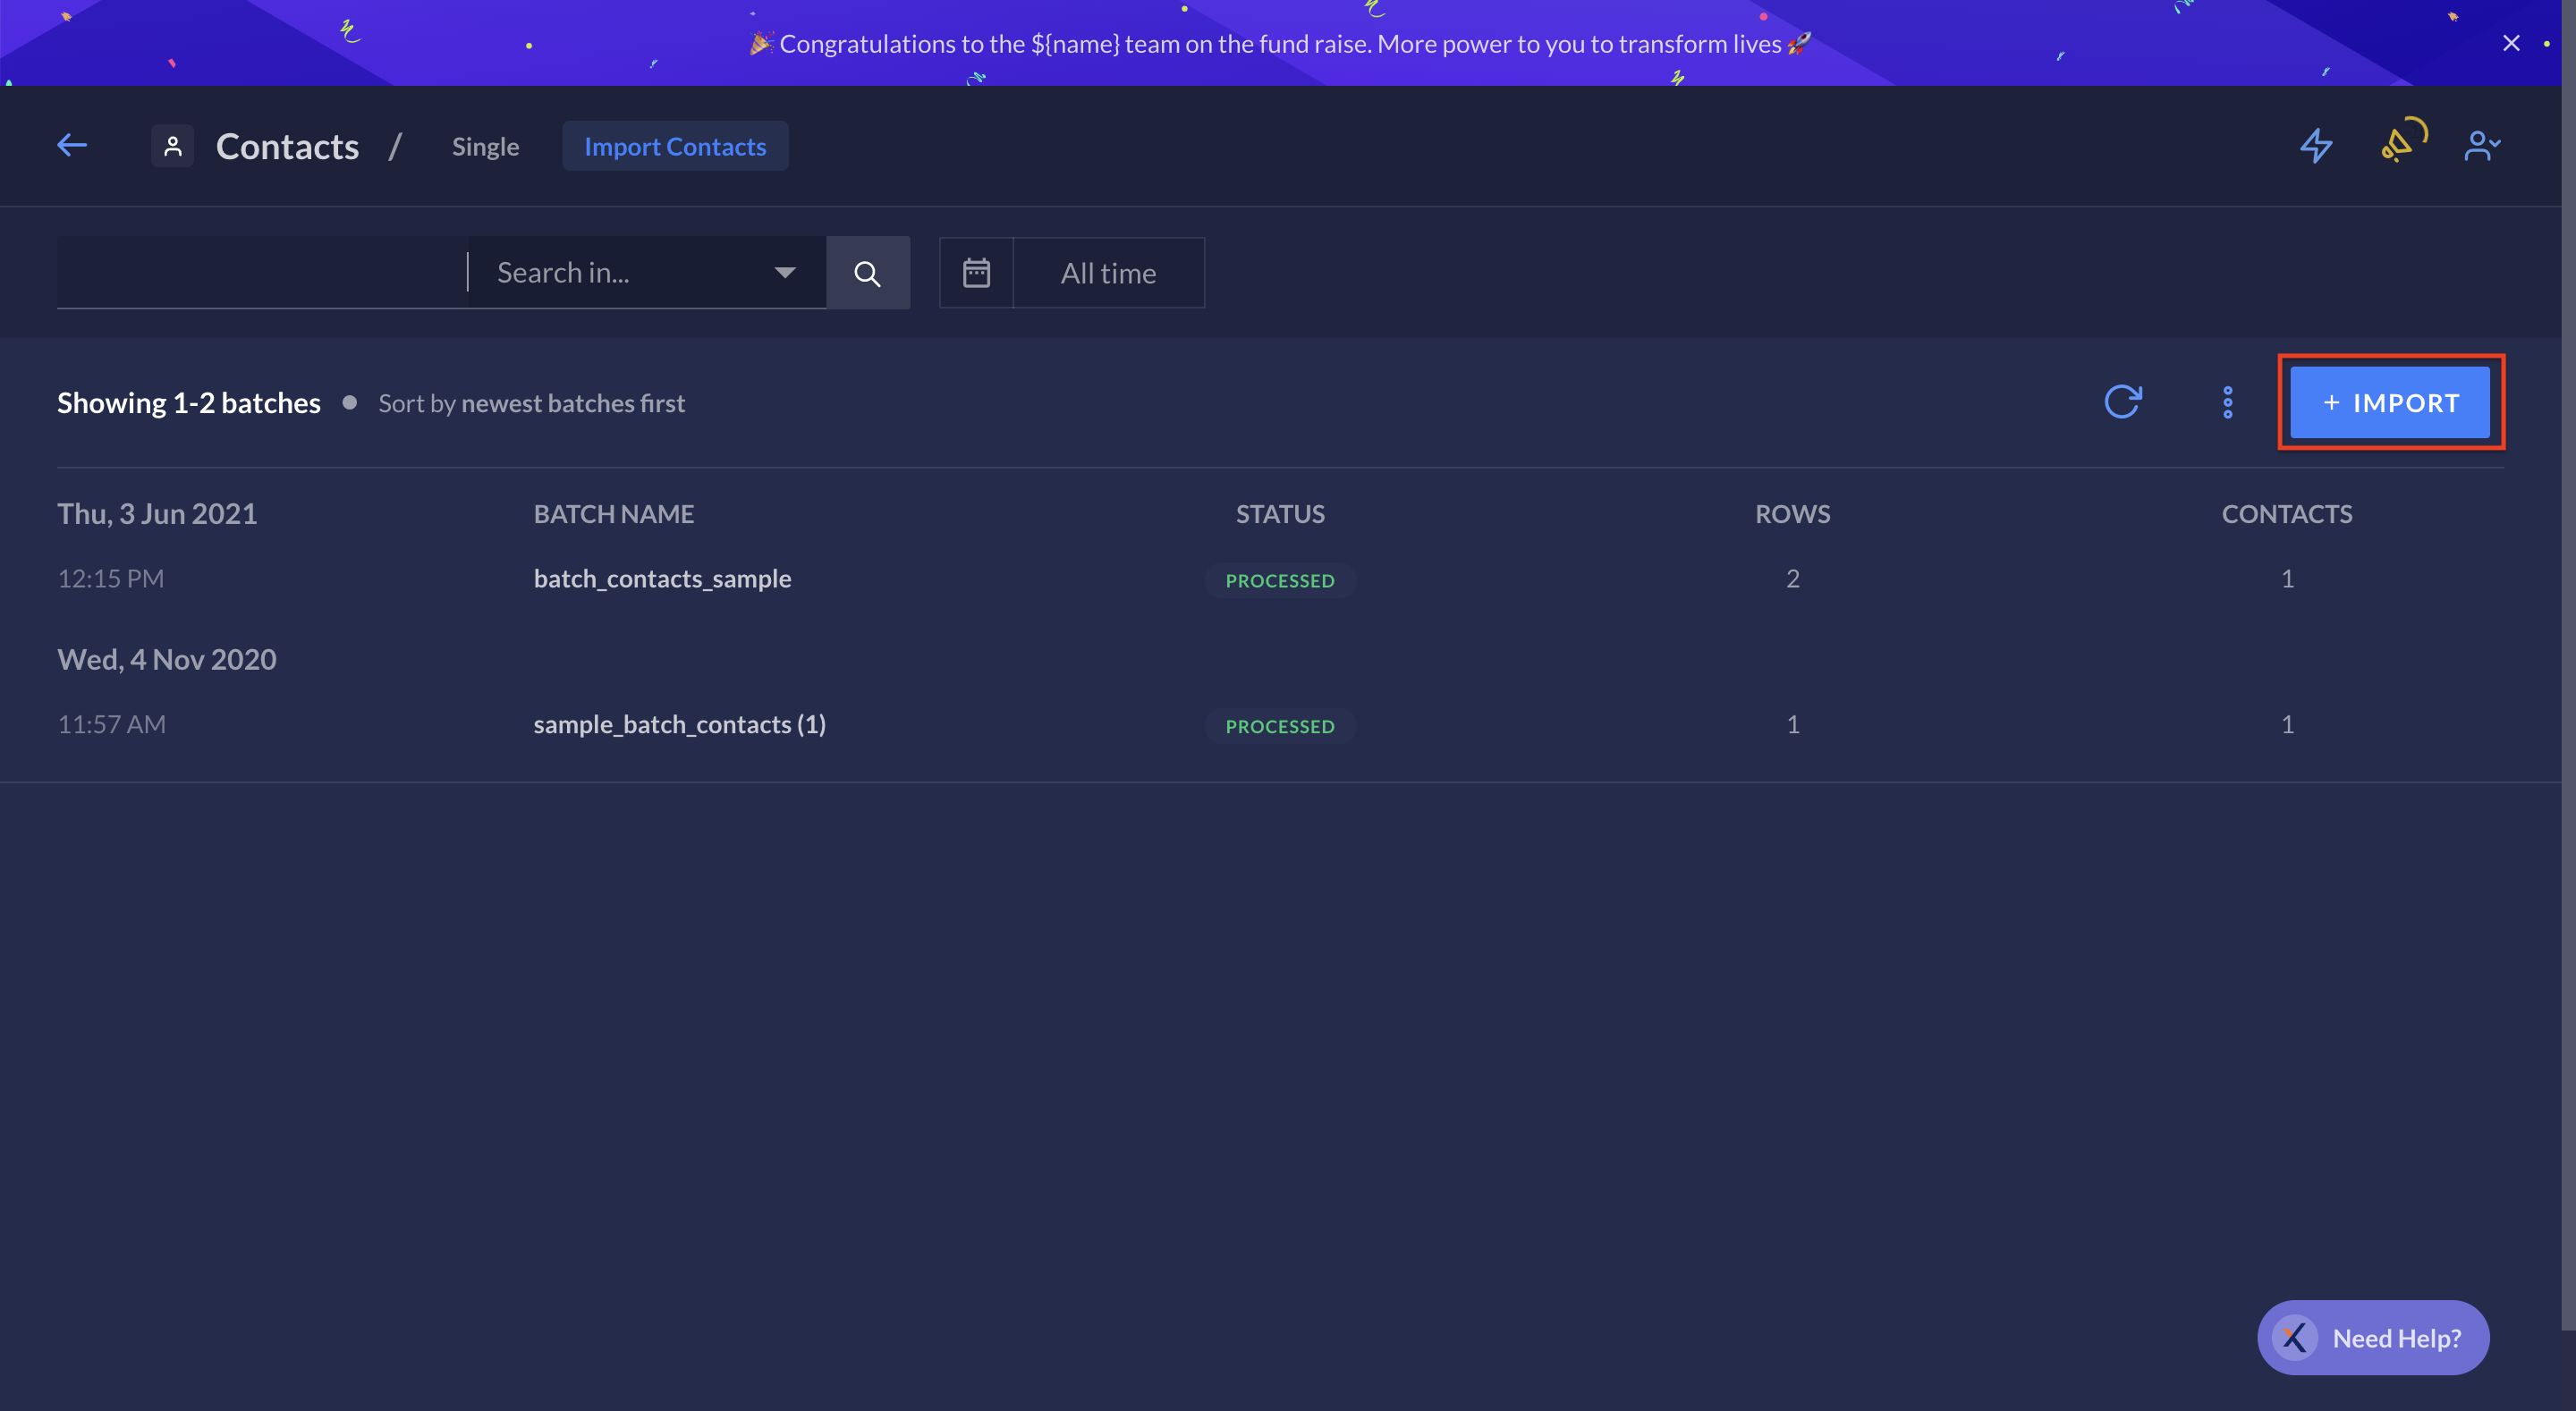
- Click DOWNLOAD SAMPLE FILE.
- Add the required data to the sample template file. Ensure the data is formatted correctly and save the file.
- Select Click to Upload and choose the file you want to import.
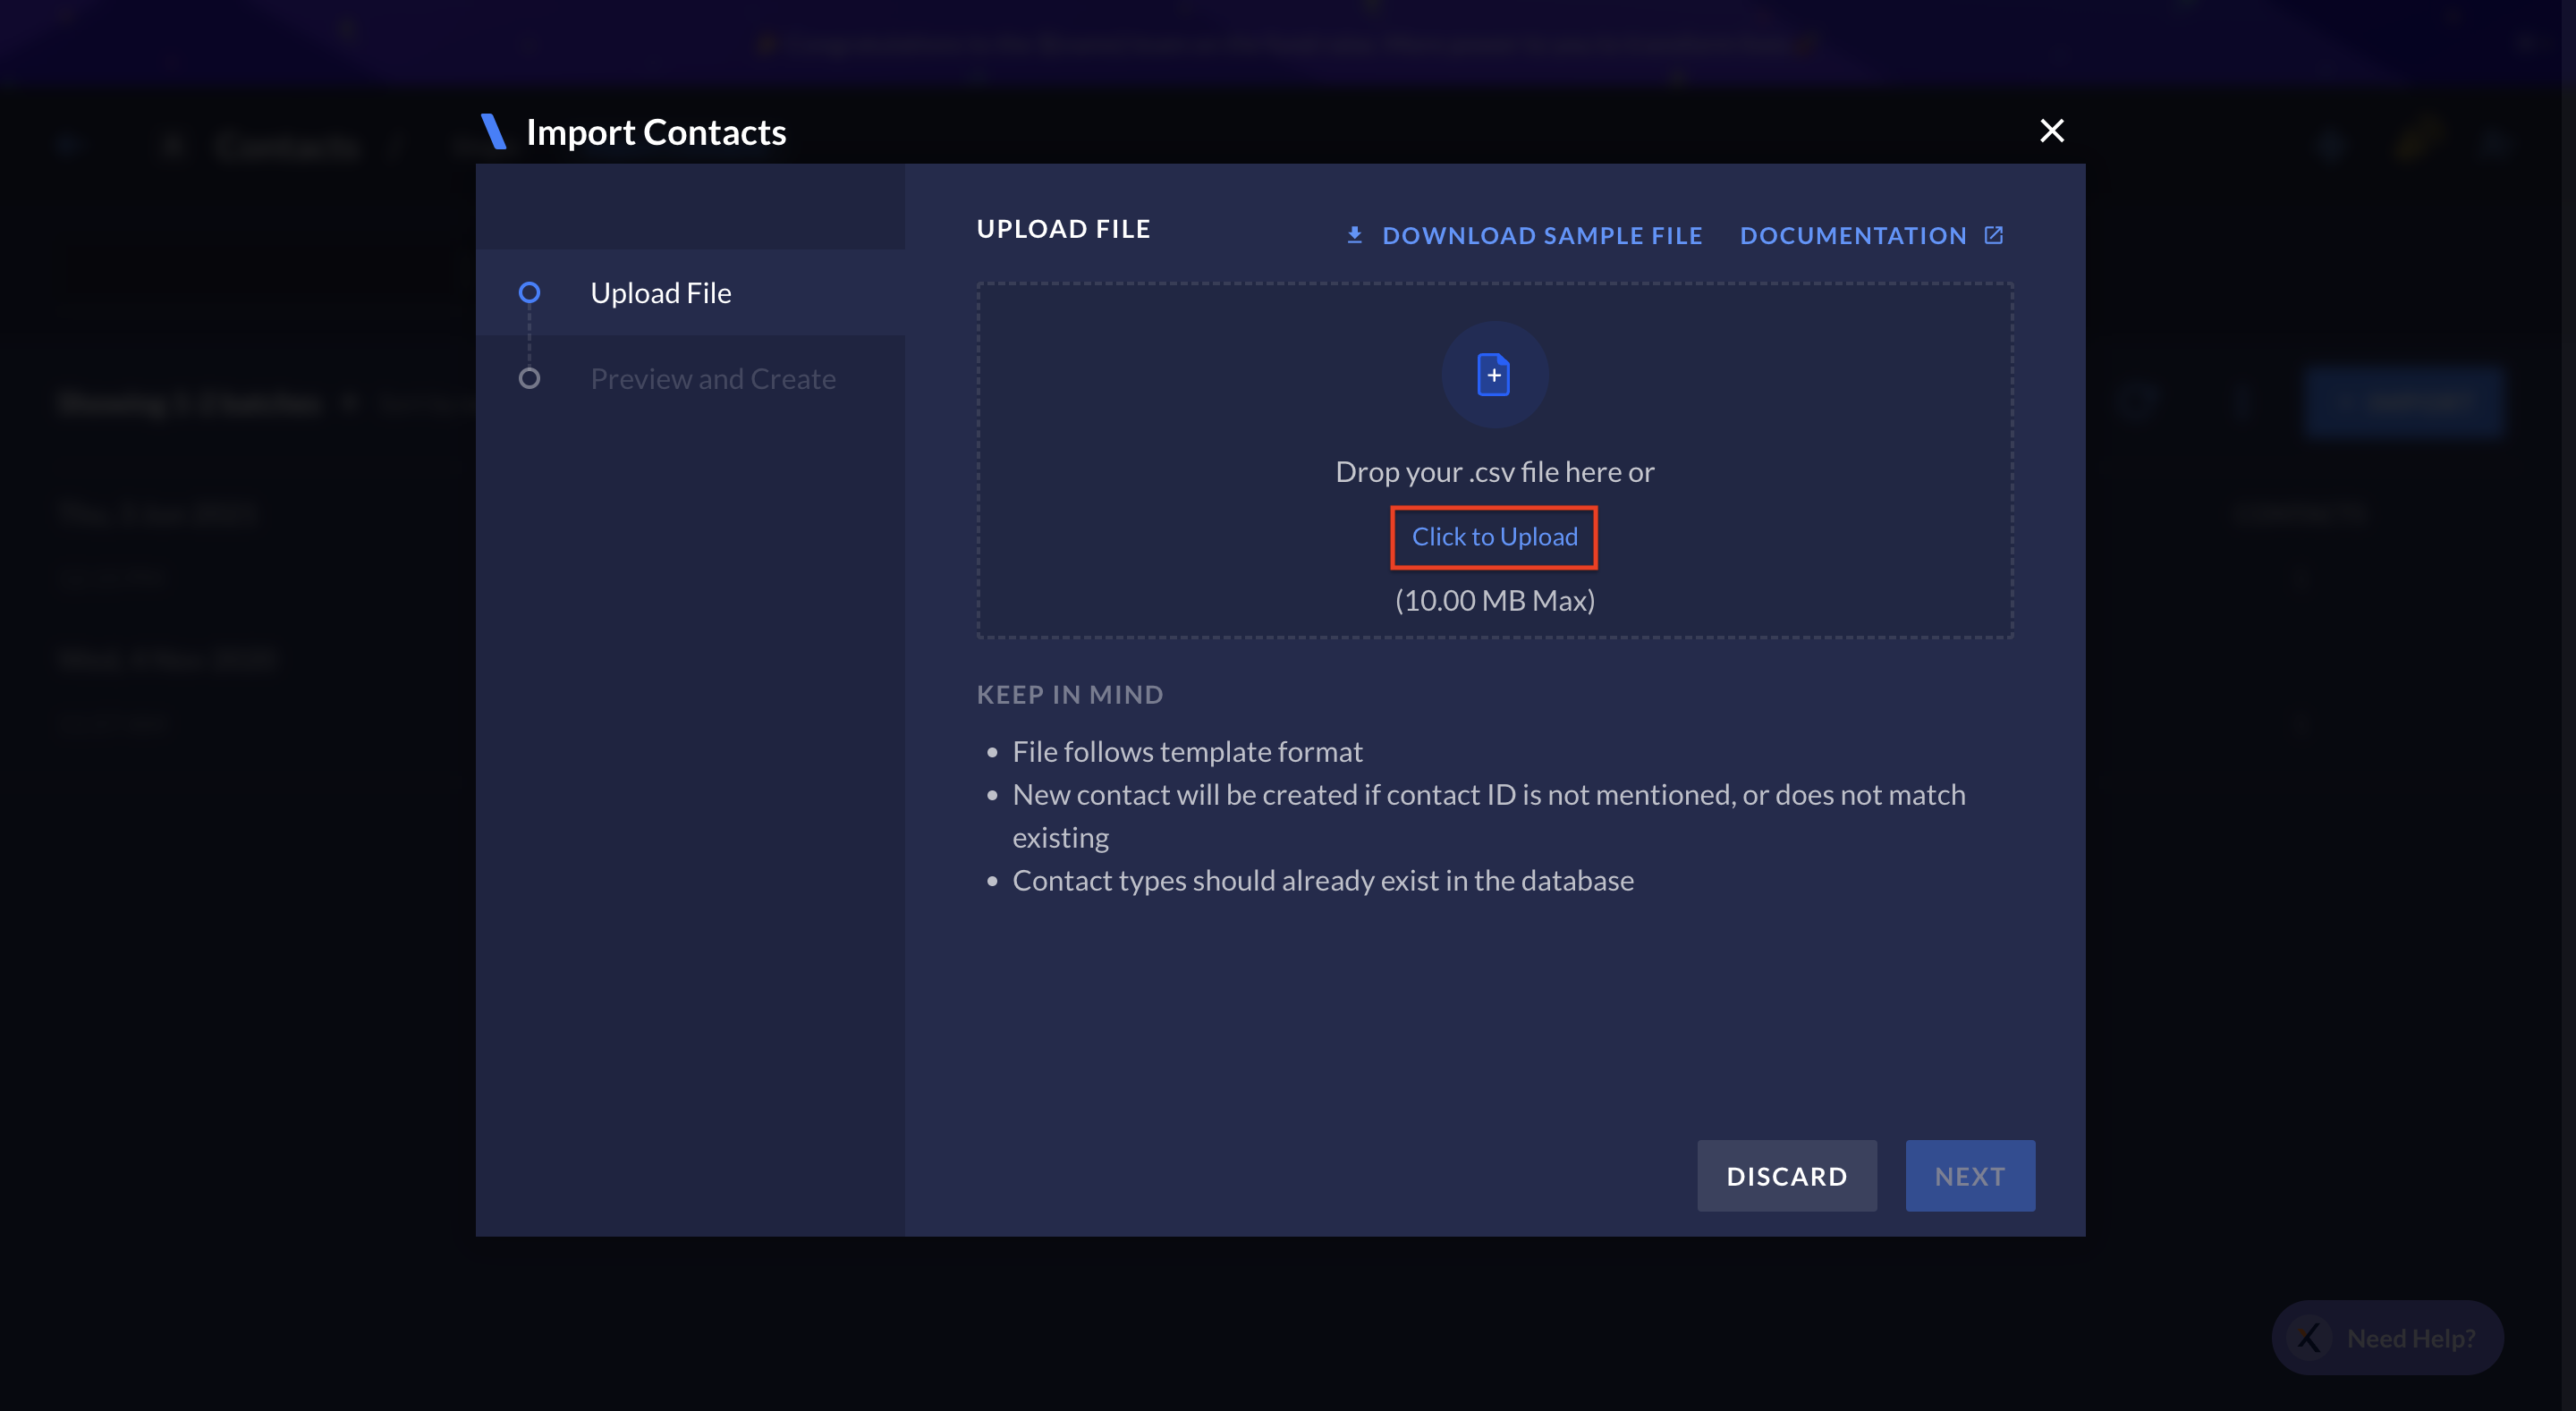
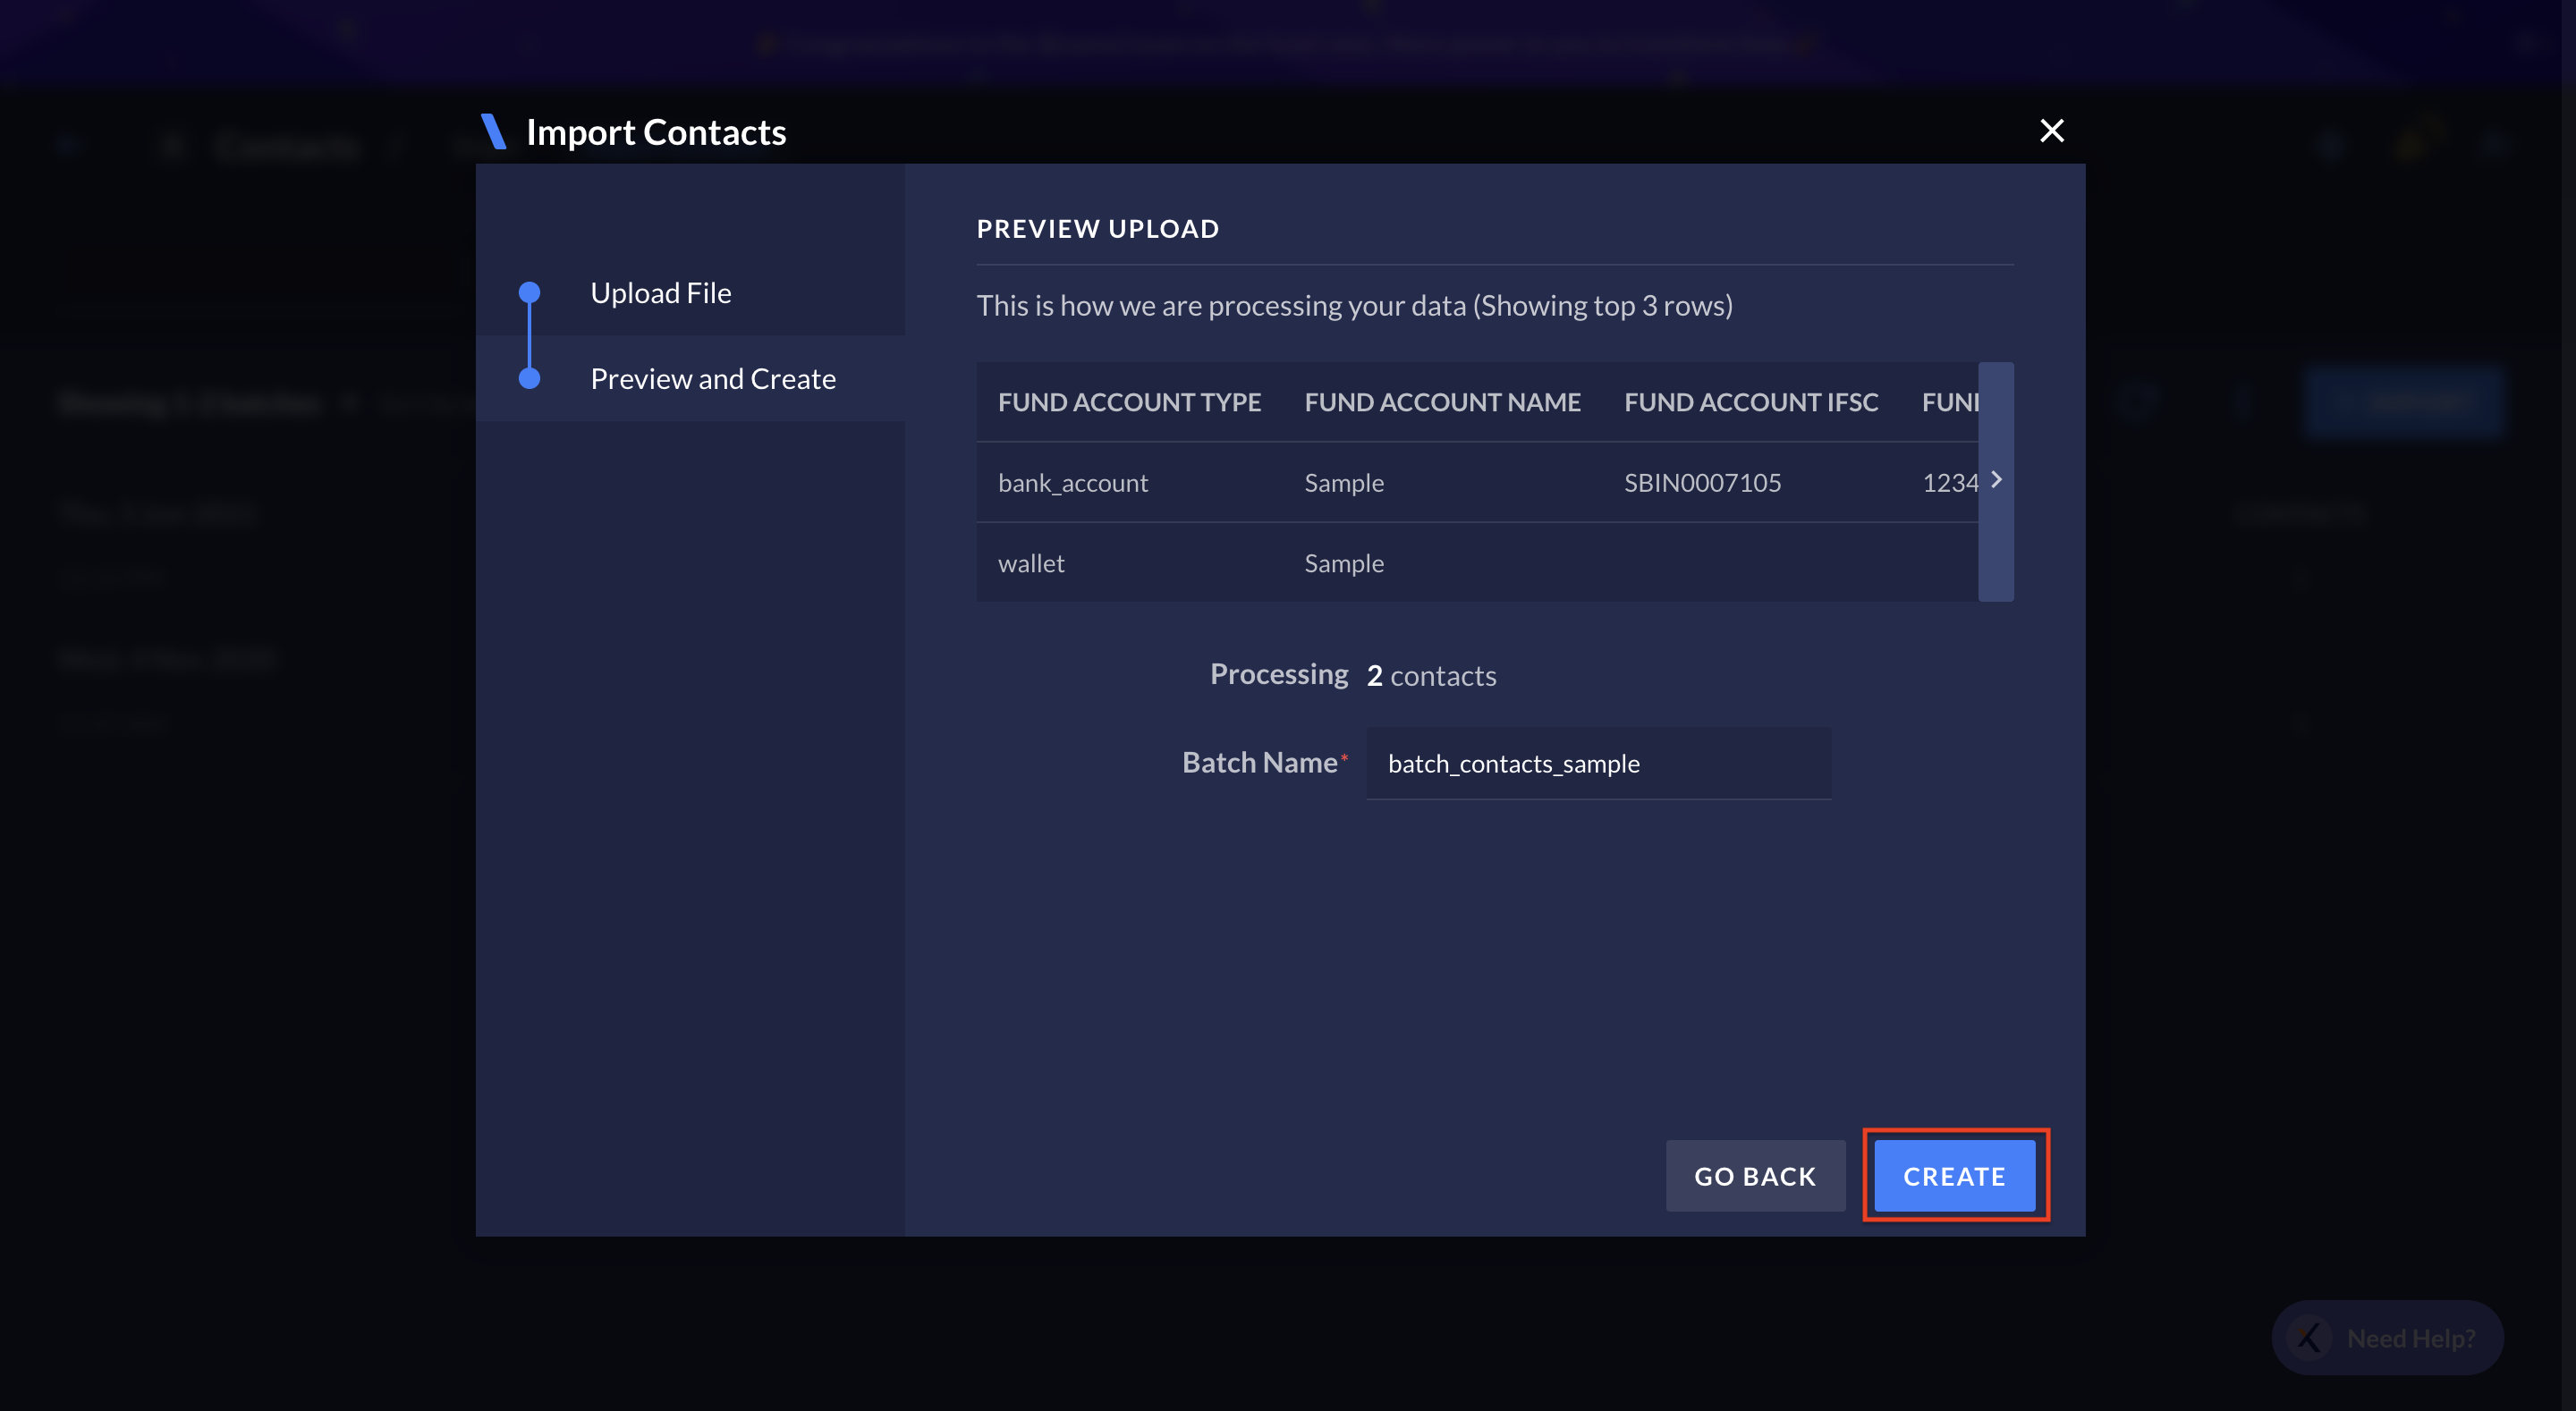
- Click NEXT and preview the uploaded contacts.
- Name the batch of contacts and click CREATE.
Bulk Upload Report
After a bulk upload is processed, you can download the processed bulk report from the Dashboard. The report has the following additional fields that you can check to see if the contacts/fund accounts were created successfully.Fund Account Id
: string Unique identifier for the Fund account. Value is returned only when the Fund account is successfully created. For example, fa_ECDexvVvKxbQDK.
Error Code
: string The error code for the failure. For example, BAD_REQUEST_ERROR.
Error Description
: string The reason for the error. For example, Invalid IFSC Code in Bank Account