Available in🇮🇳 India
You can test the full Razorpay OAuth flow by creating a sample application to obtain access to the sub-merchant’s data securely. Below are the steps to grant access to your application for your account:
- Create the test application on Dashboard.
- Preview the OAuth page and authorise the test application.
1. Create The Test Application
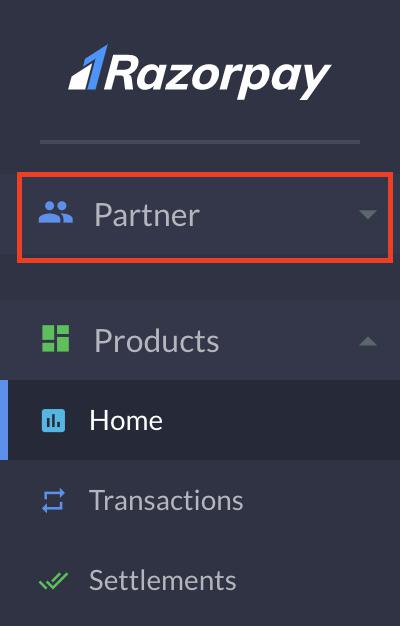
To create the test application:- On your Dashboard, click Partner.
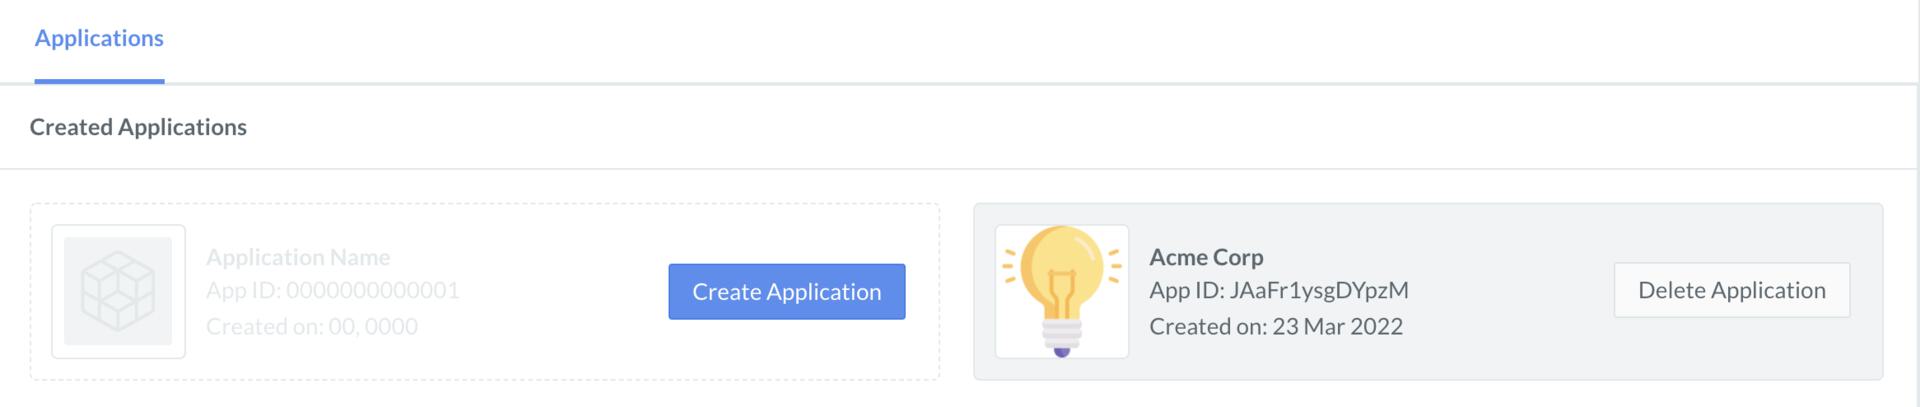
- Click Applications to open the Applications tab. This tab displays a list of created applications.
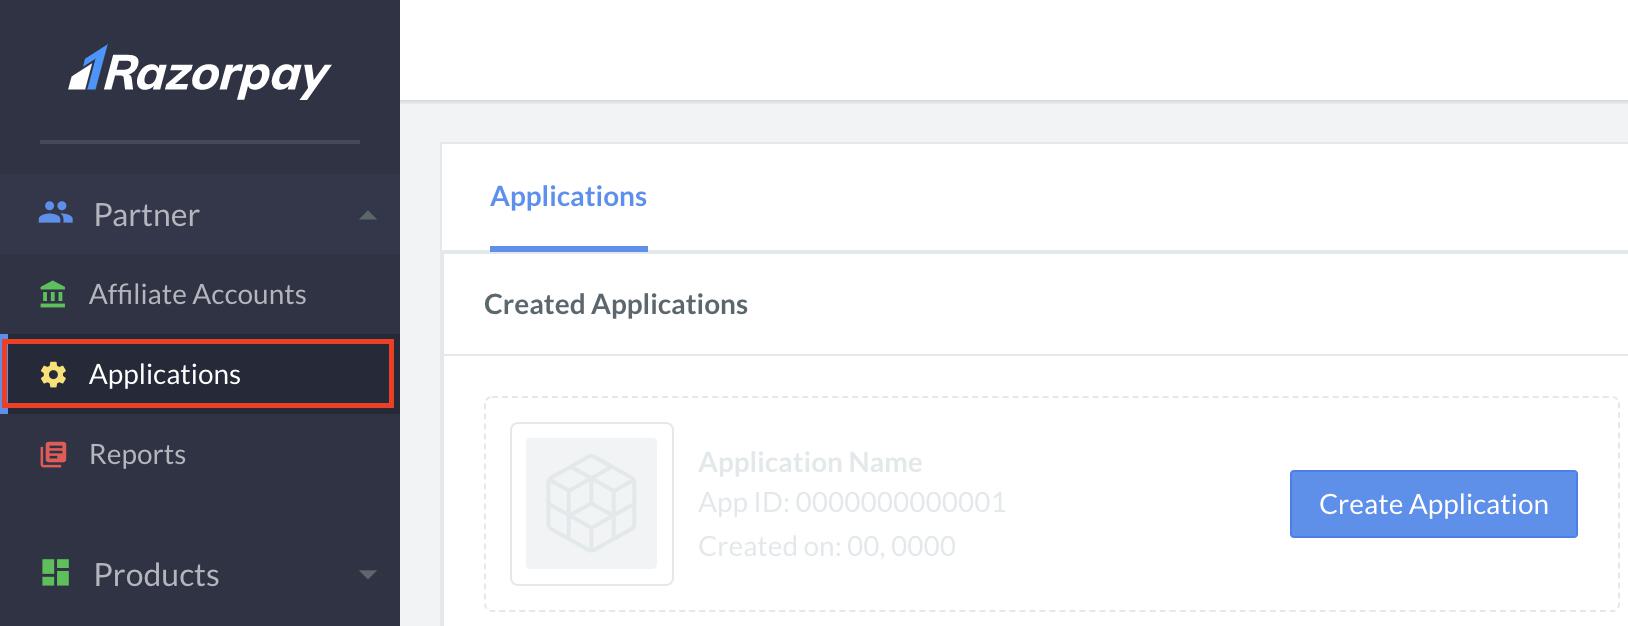
- Click Create Application and provide these details:
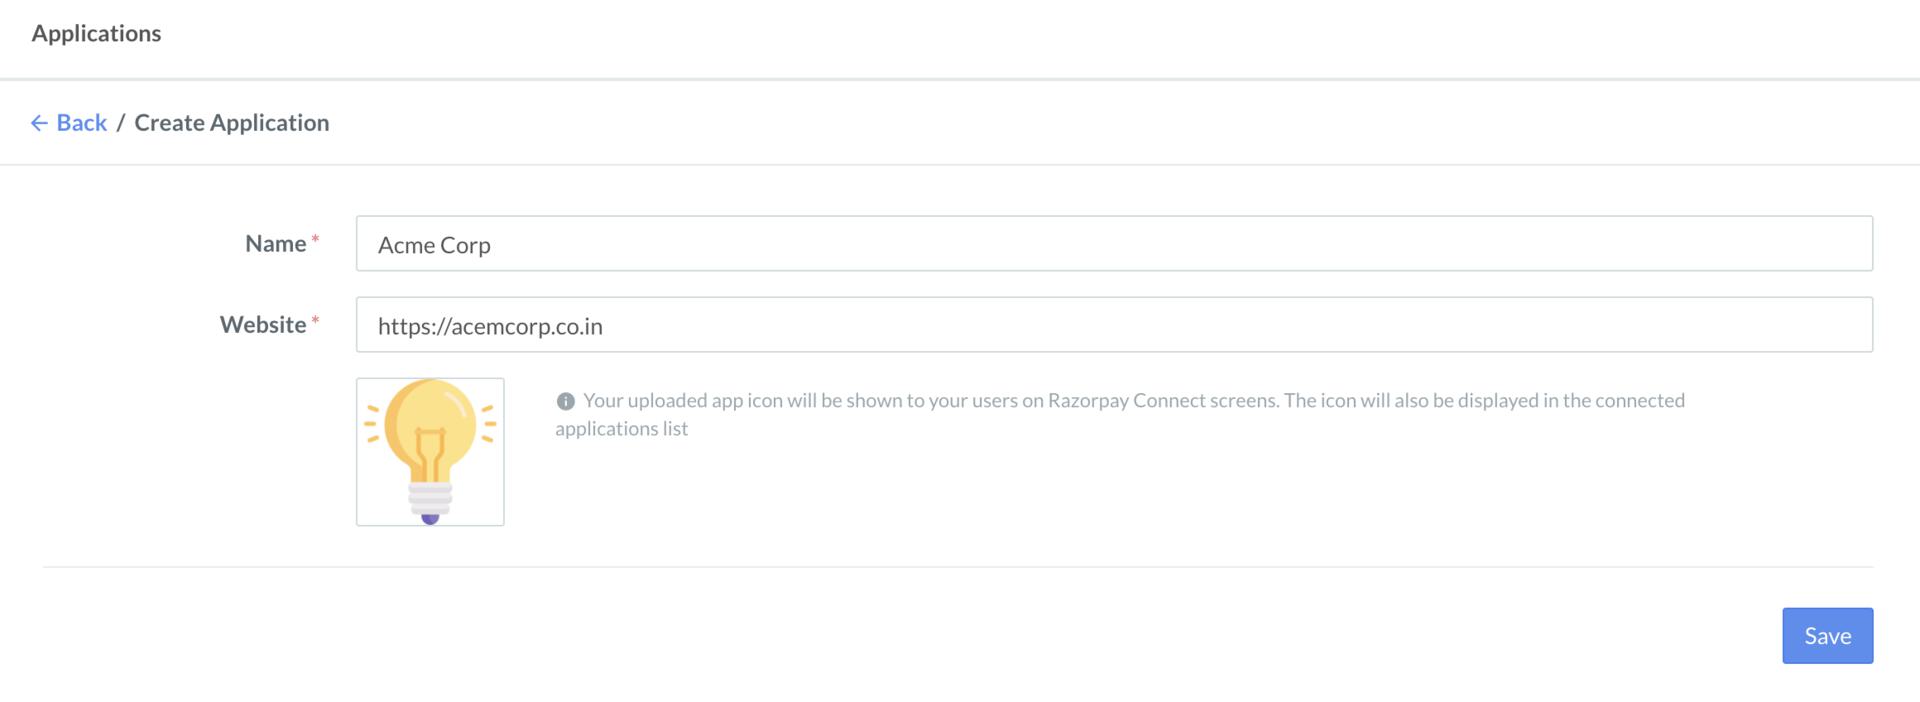
- Enter the Name of your application. For example, “Acme Corp”. This would appear on Razorpay’s authorisation page.
- Enter the Website URL of the application.
- Click Upload App Icon to upload the app’s logo. Razorpay displays this icon to your users on the Razorpay Connect screens. It is also displayed in the Connected Applications list.
Handy TipsUpload only square images as the App Icon.
- Click Save.
- Razorpay creates an application that appears on the list of created applications. The Edit Application page shows the application settings for both Development and Production clients.
- Client ID and Client Secret are predefined for both Development and Production clients. Use them to make request calls to Razorpay servers.
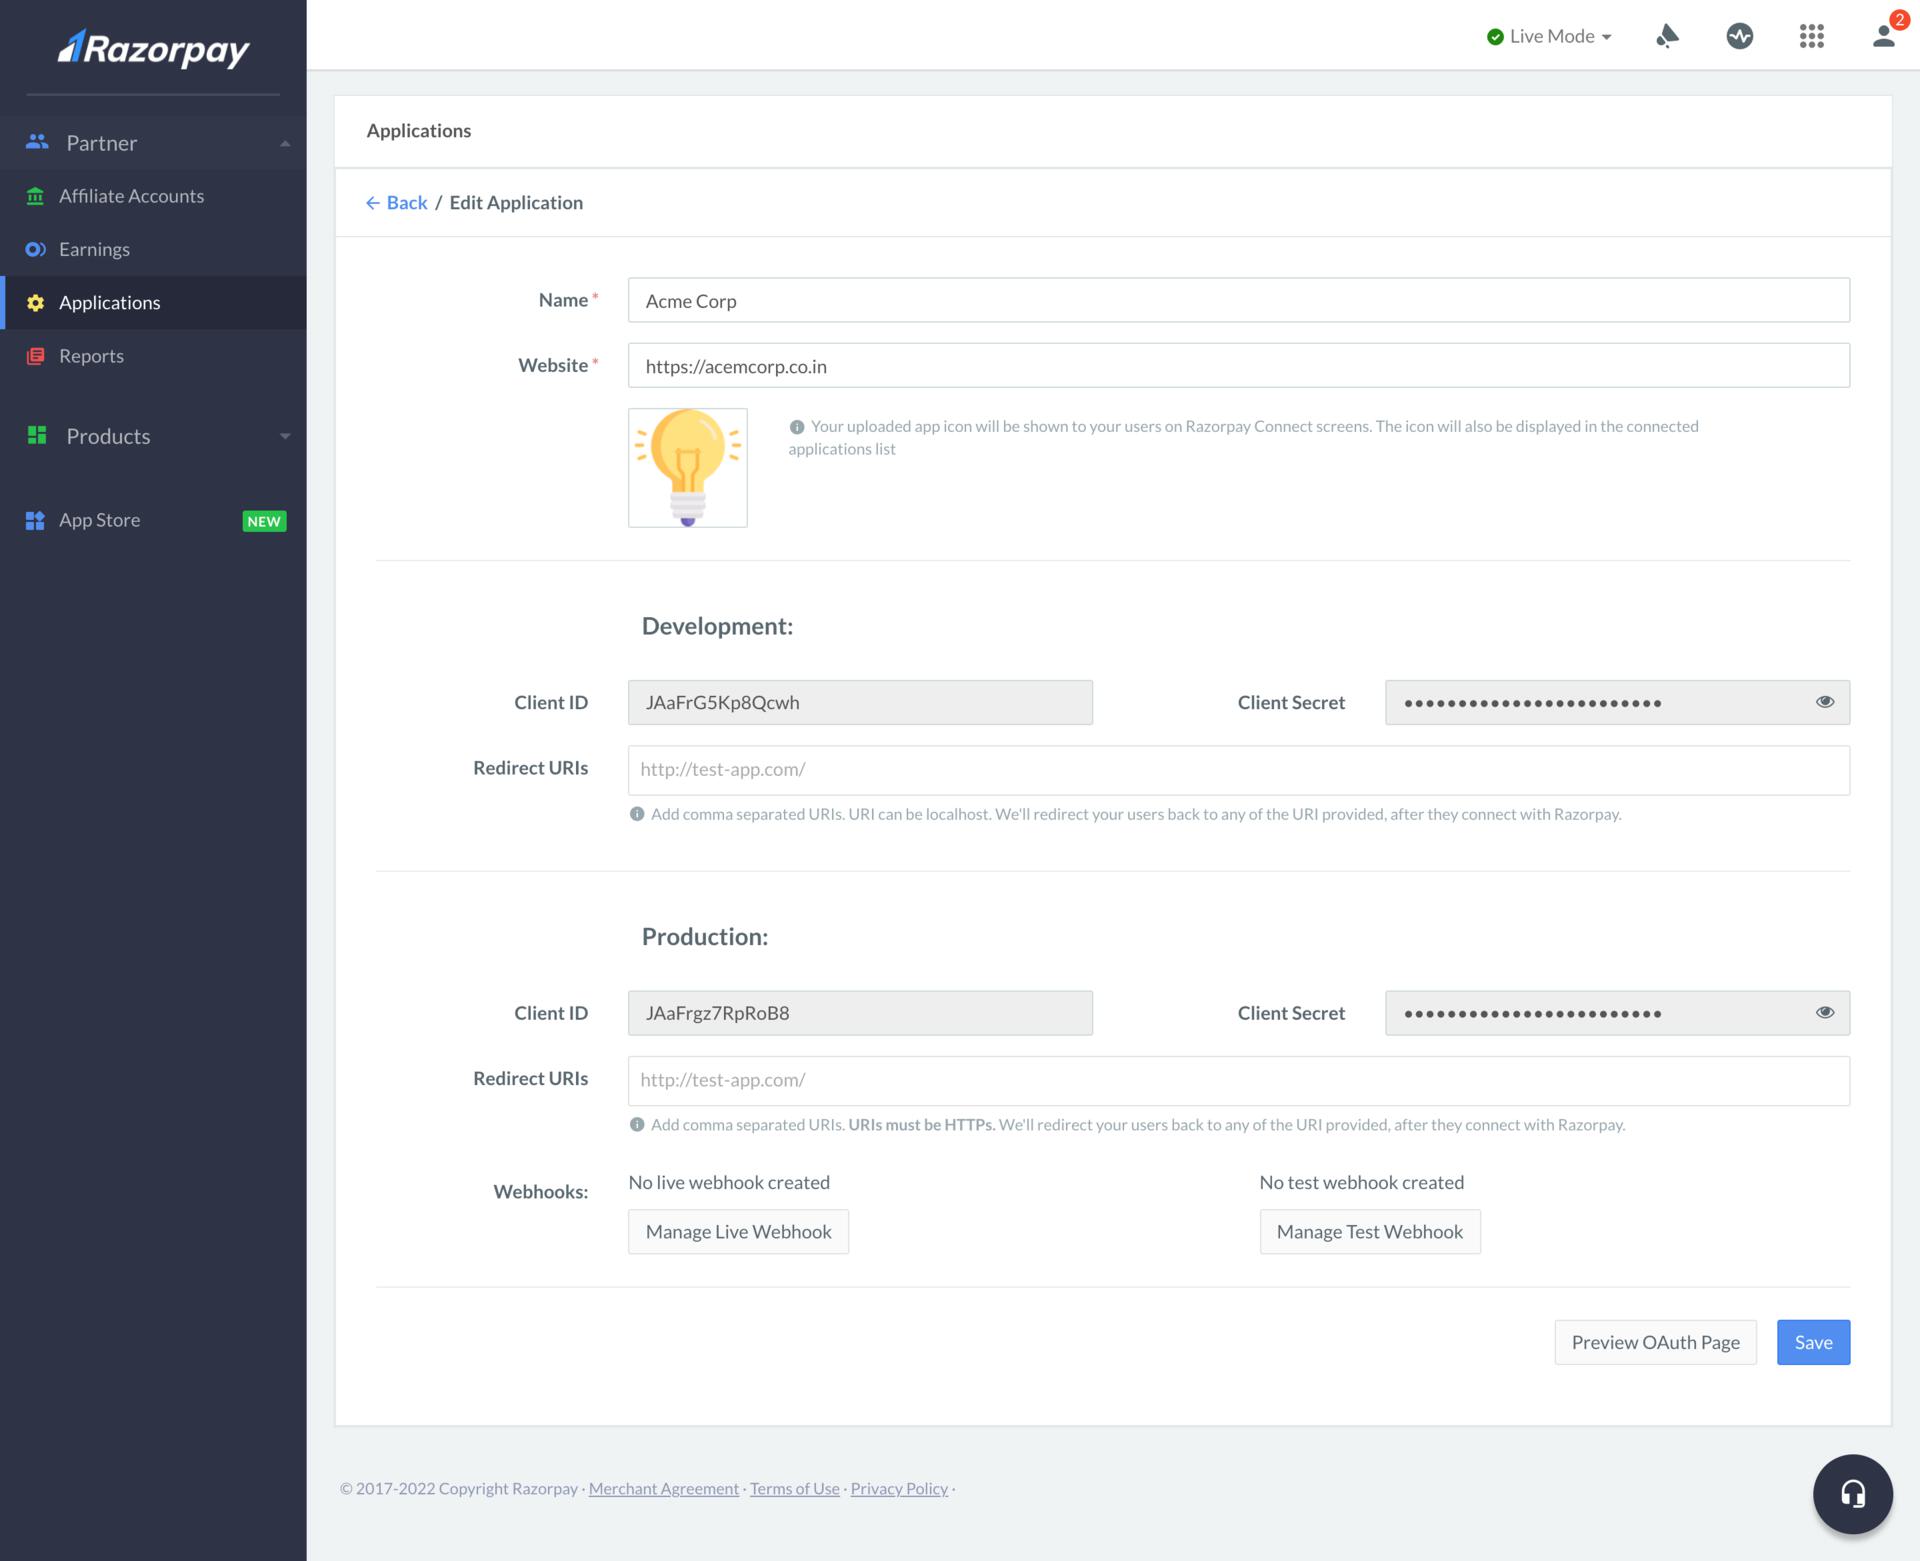
- Enter the Redirect URIs in comma-separated format.
Handy TipsFor production clients, only URLs with
https are supported. For example, https://acmecorp.com.- Click Save.
2. Preview OAuth Page and Authorise Test Application
Follow these steps:- Click Preview OAuth Page. Razorpay redirects you to the authorisation page, where you can authorise or decline access to your test application for your account.
Handy TipsFor development clients, we support
https://localhost as a redirect_uri on Preview. However, you can replace it with any valid URLs specified in the Development client settings and reload the page.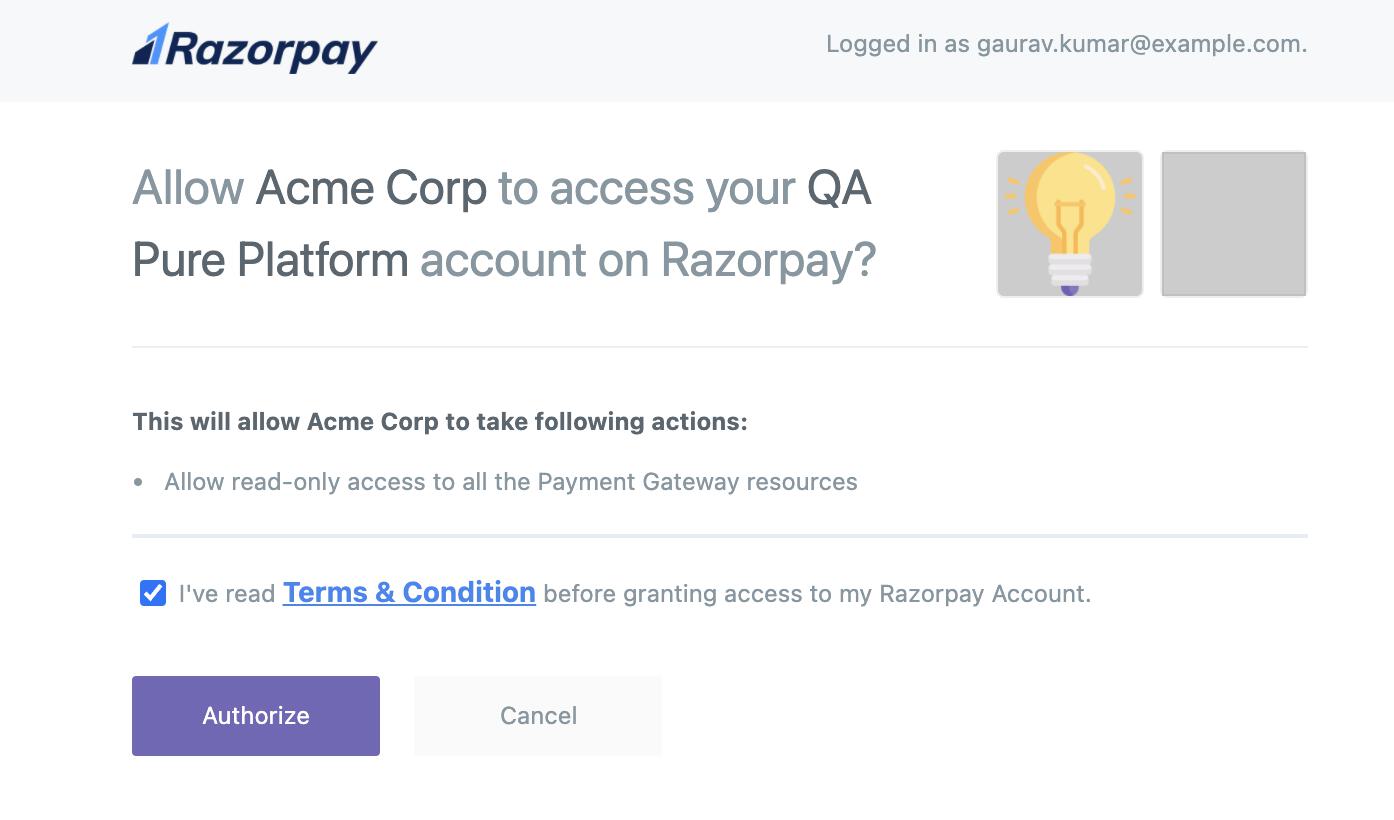
-
Click Authorize. Razorpay redirects you to the
redirect_urisent in the request URL, along with the auth code. -
Copy the auth
codefrom the URL and use it to obtain the new access token.
Handy TipsWhile making the API request, pass
mode=test. This will fetch you an access token for the test mode. Although the default is Live mode, testing with a live token would not help much unless your account is activated.scope parameter.
read_write(scope=read_write) would grant edit access to the application.read_only(scope=read_only) would allow only view access.rx_read_onlywould grant view access to all RazorpayX resources. That is, allGETAPI requests. This means you can only view the payouts, contacts and so on.rx_read_writewould allow read and write access to all RazorpayX resources on the API. This means you can view and create payouts, contacts and so on.rx_partner_read_writewould grant access to fetch payouts, contacts, fund accounts, transactions, as well as approve or reject a payout.