Available in🇮🇳 India
Handy TipsThis page is meant for Vendors to assist them in the onboarding process.
https://x.razorpay.com/vendor-portal/.
Onboarding
-
Check the email registered with the business owner to find an invite to join the Vendor Portal. Click ACCEPT INVITE.
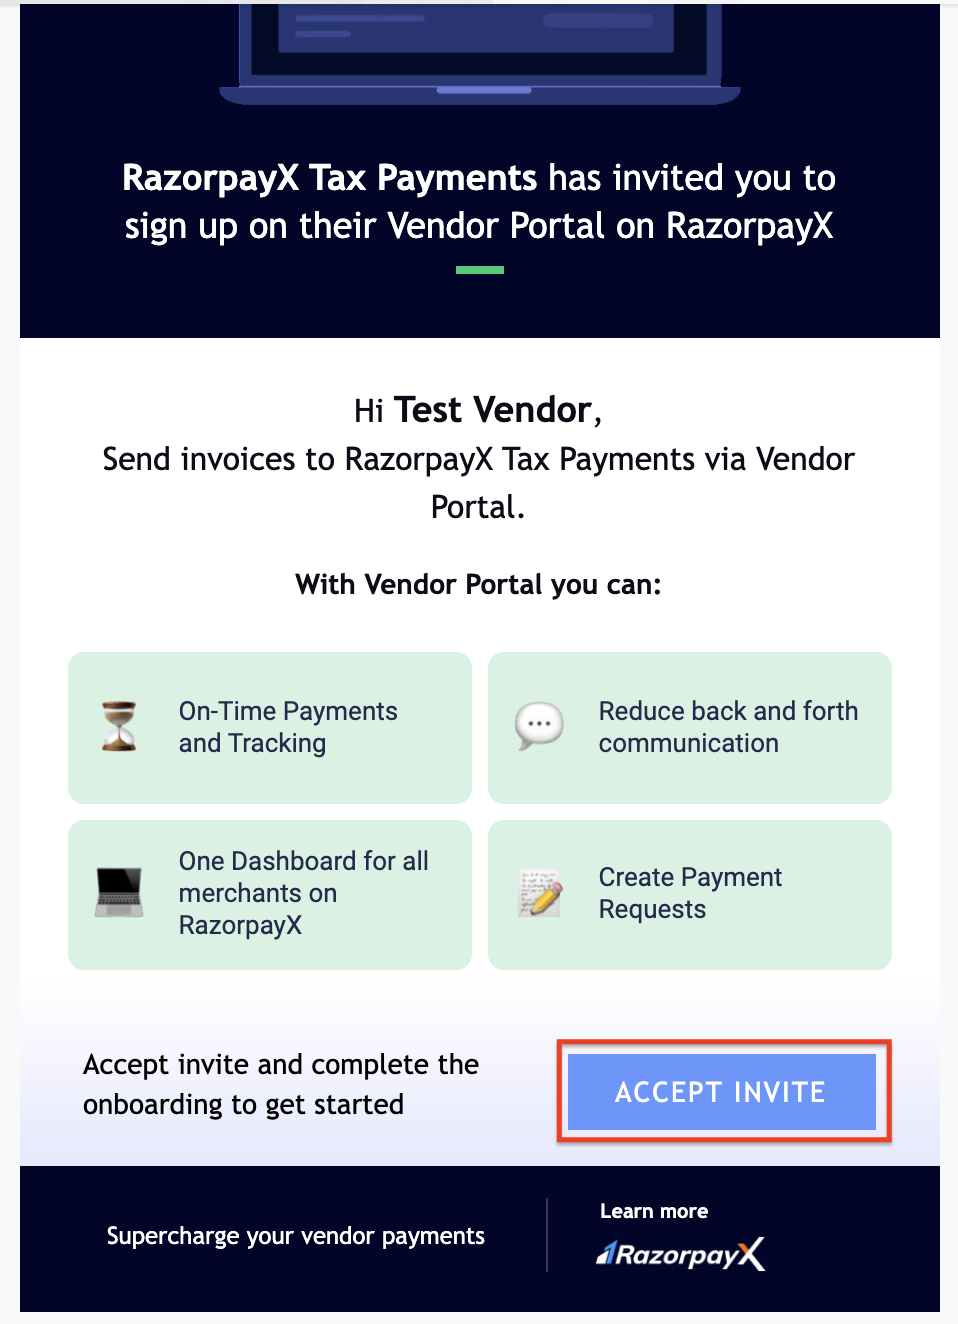
- You will be redirected to the RazorpayX Vendor Portal. Set a password for your account and click Create Account.
-
Click Complete your Profile. The form has the following fields:
- Tell us about yourself
- Your Name
- Work Email
- Contact Number
- Add Business Details (Optional)
- Business Name
- GSTIN
- PAN
- TDS Category
- Add Banking Details (Optional)
- Account No.
- Re-enter Account No.
- IFSC
- Account holder’s name
- Tell us about yourself
Create Payment Request
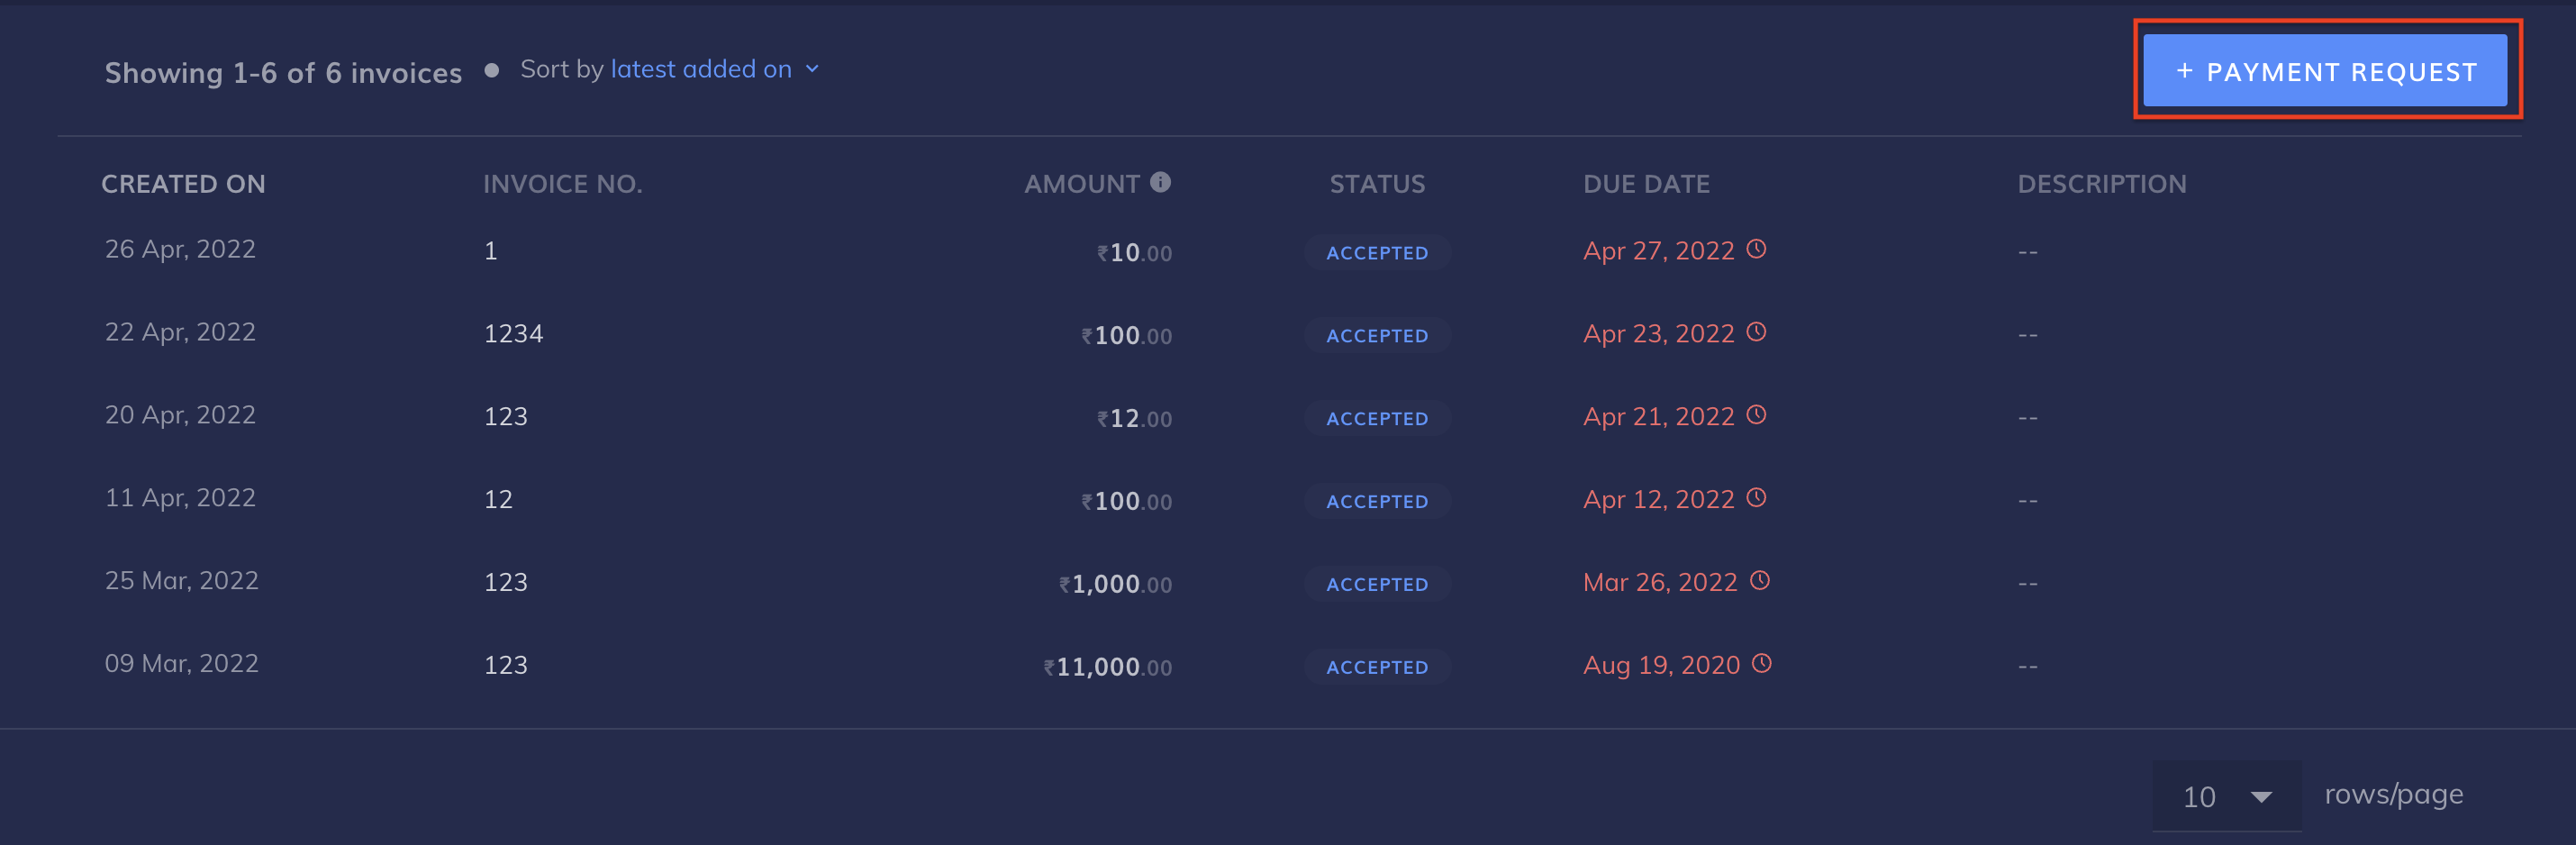
- Click + Payment Request.
- Click Upload Invoice. You can upload an invoice in .pdf, .jpg or .jpeg format. It is not mandatory to upload an invoice.
- On uploading an invoice, Vendor Portal automatically fills the required fields in the Payment Request form, however, the details can also be added manually. The fields are:
- Invoice Date
- Invoice No.
- Due Date
- Total Amount
- GST
- TDS
- Description
- Note
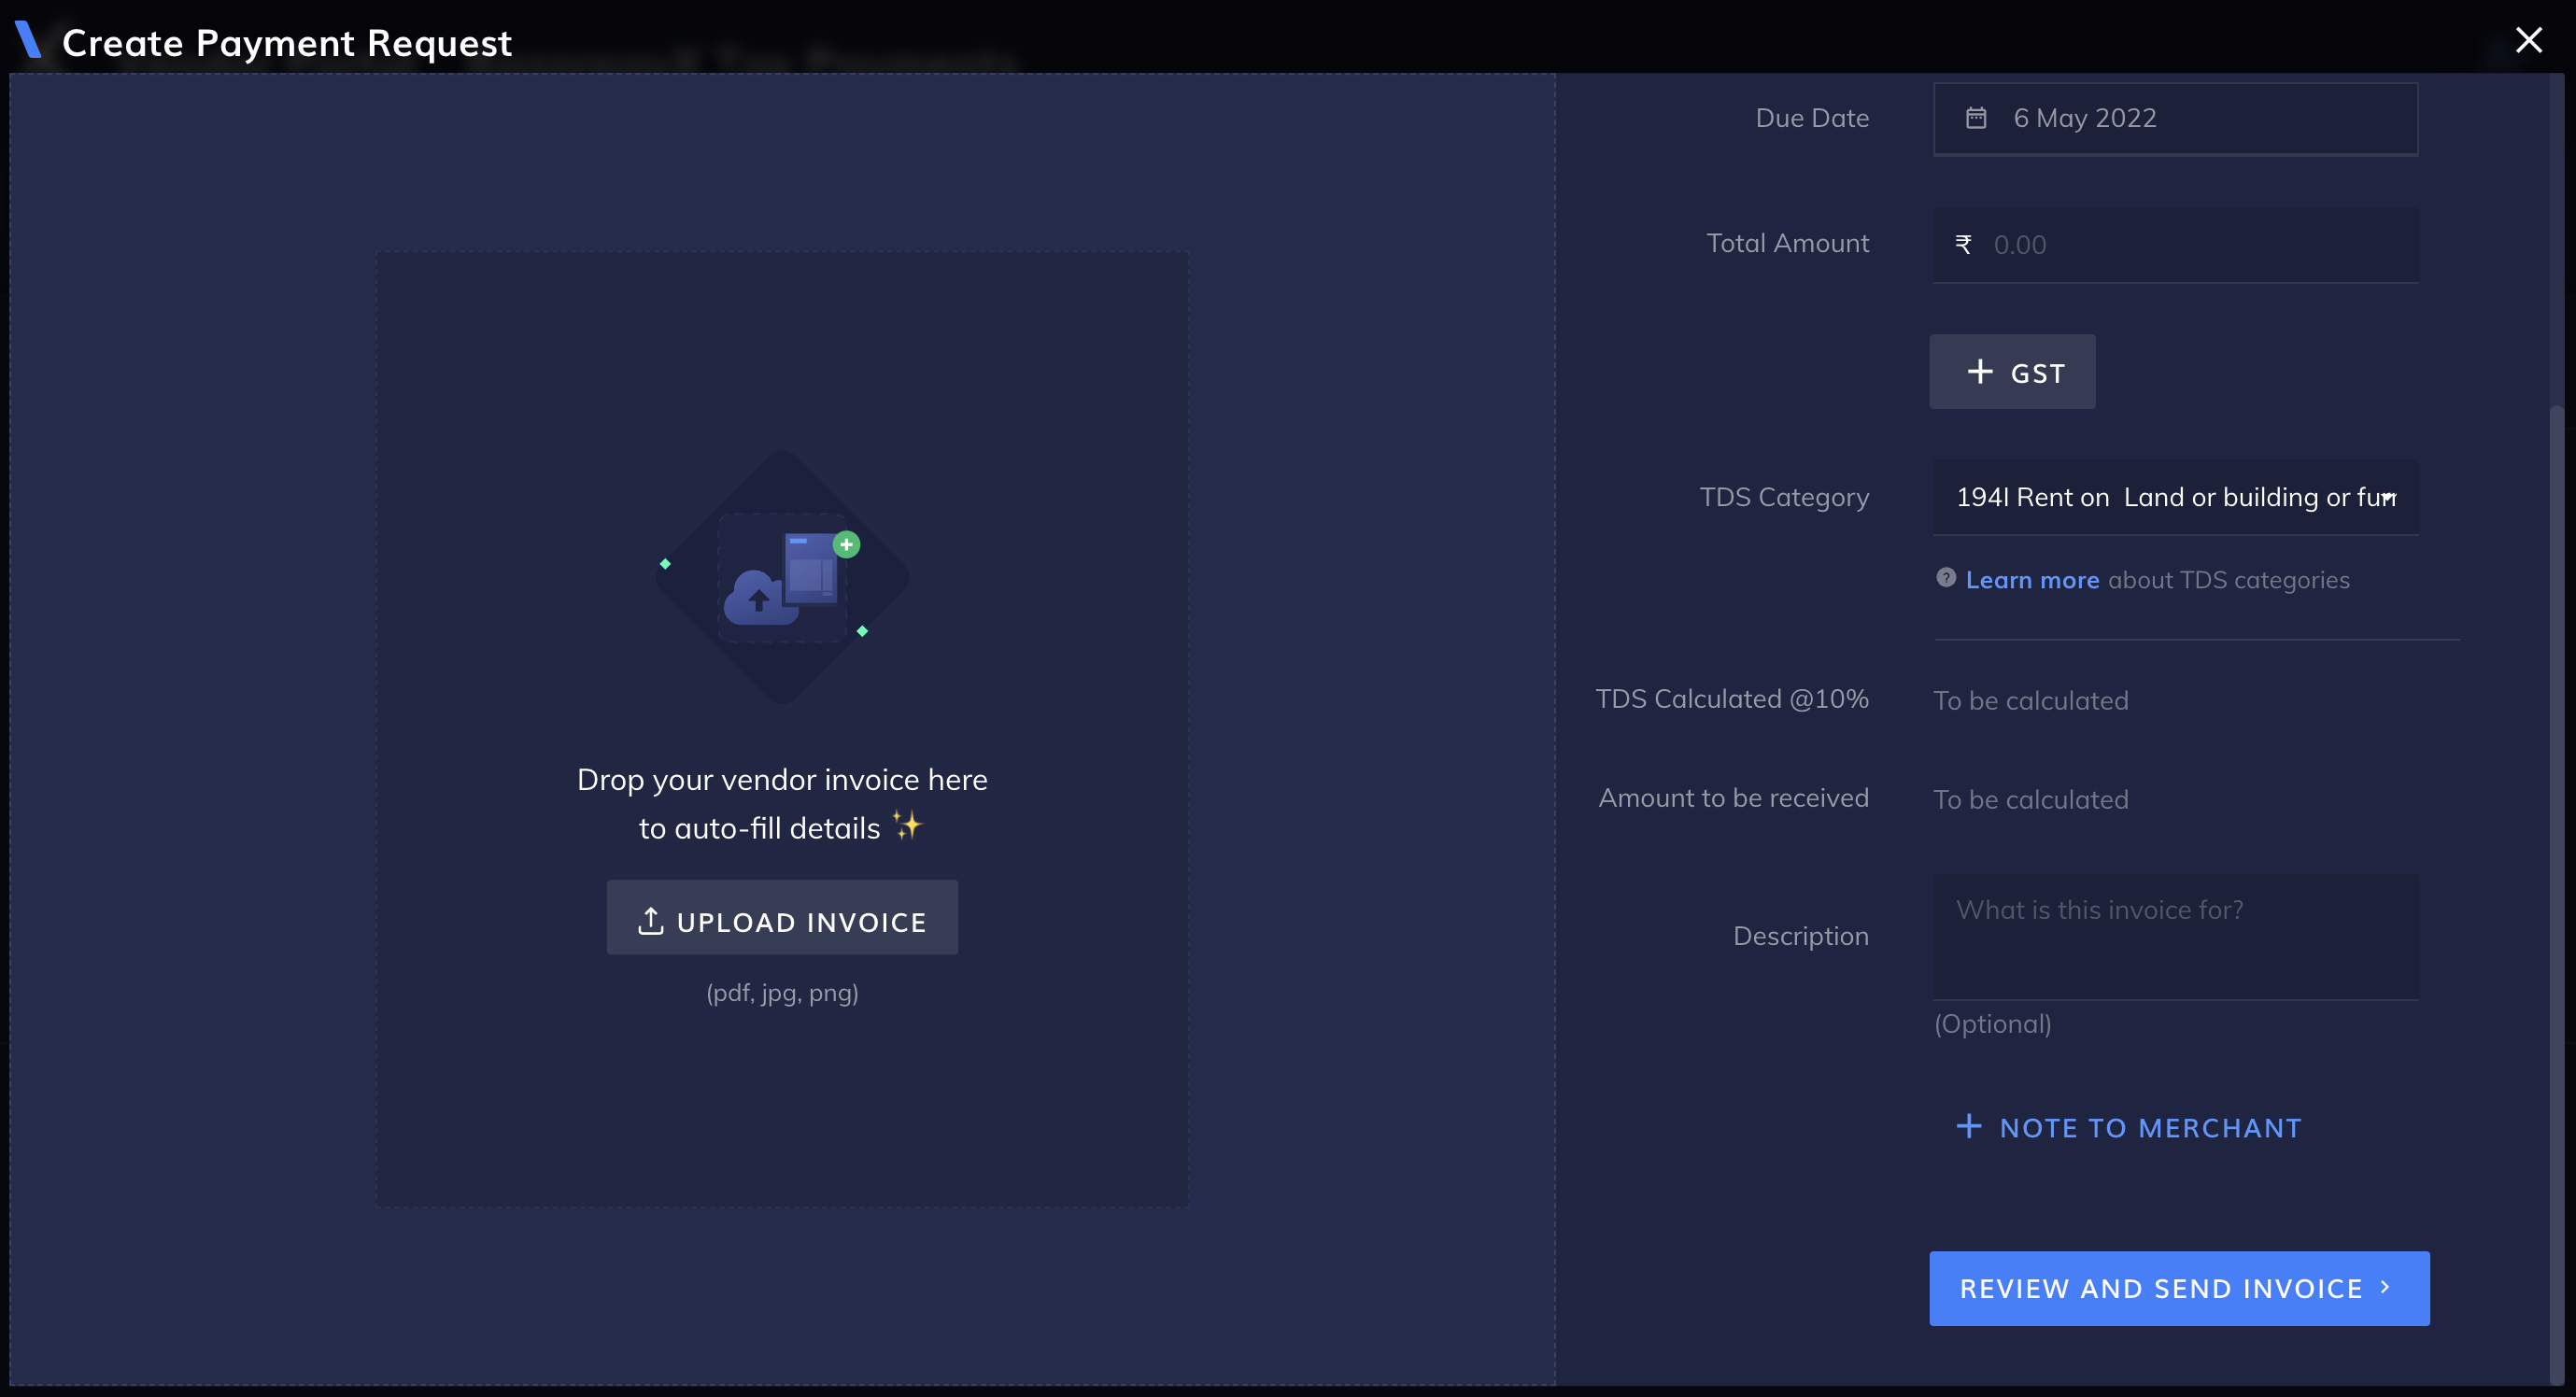
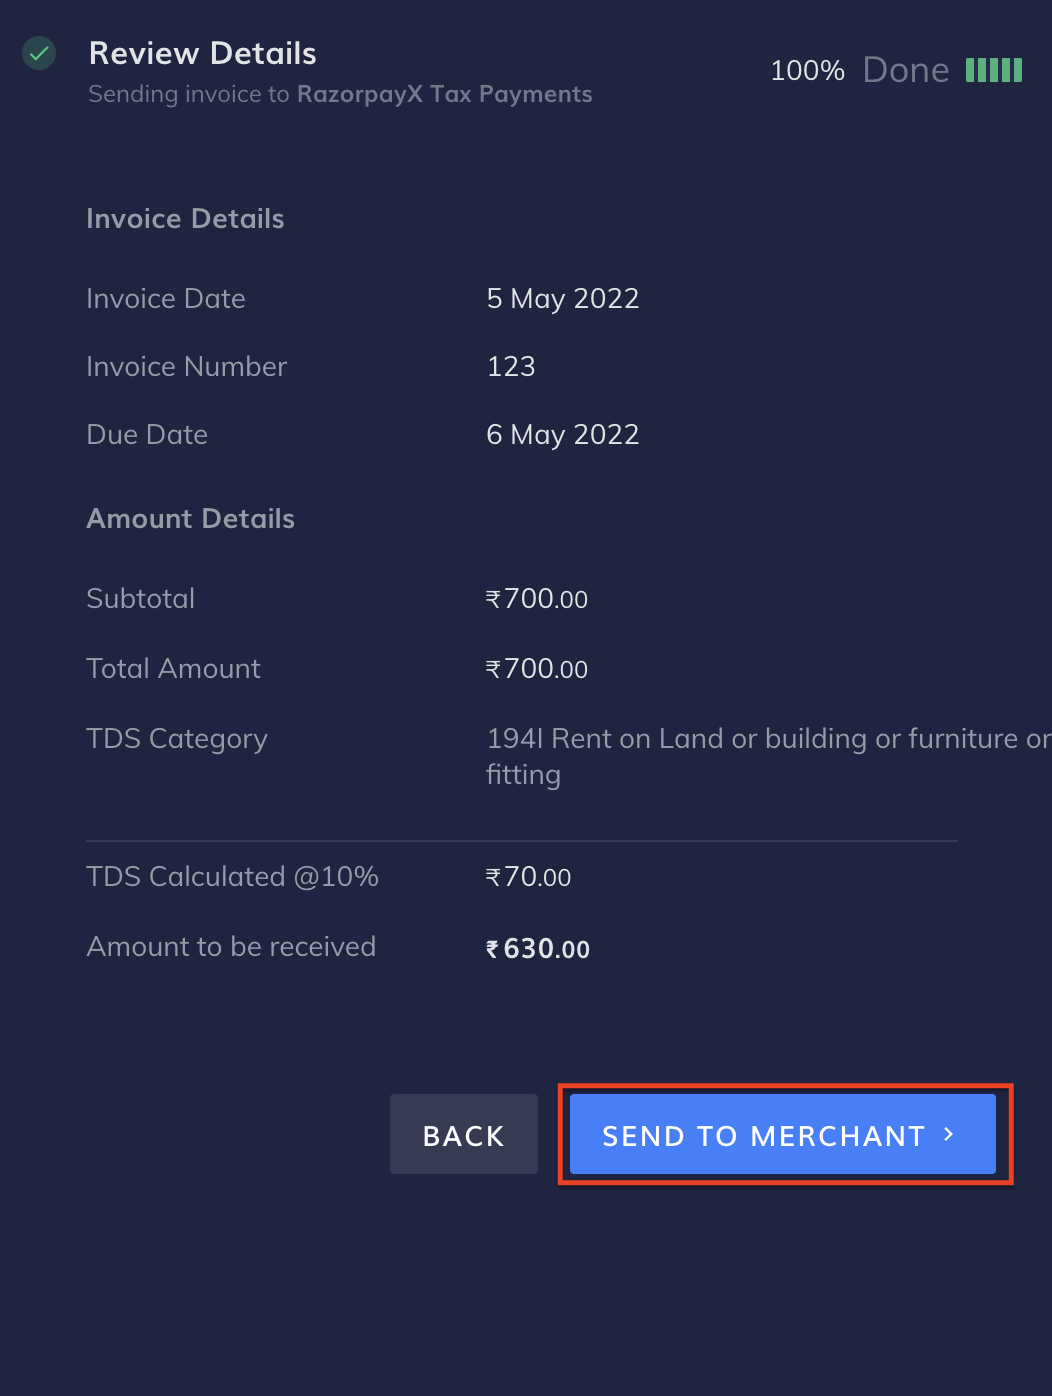
- Click Review and Send Invoice.
- Review the details and click Send to Merchant.
Payment Status
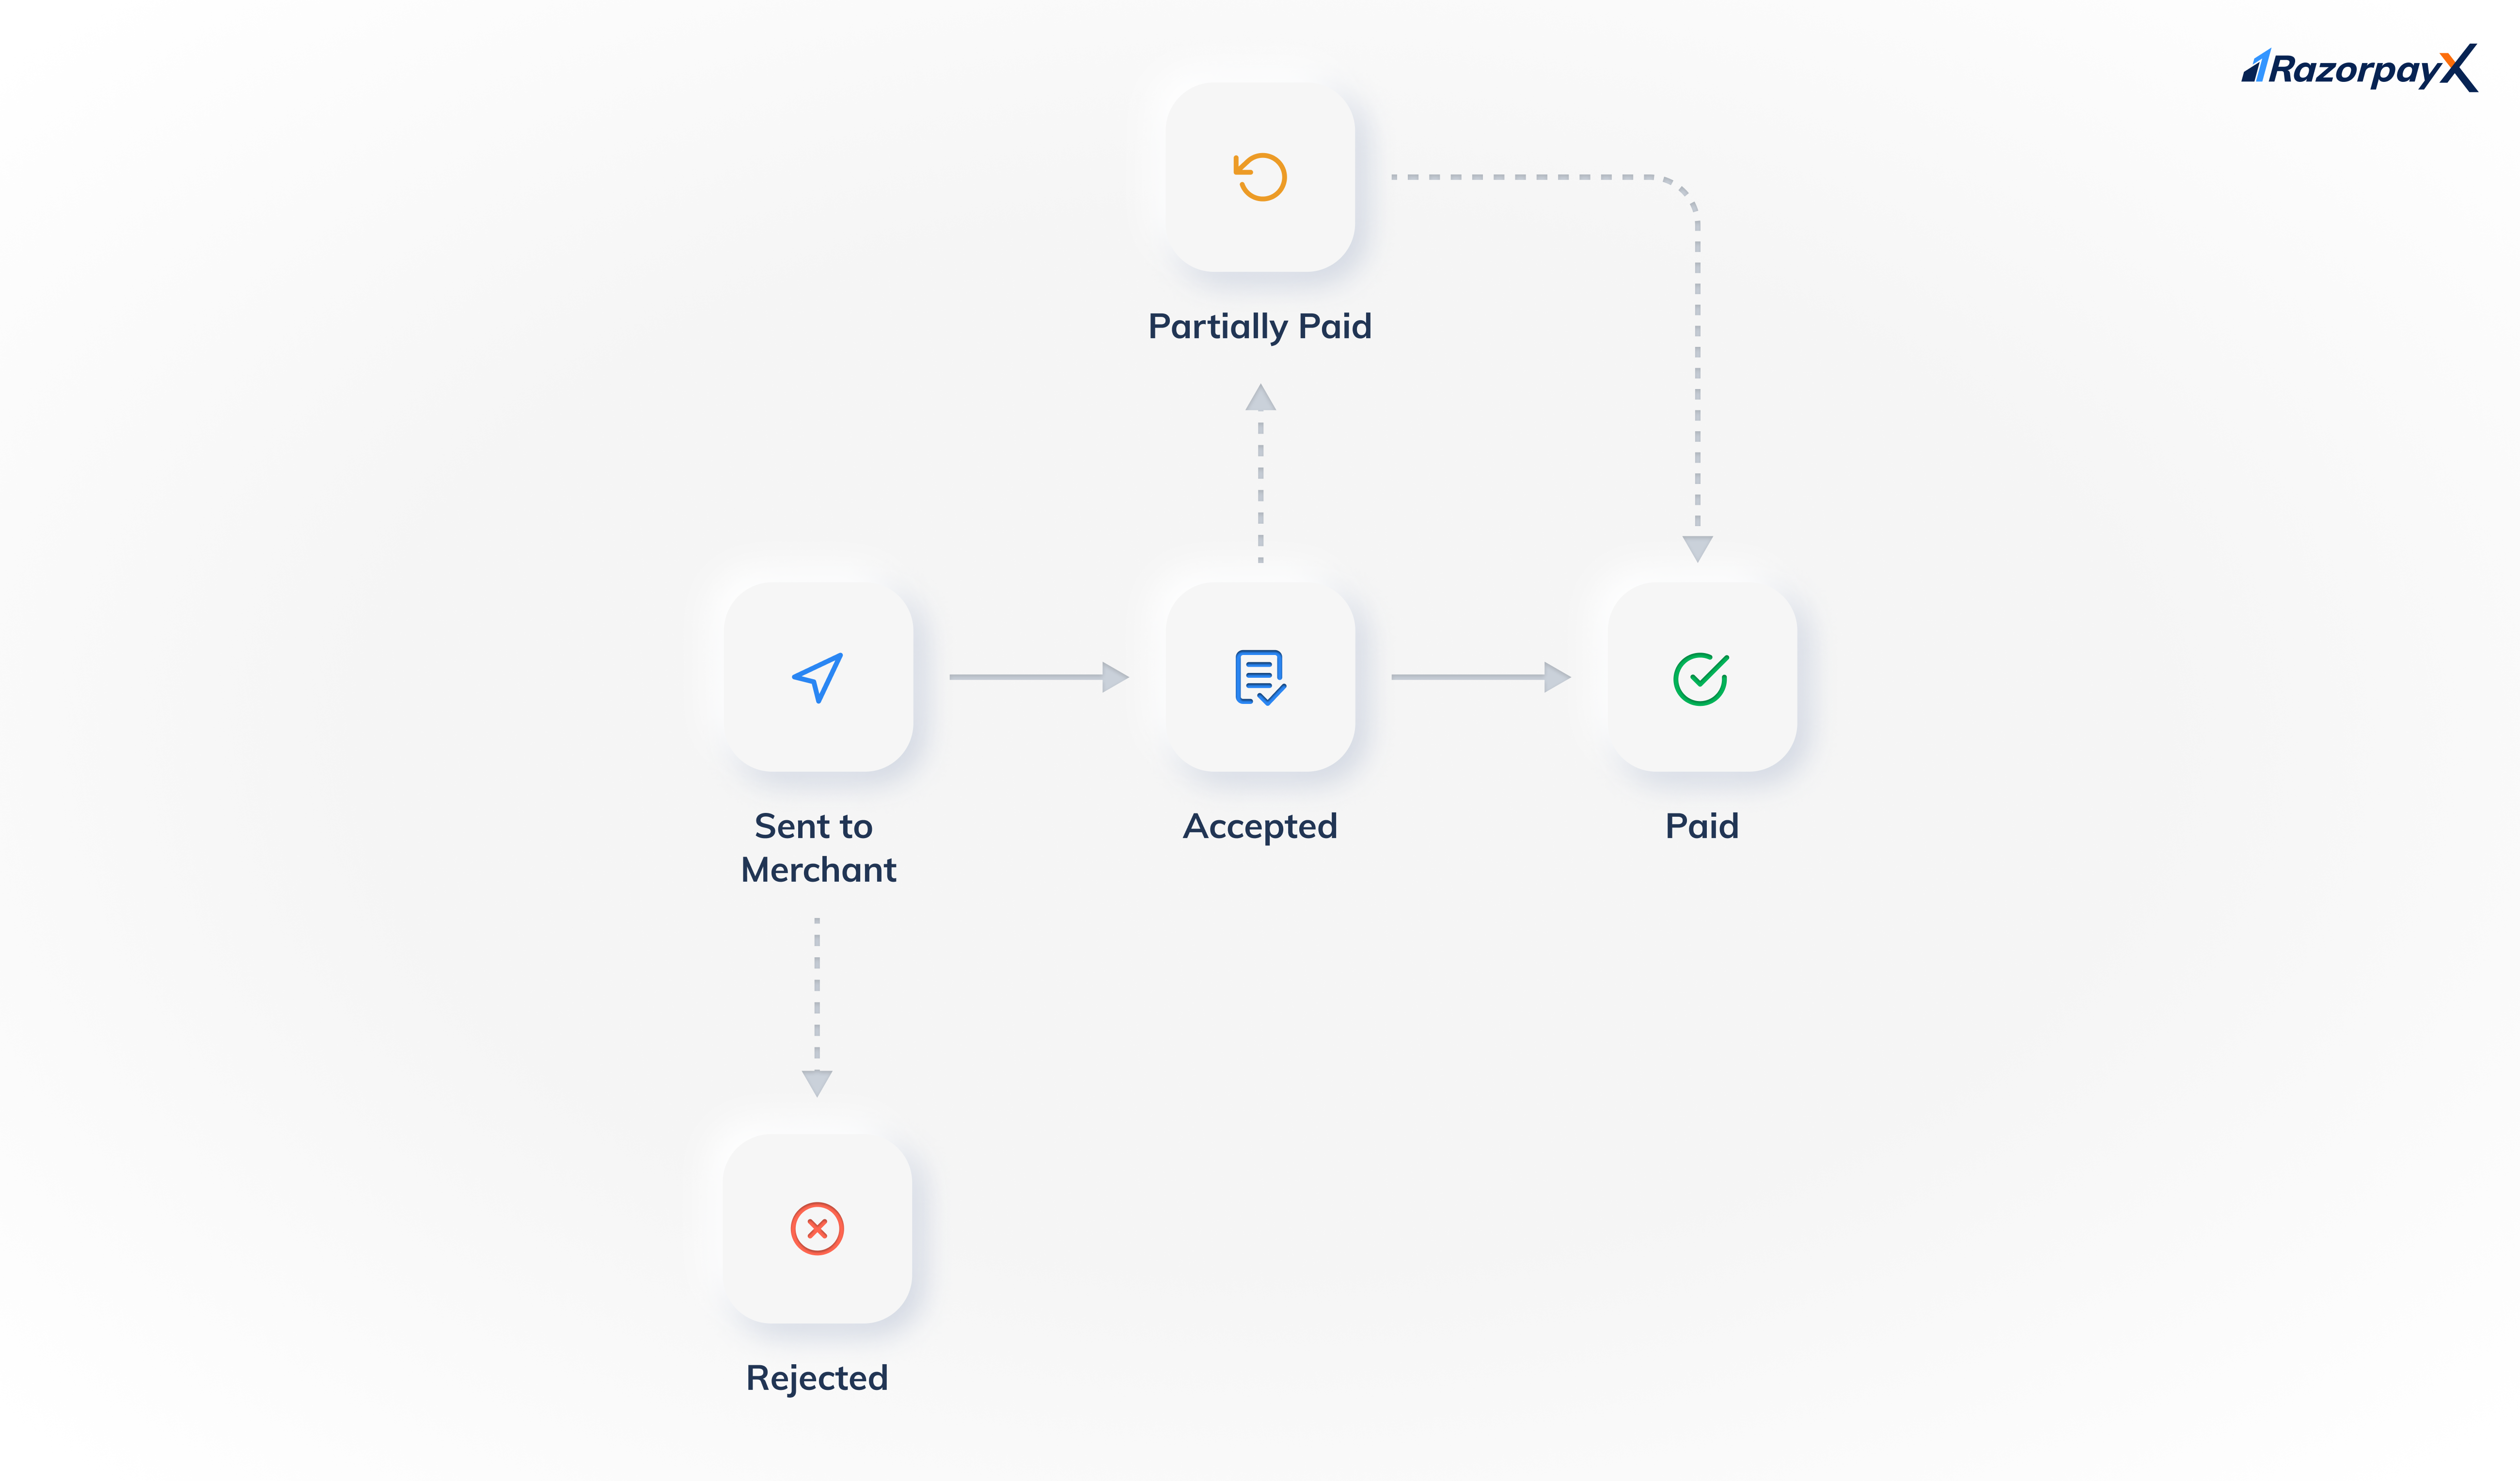
Invoices can be in any one of the following states:Sent to MerchantAcceptedRejectedPartially PaidPaid